Showing posts with label A Way with Stencils. Show all posts

Saturday, November 14, 2020

Pine Trees Season's Greetings


Hi Crafty Friends,

It’s challenge time with the “Crazies” over on the Crazy 4 Challenges blog. Amy Ottmers our challenge hostess for the month, continues to issue the challenges.

Apparently today is Pickle Day! Are you in a right pickle or a cool as a cucumber??? For our challenge today create a card inspired by a pickle, either by including a pickle or food that goes with pickles on your card, use the color green ... or incorporate a pickle themed sentiment.


For my card today I opted to use the color green, using for the most part a monochromatic theme.


I received a few new toys this week which I was keen to play with. For the background of my card I created the stencil plaid background using Catherine Pooler Designs Just Plaid Slimline Stencil. I used Catherine Pooler's Green Tea ink for the color.


I die cut the stencil panel using a rectangle die from Trinity Stamps Slimline Stitched Card Panels and Windows die set. Along the bottom of the card I used Lawn Fawn's Slimline Stitched Hillside Borders to create the snow.


I added pine trees to my card using The Ton's Pine Trees Coverplate die, which die cuts the 5 pine trees all at once ... easy!


To finish off the front of the card I added the sentiment which is from The Ton's Easy Expressions - Holiday Stamp and coordinating die sets.


For the inside of my card, I created a simple pop-up card. I added the white panel, also die cut using the Trinity Stamps Slimline die set. I stamps a sentiment from The Ton's stamp set used on the front of the card.


I created the pop-up panels using Karen Burniston's Mini Pops Pop-up die set, I then added the pine trees to the pop-up panels and one in the front of the white panel.

Don't forget to check out the rest of the “Crazies” cards over on the Crazy 4 Challenges blog and also their individual blogs for more details.


Supplies:
For your shopping convenience, all products are linked below. Compensated affiliate links are used where possible with no extra cost to you. This helps me to continue to share all the projects I include on my blog. For the benefit of my Australia readers, I have started to include some links to Australian stores when available. Please note I only use and share products I love.


Wednesday, June 7, 2017

ECD June Die Cut Designer Challenge


Hi everyone,

It's time for our June Die Cut Design Team Designer challenge. Check out the Elizabeth Craft Designs blog today to see what our talented designed created for the challenge.

 Anything but a Card - for our challenge this month let's create a project that is anything but a card. Think along the lines of a home décor item; journaling etc.

For my project today I decided to create a piece of home décor by creating some artwork that can be hung on the wall using a photo frame I purchased a few years ago. There are so many fun frames out there which can be used to display the art we create.

**************************

For today's challenge Elizabeth Craft Designs are giving away .... two sizes of the Clear Double Sided Adhesive which will include: a pack of the 5” x 12” sheets and a 10 mm roll of tape, in addition we will also give away a pack of the new ModaScrap 12” x 12” Viaggi Vintage Patterned Paper Pack to 3 winners. 

To enter simply leave a comment on the Elizabeth Craft Designs Challenge post and tell us "Besides the classic card, what are some project ideas you like to play around with?

We will select 3 lucky winners in a random drawing 

The winners will be announced on Friday, June 9 on the Elizabeth Craft Designs blog.


************************


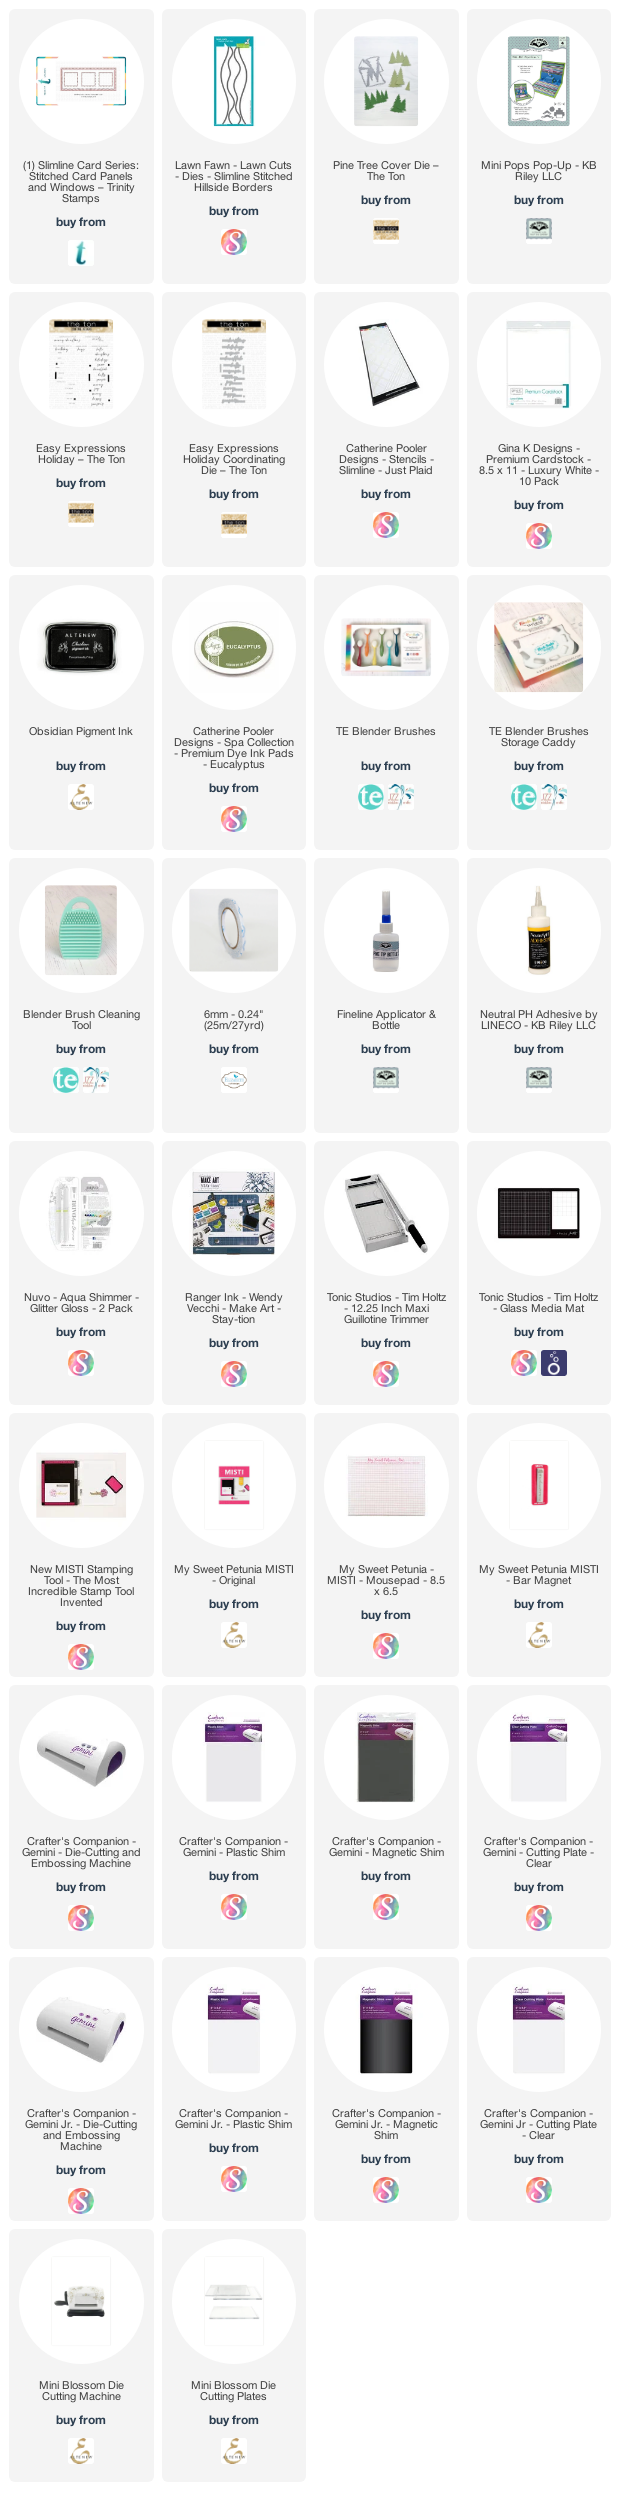
To create my art pieces to place into my frame I first cut out 6 pieces of White Soft Finish Cardstock which measure 2 5/8 inches x 3 5/8 inches.

I used distress oxides direct onto my craft sheet to add color to each of the cards using Broken China, Faded Jeans and Cracked Pistachio. 

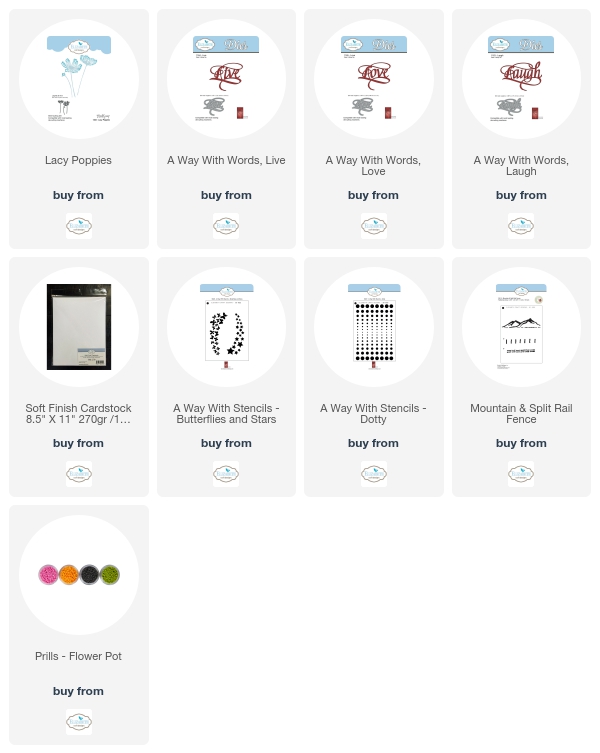
On the artwork about I added the A Way with Words - Live to the card using black cardstock.


I decorated three of the panels using the ModaScrap Lacy Poppies die set, die cutting the poppies from White Soft Finish Cardstock and then coloring using red and green Copic Markers. 


In the centre of the full poppies I added black prills. 


I also used stencils to add a little more interest to my background on each of the panels. The "Stitched Lines" use the Behind the Scenes Mountains & Split Rail Fence using Vintage Photo Distress Ink.


I also used A Way with Stencils - Butterflies and Stars & A Way with Stencils Dotty on each of the backgrounds.


I hope you enjoyed my project today. Don't forget to check out the Elizabeth Craft Designs blog to see all the wonderful creations by our talented designers and for a change to win the giveaway.


Other:

Inks - Broken China Distress Inks; Faded Jeans Distress Inks; Cracked PistachioDistress Inks; Iced SpruceDistress Inks; Vintage Photo Distress Inks
Copics
3D Photo Frame

Thursday, March 23, 2017

You are Pawesome

Hi everyone,

It's challenge time with my friends over on the CCEE Stampers challenge blog. Lynn McAuley our challenge hostess for the month, continues to issue the challenges.

Lynn asks .... Can anyone resist the cuteness of a puppy, man’s best friend. In honor of National Puppy week, find some of your cutest images of a puppy and feature it on your card this week.


As you can see I have created an easel card for my card this time round. For the background on my card I have used some more of the backgrounds I created when I was playing with my new Distress Oxide ink pads. 

I had the background for the top part of the card made already, but I needed to try and match up the background for the base of the card. One thing I did discover not all white card works as well with these inks. The white card I would normally reach for goes very dull, so I had to re do it using watercolour cardstock or Soft Finish Cardstock works week too.

I purchased these cute digital stamps from Bugaboo stamps earlier in the year and as I had this one all ready to color, it was begging to be used on a card. I layered the dogs onto a fishtail panel using the Fishtail Borders die set from Elizabeth Craft Design. For the other fishtails I used the ModaScrap Stitched Fishtail Banners.


This is a look at the card when it is closed ready to be placed in an envelope. The paw prints were sponged using distress oxide ink using the A Way with Stencils Hearts and Paw Prints stencil from Elizabeth Craft Designs.


Here is a close up of the base of the card. I have also added Black/Silver Glitter Dots Peel Off Stickers to each of the fishtail panels on this card.


Don't forget to check out the CCEE Stampers blog (goes live 12 AM EST) to see the rest of the creations the CCEE Stampers created this week. You can also see more details of their creations on their individual blogs:


Stamps: BugBdayPups Digital Stamp - Bugaboo; You're Pawesome - Simon Says Stamp!; General Sentiments - Elizabeth Craft Designs
Paper: White; Black; Purple
Dies: ModaScrap Stitched Fishtail Banners; Fishtail Borders - Elizabeth Craft Designs
Other ECD Products: Black/Silver Glitter Dots Peel Off Stickers; A Way with Stencils Hearts and Paw Prints
Other: Black Ink; Spiced Marmalade Distress Oxide; Fossilized Amber Distress Oxide; Fired Brick Distress Oxide; Cracked Pistachio Distress Oxide; Wilted Violet Distress Oxide; Walnut Stain Distress Oxide;  Foam Tape; Copics