Showing posts with label Card Making Magic. Show all posts

Thursday, October 26, 2023

Santa's Sleigh


Hi Crafty Friends,

Today I am sharing a Christmas themed Slimline card I created using the stamps and dies included in the Papercraft Society Box 49 which was designed by Helen Griffin of Card Making Magic.

This was a nice quick card to make.


For the inside of the card, I used one of the sentiments from the stamp set and also stamped out the footprints along the bottom of the card.


Friday, October 13, 2023

Merry Ginger-mas


Hi Crafty Friends,

Today I am sharing a Quartet style Christmas card. This is a style of card I have made a number of years ago. I recently discovered a die set from Card Making Magic which was perfect to create the card base including layers which I ended up purchasing. I used that to make this card.

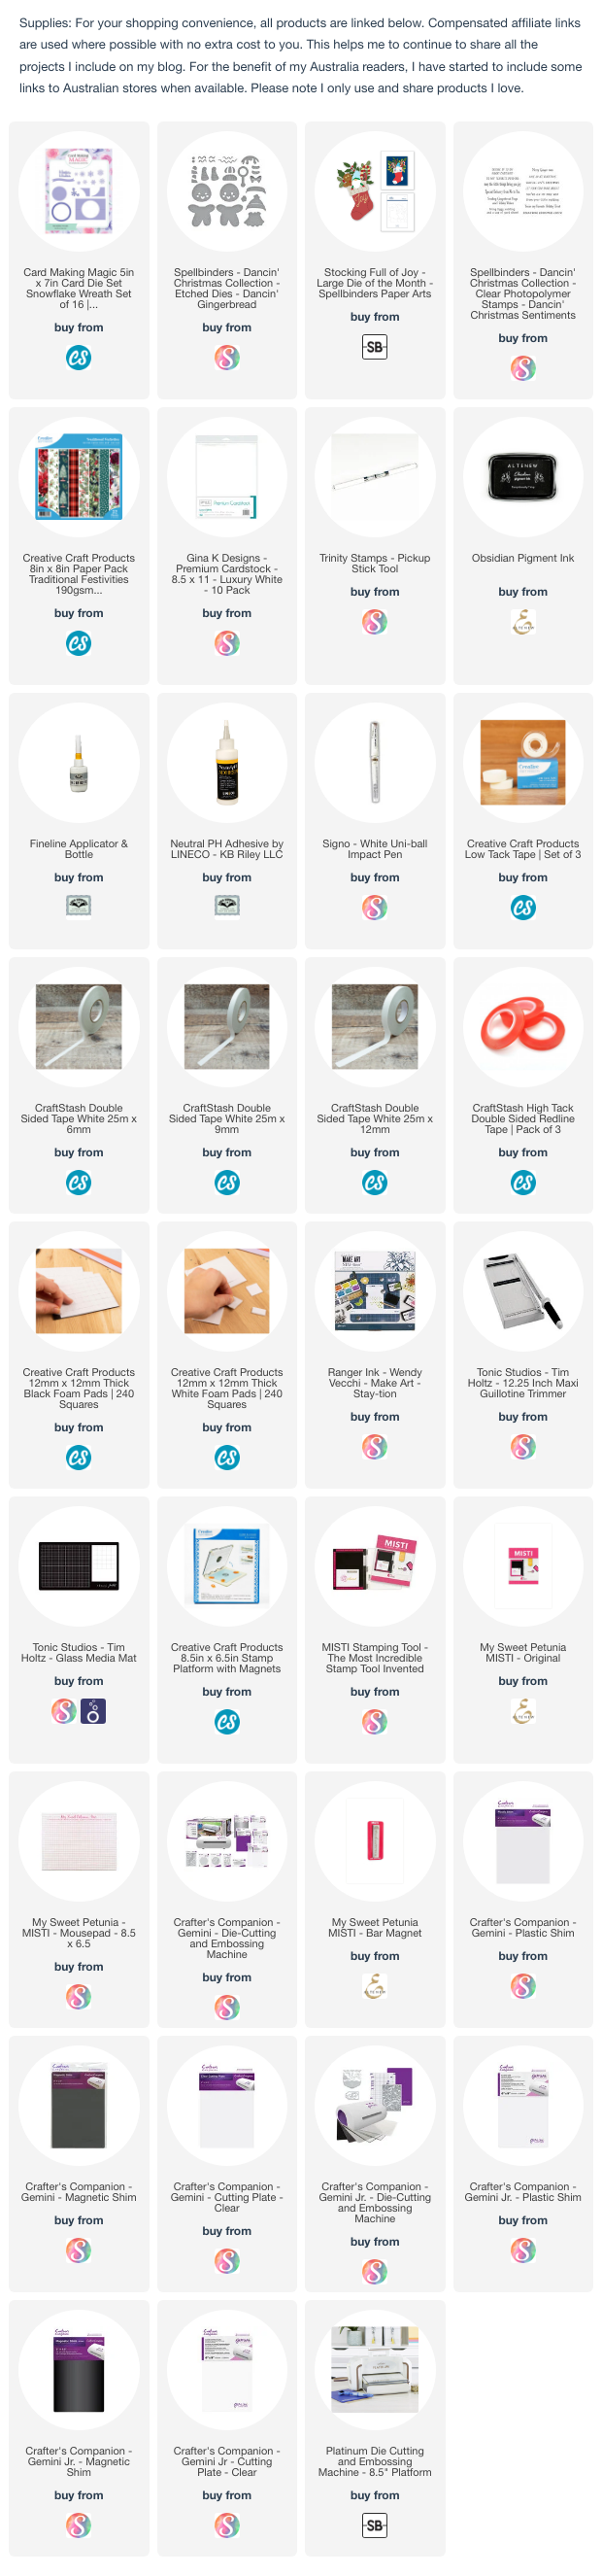
To decorate my card, I used one of the cute gingerbread men included in Spellbinder's Dancin' Gingerbread die set.


The gingerbread man spins in the centre of the card, so for this reason I needed to have an image which I could have look similar, no matter which side you are looking at it. The gingerbread man isn't really symmetrical, however as there is a gingerbread man and gingerbread girl included in the die set, if you mix the dies together you can pretty much get a symmetrical image.

I decorated the frame using holly leaves from Spellbinders' Stocking Full of Joy die set.

The sentiment in the top right corner of the card is from the Dancin' Christmas Sentiments stamp set.


The card folds flat and will fit into a 5 x 7 envelope.


Wednesday, May 24, 2023

Love and Best Wishes


Hi Crafty Friends,

Today I am sharing a Fancy Fold Card, this style of card is called a Diamond Flip Fold Card. This card is the 5inch x 7 inch version of the card and you can find a tutorial for it here.


This is a fairly simple card as it uses no dies and only one stamp set. The flowers around the sentiment on the front of the card have been cut from the patterned paper.


When you open the card, the diamond panel on the front "flips" so it can be seen in the opened position. 

Both sentiments are from a Card Making Magic stamp set which I have linked below.

For a variation, you could opt for only cutting the pointed edge on the front panel and have the back panel a rectangle shape so that part of the rectangle can be seen from the front.


Thursday, April 13, 2023

Birthday Wishes


 Hi Crafty Friends,

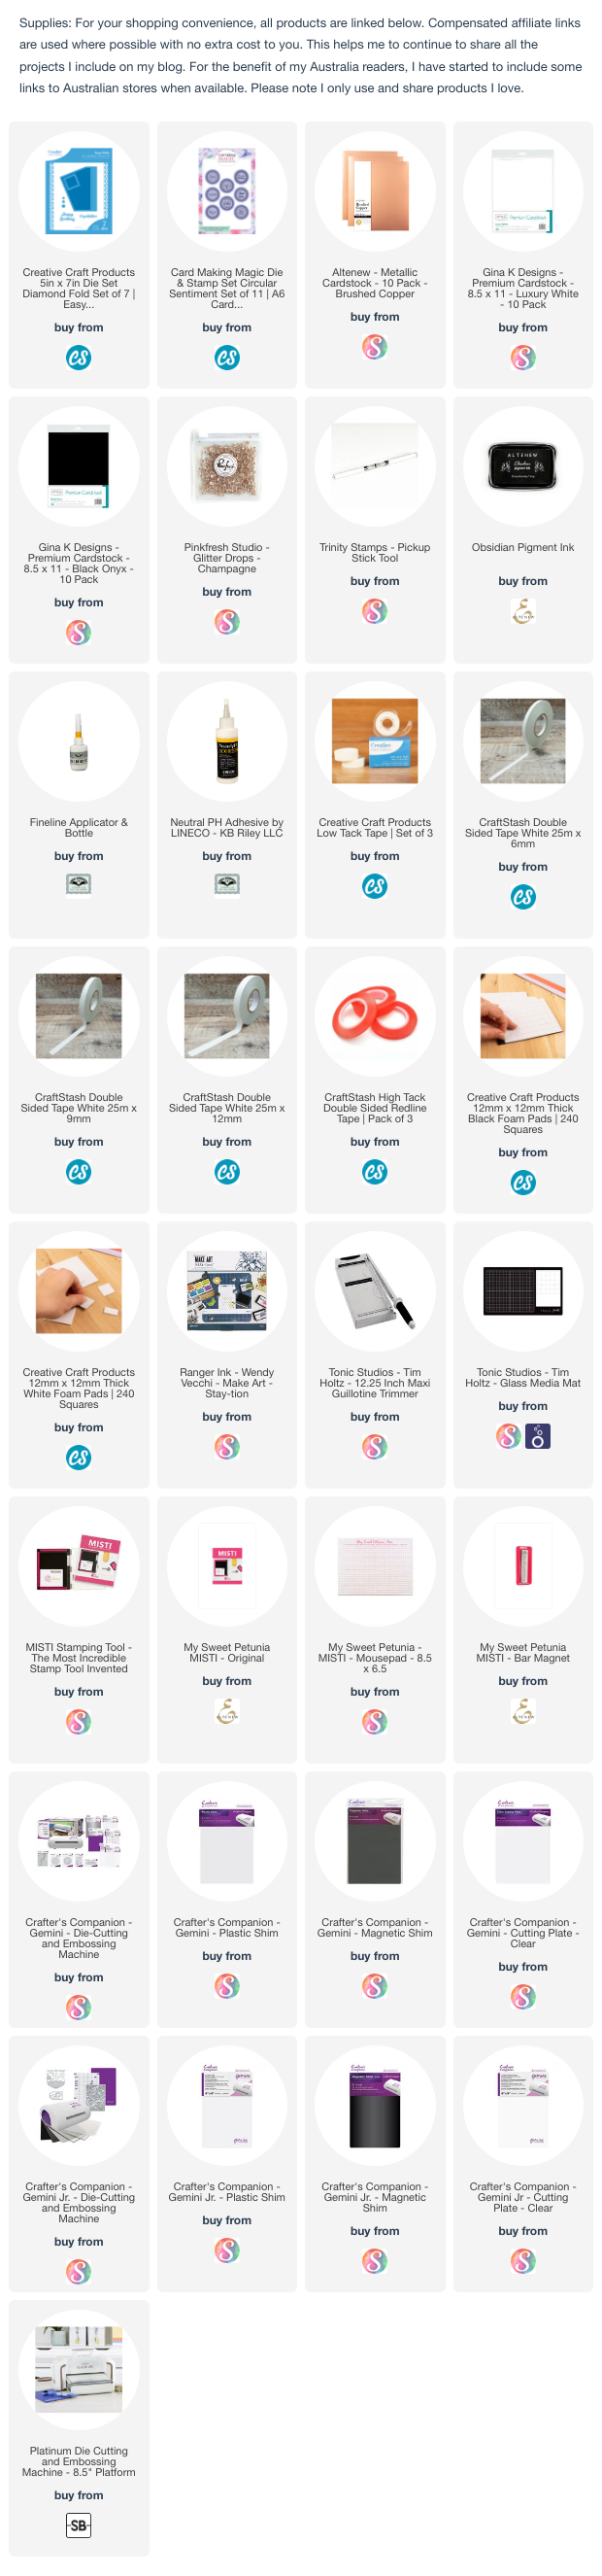
Today I am sharing a purse shaped card I created recently, using Creative Craft Products Easy Folds Diamond Fold die set. 

I have been wanting to make this style of card using this die set ever since I got my dies, I have used this die set for a number of cards and this one went onto the back burner. Well I finally got it out to play the other day. Sam Calcott created a tutorial on how to assemble this purse shaped card on her Mixed Up Craft YouTube channel which you can find here.


I was going to make a pink purse, but then I found this pretty floral paper in my stash which I have had for years, so decided to use that. The strip of card along the bottom of the flap is actually copper and matches better with the paper in real life, it looks more orange in the photo unfortunately.

I added a birthday sentiment using Card Making Magic's Circular Sentiment stamp/die set. This set also includes the dies to create all the layers I used on this card.

I used a black plastic snap to keep the card closed, I purchased these recently to try on pop-up cards which I haven't tried yet. The only issue I had was the snap setter wouldn't reach to set the snap on the bottom off the card, so I had to cut that piece off and come up with plan B which fortunately worked. So far I am happy with how the snap works.


Here is a look at the inside of my card. As you can see I decorated the top and bottom flaps using the same patterned paper I used on the front. 

I added a panel on the centre panel for my sentiment. Now when you own a purse themed sentiment and you are making a purse themed card, you have to use it right! This is an oldy from my stash that I got from Darcie's Rubber Stamps years ago.

Other Supplies:

  • "Purse"-onally Stamp - Darcie's Rubber Stamps (discontinued)
  • Black Plastic Snaps - Amazon


Thursday, August 4, 2022

Just Fluttering By


Hi Crafty Friends,

It's challenge time with my friends over on the CCEE Stampers challenge blog. Being a brand new month it's time to introduce a new challenge hostess, which this time around is ME!

Butterflies seem to be very popular right now, many companies have released products featuring them this year. Create a card that features one or more butterflies.

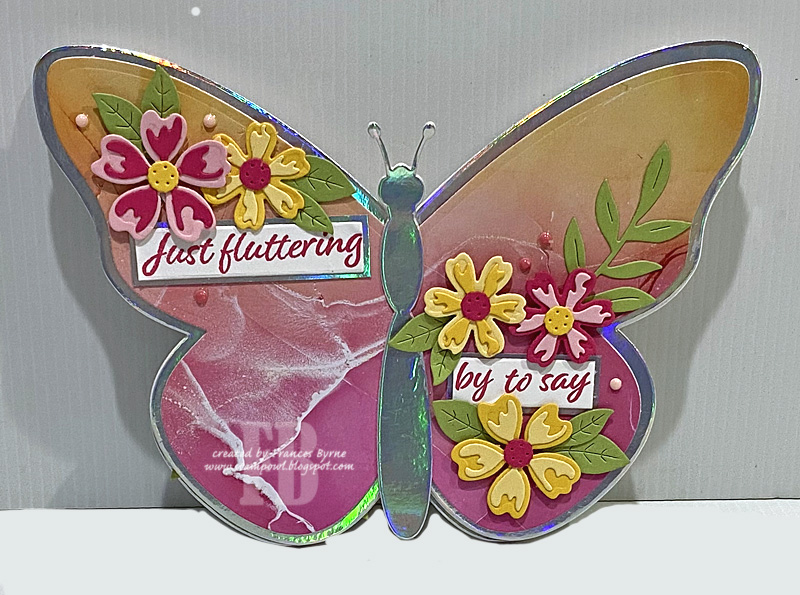
For my card today I pulled out my Spellbinders Butterfly Creator die set designed by Bibi Cameron. As you can see I created an easel card.

I created the easel portion of the card using white cardstock, I folded the card in half and then lined up the largest butterfly die so that the top part of the butterfly was slightly above the score line. I then folded the top butterfly in half to create the base of the easel card.

Next I die cut the large butterfly three more times, once from white cardstock and twice from Rainbow Mirri Cardstock. I adhered one of the mirri butterfly panels over the white one and adhered this to the folded butterfly of the easel. I cut a sliver of card off the top of the other mirri butterfly and adhered this to the butterfly easel base.

Using the smaller of the butterflies, I die cut two pieces of patterned paper using Craft Consortium's Ink Drops - Vivid patterned paper. I also die cut two more white small butterflies adhering the patterned paper to the white butterfly before adhering both to the easel card.

I die cut the butterfly body form Rainbow Mirri card and added it to the top butterfly.


I recently got a stamp set that contained two butterfly themed sentiments, so I stamped them onto white cardstock using pink ink and then adhered them to the card. Both sentiments are layered using rainbow mirri cardstock. I adhered the birthday one using foam tape to use as a stop for the easel card.

I decorated the card with flowers and leaves using dies from the Butterfly Creator die set.

To finish off the card I added a few pink enamel dots randomly around the flowers on the card.


Here is a look at the base of my easel card, there is space above the sentiment to hand write a personal greeting.


Here is a look at my card when it is closed ready to be placed in an envelope.

Don't forget to check out the CCEE Stampers blog (goes live 12 AM EST) to see the rest of the creations the CCEE Stampers created this week. You can also see more details of their creations on their individual blogs: