Showing posts with label Heart Pivot Panels. Show all posts

Tuesday, January 7, 2020

January 2020 Karen Burniston Designer Challenge


Welcome to our January Karen Burniston Designer Challenge, our first challenge for the year.

Check out Karen Burniston's blog on Wednesday (US Time) when you will be able to see what all the designers created for the challenge this month, plus Karen will have an amazing video tutorial to share with us all.

Our challenge theme this month is .... "HEARTS" - incorporate hearts into a card of any theme.


For my card today I decided to combine some of the new dies released in November last year with a few of the older dies. I created a Tag Book using the Circle Tag Pop-up die set and the Heart Pivot Panels die set.


I die cut the hearts included in the Heart Pivot Panels die set from Gold Glitter, Red and White Pearlescent Cardstock and alternated adhering them to the Heart Pivot Panel die cut.

I used the lips from the Love Charms die set which I added to the gold glitter hearts.


I die cut the "Hugs & Kisses" from Word Set 9 - Love from red cardstock, trimmed them apart and added them to the top and bottom portion of the heart pivot panel.

I also die cut the "XOXO" from the same set from gold glitter cardstock, cut this into two and added it to the top left and bottom right of the inside of my card.


Here is an overhead view of my card, so you can see the folds in the Heart Pivot Panels a little better.


For the front of my card, I used the Happy Valentine's Day die set and die cut the sentiment three times, once from gold glitter cardstock and twice from red cardstock. I layered these together off setting the gold glitter sentiment slightly over the red. I layered this to my card using ovals from the Crosshatch - Ovals die set.

I added the "Love You" and "Be Mine" Hearts from the Love Charms set to either side of the oval.

Don't forget to visit Karen Burniston's blog on Wednesday when you will be able to see what all the designers created for the challenge this month.

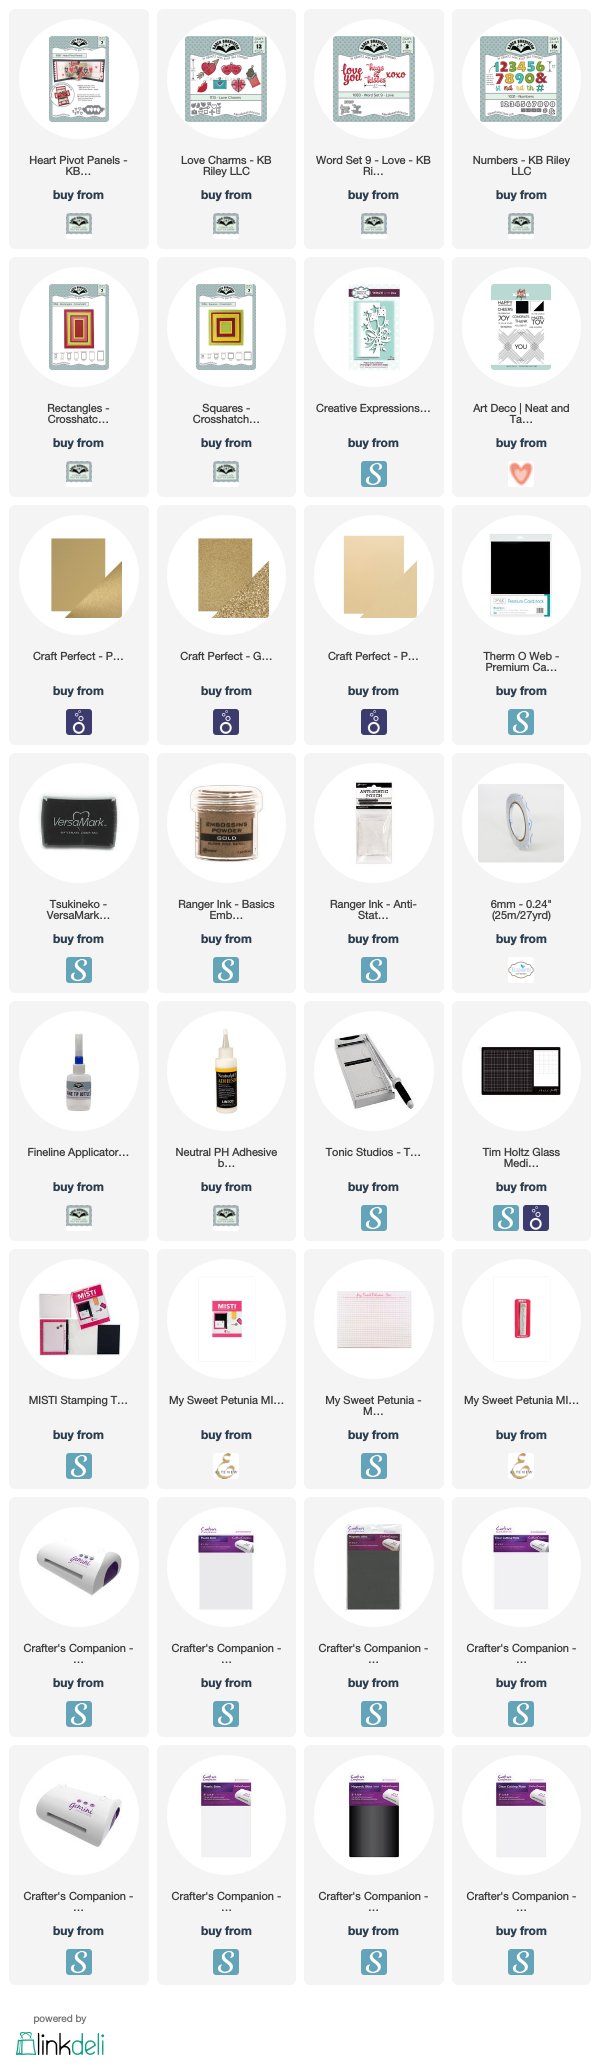
Supplies:
For your shopping convenience, all products are linked below. Compensated affiliate links are used where possible with no extra cost to you. This helps me to continue to share all the projects I include on my blog. For the benefit of my Australia readers, I have started to include some links to Australian stores when available. Please note I only use and share products I love.



Monday, December 16, 2019

Happy Anniversary


Hi Crafty Friends,

Today I am sharing an anniversary card I made for my hubby as we are celebrating 47 years of marriage today.


For the front of my card, I decided to use the Creative Expressions Champagne Celebration Edger die  which I received in an order earlier in the month. I have been eyeing the edger dies from Creative Expressions for a while now and decided it was about time I added one to my stash. I figured this champagne one would be useful for a lot of occasions. 

I die cut the champagne edger from Gold Cardstock and then adhered this to black, and trimmed around the left hand side of the black cardstock, so just the gold showed. I then layered this to some patterned paper and finally to a folded card.


Seeing I make lots of pop-up cards, I couldn't not make a card for such an important occasion without it being a pop-up or something special too. I decided to use Karen Burniston's Heart Pivot Panels. I die cut the main die from black cardstock, and then decorated the panel with hearts using gold, glitter gold and pearlescent cream cardstocks.

I also added three hearts from the new Love Charms die set. The "XOXO" and "Love You" sentiments are from the Word Set 9 - Love die set. I die cut these to sentiments using gold glitter cardstock. 


I added the number 47 to the top of the card using the Numbers die set.

Finally I added the Happy Anniversary sentiment which is from a Neat & Tangled die set.

The rectangle & square panels in the two corners are from the Crosshatch - Squares and Crosshatch - Rectangles die set.

Supplies:
For your shopping convenience, all products are linked below. Compensated affiliate links are used where possible with no extra cost to you. This helps me to continue to share all the projects I include on my blog. For the benefit of my Australia readers, I have started to include some links to Australian stores when available. Please note I only use and share products I love.


Saturday, February 9, 2019

Hugs & Kisses Heart Pivot Panel Card


Hi Crafty Friends,

It’s challenge time with the “Crazies” over on the Crazy 4 Challenges blog. Kathleen Adams our challenge hostess for the month, continues to issue the challenge.

It's Valentine's Day on Thursday, so for our challenge this week Kathleen has asked us to create a Valentine's Day card.


For my card this week I used Karen Burniston's new Heart Pivot Panels die set that was released last month.

I used the new borders from the Border Blends - Party die set to add the decorative edge to the edges of the card and also for the borders next to the edge.

To decorate the hearts and the sentiments I used the new Words Set 9 - Love die set.


To decorate the front of the card I again used the Border Blends - Party and Word Set 9 - Love die sets. I also used the Crosshatch Circles die set.


Don't forget to check out the rest of the “Crazies” cards over on the Crazy 4 Challenges blog and also their individual blogs for more details.


Supplies:
For your shopping convenience, all products are linked below. Compensated affiliate links are used where possible with no extra cost to you. This helps me to continue to share all the projects I include on my blog. Please note I only use and share products I love.

Party Perfect 12 x 12 Patterned Paper - Graphic 45 
Cutie Pie 12 x 12 Patterned Paper - Graphic 45 


Tuesday, February 5, 2019

February 2019 Karen Burniston Designer Challenge


Hi Crafty Friends!!!

Welcome to our February Karen Burniston Designer Challenge.

Check out Karen Burniston's blog on Wednesday (US Time) when you will be able to see what all the designers created for the challenge this month, plus Karen will have an amazing video tutorial to share with us all.

Our challenge theme this month is .... "LOVE, SWEET LOVE!" - let's add a twist to our usual February love cards and add . . . chocolate! Incorporate a chocolate element into the card.


For  my card today I used the new Hearts Pivot Panels die set.

For some time now I have been debating about buying the Kat Scrappiness Layered Chocolate Bar and each time I add it to the cart, I end up backing out. Well once I saw the chocolate portion of this challenge, I knew it was about time I check out and get this stamp set in my hands and I am so glad I did. This chocolate bar looks so real!


I added two of the chocolate bars to the left and right hand corners of the card and I cut up a few to single pieces to add to the Heart Pivot Panels die and around the sentiment.


The chocolate sentiment on the lower right hand corner of the card is an old retired stamp set from MFT Stamps I have had in my stash for years. I layered the sentiment onto a rectangle panel using a rectangle die cut using the Crosshatch Rectangles die set. This rectangle is actually a larger rectangle, but I carefully put the rectangle back into the die to shorted the height of the rectangle. I also trimmed part of the edge so that the rectangle fitted in the corner easily.


Here is a close up of the Heart Pivot Panels section of my card. I alternated some polka dot hearts and chocolate in the large heart areas of the panel.

I also added a border using the Border Blends -- Party die set.


Here you can see an overhead view of my card.


For the front of the card I added a few more individual chocolate pieces to the bottom of an oval which was die cut using the Crosshatch Ovals die set. I also added some chocolate to the hands of the cute monster from Concord & 9th's Monster Love stamp set. 

Along the bottom of the oval I added the XOXO sentiment which is from the Word Set 9 - Love die set and layered using the fishtail banner from the Upsy Daisy Pop-up die set.

To finish off the front of the card I added a border to the top and bottom of the card using the Border Blends - Party die set.

Don't forget to visit Karen Burniston's blog on Wednesday when you will be able to see what all the designers created for the challenge this month.

Supplies:
For your shopping convenience, all products are linked below. Compensated affiliate links are used where possible with no extra cost to you. This helps me to continue to share all the projects I include on my blog. Please note I only use and share products I love.

Chocolate Sentiments Clear Stamp Set - MFT Stamps (retired)