Showing posts with label Lawn Fawn Reveal Wheel. Show all posts

Wednesday, March 2, 2022

From My Barn To Yours


Hi Crafty Friends,

Today I am sharing a Reveal Wheel Card using stamps and dies from Lawn Fawn's February release. I just couldn't resist purchasing the Build A Barn die set and the Tiny Farm Friends stamp set which work perfectly to create a Reveal Wheel card.

Here is a quick video to see my card in action.


To create my card, I used some patterned paper for the sky area which I die cut using the Lawn Fawn Reveal Wheel die set, I added the Reveal Wheel - Build A Barn Add-on die set to die cut the window for the barn window.

I die cut some green cardstock using the Reveal Wheel die set and then used one of the grass borders from the Grassy Hillside Borders die set. I also die cut a fence and tucked it in behind the top of the grass.

I die cut the Build A Barn using the Build A Barn die set and adhered it to the card so the window of the barn is lined up with the window in the reveal wheel rectangle panel. 

I die cut the sun from Karen Burniston's Tropical Scene die set and added it to the top left corner of my card.

I stamped the animals included in the Tiny Farm stamp set onto the reveal wheel and assembled the mechanism of the card.


I added the cute little farmer to the barn door, so that part of his arm is inside the barn.

I didn't buy any of the other new farm themed stamp sets from Lawn Fawn as I figured I already had sets that would work with the Build A Barn die set and I was right! For the tractor I used the SugarPea Designs Barn to be Wild Stamp set. The sentiment is from MFT Stamps BB The Whole Herd stamp set.


Here is a look at each of the 3 scenes inside of the barn which are revealed when you turn the wheel at the side of the card.


For the inside of the card, I added some more grass using the Grassy Hillside Borders die set. I stamped and adhered the pig and cow to the grass, both are from the SugarPea Designs Barn to be Wild stamp set.

I added the birthday sentiment using the BB The Whole Herd stamp set from MFT Stamps.
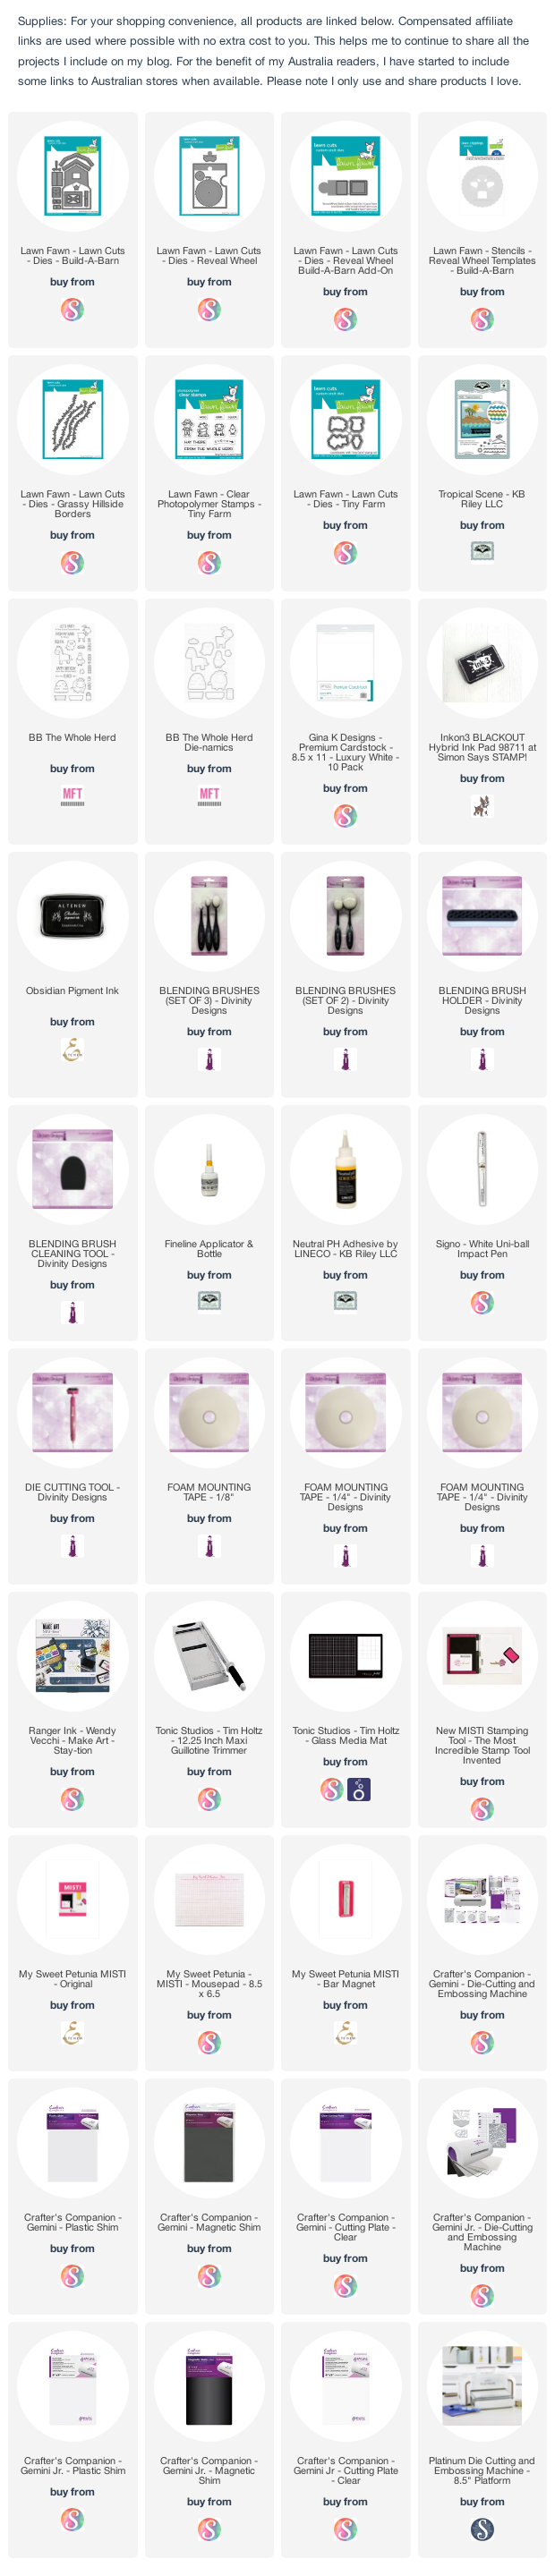

Other Supplies:
Barn to be Wild Stamp Set - SugarPea Designs (discontinued)


Tuesday, July 14, 2020

You Octopi My Thoughts


Hi Crafty Friends,

Today I am sharing a fun interactive card using some of the new products released by Lawn Fawn in May and June.

I have been wanting to incorporate a Reveal Wheel Card into a Slimline card for some time. So when I wanted to play with the new Build A Castle die set which can be used with a Reveal Wheel, it was an easy decision to use it with a Slimline Card.


Here you can see a quick video to see my card in action.


For my card today I used the Lawn Fawn Large Slimline with Sliders die set to create the slimline portion of the card. This slimline card is a little narrower than the Reveal Wheel Card so I had to use the die to work out where I wanted to add the window for the reveal wheel and the cut out on the right hand side for the wheel. I also didn't want the reveal wheel at the top of the card so had to hand cut the notch at the side and tape the window die in place for the castle.


For the background of my card, I used the new Ocean Waves stencil, apply Distress Oxide inks in Pistachio; Salty Ocean and Mermaid Lagoon.

I die cut the castle and sand at the bottom of the ocean from Kraft Cardstock and used MFT Stamps Brick Stencil to add the brick detail to the castle.


I used the  images from Lawn Fawn's Ocean Shell-fie stamp set to decorate my card.


Here you can see the four different images which can be seen through the window of the Sand Castle when you turn then wheel. I used two of the mermaids from Mama Elephant's Little Mermaiden Agenda and the fish and jelly fish from the Ocean Shell-fie stamp set.


For the inside of the card I used PinkFresh Studio's Slim Ornate Banner die set to add the panels to the inside of the card. I added the two octopi and sentiments from the Ocean Shell-fie stamp set.


Supplies:
For your shopping convenience, all products are linked below. Compensated affiliate links are used where possible with no extra cost to you. This helps me to continue to share all the projects I include on my blog. For the benefit of my Australia readers, I have started to include some links to Australian stores when available. Please note I only use and share products I love.


Monday, July 6, 2020

Steering Me In The Right Direction


Hi Crafty Friends,

It's been a few months since I have created a reveal wheel card, and since I had the new Lawn Fawn stamp set that works with the reveal wheel dies, I figured it was time to play.

I used Lawn Fawn's Car Critters stamp set with coordinating dies, along with the Reveal Wheel die set. As I live in Australia and we drive on the left side of the road, our steering wheels are on the right side of the car, as the bears in this stamp set are all individual which means it works whichever country you live in.


Here is a quick video to see my card in action.


I used the curved border from Lawn Fawn's Palm Tree Border die set for the grass panel at the top of the card. I die cut another panel from black and then cut down at a slight diagonal.


The trees are from Lawn Fawn's Stitched Hillside Backdrop die set. I added the smaller trees to the back of the scene closer to the car.


Along the bottom of the card I added some grass using one of the borders from the Grassy Hillside Borders die set. I added two of the sentiments from the Car Critters stamp set.


Here is a look at each of the 4 scenes inside of the car which are revealed when you turn the wheel at the side of the card.


For the inside of my card I added some grass along the bottom of the card. I also added another of the sentiments included in the stamp set.


Supplies:
For your shopping convenience, all products are linked below. Compensated affiliate links are used where possible with no extra cost to you. This helps me to continue to share all the projects I include on my blog. For the benefit of my Australia readers, I have started to include some links to Australian stores when available. Please note I only use and share products I love.


Thursday, April 23, 2020

Flying By To Say


Hi Crafty Friends,

It's challenge time with my friends over on the CCEE Stampers challenge blog. As challenge hostess for the month, I continue to issue the challenges.

Interactive - Anyone who knows me knows how much I love cards that pop, slide or move in any shape or form. For our challenge this week, let's create an interactive card ... what type you make is up to you.


I have seen a number of people using the Reveal Wheel Card die set to use to create movement to an image. So I decided to that for my card today.

Here is a quick video to see my card in action.


To create the background of my card, I die cut the large Reveal Wheel rectangle panel. I added clouds to the background using Tumbled Glass Distress Oxide ink and MFT Mini Cloud stencil.

I added die cut clouds long the bottom of the card using the clouds included in Hello Bluebird's Sunshine Scene & After the Rain dies.


To decorate my card I added images from Hello Bluebird's Maverick stamp set. I used the birds from the stamp set and Waffle Flower Crafts Mini Media Mat in the MISTI to create mirror images of the birds.

The sentiments are white embossed onto black cardstock and then die cut using Honey Bee Stamps Banner Builder die set.


Here you can see how you move the wheel on the right side of the card up or down that the elephant pilot & plane move around the card.


For the inside of the card I used one of the rectangles included in the Imperial Stitched Rectangles die set. I stamped clouds over the panel, the clouds are also include in the Maverick stamp set.

I added the "Wild About You" die cut sentiment to the centre of the card.


Don't forget to check out the CCEE Stampers blog (goes live 12 AM EST) to see the rest of the creations the CCEE Stampers created this week. You can also see more details of their creations on their individual blogs:


Supplies:
For your shopping convenience, all products are linked below. Compensated affiliate links are used where possible with no extra cost to you. This helps me to continue to share all the projects I include on my blog. For the benefit of my Australia readers, I have started to include some links to Australian stores when available. Please note I only use and share products I love.


Saturday, March 7, 2020

It's Your Birthday


Hi Crafty Friends,

It’s challenge time with the “Crazies” over on the Crazy 4 Challenges blog. Being a brand new month it's time to introduce a new challenge hostess, which is ME!

Apparently tomorrow, 8th March is International Women's Day. So for our challenge this week we need to include an image of a woman on your card.


For my card today, I decided to create a Reveal Wheel Card using Lawn Fawn's Reveal Wheel die set along with the new add on set, Reveal Wheel Circle Add-On Frames: Balloon and Speech Bubble die set. I used the Speech Bubble die from this set, so that the woman on the card appeared to be saying whatever appeared in the Reveal Wheel window.

Here is a quick video to see my card in action.


For the background of my card I used MFT Stamps Number Jumble Background stamp which I embossed using white embossing powder onto white cardstock. I then applied Catherine Pooler inks in Samba; Sauna & Fiesta Blue to create a rainbow background.


I added the woman to the lower left hand corner of the card using the image from Ellen Hutson's Leading Ladies - Hot Mess Lady. I paper pieced her sweater using patterned paper.


The two presents used on this card are both from The Stamping Village's Happy Birthday Stamp set.  This stamp set includes images from 12 different companies, the two used here are Studio Katia & Dare 2B Artzy.

Here is a look at each of the 4 messages which are revealed when you turn the wheel at the side of the card.

The "Happy Birthday" & "Enjoy Your Day" are both from Lawn Fawn's Reveal Wheel Sentiments; "Best Wishes" from the Reveal Wheel Spring Sentiments and the "Yay!" from Lawn Fawn's Really High Five stamp set.


I used two more sentiments from The Stamping Village Happy Birthday stamp set for the inside of my card, this time using the one from Altenew and the complete image which is the present & Time To Celebrate sentiment from Dare 2B Artzy.


Don't forget to check out the rest of the “Crazies” cards over on the Crazy 4 Challenges blog and also their individual blogs for more details.


Supplies:
For your shopping convenience, all products are linked below. Compensated affiliate links are used where possible with no extra cost to you. This helps me to continue to share all the projects I include on my blog. For the benefit of my Australia readers, I have started to include some links to Australian stores when available. Please note I only use and share products I love.


Sunday, January 12, 2020

"Micey" Nice Birthday


Hi Crafty Friends,

It's been a while since I created a Reveal Wheel card, so when Lawn Fawn released a few stamps and die that would work with the Reveal Wheel dies I of course had to add them to my stash!


Here is a quick video to see my card in action.


To create the background of my card I used Honey Bee Stamps Perfect Bricks stencil. I think this is definitely my new favorite brick stencil to use. I used blending brushes to add Rusty Hinge Distress Oxide inks to my background. 

I die cut the stencilled background using Lawn Fawn's Reveal Wheel die. 

I also created a thinner piece of stencilled bricks to go on the side of the card under the half circle for when the card was put together.


To decorate my card I used stamps from Lawn Fawn's You're Just My Type, Love Poems and Elphie Selfie.

I had planned to put the mouse that is on the floor sitting at the typewriter, but as I had stamped the smiley face on the typewriter and you couldn't see this with the mouse sitting at the typewriter, I decided to move it to the floor.


The larger "mouse" themed sentiment is from an older Penny Black stamp I have had in my stash for years. 


Here is a look at each of the 4 messages which are revealed when you turn the wheel at the side of the card.

I used papers from Lawn Fawn's Spring Fling Paper Pad to add to the card base, before adhering the Reveal Wheel portion of the card.


For the inside of the card I used a rectangle die from Heffy Doodle's Imperial Stitched Rectangles die set. I added the left over patterned paper that I used on the front along the bottom of this panel.

I splattered blue pearl paint over the white portion of the card.

I added the typewriter with paper to my card and then the little mouse sitting at the typewriter. I also added another of the sentiments from the stamp sets.

To finish off the inside of my card, I added another "mousey" themed birthday sentiment, again from Penny Black.


Supplies:
For your shopping convenience, all products are linked below. Compensated affiliate links are used where possible with no extra cost to you. This helps me to continue to share all the projects I include on my blog. For the benefit of my Australia readers, I have started to include some links to Australian stores when available. Please note I only use and share products I love.

Word of Mouse stamp - Penny Black (retired)
"Micey" Nice Birthday - Penny Black (retired)


Tuesday, October 15, 2019

I Predict Your Day Will Be ...


Hi Crafty Friends,

Today I am sharing another Reveal Wheel Card using stamps and  dies from Lawn Fawn.


Here is a quick video to see my card in action.


To create the background for my card, I started by die cutting the Square Reveal Wheel base using the Circle Add-On. I then used Distress Oxide inks in Picked Raspberry, Wilted Violet and Dusty Concord to apply inks with blender brushes.

Next I placed Altenew's Warp Speed Stencil to the card so that the centre of the stencil was around the circle opening. I then applied the same inks over the background. I moved the stencil slightly and used Hero Arts Unicorn White Pigment ink to add more detail.

To finish the background I splattered Liquid Stardust all over the background.


I die cut a piece of cork designer paper using the bottom portion of the Square Reveal Wheel die and adhered this to the bottom of the panel.

I stamped the Fortune Teller and used the coordinating dies to die cut the image and after coloring I adhered it over the circle opening.

I also used the sentiments for inside the crystal ball onto the Reveal Wheel Circle.


I die cut the curtains from the Shadow Box Theatre Add-On die set from silver glitter cardstock. I then blended some Wilted Violet Distress Oxide ink over the glittered curtains. I carefully placed the curtains into the Square Reveal Wheel die so I could die cut the curtains so they had the stitching detail and cut around the half circle opening on the right.

To finish off the front of the card I stamped the sentiment along the bottom of the card and added the stars which are also from the Shadow Box Theatre Add-on die set.


Here is a look at each of the 4 images which are revealed when you turn the wheel at the side of the card.


For the inside of the card I die cut a square panel using Elizabeth Craft Designs Dashing Squares die set.

I stamped the "Your Day Will Be...." sentiment from the Fortune Teller stamp set to the top of this panel. I then stamped "Awesome" from the Catherine Pooler Awesome and Wonderful Clear Stamp set.

To finish off the inside of the card I added stars which were die cut using the Shadow Box Theater Add On die set.

Supplies:
For your shopping convenience, all products are linked below. Compensated affiliate links are used where possible with no extra cost to you. This helps me to continue to share all the projects I include on my blog. For the benefit of my Australia readers, I have started to include some links to Australian stores when available. Please note I only use and share products I love.