Showing posts with label Essentials by Ellen. Show all posts

Tuesday, December 6, 2022

December 2022 Karen Burniston Designer Challenge


Hi Crafty Friends, 


Welcome to our December Karen Burniston Designer Challenge.

Check out Karen Burniston's blog on Wednesday (US Time) when you will be able to see what all the designers created for the challenge this month, plus Karen will have an amazing video tutorial to share with us all.

Our challenge theme this month is ...  "FIREPLACE DIE THROUGH THE YEAR" - you signed up for a month to represent with a card using the Fireplace Pop-up matching the theme of that month.

As you might be able to guess from the photo of my card, I have December which of course is Christmas!

Sneak peeks for the new December release have also started, so I have used two of the new dies on my card today .. I will talk more about them later.


Here is a quick video to see my card in action.


I have used the fireplace pop-up die on a few different formats of card sizes so far ... Slimline; square and today I have created a 5 x 7 inch card. I am really enjoying this larger format card, like the Slimline it gives you extra room to create whatever you wish on it.

As well as the Fireplace pop-up, I also used the Fireplace Extras 1 and Fireplace Extras 2 to add the various details to my fireplace and scene. I positioned the fireplace to the left of my card to give me room for other things.

I couldn't do a Christmas scene without adding a Christmas tree, this time around I used the Christmas Tree Pop-up die set, using one of the larger trees in the set to die cut three trees. I then layered them up trimming as need to make a taller tree. I wanted the tree to be higher than my fireplace. This tree does have a few notches on it to create the 3D tree it was designed for, but I covered those up using baubles that I die cut using red mirror card. I also added a star to the top of the tree, making sure the star was enclosed in the card when the card is closed.


One of the new die sets being release next week is the Hexagons -  Crosshatch die set ... a great addition to the Crosshatch collection. I used two of the dies included in the set to create the rug in front of the fire. I also used this as a place to stamp a Christmas sentiment.


Another of the new dies included in this newest release is the Bam Box Pop-up. This is such a fun new die set and there are so many different ways this can be used, I am sure it will become a much loved favourite. I used the Bam Box Pop-up on this card to pop my girl up.I postitioned her on an angle and closer to the front, to give her enough room to fold down when closing the card. For the girl and the surrounding wrapping paper, I used two older stamp sets from Essentials by Ellen.

I also used the Gift Pivot Panels to die cut some presents to put under the tree and one beside the girl.


The focus of this card is on the inside, so I kept the front of my card fairly simple. I added the snowflake background using the Snowflake Pattern Plate die, die cutting it twice from white cardstock. I also created a white frame to go around the edge of the card.

I used the Hexagon - Crosshatch die set again to add the green panel to the centre of my card. I then added the sentiment using the Merry Christmas and Merry Christmas Shadow die sets.


Other Supplies:
Christmas Sentiment Stamp Set - Couture Creations (discontinued)


Thursday, December 3, 2020

That's A Wrap


Hi Crafty Friends,


t's challenge time with my friends over on the CCEE Stampers challenge blog.  Being a brand new month, it's time to introduce our new challenge hostess which is Lynn McAuley.

Lynn tells us .... If you are like her, you are probably ready for the year of 2020 to be wrapped  up tight with a bow tied securely around it. Let's be done with it!! For this challenge make use of the Christmas wrapping paper of your choice as a part of your holiday design. Grab up some paper scraps from your gift-wrapping adventures and join us in this week's challenge. 


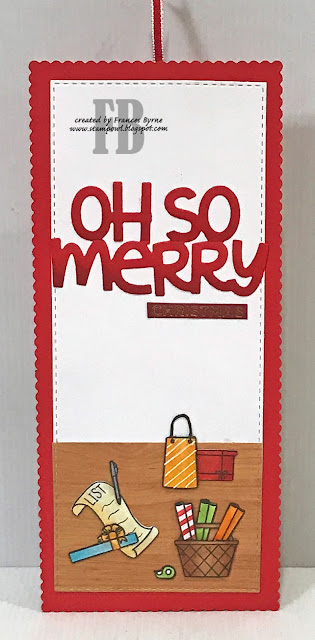
For my card today I created another Slimline Surprise (or Sliding Window Card) using Trinity Stamps Slimline Surprise die set. I used the main part of the die to die cut a panel which has red patterned paper on the top of the panel and wood grain paper on the bottom.

I used the Christmas Tree die from Elizabeth Craft Designs to create the Christmas tree that is behind the girl.

I added the "Merry Christmas" sentiment to the top of the card which is from The Ton's Essentials Sentiments Holiday stamp and coordinating die sets.


The girl and all the presents, wrapping paper etc are from Essentials by Ellen. Most of my Christmas wrapping paper, the patterns are too big to use on a card, but I did find one piece that had a tiny tree on it which I used for the bag near the girl.

I added the "That's A Wrap!" sentiment to the lower right hand corner of the card, it is adhered using foam tape so it doesn't get in the way of the sliding mechanism.


I adhered my Slimline Surprise card to a Slimline Scalloped Rectangle panel which is from Divinity Designs Slimline Scalloped Rectangles die set.

When you pull the slider mechanism up, it reveals a Christmas sentiment on the bottom red panel which is from the Handwritten Sentiments 2 stamp set from Stampers Anonymous.

 Another sentiment can be seen on the white slider panel, for this sentiment I used an older Print Works stamp which includes the words "wrapped in joy" which I thought suited this card.


I like to create this style of card so it is flat, rather than adhered to a card that opens. This way the card can be displayed with the slider pulled up to show whatever is standing up on the card. So I added a rectangle panel to the back of the card. 

I added a few more of the presents and wrapping papers to this panel and added a die cut sentiment from Mama Elephant and a gold foiled "Christmas" sentiment.

Don't forget to check out the CCEE Stampers blog (goes live 12 AM EST) to see the rest of the creations the CCEE Stampers created this week. You can also see more details of their creations on their individual blogs:


Christmas Tree Die - Elizabeth Craft Designs (discontinued)
Handwritten Holidays 2 Stamp Set - Stampers Anonymous
Wrapped in Joy Wood Mounted Stamp - Print Works


Wednesday, November 25, 2020

Teacher Slimline Flip Frame Pop-up


Hi Crafty Friends,

Today I am sharing another Teacher thank you card, which I have been making for my grandchildren to give to their teachers at the end of the year. For my card today I decided to create a Slimline Pop-up card using Karen Burniston's Flip Frame Pop-up for the pop up portion of the card.

Here is a quick video to see my card in action.


I created my slimline card which is 4 inches x 9 inches when folded.

I used the frame included in the Flip Frame Pop-up die set to create a blackboard. I white embossed the ABC and I 2 3 onto the black portion of the frame.

To decorate my card I added the teacher and some of the images included in the Essentials by Ellen Leading Ladies - Teacher Lady stamp set. 

For the borders of the pattern paper panels on each side of the card, I used one of the Slimline Borders included in Sunny Studio Stamps Slimline Basic Borders die set.

I added a circle to the lower left hand side of the card using the Circles Crosshatch die set. I added the Lawn Fawn Thanks, Teacher Line Border die set, which I cut smaller to fit into the circle. I also added a book and pen to the lower left side of the circle.

On the right hand panel, I added the large apple to which I added a stamped sentiment from Heffy Doodle Stamps Teach Me Words stamp set.


For the front of the card, I added the same pattern paper and Slimline Border die that I used on the inside of the card.

I added two apples which are from Lawn Fawn's Stitched Apple Frames, using the apple from the inside of the frame.

I added the #1 to the top apple which is from an older Papertrey Ink Teacher die set. The teacher on the bottom apple is from Honey Bee Stamps Teacher die set.


Saturday, March 7, 2020

It's Your Birthday


Hi Crafty Friends,

It’s challenge time with the “Crazies” over on the Crazy 4 Challenges blog. Being a brand new month it's time to introduce a new challenge hostess, which is ME!

Apparently tomorrow, 8th March is International Women's Day. So for our challenge this week we need to include an image of a woman on your card.


For my card today, I decided to create a Reveal Wheel Card using Lawn Fawn's Reveal Wheel die set along with the new add on set, Reveal Wheel Circle Add-On Frames: Balloon and Speech Bubble die set. I used the Speech Bubble die from this set, so that the woman on the card appeared to be saying whatever appeared in the Reveal Wheel window.

Here is a quick video to see my card in action.


For the background of my card I used MFT Stamps Number Jumble Background stamp which I embossed using white embossing powder onto white cardstock. I then applied Catherine Pooler inks in Samba; Sauna & Fiesta Blue to create a rainbow background.


I added the woman to the lower left hand corner of the card using the image from Ellen Hutson's Leading Ladies - Hot Mess Lady. I paper pieced her sweater using patterned paper.


The two presents used on this card are both from The Stamping Village's Happy Birthday Stamp set.  This stamp set includes images from 12 different companies, the two used here are Studio Katia & Dare 2B Artzy.

Here is a look at each of the 4 messages which are revealed when you turn the wheel at the side of the card.

The "Happy Birthday" & "Enjoy Your Day" are both from Lawn Fawn's Reveal Wheel Sentiments; "Best Wishes" from the Reveal Wheel Spring Sentiments and the "Yay!" from Lawn Fawn's Really High Five stamp set.


I used two more sentiments from The Stamping Village Happy Birthday stamp set for the inside of my card, this time using the one from Altenew and the complete image which is the present & Time To Celebrate sentiment from Dare 2B Artzy.


Don't forget to check out the rest of the “Crazies” cards over on the Crazy 4 Challenges blog and also their individual blogs for more details.


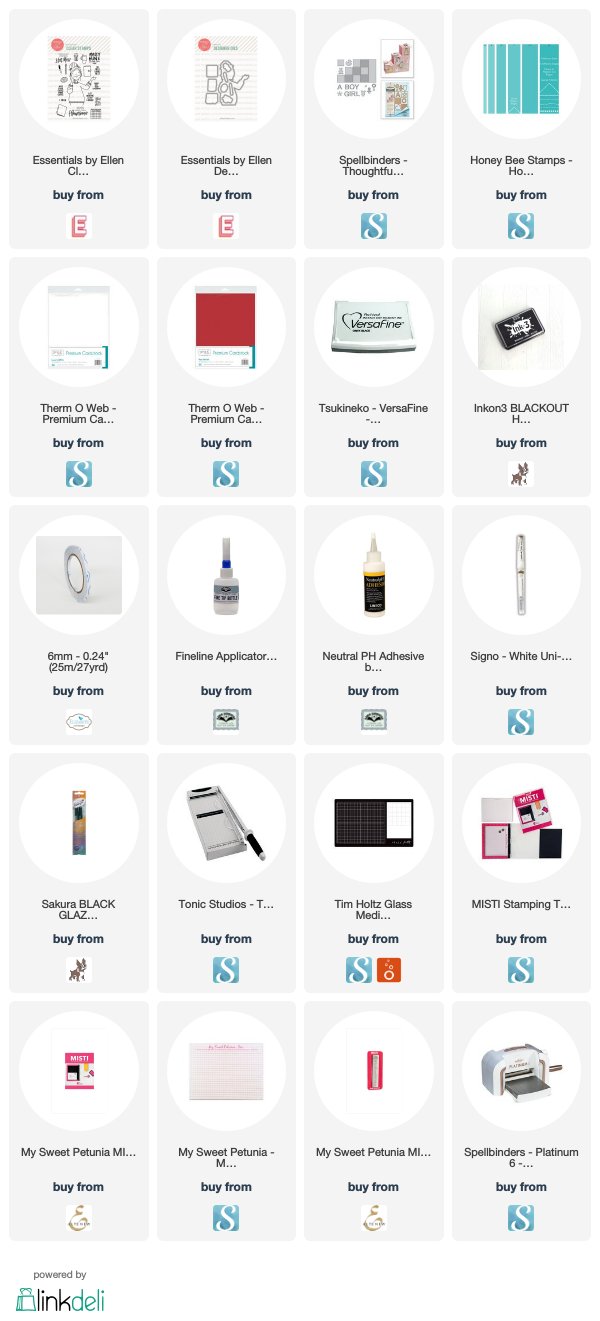
Supplies:
For your shopping convenience, all products are linked below. Compensated affiliate links are used where possible with no extra cost to you. This helps me to continue to share all the projects I include on my blog. For the benefit of my Australia readers, I have started to include some links to Australian stores when available. Please note I only use and share products I love.


Sunday, March 17, 2019

Cold Hands Warm Hearts


Hi Crafty Friends,

Today I have a wintered themed birthday card to share with you. We are in the middle of summer where I live, however as I recently managed to get hold on this cute "Bundled Up" stamp set from Concord & 9th I decided to create a winter scene card.

The kids are stamped using black ink and then I used the coordinating solid clothing/accessory stamps and Altenew inks to add color to the whole image. I wasn't sure whether I would like this type of coloring, but it was pretty easy to do.


For the background of my card I used Ellen Hutson's Snowfall Backdrop die which I die cut using white card stock and then colored using Distress Oxide inks in a number of different blues.

I added the snow to the bottom of the card using Lawn Fawn's Stitched Hillside Borders.

To finish off the front of the card I added a few of the sentiments from the stamp set.


For the inside of the card I added two more of the sentiments and added the boy and girl to the bottom of the card.


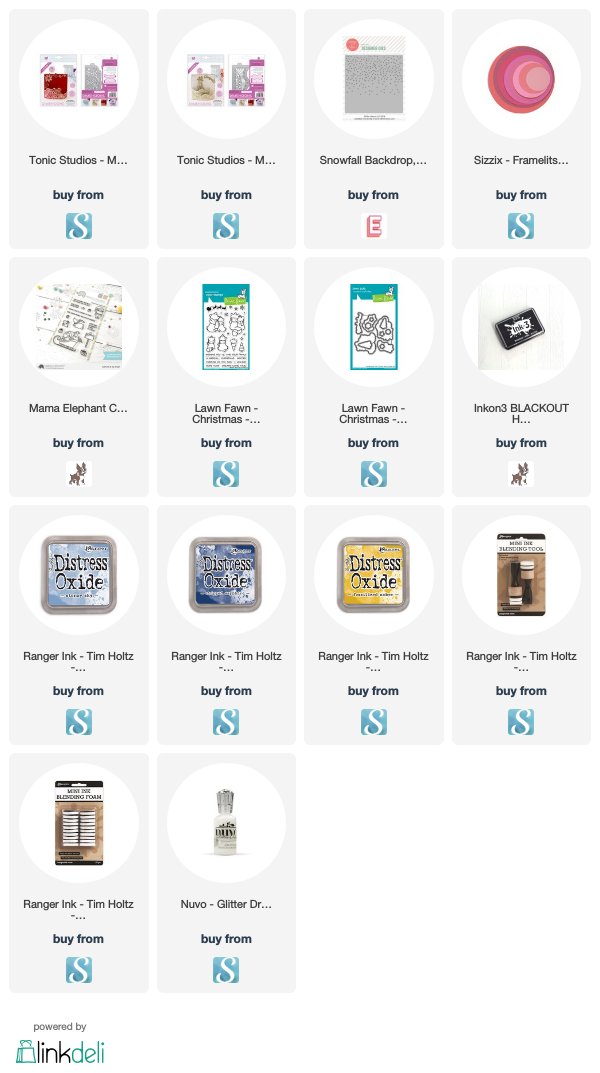
Supplies:
For your shopping convenience, all products are linked below. Compensated affiliate links are used where possible with no extra cost to you. This helps me to continue to share all the projects I include on my blog. Please note I only use and share products I love.


Sunday, February 10, 2019

You're Flawsome


Hi Crafty Friends,

It has been some time since I have made a Block card, so I pulled out my Spellbinders die and played.

For my card today I have used Essentials by Ellen's Leading Lady - Hot Mess stamp set.


Here is a look at the back of my block card. I added one of the sentiments from the stamp set and a few of the accessories also included.


Here is another view of my card taken at an angle, so you can see how the card looks. 


And of course it folds flat so you can pop it in an envelope to mail to the recipient if needed.

Supplies:
For your shopping convenience, all products are linked below. Compensated affiliate links are used where possible with no extra cost to you. This helps me to continue to share all the projects I include on my blog. Please note I only use and share products I love.


Friday, February 8, 2019

Sit & Stay For A Little While


Hi Crafty Friends,

Today I am sharing a card using one of Ellen Hutson's Leading Ladies stamp set ... Dog Lady. 

For the base of my card I used Divinity Designs Center Step A2 Card die set and the coordinating Center Step A2 Layers die set.

To create my scene I die cut the three layers for the top portion of the card and used MFT Stamps Cloud Stencil and Tumbled Glass Distress Oxide inks to add the clouds to the background. I then die cut Lawn Fawn's Birch Trees and added them to my cloud background before adding these panels to the Center Step card.

For the grass I used two dies from Lawn Fawn's Stitched Hillside Borders die set, die cutting from green cardstock.  The stamped images where then adhered to the card.


For the sentiment, I used one from the stamp set and die cut it using Honey Bee Stamps Banner Builders die set and adhered the sentiment to the top right hand side of the card.


For the inside of the card I die cut the back of the Center Step A2 Card from white cardstock and then trimmed it down on both sides and the bottom.

I adhered another tree and some grass and added two more of the images from the stamp set.

I added the "Another Year Rolls Over" sentiment to the top of the card and then added the "Happy Birthday which is from Altenew's Birthday Builder stamp set.


Supplies:
For your shopping convenience, all products are linked below. Compensated affiliate links are used where possible with no extra cost to you. This helps me to continue to share all the projects I include on my blog. Please note I only use and share products I love.


Tuesday, December 25, 2018

Wishing You A Very Merry Christmas


Merry  Christmas Everyone!!!!

It's Christmas Day already down here in Australia! I must have been a good girl this year as I did very well 😀

There are many of you who visit my blog regularly, so I would like to take this opportunity to thank you all so much for your support throughout the year. Hope you all have a wonderful and safe Christmas!


A few months ago which browsing one of my favorite places to shop online, I came across the Tonic Studios Window Box dies (that create Bendy Fold Cards). Of course loving anything interactive, I had to purchase one of the dies ... the Buttercup Sunburst Window Box die set. This set comes with the dies to create solid panels as well as decorative panels to create the "bendy" portion of the card. 

finally got around to playing with the die set to create my card today. For this card I only used the solid panels as I wanted to create a snowy scene and didn't need the decorative panels.


To decorate my card I used Ellen Hutson's Snowfall Backdrop die set to create the snow background, using Distress Oxide ink to create my snow scene. I added a moon using a circle die to the top right hand corner of my card.

I added "Santa & his reindeer's" using the Mama Elephant Santa's Sleigh Clear Stamp set.


To decorate the "bendy" panels I added trees from MFT Stamps "Roughing It" Clear Stamp set and the animals from Lawn Fawn's Winter Skies Clear Stamp set.


Here is a look at my card when the right hand side "bendy" gate is open.


And one more photo of the front of my card, this time with both "bendy" gates open.


For the inside of my card I added a sentiment which is stamped in red.

Supplies:
For your shopping convenience, all products are linked below. Compensated affiliate links are used where possible with no extra cost to you. This helps me to continue to share all the projects I include on my blog. Please note I only use and share products I love.