Showing posts with label scenes. Show all posts

Tuesday, August 4, 2026

A Sunny Hello


Hi Crafty Friends,

Today I am sharing a fun summer time themed card using products from Spellbinders. This card is a 5 x 7 card.

I found some older beach themed patterned paper in my stash which I had from Divinity Designs. So I pulled that out to use on this card.

I recently purchased the Surfboard die set, as I had seen a few other people use it with the hula girl. So I also pulled out the hula girl which was a bonus die set from the June 2026 All Clubs Crate.


For the inside of the card, I pulled out the stamp set from the June 2026 All Clubs Crate to create the sign post and the sentiment.


Wednesday, June 17, 2026

Make A Splash

Hi Crafty Friends,

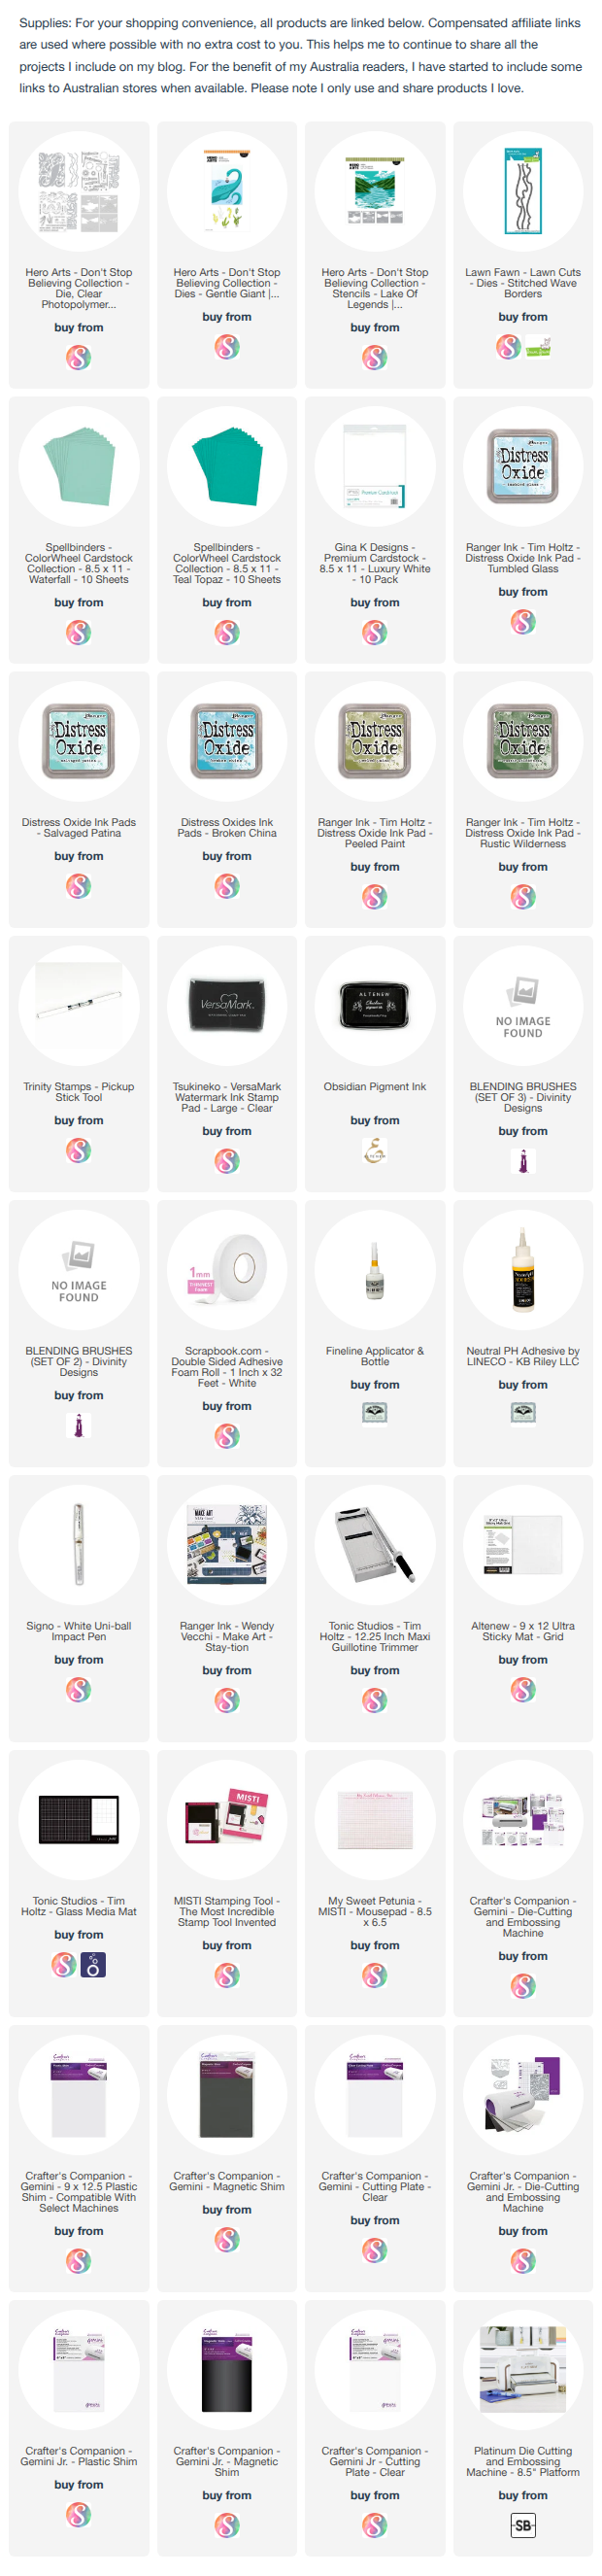
Today I am sharing a fun 5 x 7 Pop up card with a see through front. This is called a 2 Tier card, you can find the tutorial by Sam Calcott here.

For my card I started with the background which was created using Hero Arts Lake of Legends Stencil set. To decorate the card I used the Gentle Giant die set. 

I didn’t want to hide too much of the background or the sea creature, so I changed the sizes and number  of my tiers. Sam’s card used 3 pop ups, I opted for 2. 

I used the stencil to continue the water on my pop up panels. 


Here you can see my card when it is closed. As it has acetate on the front panel, you can see most of the inside when it is closed.


I added a panel on the back, so I could add a sentiment and have space to write a personal message to the recipient.


Friday, May 29, 2026

Popping By To Say Hi


Hi Crafty Friends,

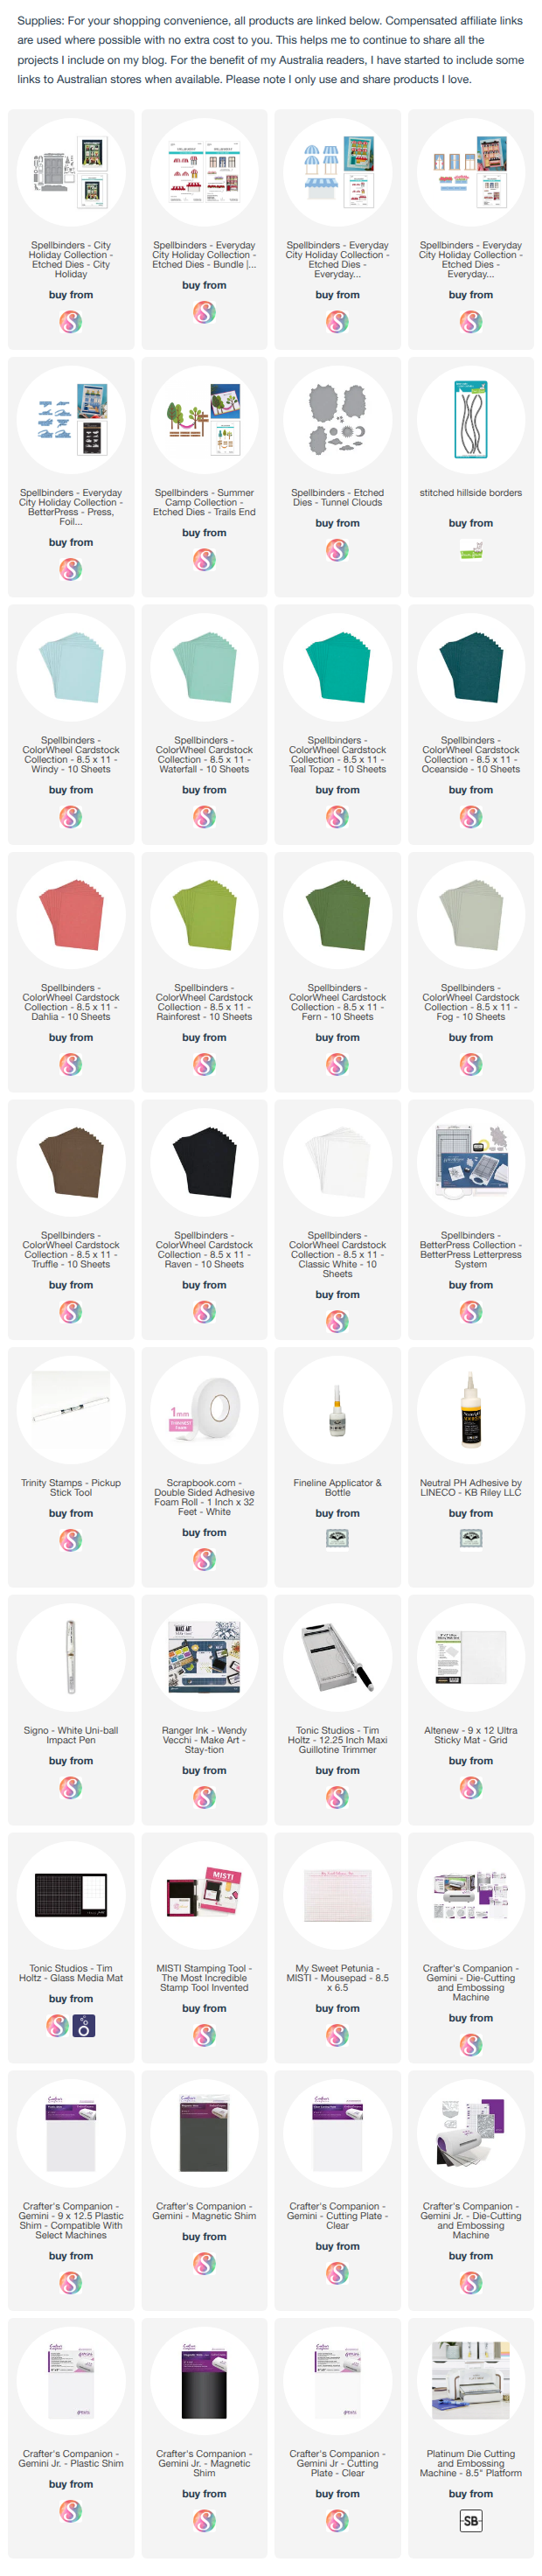
I resisted the City Holiday die set designed by Yana Smackula  Spellbinders when it was released last year. But then I saw someone use it on a card for one of the recent club kits which I really loved, so I decided I needed to add it to my stash. Then recently Spellbinders released a few add on sets to turn a Christmas die set into an Everyday die set, so seeing I now had the die I added those my stash as well.

This is the card I created using those sets. I love the awnings and flower boxes. I made a 5 x 7 card as it gives you more room to add a scene to the card. I added trees to the card using the Trails End die set also from Spellbinders and added some clouds to the sky.

I Betterpressed and die cut out my sentiment and added it to one of the windows.


I kept the inside of my card fairly simple, adding grass and a tree. I added one more of the Betterpressed sentiments to the top of the card.


Thursday, April 23, 2026

And Many S'More


Hi Crafty Friends,

Today I am sharing another card using Spellbinders Summer Camp Collection designed by Allison Frazier. 

This time round I created a Slimline Easel card so I had plenty of room to create a scene. This card measures 4 inches x 8 1/2 inches when folded.


I used Lawn Fawn’s Slimline Grassy Hillside die set to add all the grass to the card.


To decorate my card I used the Woodland Trio, Trails End and Camp Days die sets.


I used the sign from the Trails End die set to add my greeting and added the stamped sentiment from the Summertime Sentiments Clear Set.


Wednesday, April 22, 2026

Summer Camp Scene


Hi Crafty Friends,

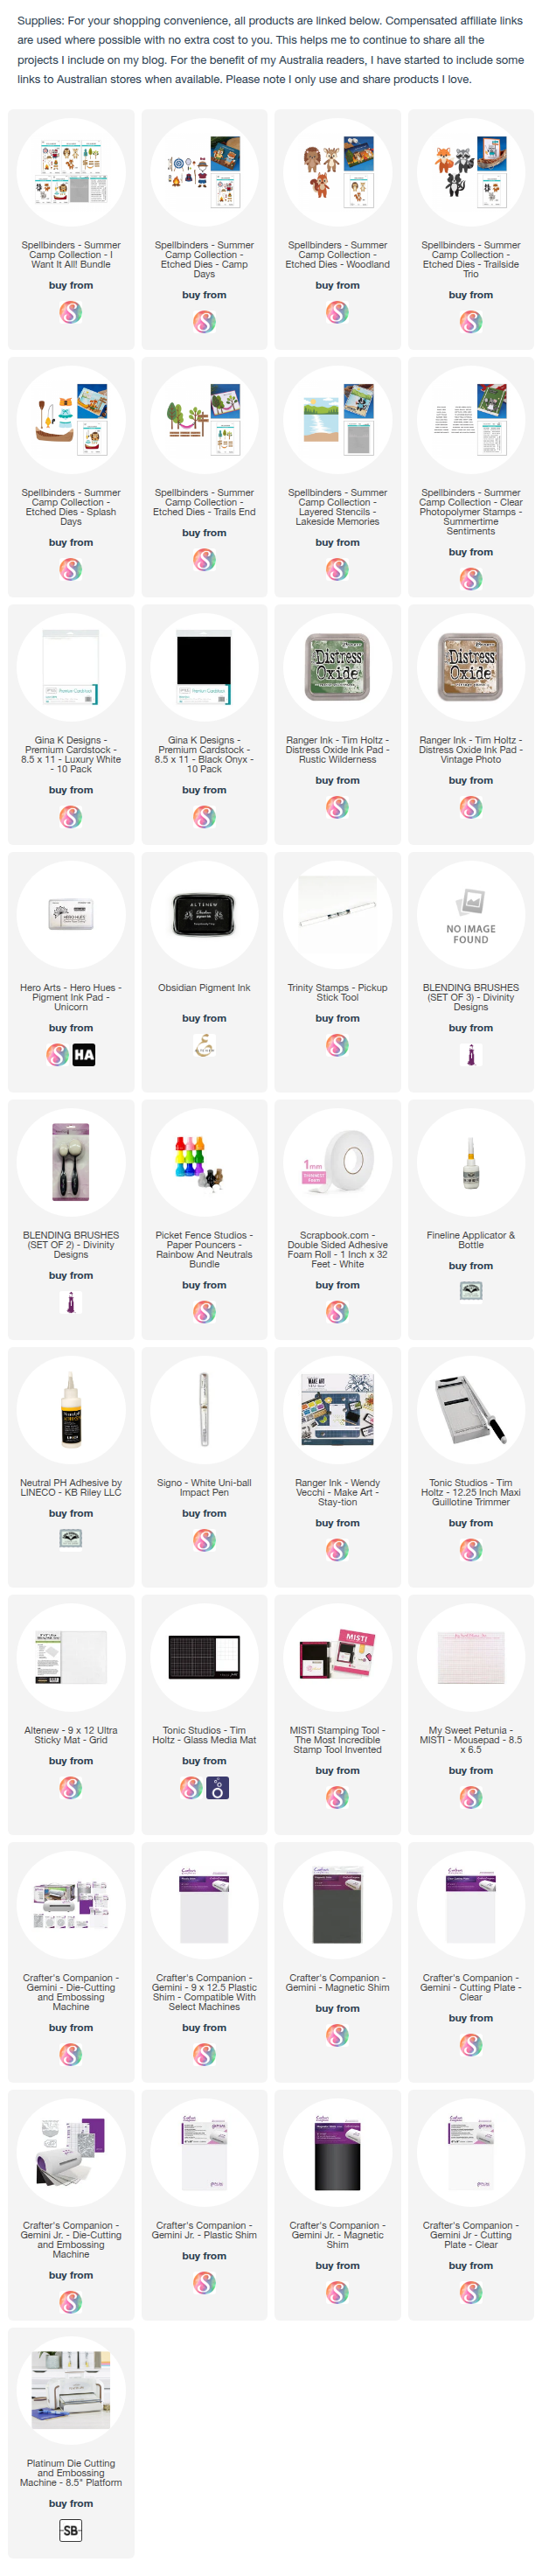
Welcome to my blog. For my card today I am sharing a 5 x 7 card using Spellbinders Summer Camp Collection designed by Allison Frazier.

For the background scene I used the Lakeside Memories Stencil set. This stencil is A2 size, and as I wanted to extend it for a 5 x 7 card I was careful how I added ink to the right side. As I messed up the Sky area, I cut off the sky and added a piece of blue cardstock and added clouds & a sun to the area.

To decorate the card I used the Trailside Trio, Splash Days and Trails End die sets.


For the inside of my card I added another tree from the Trails End die set. I also added two sentients using the Summertime Sentiments Clear stamp set.


Monday, January 20, 2025

Swinging By


Hi Crafty Friends, 

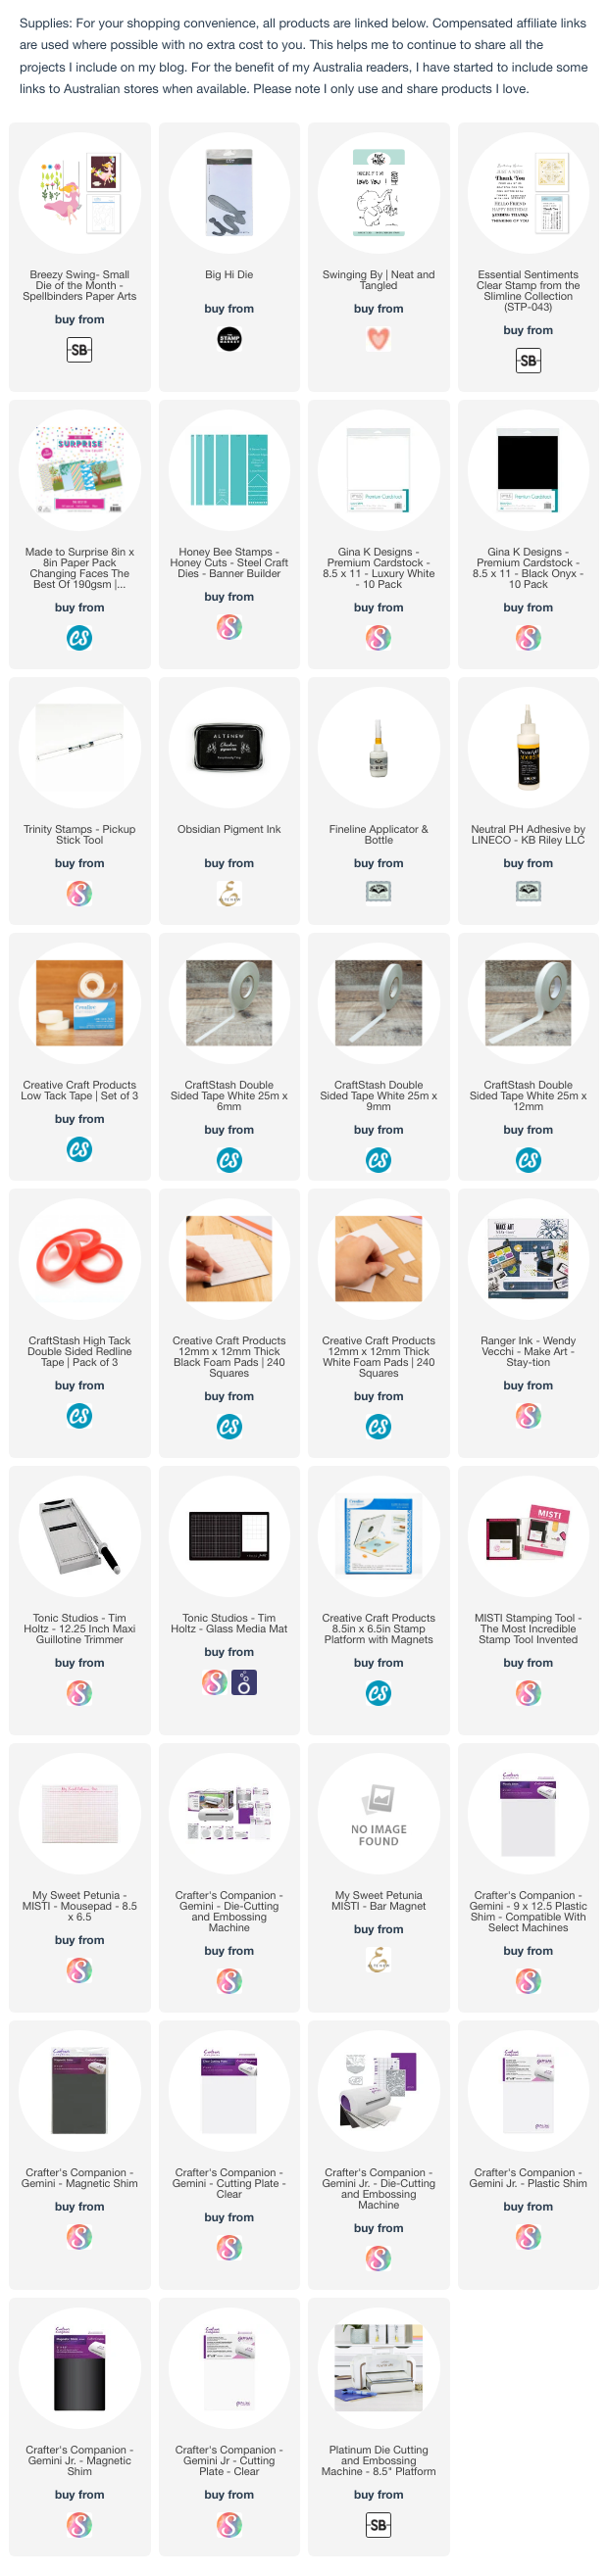
Today I am sharing a Slimline card using a fun die from Spellbinders. I have admired this girl swinging for a while and I recently had the opportunity to purchase it at a reduced price, which as you can see I did.

After putting all the pieces together to create the image, I decided to add it to a Slimline card. I pulled out some patterned paper of the garden scene which worked well with the swing, so I used it. The flowers are also included in the die set, so I added some to the scene.

To finish off the front of the card I added a sentiment from Neat & Tangled.


For the inside of my card I added the Big Hi sentiment from Stamp Market, I then stamped the birthday sentiment underneath. Finally I added some of the flowers randomly around the sentiment. 


Thursday, November 9, 2023

Snowman Hugs


Hi Crafty Friends,

Welcome to my blog. For my card today I have created a Triple Oval Accordion card, using Made To Surprise by Sam Calcott's Triple Oval Accordion die set from her Showstoppers 2 Collection.

To decorate my card, I used Spellbinders/Stampendous' Snowman Hugs die set and coordinating stamp set. 


As I had some of the patterned paper I used on the front leftover, I added some to the two outer oval panels to add some interest to the card. One of these panels can be seen when the card is closed, so I thought this would make it look a little more attractive.

For the centre oval I added a Christmas sentiment from the Christmas Sentiments die set from Made to Surprise.

As you can see, I also added another large snowman to the panel on the right, this is the panel which will be on the top when the card is closed.


Here is a look at my card when it is closed ready to fit into an envelope. I kept this fairly simple as the focus of this card is when it is opened.


Tuesday, September 26, 2023

Hay There!


Hi Crafty Friends,

Today I am sharing a Slimline card I created recently.


For the background of my card, I pulled out Hello Bluebird's Slimline Summer Woods Scene die set. I die cut the background in white cardstock and then coloured the various pieces using Distress Oxide Inks.

To decorate the card, I used Lawn Fawn's New Hay There Hayrides stamp set and the Hay There Hayrides - Mice Stamp set which coordinates with the first set.

I white embossed a sentiment using sentiments included in the stamp set.


For the inside of my card I created a pop-up card. I adhered blue and green cardstock to the base of the card. For the grassy hills, I die cut the green cardstock using Lawn Fawn's Slimline Stitched Hillside Borders die set. 

I used the pop-up die included in the Street Lantern Pop-up die set to pop-up the tractor and trailers.


I used a circle die to die cut the yellow sun. I also stamped some birds in the sky using a Made To Surprise stamp set.

Finally I added a sentiment using three of the sentiments included in the Hay There Hayrides stamp set.


Monday, September 4, 2023

Birthday Love


Hi Crafty Friends,

September down here in Australia is Spring, so today I am sharing a fun spring themed card using stamps and dies from Made To Surprise by Sam Calcott.


A while ago I purchased two of the Made To Surprise by Sam Calcott's Twist & Pop die sets from her Twist & Pop Collection. Not only do you get the dies to create a Twist & Pop style card, but you also get heaps of decorative dies to help decorate your card. 

For my card today I used the 6" x 6" Garden Delights Twist & Pop Card die set which includes the dies to create the card base, twist & pop mechanism and garden themed dies. After assembling my card, I then decorated my card using the garden themed dies included in the set.

For the birthday sentiment I used one of the sentiment dies included in the Textures Wildflower Collection Sentiments die set.


I kept the front of the card fairly simple, adding some blue cardstock for the sky and grass along the bottom of the card. I added more of the garden themed dies to the card. To finish off the front of the card, I added a birthday sentiment to the top right corner of the card.


Here you can see my card beginning to close. The twist panel is concertinaing together ready to twist towards the front of the card. 


Friday, August 18, 2023

Drive Me Happy


Hi Crafty Friends,

Today I am sharing a 5 x 7 Card I created recently.

For the layers of this card I used Card Making Magic's 5 x 7in Alternative Stitched Nestables die set. 

I used Lawn Fawn's On the Road die set for the road at the bottom of the card.

The car is Studio Light's Creative Craft Lab Car die set. I also used Benny Bear from the Missees Pets line from Studio Light.

I pulled out an older Pine Tree die from Sizzix to add the trees on either side of the card.

Finally I used a sentiment from Stampendous, which is one I have had in my stash for years.


For the inside of the card, I added the road again to the bottom portion of my card. I used a mix of sentiments from two Honey Bee Stamps stamps sets to add the sentiment.
Other Supplies:
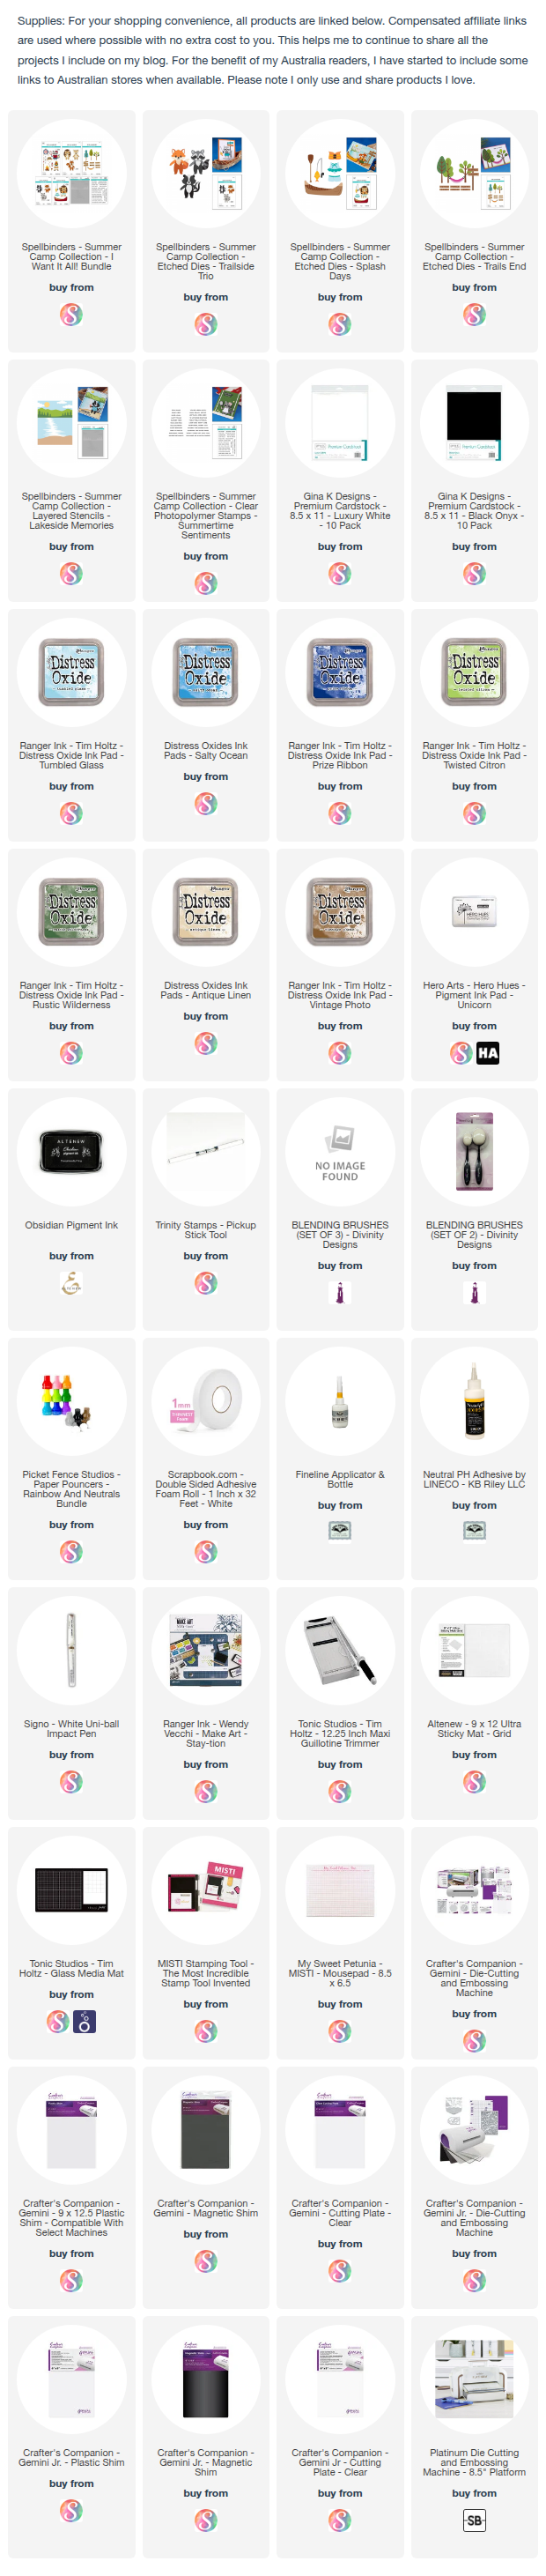
  • Missees Pets Benny Bear Stamp/Die Set - Studio Light 
  • Drive Me Happy Stamp - Stampendous (discontinued)
  • Pine Tree Die - Sizzix (discontinued)
  • Love Bug Stamp Set - Honey Bee Stamps (discontinued)