Showing posts with label Pinkfresh Studio. Show all posts

Friday, April 17, 2026

Celebrate in Style


Hi Crafty Friends,

Today I am sharing a shoe themed 5 x 7 card using products from Pinkfresh Studio. This card uses the Step into Style collection which includes a stamp set, press plate, stencil & die sets. I used the press plate for my card, hot foiling the image & sentiments using black foil, I then used the stencils to colour the image and the die to cut it out.

I adhere this image to a 5 x 7 top folding card to which I added the pink embossed panel, which was embossed using Spellbinders Petite Bows 3D Embossing Folder.


For the inside of the card, I added an older Spellbinders die set for the sentiment.


Monday, October 13, 2025

At Christmas Time


Hi Crafty Friends,

Welcome to my blog! Today I am sharing a Christmas themed Slimline card with you. 

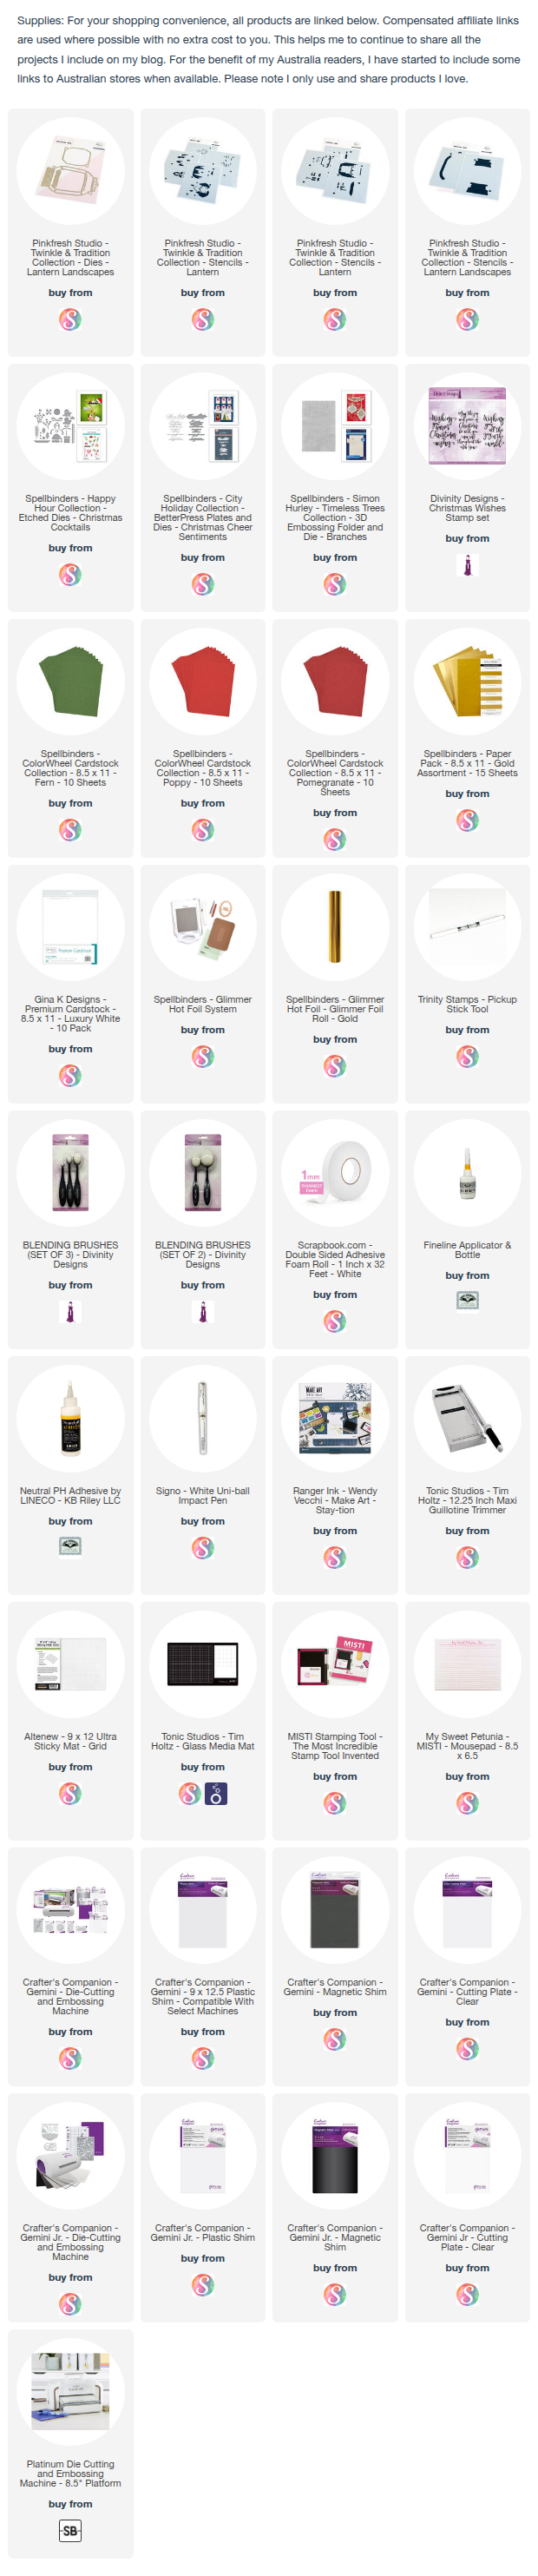
For my card I used Pinkfresh Studio's Lantern Landscapes die set along with the coordinating Lantern Landscape Snowy Cottage stencil. 

For the background of my card I used the Branches 3D Embossing Folder by Simon Hurley/Spellbinders. 

I used a sentiment from Spellbinders Christmas Cheer Sentiments Betterpress Plate which I glimmered using gold foil. 

To finish off the card I added a bow from Spellbinders Christmas Cocktails die set at the top of the lantern.


For the inside of my card I added a sentiment using a Divinity Designs stamp set and added a couple of branches using the embossing folder that I used on the front.


Monday, January 13, 2025

Deepest Sympathy


Hi Crafty Friends,

Today I am sharing another sympathy card that I created recently with you. Last year when I pulled out my Betterpress supplies in readiness to make some Christmas cards, I discovered to card panels which had been either gold foiled or Betterpressed,  one was already coloured, the other diecut using a fancy rectangle die. Of course I pulled these both out and turned them both into sympathy cards which is what I need most to add to my stash of cards right now.

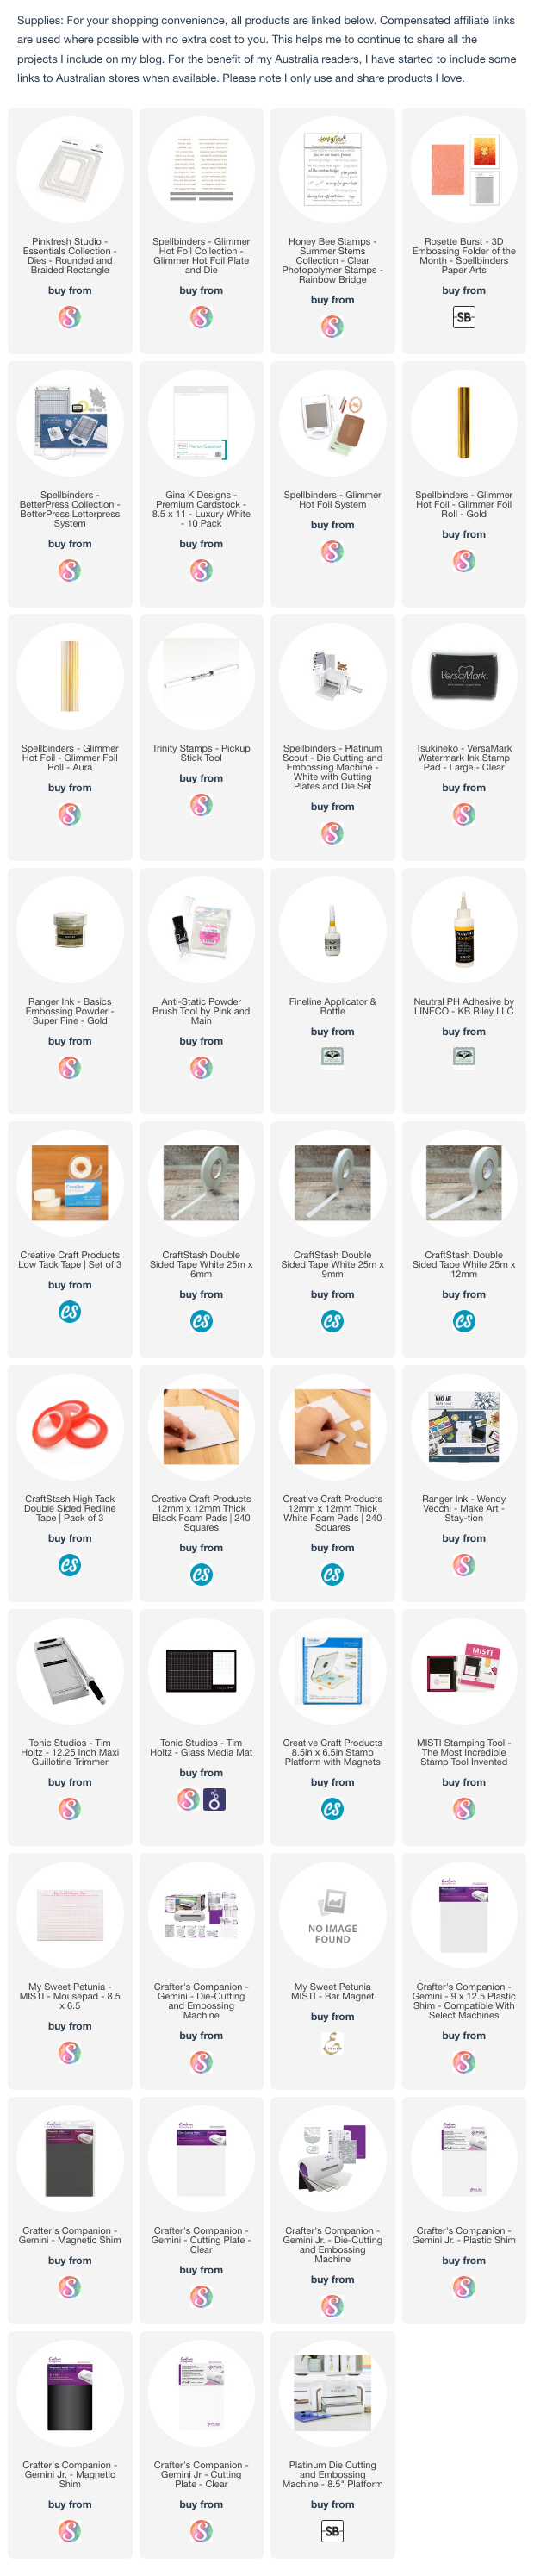
This card uses the Betterpress plate that came with the Betterpress System when I purchsed it some time ago. I had gold foiled it rather than put it through the Betterpress, which is one of the things I love about Betterpress plates ... you have option! It was already die cut using the largest die in Pinkfresh Studios Rounded & Braided Rectangles die set. After colouring the image, I layered it onto some gold cardstock, rounding two of the corners to match the white panel.

I created a 5 x 7 inch side folding card, and added a panel to the front which I embossed using Spellbinders Rosette Burst 3D Embossing Folder. I then added the floral panel to the card.

To finish off the card I added the sympathy senitment which is also gold foiled and is from Spellbinders Mini Everyday Messages Hot Glimmer Plate.


For the inside of the card, I added a panel the same as I used on the front of my card. I gold embossed a sentiment using Honey Bee Stamps Rainbow Bridge stamp set. 


Monday, December 23, 2024

Merry Christmas


Hi Crafty Friends,

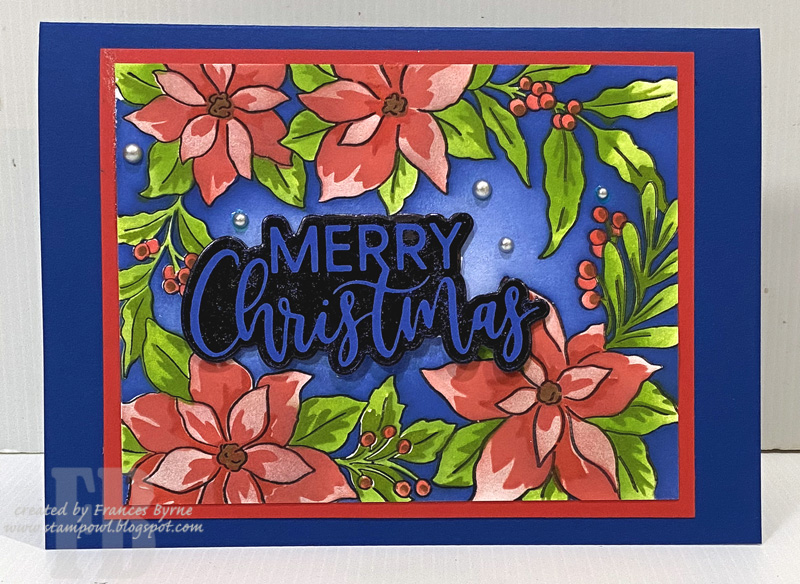
I have one last poinsettia themed Christmas card to share with you today. This card uses the Pinkfresh Studio Poinsettia Frame Betterpress Plate, I shared another card using this plate on Friday which you can see if you scroll down to the next post.

This time round, I opted not to die cut the poinsettia frame out with the coordinating die, instead I used the last stencil to cover the frame up and add background colour. I love this idea and I hope we will see this in other stencil sets in the future.

I added the foiled Merry Christmas to the centre of the frame. This is a Waffle Flower foil plate and is the negative piece of foil which was foiled onto blue card. I had this leftover from a previous project and as it suited this card went with it.


I added the sentiment to the inside of the card. This is a Betterpress plate from Spellbinders.


Friday, December 20, 2024

Wishing You A Merry Christmas


Hi Crafty Friends,

It seems this year that I have a bit of a poinsettia theme going for many of my Christmas cards haha! It's just the way it happened and the few things I did buy this year were poinsettias themed.

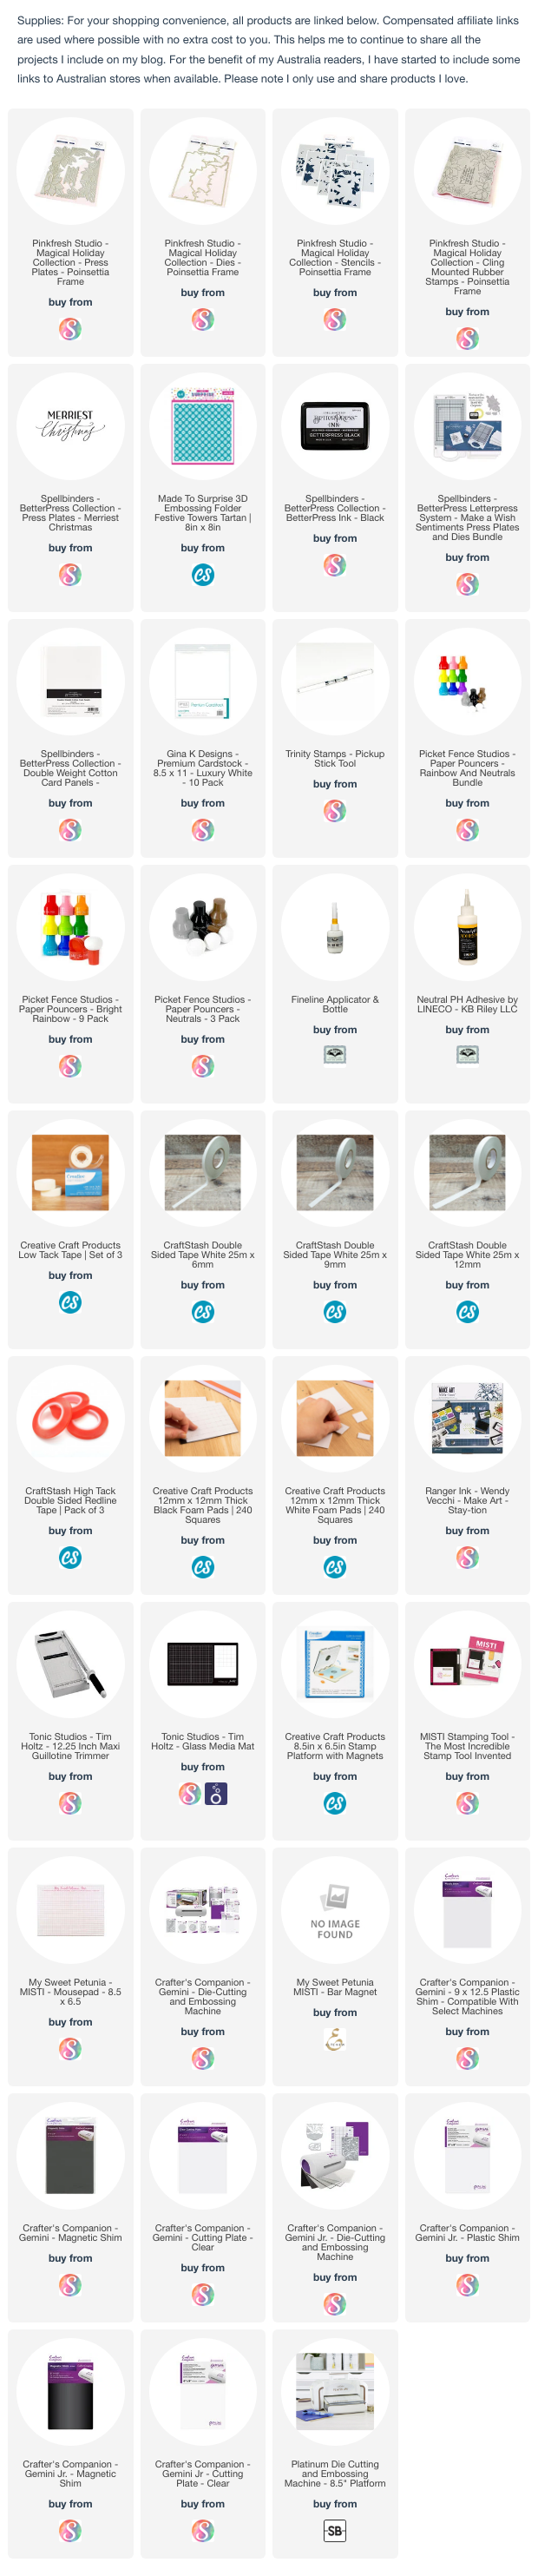
I purchased this Pinkfresh Studio's Poinsettia Frame Betterpress plate a few months ago when I was looking for something else to add to an order so I could get free postage. Why pay for postage, when for the same price or less I can add something else to my order.

It arrived some time ago and then I decided I needed the coordinating die and stencils, which I finally received last week, so I pulled everything out to make some cards. For this one I kept to reds. Once I had betterpressed the poinsettias I used the coordinating stencils to add color and then the dies to cut them out. I layered this to a piece of pink gingham patterned paper. I then layered this panel onto a 5 x 7 card which I had added an embossed red card panel.

I added the sentiment to the centre portion of the card, before adding a few pearls randomly to the card.


I added the sentiment to the inside of the card, this is also a Betterpress plate, but from Spellbinders.


Wednesday, September 27, 2023

On Your Special Day


Hi Crafty Friends,

Today I am sharing a card I made using two of Spellbinders Betterpress plates. For this card, rather than use them with the Betterpress System, I decided to foil them instead. That is one of the advantages of the Betterpress plates, they work well for hot foiling.


I started off by foiling the flower image using gold foil. I used a larger piece of cardstock in my foil platform as I wanted to be able to position the image so that I could die cut it using the Pinkfresh Studio's Rounded & Braided Rectangle die set. As I have a larger die cutting machine, it was easy to have a larger piece of cardstock hanging out of my foil platform.

While I was foiling I also foiled some sentiments using the "A Little Message Sentiments" Betterpress set also from Spellbinders. I love using the negative piece of foil with a solid foil plate, which is what I did to get the fold outline with white words for the sentiment.

I mounted my panel onto a 5 x 7 inch card base, adding patterned paper to the background.

To finish off the card, I added gold metallic pearls.


For the inside of my yard, I cut a white panel which I had also gold foiled the flower design. I then added a birthday sentiment using the solid reverse foiled technique to the image.


Wednesday, March 22, 2023

Happy Blooming Birthday


Hi Crafty Friends,

Today I am sharing a floral birthday card I created recently.

It's been a little while since I played with my Rockin' Rectangle Pop-up die set from Karen Burniston, this is such a fun die set. I love creating the acetate front version of this card which is what I did today.


To decorate my card I used the Pinkfresh Studio's Sunflower Washi with the coordinating die set. The is a rectangle panel underneath all those sunflowers, but I layered the flowers and leaves up a fair bit, so you can only see small parts of the rectangle layers.

The sentiment is combining of sentiments from two stamp sets, one from Made to Surprise (floral hug) and the remainder of the words from Honey Bee Stamps.


I decorated the left hand panel on the front of the card using Crafter's Companion's Chevron Lattice die set. I added brown jewels to each of the points in the design.

I also added a birthday sentiment using another Made To Surprise stamp set.


Wednesday, February 1, 2023

Butterfly Birthday


Hi Crafty Friends,

Today I have birthday card to share with you.

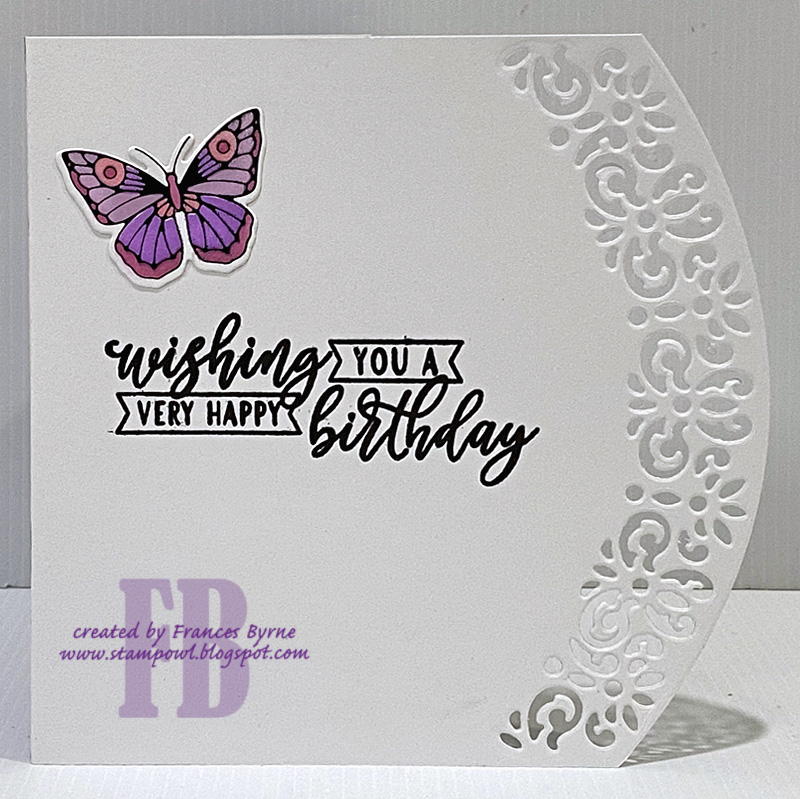
My card uses Crafter's Companion's Curved Border Edge'ables - Delicate Lace die set. This die is designed to cut through two layers of cardstock, which is what I have done for this card today. I placed the border die along the right edge of my card and die cut the two together. I adhered a panel of purple cardstock behind the front, so that you could see the purple colour peeking out through the lacy pattern.

On the left side of the card I added a panel of patterned paper. 

I added the "Happy Birthday" sentiment which is hot foiled using black foil and using the solid hot foil plate to get the negative sentiment which gives you white lettering with a black outline.

I added three butterflies to the card, using Pinkfresh Studio's Small Butterflies hot foil plate, stencil and coordinating die sets. The butterflies are also foiled using black foil.

To finish off the card, I added Pinkfresh Studio's Glacier Jewels to the circle holes in the lacy border.


For the inside of the card I added a birthday sentiment using LDRS Essential Birthday Sentiments stamp set. I also added another of the foiled butterflies to the top right hand corner of the card.


Friday, October 21, 2022

Get Whale Soon


Hi Crafty Friends,

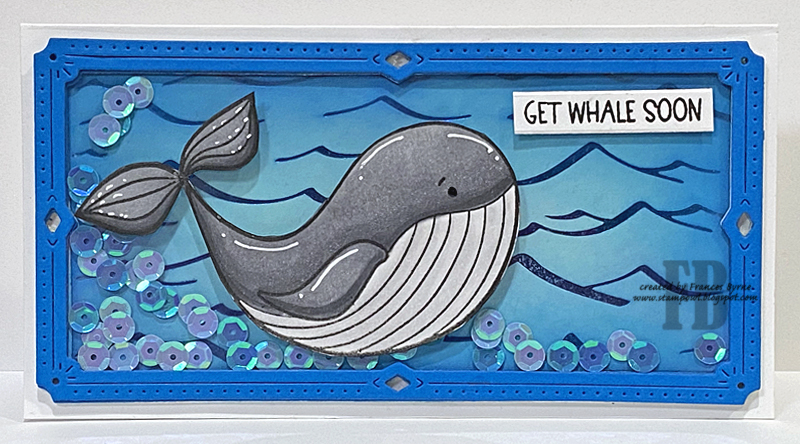
I am sharing a Get Well themed Mini Slimline Shaker card that I created recently. I actually went whale watching on Wednesday with a group of friends. The water was a bit rough but we managed to see a mama whale with her calf and boyfriend. 

For my card today I used Trinity Stamps Whale Done stamp set and also the Shimmering Sea Hot Foil Stamp. I hot foiled the Shimmering Sea Hot Foil Plat onto blue cardstock using Cobalt Blue Hot Foil and then blended blue Distress Oxide inks around the edge.

To create the frame for my card, I used Pinkfresh Studio's Mini Slimline Frame die set, die cutting the frame from both white and blue cardstock and layering them together to create the area for my shaker. I added two shades of blue sequins to the centre of my shaker card.

I added the whale and sentiment to the outside of the acetate.


For the inside of my card, I added one of the inner panels left over from die cutting the frame. I stamped another whale themed sentiment from the Whale Done stamp set as well as the water that spouts from the whale.


Thursday, August 18, 2022

You're the Best


Hi Crafty Friends,

It's challenge time with my friends over on the CCEE Stampers challenge blog. As challenge hostess for the month, I continue to issue you the challenges.

Apparently August is Peach month and Monday 22nd August is National Peach Day, so for our challenge this week create a card that features one or more things that begin with the letter "P" .. A punched image; patterned paper; pansy; paint; person or a product that is from a company whose name starts with “P”.

For my card today I opted to go for the company whose name starts with "P", my card using stamps, dies, stencils and hot foil plates from Pinkfresh Studio. The stamp set I used is called Painted Daisies, another "P" word. As well as the company name, I used the colours peach and pink and added pearls as an embellishment.

One thing I love about Pinkfresh Studio's sets is there is normally a coordinating stencil and die and sometimes even a foil plate. After stamping the painted daisies onto white card, I used the coordinating stencils to color my image. You can see the colours I used in the supply list below.

I used the Stained Glass die to create the background panel, layering it over peach cardstock and then added highlights to the design with a darker peach color.

I used the new Script Sentiment Hot Foil Plate and coordinating die for the sentiment. To finish off the front of the card I added some metallic pearls in Sparkling Champagne.


For the inside of the card, I added another of the Painted Daisies image. to the lower right hand corner of the card. 

I added another sentiment using the Script Sentiment Foil Plate, foiled using Aura foil. I layered the sentiment onto peach coloured circles.

Don't forget to check out the CCEE Stampers blog (goes live 12 AM EST) to see the rest of the creations the CCEE Stampers created this week. You can also see more details of their creations on their individual blogs:

Thursday, June 30, 2022

Miss You


Hi Crafty Friends,

It's challenge time with my friends over on the CCEE Stampers challenge blog. Lynn McAuley our challenge hostess for the month, finishes off the month with one last challenge. 

The rose is the national flower for June while the pearl is June’s gemstone. Lynn is asking the CCEE Stampers to include both of these beauties on their card for this week’s CCEE Challenge! 

I was asked recently if I would make a "Miss You/Thinking of You" card for a friend to send to a mutual friend. As I knew I needed to make my rose themed card, it was an easier request to fulfill. 

I pulled out my Pinkfresh Studio Garden Roses Stamp, die and stencil set to create the roses on my card. I used inks from Catherine Pooler Designs to colour the roses.

For the background of my card I used my new Anna Griffin Matelasse Slimline Embossing Folder. I have been after this embossing folder for ages, but up until now it has been impossible to get sent to Australia. When I saw it was for sale on the Scrapbook.Com website I had to order it immediately. It does come in a set of 4 Slimline Embossing Folders.

I added the "Miss You" sentiment to the right side of the card using Honey Bee Stamps Miss You Big Time Stamp/die set.

To finish my card I added some Matte Silver Metallic Pearls which I almost forgot.


For the inside of my card, I added a few more roses around the edges of my card. I also added the "Thinking of You" sentiment from Honey Bee Stamps Thinking of You Big Time stamp set.


Don't forget to check out the CCEE Stampers blog (goes live 12 AM EST) to see the rest of the creations the CCEE Stampers created this week. You can also see more details of their creations on their individual blogs:


Thursday, June 23, 2022

Butterfly Slimline Easel


Hi Crafty Friends,

It's challenge time with my friends over on the CCEE Stampers challenge blog. Lynn McAuley our challenge hostess for the month, continues to issue the challenges. 

Apparently June 20 - 26 is National Insect Week. So for our challenge this week we are to feature some type of creepy crawly creature on your CCEE design this week. 

As I have purchased a number of butterfly related products this year, some still waiting to be played with. I decided to pull one of the stamp sets out for my card today ... this is the Gina K Designs Spread Your Wings stamp set. I wouldn't class it as creepy, but it is an insect.


I created an Easel card. To create the background on my card I used Pinkfresh Studio's Slim Fancy Diagonal Stripes die, die cutting the die from white cardstock and then adhering to a panel of pink cardstock.

I used Waffle Flower Crafts Oversized Hello Hot Foil Plate with the coordinating die and black foil to create the large "Hello" sentiment.

Along the edge of the base of my card I added a border using Pinkfresh Studio's Slim Lacy Edges die set. 

The Easel card is held open using the butterfly themed sentiment, which is also included in the Gina K Designs Spread Your Wings stamp set.


Here is a look at my card when it is closed ready to be placed in an envelope.

Don't forget to check out the CCEE Stampers blog (goes live 12 AM EST) to see the rest of the creations the CCEE Stampers created this week. You can also see more details of their creations on their individual blogs: