

Hi Crafty Friends,
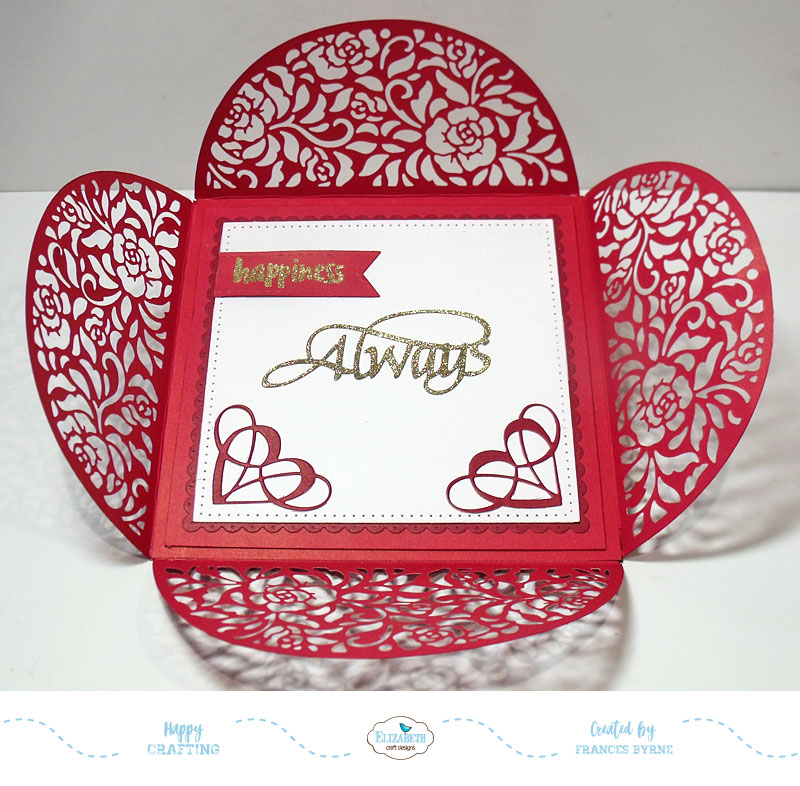
It's my turn to post a tutorial today for the Die Cut Design Team on the Elizabeth Craft Designs blog. This time round I decided to play with the ModaScrap Gatefold - Elegant Roses die to create a "Petal Fold Card". Using this die makes for an elegant card which would be suitable for weddings, invitations or any occasion where you wanted something a little big different.
As the cardstock I selected to use for my card was two tones a dark red on the front and a light red on the back I decided to keep to the three colors of white; dark red and light red for my card. By keeping the insert loose I could turn it upside down when I closed the card so you could see the second light color red through the openings of the "petals".
Here is how I created my card:

Step 1 -
- Cut a base from dark red cardstock that measures 5 3/4 inches square
- Cut a base cover from light red cardstock (this will cover the base card when sides have been attached) that measures 5 12/16 inches square
- Cut 4 sides from dark red cardstock that each measure 3 1/2 inches x 6 inches.

- Using the ModaScrap Gatefold - Elegant Roses die, place it on one of the pieces of dark red cardstock cut for the sides, so that the straight edge is approx 1/2 inch away from edge of cardstock. Run through die cutting machine. Repeat for all 4 sides.
- Use a scoring tool to reinforce the score line created by the die, fold and attach Clear Double Sided Adhesive tape to each of the tabs.
- Trim the sides of each tab at an angle.

Step 2 -
- Remove the adhesive from one of the tabs from the Gatefold - Elegant Roses die cut and carefully line the fold of the die cut with the edge of the base card (Photo A above).
- Repeat this on all four sides (refer to photos above.
- Adhere the base cover we cut in step one over the inside of the base card so it hids the tabs from the side panels. (Photo D above.
- The sides should be able to fold down onto the base now.

Step 3 - Create the Card Insert:
- Cut the base of the inside from light red cardstock that measures 5 1/4 inches square.
- Using the largest square from the Dotted Scallop Squares die cut a square from dark red cardstock.
- Using the second largest square from the Stitched Squares die set cut a square from White Soft Finish Cardstock.
- Layer all pieces to form insert (refer to photo above)
Step 4 -
- Die cut two hearts from the A Way with Words - Calligraphic Ellements 2 die set from dark red cardstock that has Clear Double Sided Adhesive Tape on the back. Adhere hearts to lower corners of insert.
- Using the A Way with Words - Always die set, die cut from white cardstock that has Clear Double Sided Adhesive Tape on the front. Remove protective backing from the adhesive and cover the adhesive with Light Gold Silk Microfine Glitter. Return excess glitter to the jar and polish the glitter with your finger. Adhere sentiment to centre of card.
- Using the second smallest fishtail banner die from the ModaScrap Stitched Fishtail Banners die set, die cut a banner from light red cardstock. Gold emboss the "happiness" sentiments from the Dream Sentiments Clear Stamp set. Adhere to top left hand side of card.
- Place insert into the centre of the petal card (upside down if you want a solid color showing through the holes in the sides).

Step 5 - Folding the Card:
- To close the card, first fold down one of the sides into the centre and then fold the second side so it is on top of the first side (photo A)
- Next fold the third side down so it is is laying down on top of side 2. (photo B).
- To close the card .... lift up the edge of side 1 which is closest to the remaining side not folded down yet and slip the remaining unfolded side so it is under side 1 and over side 4. (See photo C)

- To finish the card die cut a small heart from the Scalloped Hearts die set from White Soft Finish Cardstock.
- Die cut the XOXO from the Love Sentiments die set from white cardstock that has Clear Double Sided Adhesive Tape on the front. Add Light Gold Silk Microfine Glitter to sentiment as we did to the sentiment in Step 4. Adhere to heart.
- Punch a hole in the heart and thread onto ribbon.
- Thread the ribbon through two of the holes in the "petals" and tie into a bow.
Thank you for stopping by today, I hope you enjoyed my tutorial.
Supplies:
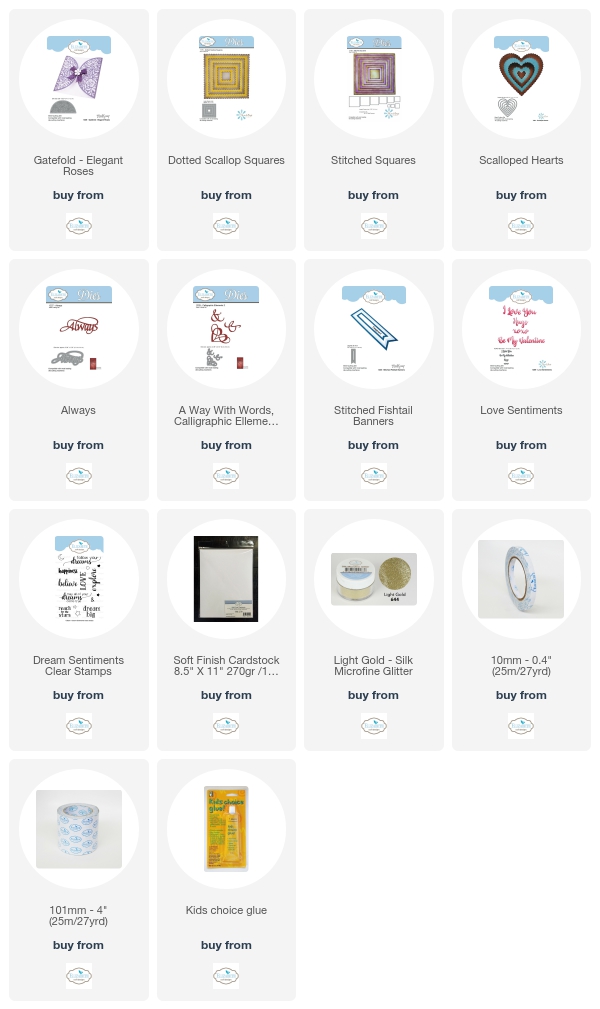
Elizabeth Craft Designs:
Other:
Cardstock: Red two toned cardstock
Inks - VersaMark Ink
Gold Embossing Powder
Sheer Ribbon
Hole Punch


