Showing posts with label construction cards. Show all posts

Friday, November 14, 2025

Christmas Favorites


Hi Crafty Friends,

Welcome to my blog. Today I am sharing another Christmas themed Floating Cube Fold Card using a tutorial by Sam Calcott, which you can find here.

This card folds down to 5 x 7 if you do the single row of cubes like I have for my card, or 7 x 7 if you have a row of cubes on each side of the white panel.


To decorate my card, I used Hero Arts Best Gift Ever Collection, which includes Press Plates, stencils and dies to create the presents. Rather than use the Betterpress, I used gold glimmer foil on all the bows & sentiments.


Here is a look at the back of my card, I added another sentiment and two more presents. Both sentiments used on this card are the negative image using the leftover foil after foiling the original.


Monday, November 10, 2025

Ho Ho Ho


Hi Crafty Friends,

Today I am sharing a fun Christmas card using a tutorial from Sam Calcott. This is called a Floating Cube Tower Card and you can find her tutorial here.

I opted to just make the half version of the card, adding the 4 cubes to the left side of the card. The full version would have the cubes on both sides. 


To decorate my card, I used Spellbinders Chimney Capers die set.  I added the “Ho Ho Ho” sentiment to the moon area. I also added two strip sentiments to the bottom of the card using the Marry & Bright Sentiment Strip Betterpress set.


I added the “Merry Christmas” sentiment which is a foil plate from Waffle Flower, and also added another of the strip sentiments I used on the front.


Wednesday, October 15, 2025

Three Magi Bridge Card


Hi Crafty Friends,

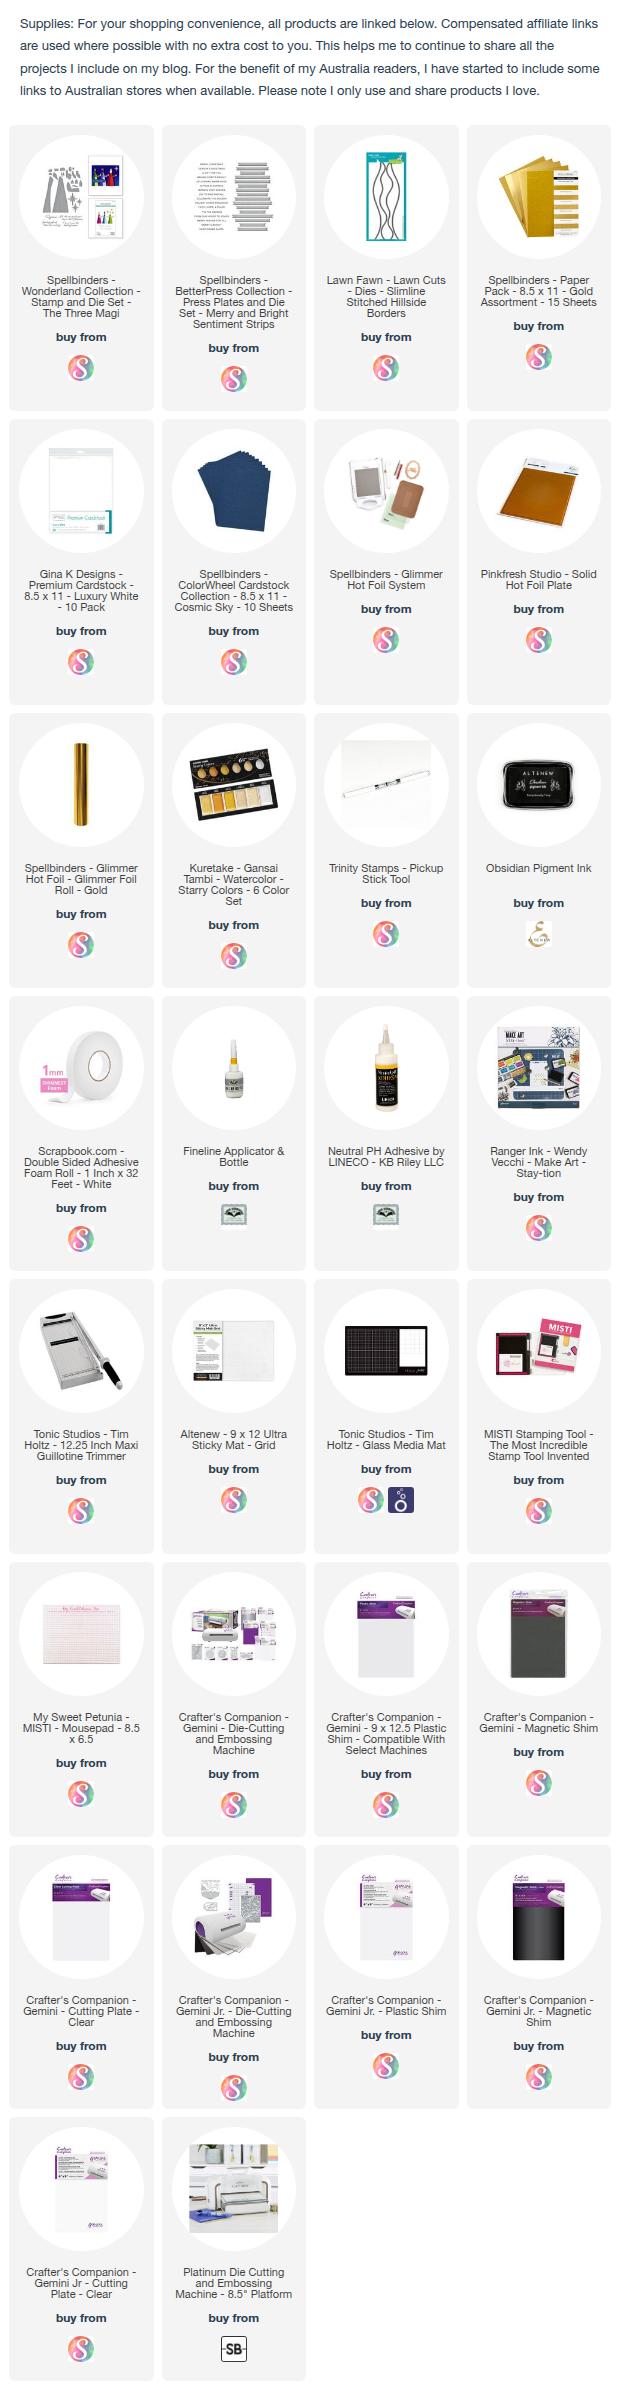
Thanks for stopping by my blog. Today I am sharing a Christmas card using Spellbinders The Three Magi Die set. For this card I created a Bridge Card, I have had this idea for this set for a while, and finally found some time to get the card made.


 I started with a piece of Spellbinders Cosmic Sky cardstock that measures 8 inches x 4 3/4 inches. I then scored along the 8 inch side at 1 1/4 inches and 2 1/2 inches on each side. I added patterned paper to each of the five sections, splatting them all. with gold ink to resemble stars.

I used a Slimline Hillside Border die to die cut the kraft panel which the Magi are standing on. I attached this to the base of my card to be the "bridge" of the card.


I assembled the Magi images using various colours of cardstock and attached them to the "bridge"

I added a gold foiled sentiment under the Magi using a sentiment from Spellbinders Merry & Bright Sentiment Strip Betterpress Plate.

To finish off the front of the card, I die cut the stars included in the set twice from gold mirror cardstock and adhered them to the card.


I added a white panel to the back of my card, adhering more stars to the top of the panel. I then added a stamped sentiment from the coordinating stamp set to the panel.


Wednesday, March 26, 2025

Happy 'Bear’thday


Hi Crafty Friends,

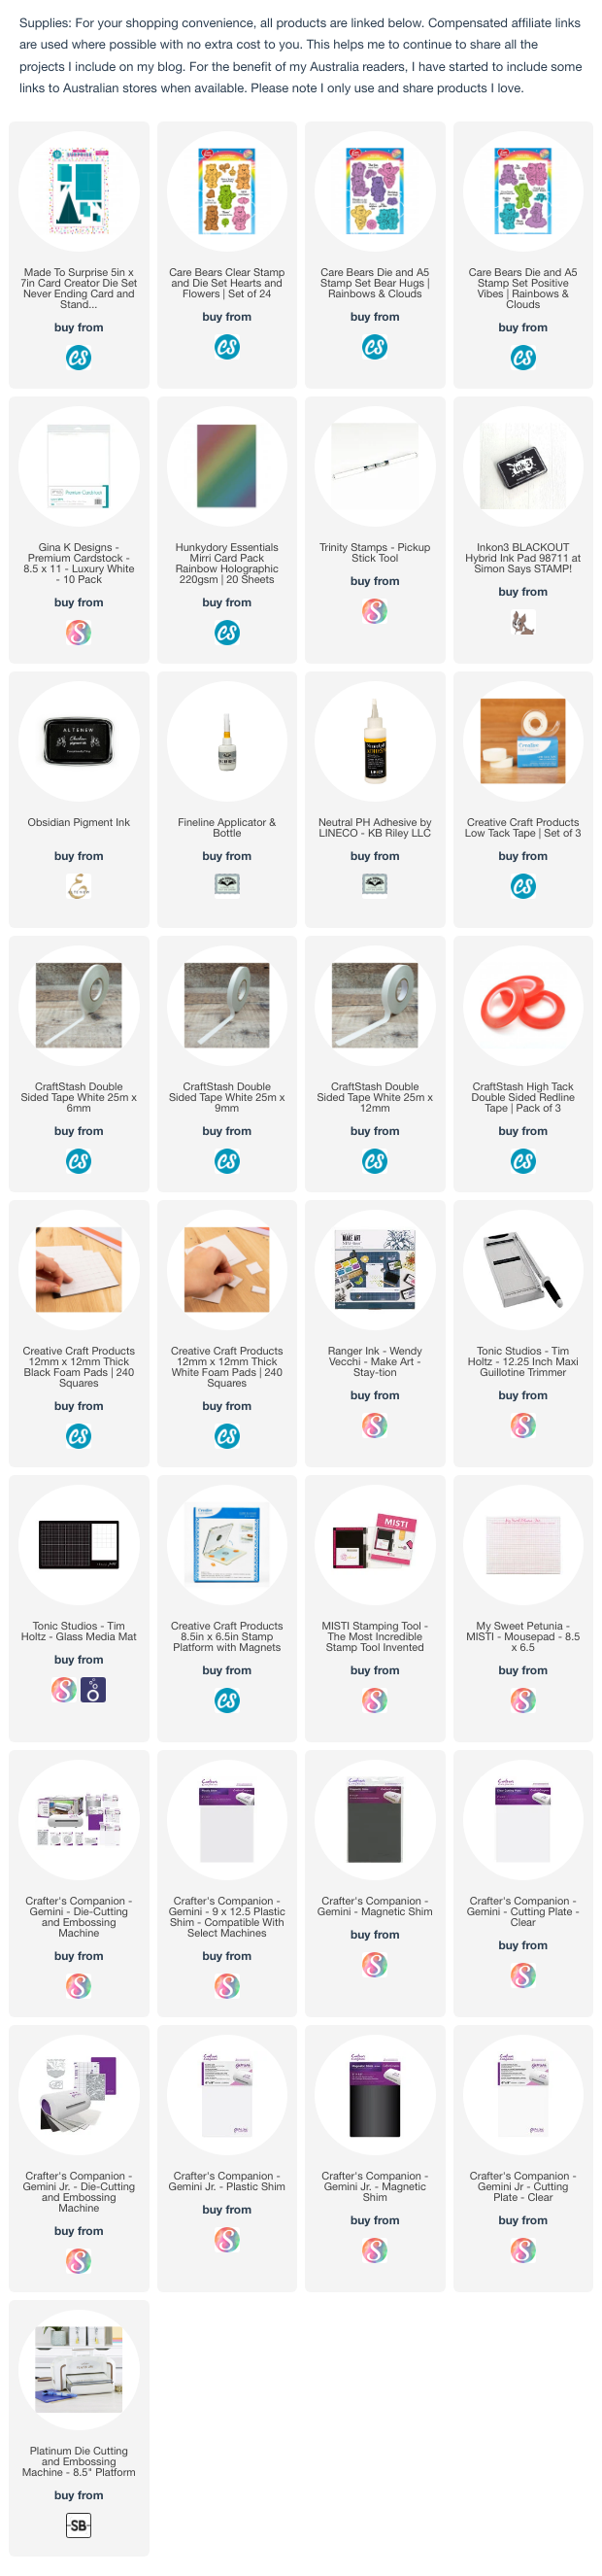
Today I am sharing a Winged Panel Card using the Made To Surprise by Sam Calcott’s 5 x 7 Never Ending Card die set. One of the things I love about Sam’s dies is how she always comes up with different styles of cards using her die sets, giving them extra life.

For this card I decorated it using one of the Care Bear stamp/die sets from Craft Stash. I had stamped & coloured these images late last year and them forgot to use them. 


I added layers to the centre panel so I could add another bear & a sentiment. 


Friday, January 3, 2025

Let's Celebrate You

Hi Crafty Friends!

Happy New Year to you all, I hope 2025 is good for us all! 

For my card today I am sharing a Triple Tier Slider card, I have made a few of these over the years, but I love having a die set that cuts everything out for you. This is a 5 x 7 inch card and uses Made To Surprise by Sam Calcott’s Triple Tier Slider die set which was released a while back by Craft Stash. 


To decorate the main panel of my card, I used the cute mouse & boot which are two die sets from Elizabeth Craft Designs. 

When you pull the tab that is showing at the top of the card it reveals a sentiment. This is also from Made To Surprise.


Pulling the tab at the top once more reveals another panel that contains a birthday sentiment which is from the same stamp set.

To finish the card, I added the ‘eek’ word three times randomly around the mouse.


Wednesday, July 19, 2023

You are TEE-rific


Hi Crafty Friends,

Thanks for visiting my blog. Today I am sharing fun golf themed stepper card I created recently.

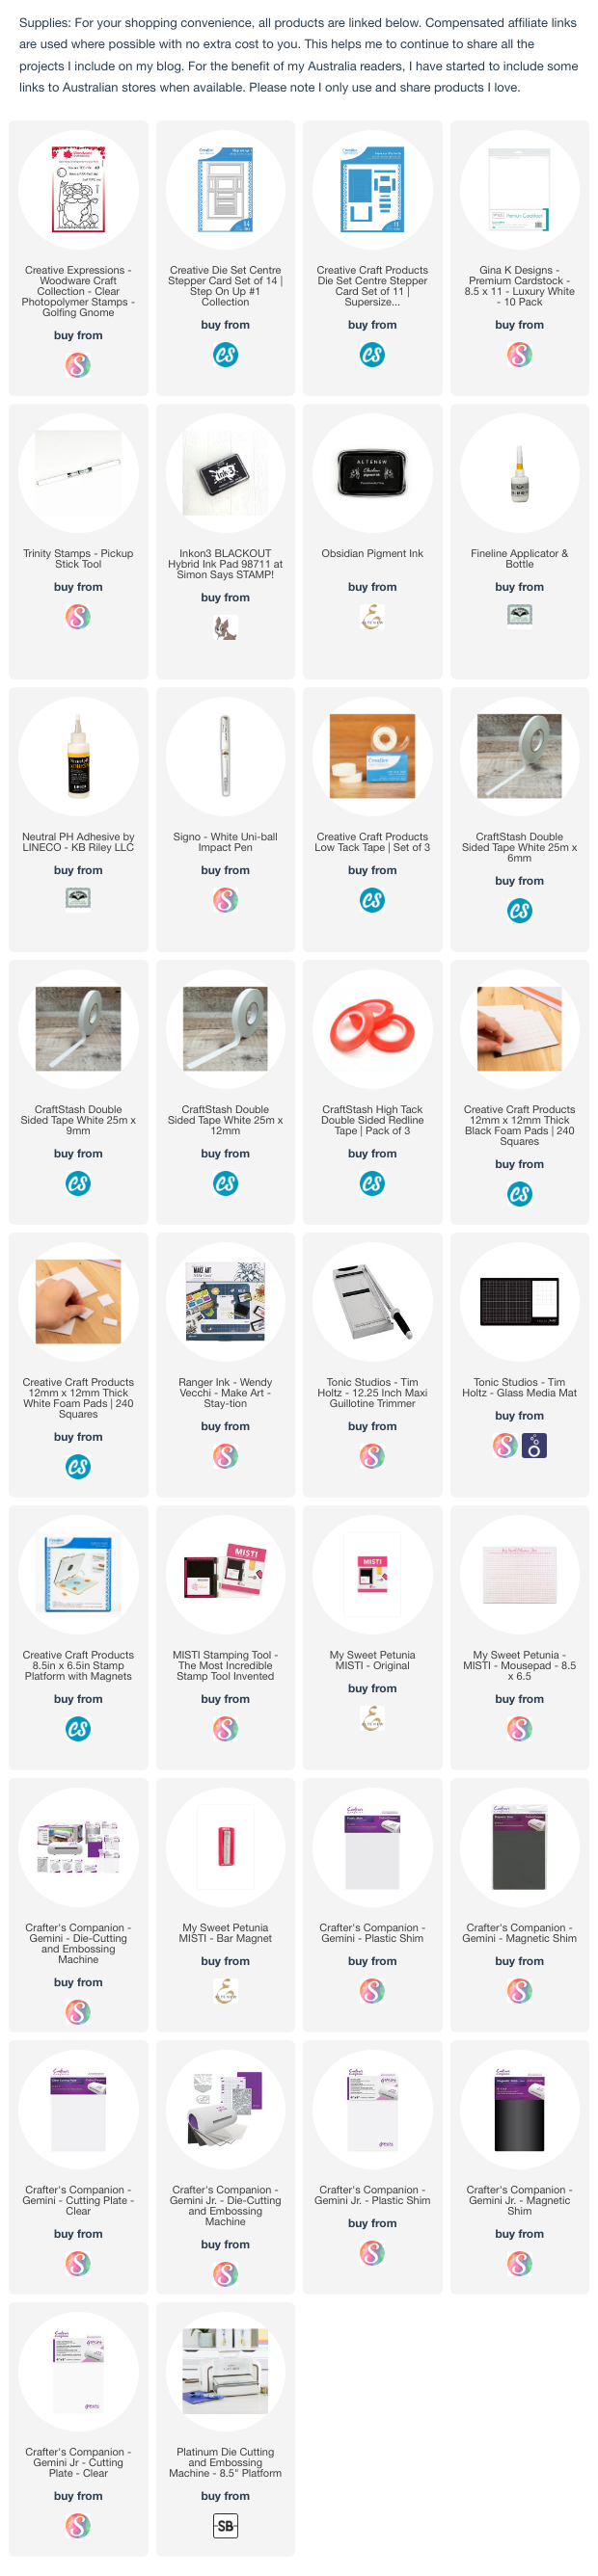
This card uses the Woodware Golfing Gnome stamp set, aren't these gnomes adorable!!! 

My card base uses Creative Craft Products Centre Stepper Card die set from the Step On Up 1 Collection available on Craft Stash. I found some grass paper in my stash, so I die cut the rectangle layer panels using this paper and layered it onto the card. I also added some blue paper for the up part of the side panels.

The sentiment, golf ball and tee are also included in the stamp set. The Golf Flag is a Magnolia stamp I have had in my stash for years.


Creative Craft Products have two die sets for this style of card in two different sizes and I thought it might be helpful in case anyone is interested in these dies to see the cards side by side. So far I haven't made a card with the larger one. 

The card on the left is the Centre Stepper Card die set from the Step on Up 1 Collection and measures 4 1/4inches x 5 1/2 inches. 

The card on the right is the Centre Stepper Card die set from the Supersize Step On Up Collection and measures approximately 5 3/4inches x 7 7/8inches.


I added another of the sentiments and golf ball/tee both included in the Golfing Gnome stamp set.


Other Supplies:

Golf Flag - Magnolia Stamps


Tuesday, March 28, 2023

Have A Fancactus Birthday


Hi Crafty Friends.

Thanks for visiting my blog. 

Colorado Craft Company recently released four cacti/succulent themed stamp sets, as I enjoy creating cards of this theme I purchased the sets. Three of the sets have an enormous image of a cacti/succulent, and some of the sentiments were very different to what I already have in my stash, so they were a must have.

Being so large, the image often won't fit on a complete card, unless you were making something large. I probably could fit one on a 5 x 7 card, but I wanted to make something different and the Magic Colour Slider card came to mind. As I liked the look of the partial image showing through the window I decided to make one of those.


To make the Magic Colour Slider portion of the card I used Made To Surprise by Sam Calcott's 5 x 7 Magic Colour Slider die set. I was originally going to make the colour slider where the colour reveal is revealed on the top pull out panel however that didn't turn out properly so I went with plan b.

When you start to pull the tab at the top of the card, the black and white image starts to disappear with a coloured image


Here is a look at my card when the tab is completely pulled, you can see the fully coloured cacti and also a sentiment. 

I used the layering die included in the die set to create the layer for my 5 x 7 top folding card base.

I added the "fan cactus birthday" sentiment to the lower section of my card. This is one of the sentiments included in the Can't Touch This stamp set from Colorado Craft Company, which is the stamp set I used for the cacti also.


I used the cacti that I was originally going to use on my card, but ended up not being able to be used on the magic colour slider portion of the card. I added it to the lower left hand corner of my card.

I added another of the cacti themed sentiments, this time from the Grow Girl stamp set. I also added a "Happy Birthday" sentiment underneath the main sentiment.


Other Supplies:

Hedgehog Stamp Set (Lookin' Sharp Sentiment) - Art Impressions (discontinued) 


Thursday, January 12, 2023

Gnome Birthday


Hi Crafty Friends,

I have finally been able to start playing with one of my new dies that I received for Christmas.

I always like to receive something card making related for Christmas, and last year was no exception. I ended up getting a number of Creative Craft Products Stepper cards from Craft Stash. Just before Black Friday many of them became available, so I was able to purchase the ones I wanted.


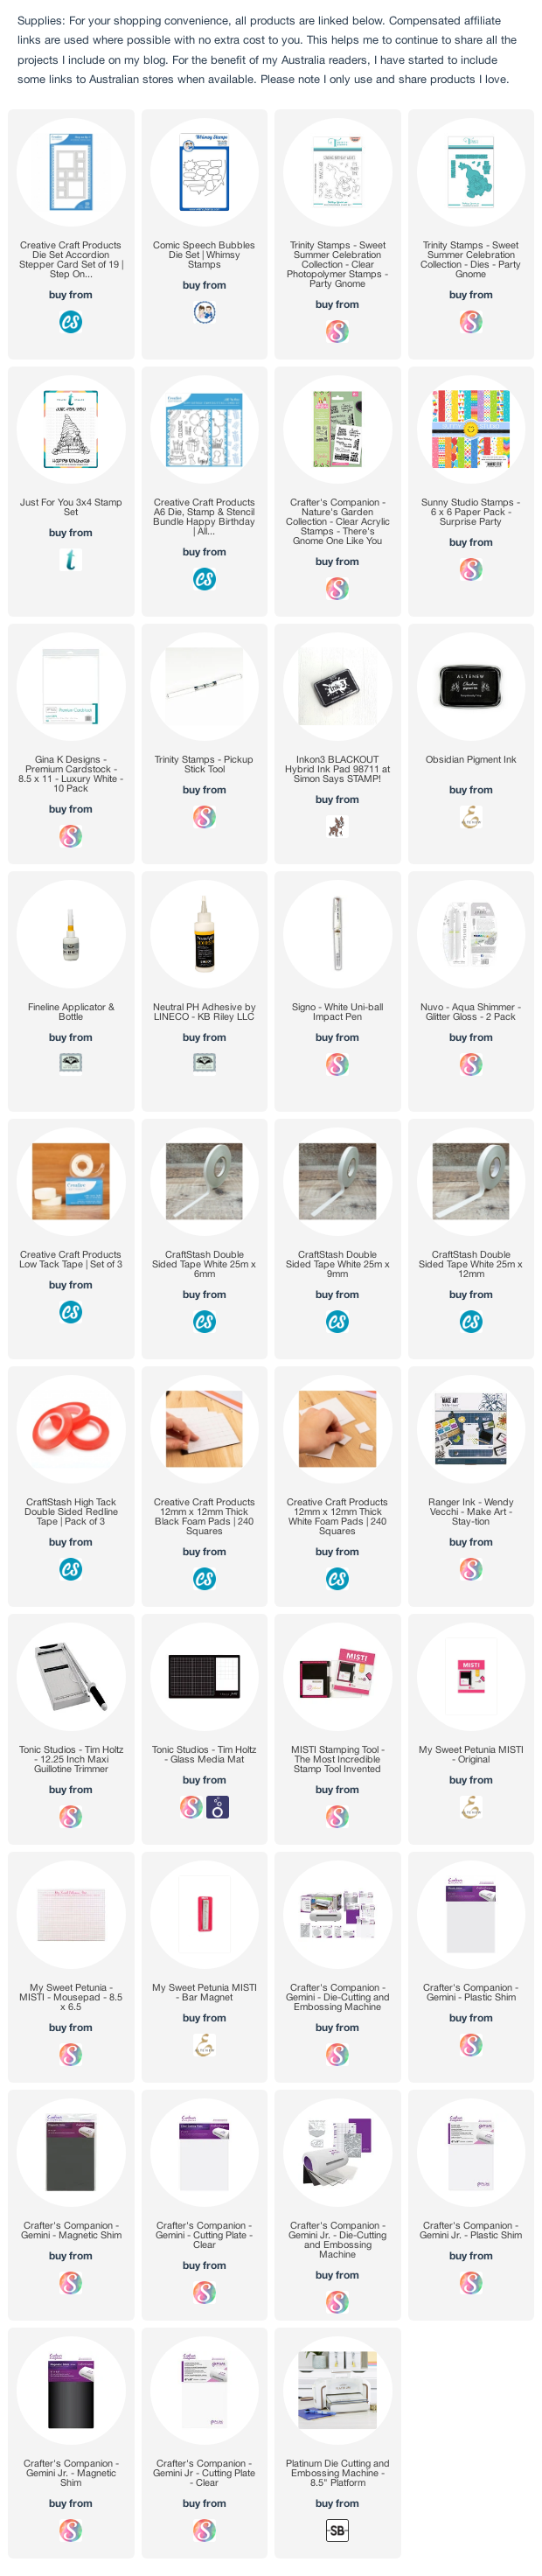
For my card today I have used the Creative Craft Products Accordion Stepper Card die set from the Step On Up 2 Collection. This die set creates a card that measures 6 inches square when it is closed. I did get a similar die the previous Christmas, but that die set made a card that was 4 3/4 inches square which meant only being able to use some images. Creative Craft Products also have another die set that creates the same style of card that is 6 3/4 inches square when folded which I also have now.


To decorate my card I used gnome stamps from Trinity Stamps. The top gnome is from the Just for You stamp set and the bottom gnome is from the Party Gnome stamp set.


I added the larger square panels to the back of the card, one that I stamped two sentiments on. The sentiments are from Crafter's Companion's There's Gnome One Like You stamp set.
I added a second panel which I left blank, so there is a place to write a personal greeting.


Tuesday, August 16, 2022

Happy Bird Day


Hi Crafty Friends,

I recently purchased some paper pads which included toppers to coordinate, this isn't something I normally buy but I like the look of both the papers and toppers.

I was planning on using one of the pads to create a card for today when I came across a tutorial by Sam Calcott on how to create a 3 Peak Arrow Fold Card which I figured would work well for one of my paper pads. You can find Sam's tutorial on how to create this style of card here.


This card uses minimal supplies, the main item being the paper pad. For this card I used the RSPB Summer Tropical Birds 8" x 8" Paper Pad and a circle die to layer the topper to the card.

In the photo above you can see an overhead shot of my card.


Here is another view of my card, this time taken from the side.


Here is a look at the back of my card, I added two white triangle panels to add sentiments from an older Stampendous Tweet Chirps stamp set which I believe is now discontinued. The band across the bottom of the card, helps keep the shape of the card without it falling over. 

When closed this card measures approximately 5 inches x 5 3/4 inches.


Other Supplies:

Tweet Chirps Stamp Set - Stampendous (discontinued)


Thursday, April 7, 2022

I Sea it's your Birthday

Hi Crafty Friends,

It's challenge time with my friends over on the CCEE Stampers challenge blog.Being a brand new month, it's time to introduce our new challenge hostess which is Liz Williams.

Liz tells us to .... Let’s celebrate “NO HOUSEWORK DAY” by spending the day in our stamp rooms celebrating by doing a “Free for All” card theme of your choice. Have fun!! 


I recently purchased Sam Calcott's Made to Surprise Slide N Reveal Collection. This collection consists of two die sets to create the Slide N Reveal base card in both 5 x 7 or 6 x 6 sizes; a die set with an underwater theme; two underwater themed stamped sets; a sentiment set; ocean themed paper pad and two stencils. I remember making this style of card not long after I started stamping about 30 years ago, having dies to make the card base makes it so much easier. I did purchase another die set last year to create this style of card, but I found it fairly flimsy, I am very happy with how these die sets work.

As I wasn't sure what stamps or dies I wanted to use to create this card when I began, I decided to die cut all the accessories included in the Treasure Trove die set and all the animals in both stamp sets ...Under the Sea and Riding the Waves. I spent a very happy day just die cutting, stamping, colouring and assembling. The next day I worked on die cutting and assembling the card base and decorating my card. I still have plenty of images left from making this card, that I will be able to make at least 2 or 3 more cards. It didn't have to take as long as it did, I just wanted to spend that time to make it.

I used two of the pattern papers from the Under the Sea Paper Pad to decorate the very back panel of my card and the two side panels which are featured on the front when the card is closed.


There are a lot of things to see on this card, on the front frame I included the fishing net with the anchor and star fish; a crab and seaweed on the left hand side. On the right side I included the seal, rocks and more seaweed. I also stamped a sentiment along the top of the frame using one of the stamps from the Under the Sea sentiments set.


If you look into the card when the side panels are pulled open, you can see a puffer fish, a small octopus and dolphin. These images are all attached to acetate strips to give them the look of floating in the water. 

At the very back of the card I you can see a shipwreck in the rocks which is also from the die set. I have also adhered a few stamped fish to the left side of the background above the shipwreck.


Here is one more photo of the front of my card, this time taken at a different angle so you can see the 3D effect this card has. You can also see the diver on the top right hand corner, another of the dies included in the accessory die set.


Here is a look at the back of my card. I cut a piece of white cardstock slightly smaller than the size of my card. I added some rocks and seaweed to the lower right hand corner, and the sting ray to the top left corner. 

In the centre of my card I added the "Hugs and Fishes" sentiment from the Under the Sea Sentiments stamp set.

Don't forget to check out the CCEE Stampers blog (goes live 12 AM EST) to see the rest of the creations the CCEE Stampers created this week. You can also see more details of their creations on their individual blogs: