Thursday, March 7, 2019

Bear Shaped Baby Cards


Hi Crafty Friends,

It's challenge time with my friends over on the CCEE Stampers challenge blog. Being a brand new month it is time to introduce our new challenge hostess which is Kelly Santi.

Apparently Monday was Fun Facts about Your Name Day.  What does your name mean? Briefly research the meaning of your name and create a card.  If you can’t find your name directly, create a card based on a few letter IN your name … i.e., K = Kite, E = Enamel Dots, L = Lavender.

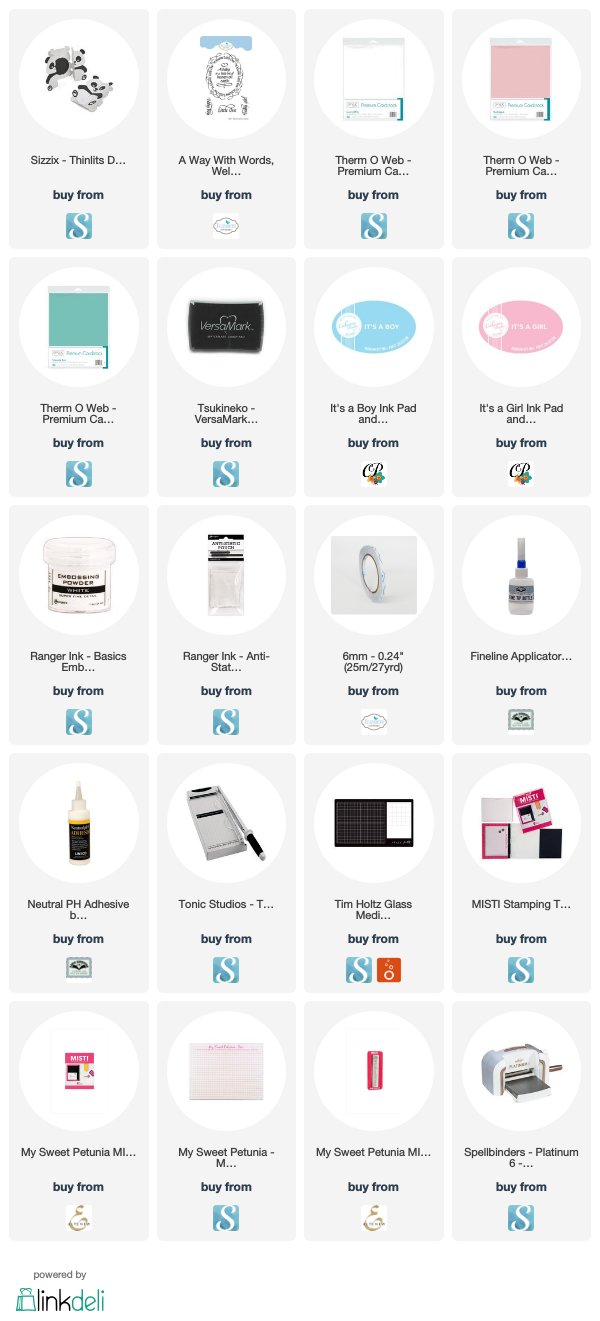
Last week I shared a Panda Shaped Card using the Sizzix Panda Fold Along Card, while making this card I thought that it would be fun to use this die set to create baby cards.
For the challenge today I decided to use the initials of my name to create my card. So seeing my name is Frances Byrne I used the letters F & B.
F - Fold-A-Long Die .... this card was created using the Sizzix Panda Fold-A-Long die set.
B - Baby, Bear, Blue, Boy

For the inside of the card I used the A Way With Words - Welcome Little One Clear Stamp set for sentiments.

Here is another look at the card when it is opened.

Don't forget to check out the CCEE Stampers blog (goes live 12 AM EST) to see the rest of the creations the CCEE Stampers created this week. You can also see more details of their creations on their individual blogs:


Supplies:
For your shopping convenience, all products are linked below. Compensated affiliate links are used where possible with no extra cost to you. This helps me to continue to share all the projects I include on my blog. Please note I only use and share products I love.


Wednesday, March 6, 2019

Sending Some Hugs Your Way Friend


Hi Crafty Friends,

Today I am sending some hugs your way with the card I have created.

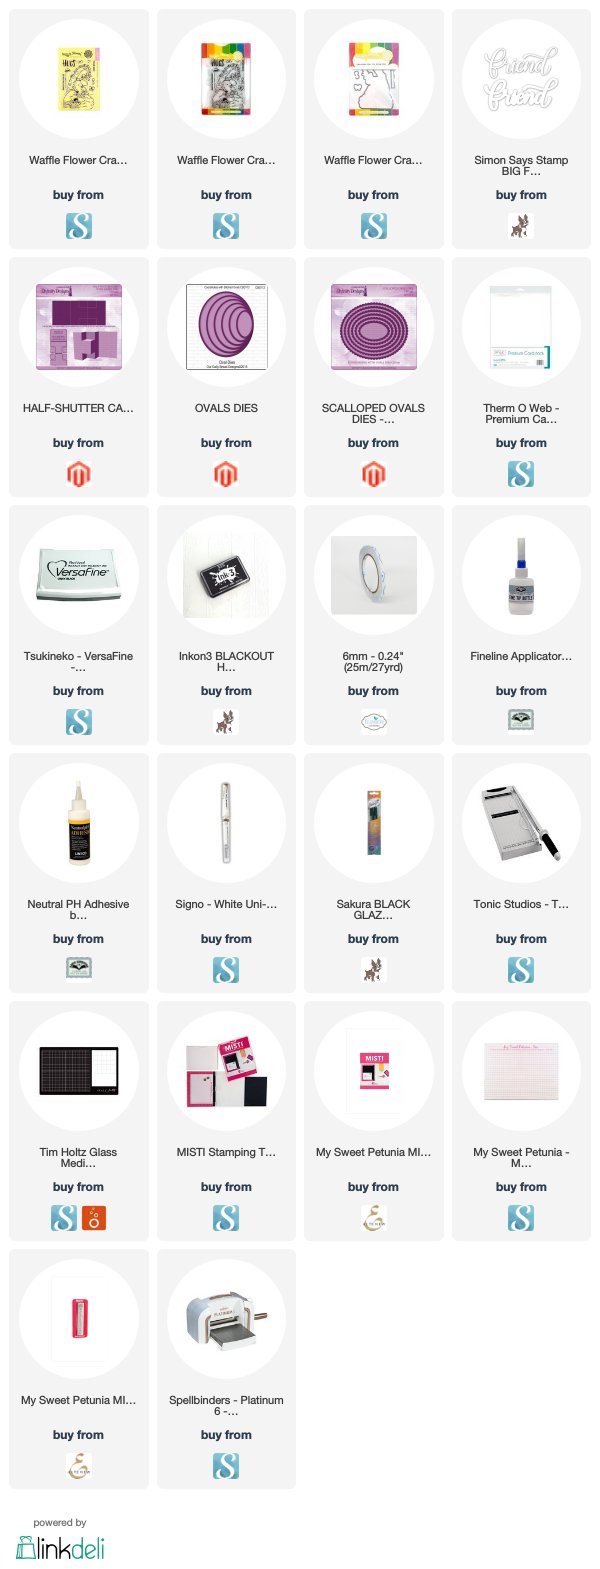
As you can see I have created a Half-Shutter Card using the Divinity Designs Half-Shutter Card die set.

To decorate your card I used this super cute stamp set from Waffle Flower Stamps called Group Hugs.


The sentiment on the front of my card is also from this stamp set.

The friend die cut in the centre of the card is a Simon Says Stamp die set.


Here is a look at my card when it is partly open.

Supplies:
For your shopping convenience, all products are linked below. Compensated affiliate links are used where possible with no extra cost to you. This helps me to continue to share all the projects I include on my blog. Please note I only use and share products I love.


Tuesday, March 5, 2019

March 2019 Karen Burniston Designer Challenge


Hi Crafty Friends!!!

Welcome to our February Karen Burniston Designer Challenge.

Check out Karen Burniston's blog on Wednesday (US Time) when you will be able to see what all the designers created for the challenge this month, plus Karen will have an amazing video tutorial to share with us all.

Our challenge theme this month is .... "TINY ACCESSORIES" - take your cue from any of the outfits included in Tiny Accessories 1 or Tiny Accessories 2 for a card of any theme. Incorporate an animal or get creative with using the accessories on other items, like eggs, trees, flowers. Accessorise!


For the  challenge today, I decided to create a kids birthday card using the cute chick in the Spring Animals die set and have it dress up as all sorts of characters ... Super Chick, A Little Old Lady, King, Pirate and Sherlock Chick. To dress up my chicks, I used dies from both the Tiny Accessories 1 and Tiny Accessories 2 die set.

For the card itself, I used the Circle Tag Pop-up Die set and added the pop-up part of this card into a normal side folding card.


To create the grass and trees in each of the circles I used the Nature Edges and Outdoor Scene die sets.

Super Chick also needed a "S" on it, so I die cut an "S" from the "Sunshine" Sentiment from the Word Set 6 - Summer die set.

The sentiment on the top left hand corner of the card uses one of the dies from the Word Set 8 - Congrats die set.


For the king .... I added a couple of the dies from the Castle Pop-up die set, because a king must have a castle right! I scroll I figured could be some decree he has just come up with. I also added a royal cape to him using the same die I used to make Super Chick. I also added gemstones to the kings crown.

A pirate needs to find treasure, so I added some gold coins around him using the circles that came out of one of the border dies from the Border Blends - Party die set.

To finish off the inside of the card I added a stamped sentiment which is stamped onto an oval from the Crosshatch Ovals die set.


For the front of the card, I added the Happy Birthday Sentiment which was die cut from orange and blue cardstock and layered using the Crosshatch Ovals die set.

I also added two more chicks ... Super Chick and maybe Sherlock Chick or a Gentleman whichever you want it to be.

Don't forget to visit Karen Burniston's blog on Wednesday when you will be able to see what all the designers created for the challenge this month.


Supplies:
For your shopping convenience, all products are linked below. Compensated affiliate links are used where possible with no extra cost to you. This helps me to continue to share all the projects I include on my blog. Please note I only use and share products I love.

Celebrate Your Day Clear Stamp Set - Reverse Confetti/STAMPtember 2017 


Monday, March 4, 2019

Rebus - Movies by John Wayne


Hi Crafty Friends,

It's time to share another rebus puzzle swap with you. This month the theme is Movies starring John Wayne.

If you would like to solve my rebus puzzle, why not post a comment on my blog post with your answers. I will let you know what the correct answers are next time I post a rebus card here.

How did you go solving my October Rebus which was"Songs by Cliff Richard".
 Here are the correct answers so you can check how you did.

  1. Lucky Lips
  2. The Minute Your Gone
  3. Some People
  4. Bachelor Boy
  5. Goodbye Same, Hello Samantha
  6. The Young Ones


You can find all my past Rebus Cards here.


Sunday, March 3, 2019

Party Like It's 1922


Hi Crafty Friends,

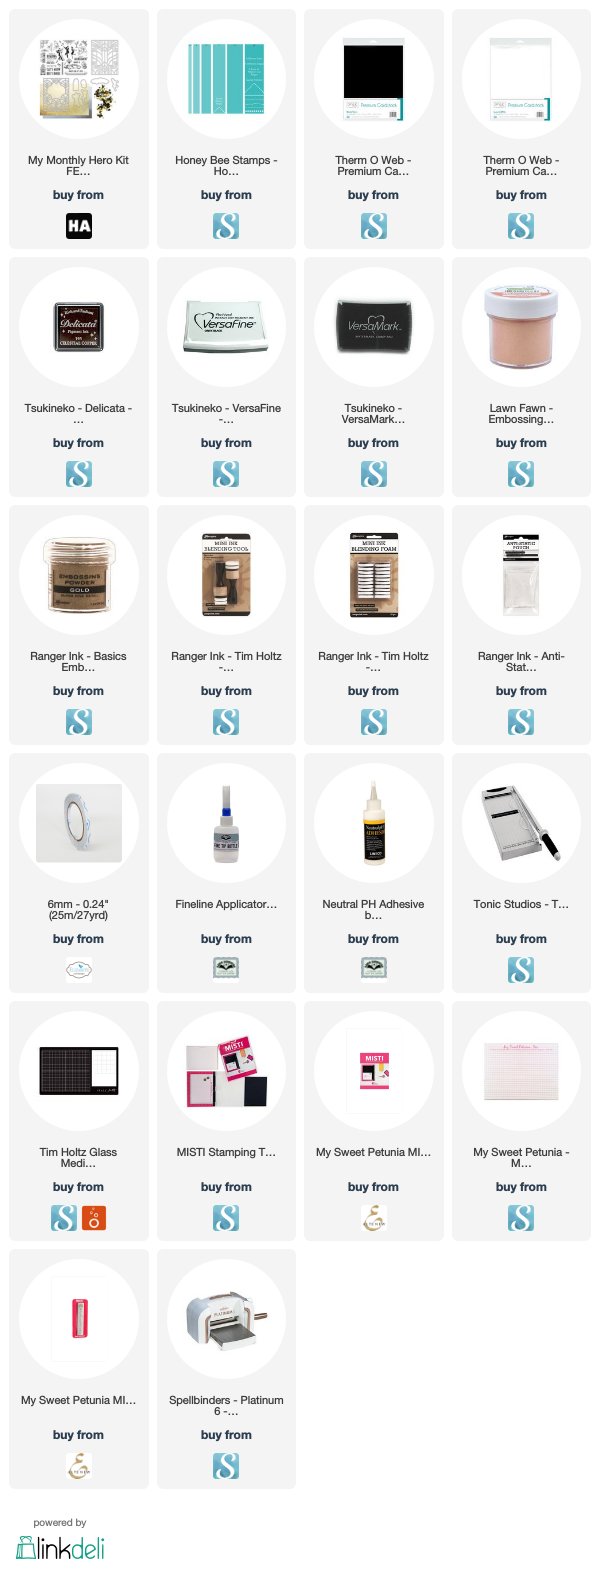
I have two cards to share with you today, using stamps and dies from Hero Arts February My Month Hero Card Kit.

When I saw this kit, I fell in love this large Art Deco themed die that I just had to purchase the kit.


I knew when I was creating my cards, that I wanted to make one using the art deco background die by die cutting it from black card and then inlaying gold/copper glitter cardstock into each of the pieces.

As I need to die cut the frame using two different colors, it made sense to make two cards rather than one, just alternating the colored card/glitter card I used.

For the card above I added the two single dancers and added a sentiment which was die cut using Honey Bee Stamps Banner Builder die set. I also added some of the flat gold/black sequins which were included in the kit to the card.


For the inside of my first card, I added the frames, sentiment, juke box and music box to a white card panel.


For my second card, it is much the same as the first except this time I used the dancing couple from the kit.


For the inside of the card I again used the frames but this time added the glittered panel which came out of the panel when I die cut the frame from the gold cardstock. I also added another sentiment.

Supplies:
For your shopping convenience, all products are linked below. Compensated affiliate links are used where possible with no extra cost to you. This helps me to continue to share all the projects I include on my blog. Please note I only use and share products I love.


Saturday, March 2, 2019

Bean Thinking About You


Hi Crafty Friends,


It’s challenge time with the “Crazies” over on the Crazy 4 Challenges blog. Being a brand new month it is time to introduce our challenge hostess for the month, which this time around is ME!

March is Caffeine Awareness Month, so for our challenge this month create a Coffee themed card.


Just recently I have been reorganising how I store my larger dies ... I hadn't found an ideal packaging alternative until now. When I was moving over my Honey Bee Stamps from it's original packaging which was starting to fall apart, to it's new folder I discovered two cards that were partially made. The first was the complete folded card which had the rainbow patterned paper on the front, and the other was just die cut patterned paper. I decided to pull these out and make them into cards.


Last month Craftin' Desert Divas released this fun Love Your Mug stamp set .... I especially loved the sentiment "Bean Thinking About You" as I had been looking for sets that had coffee themed sentiments but were like this or birthday themed ... it's hard to get the sentiments I am looking for. So when I saw this one I added it to the order I was going to place anything. 


For the sentiment I masked off the "About You" so I could stamp the "Bean Thinking" to the Coffee Cup lid and then stamps the remaining part of the sentiment onto black cardstock and adhered it to my image.


Of course I always like to decorate the inside of my card so I added another of the images and sentiments included in the stamp set.


For my second card I used the same sentiment on the front as I used for my previous card, but changed up the image. This way I got to use all the images and sentiments in the set.


This is such a super cute image.


And one last photo, this time showing the inside of my second card.


Don't forget to check out the rest of the “Crazies” cards over on the Crazy 4 Challenges blog and also their individual blogs for more details.


Supplies:
For your shopping convenience, all products are linked below. Compensated affiliate links are used where possible with no extra cost to you. This helps me to continue to share all the projects I include on my blog. Please note I only use and share products I love.


Friday, March 1, 2019

Divinity Designs - Glorious Easter & Stencils


Hi Crafty Friends,

I have 2 more projects using some of the Divinity Designs February Release products. Today I am  focusing on the new Glorious Easter  Stamp set with the two new stencils ... Arrows & Flourishes.


For my first card today I have used the Glorious Easter Stamp set along with the Arrows Mixed Media Stencil and Lever Card Die & Lever Card Layers Die sets.


One of my favorite ways to use stencils is to apply ink through the stencil using a blending tool and then move the stencil over to add a second color. It gives the background an entirely different look.


For this background I adhered the Arrows Stencil onto a piece of white cardstock and then applied Mustard Seed Distress Oxide ink through the stencil. The photo on the right is how the stencil should look like when you use it as it was designed to be used without adding the extra step.


To create the two tone look of the background on my card,  once you have applied the ink through the stencil the first time, remove the stencil and then place the stencil back onto the card so that you now have white space between the pattern. For my card I used Carved Pumpkin Distress Oxide inks.


For the sentiments I used the rectangles from the Scalloped Rectangles die set also new for February adding the same Distress Oxide colors and stamping the sentiments using black ink. I sponged the inks to the cardstock panel while the die was still in place so I could get the white border.


For the front of the card, I added another Scalloped Rectangle which had been sponged with ink in the centre and then added orange gems to the rectangle.


For my second card today I again used the Glorious Easter Stamp set this time with the Mixed Media Stencil - Flourishes and Vintage Label Flip Fold Card with Layers Die set.


For this background I used the Flourishes Stencil with Yupo Paper and Alcohol Ink and Alcohol Lift Ink. 
I used Flamingo, Pink Sherbet, Shell Pink, Crimson Alcohol Inks to create the alcohol inked background before placing the stencil over the inked panel and lifting off the ink using the Alcohol Lift Ink reinker. I also added some silver foil over the background while the ink was still slightly wet.


For the layering of the image and sentiment on the centre panel I used the Double Pierced Vintage Labels Die set.


Thanks for visiting my blog today, I hope you enjoyed my projects.

Supplies:
For your shopping convenience, all products are linked below. Compensated affiliate links are used where possible with no extra cost to you. This helps me to continue to share all the projects I include on my blog. Please note I only use and share products I love.