Showing posts with label Kids cards. Show all posts

Tuesday, June 3, 2025

June 2025 Karen Burniston Designer Challenge


Hi Crafty Friends,

Welcome to our June Karen Burniston Designer Challenge.

Check out Karen Burniston's blog on Wednesday (US Time) when you will be able to see what all the designers created for the challenge this month, plus Karen will have an amazing video tutorial to share with us all.


Our challenge theme this month is ... "ANIMALS & CHARACTERS" - Use any of our Animal or Character dies (Gnomes and People count) for a card of any theme


My first thought when I started making my card was to create a baby card using the animals from the Safari Animals die set, but as you can see I ending up making a birthday card.

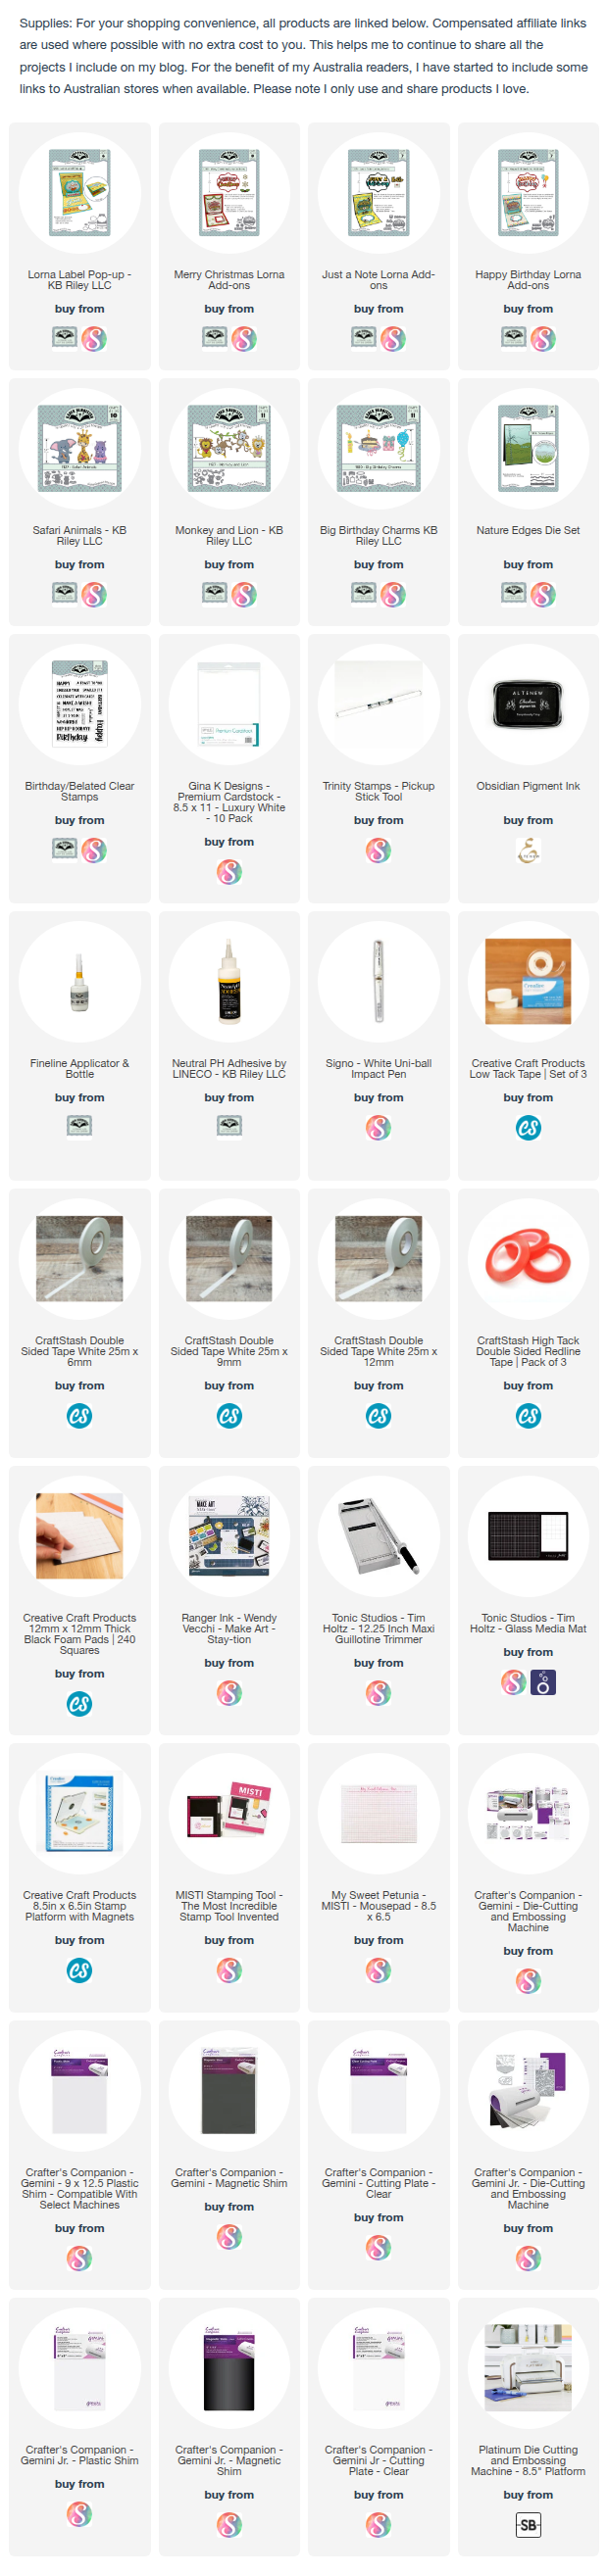
I used the Lorna Label Pop-up die set to create a double pop up. I used the grass from the Nature Edges die set to add grass to the top label of the pop up.

I gave the elephant a candle which is from the Big Birthday Charms die set, The balloons the giraffe is holding is from the Lorna Label Add-ons Happy Birthday die set.


Along the top edge of the card, I added the vines & monkey from the Monkryband Lion die set.

The sentiment on the lower label of the pop up is from the Birthday Belated Clear Stamp set.

To finish off the inside of the card I added two presents which are from the Big Birthday Charms die set.


I have been wanting to create a shaker card for some time, so for this card I created a full front shaker using packaging from a stamp set.

I added the birthday sentiment which is from the Lorna Label Add-ons Happy Birthday die set.

I added another giraffe, elephant and monkey to the front of the card. 


Monday, February 24, 2025

Happy Birthday Earthling


Hi Crafty Friends,

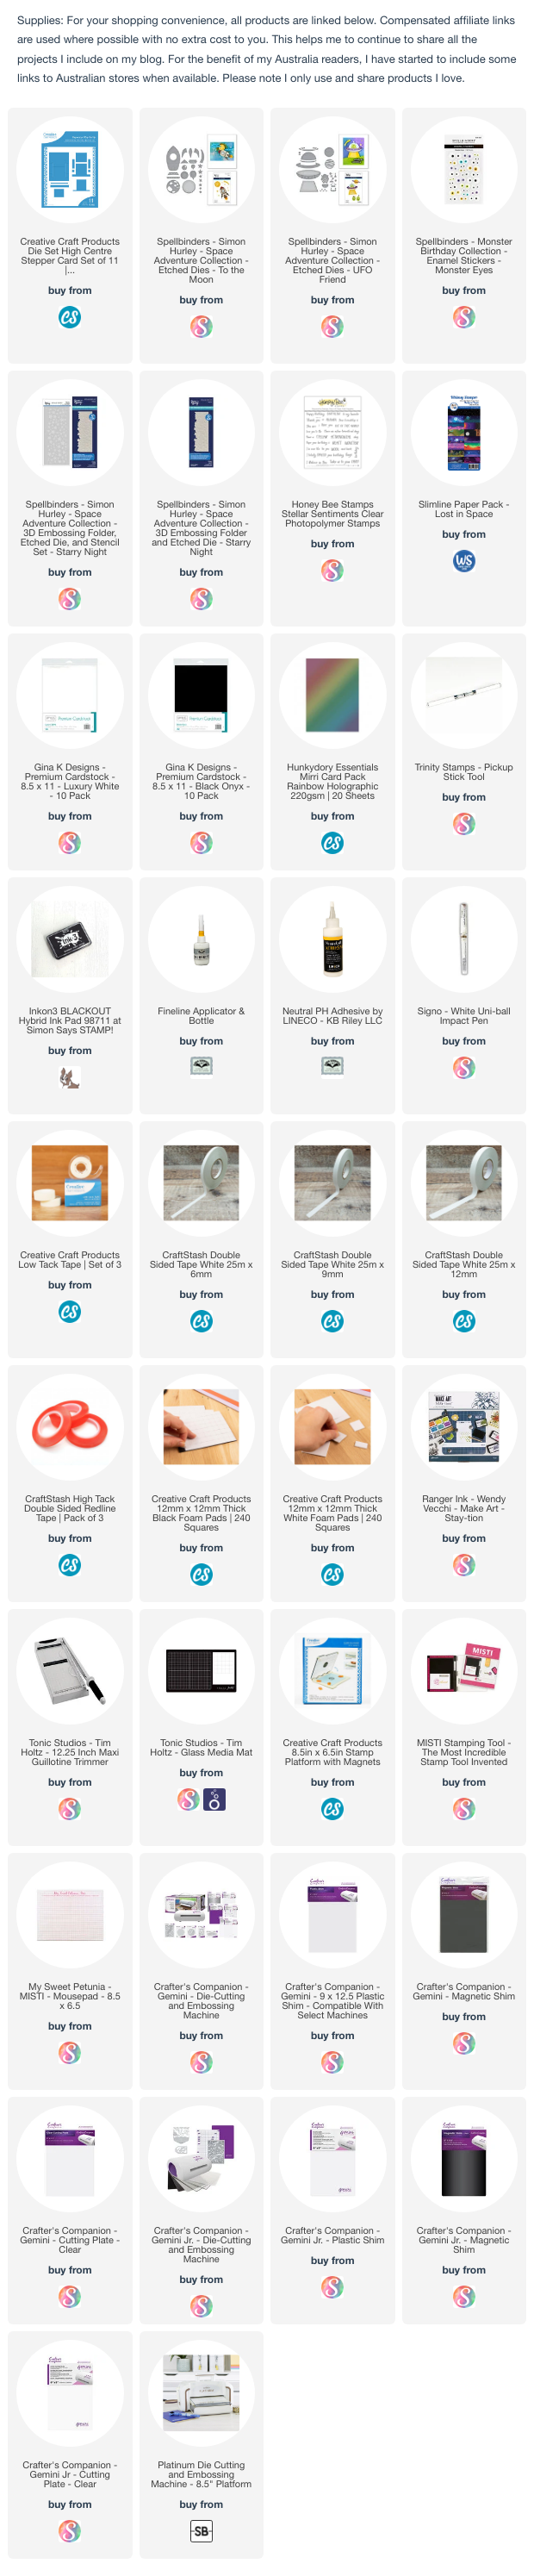
Today I am sharing a Space themed Inside Out Stepper Card I created using Spellbinders Space Collection designed by Stephen Hurley. 

THe Inside Out Stepper Card  was created using  Creative Craft Products High Centre Stepper Card from the Step on Up 2 Collection. Sam Calcott, shared a tutorial on this style of card a few years ago, you can see her tutorial here.

I used black cardstock for the base of my card, and then decorated all the panels using a patterned paper from Whimsy Stamps Lost In Space Slimline Paper Pack. This was layered using Silver Holographic cardstock.

I used Spellbinders To The Moon & UFO Friends die seetd for all the various images that decorate my card.

I added three sentiments from an older Made To Surprise Out In Space stamo/die set.

I don't normally decorate the sides on the front of the csrd, but I was having so much fun that I kept going!


Here is a look at my card when it is folded ready to be placed in an envelope. When closed the card measures approximately 5 3/4 inches x 7 1/4 inches.


For the inside I added a stamped sentiment to the middle panel using stamps from Honey Bee Stamps. I also decorated the side panels with a few aliens etc.

To create the ground of the planet the aliens are standing on, I die cut a side panel from grey cardstock and then used the die included in the Starry Night Embossing Folder to die cut the top of the panel.


Wednesday, February 19, 2025

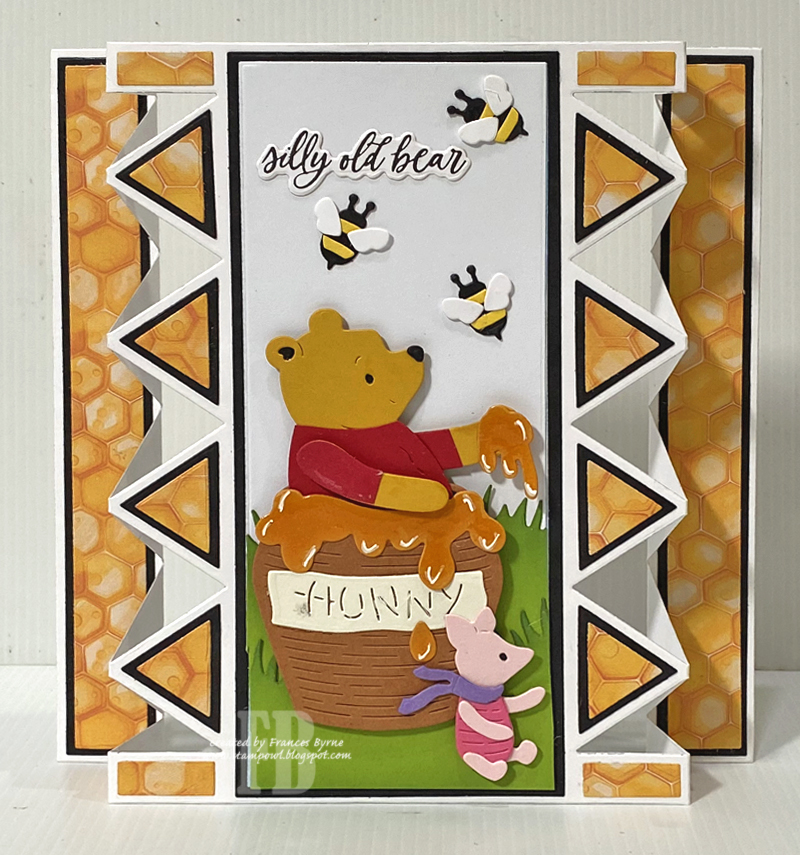
Silly Old Bear


Hi Crafty Friends,

Today I am sharing another "Pooh" themed card I created using the Classic Pooh Collection from. Spellbinders.

I used Made to Surprise by Sam Calcott’s 5 x 7 Cracker Tower die set to create my card base.


This time round, I added Pooh to a large honey pot. I added Glossy Accents to the honey areas to give them more of a honey look.


Here is a look at the back of the card. I added a few more die cut elements from the Classic Pooh die sets. The birthday sent is from Made To Surprise’s Moving Along Sentiment stamp set. 


Wednesday, January 15, 2025

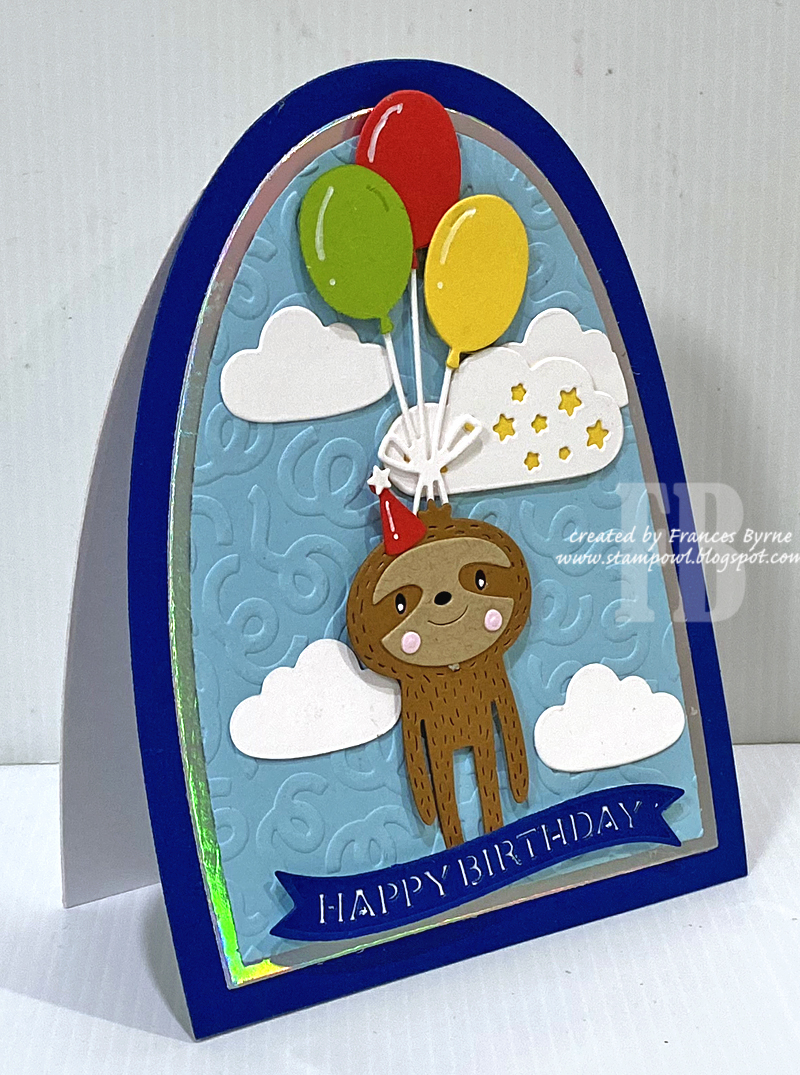
Arched Happy Birthday


Hi Crafty Friends,

Today I am sharing a fun shaped birthday card with you using dies from Spellbinders Paper Crafts.

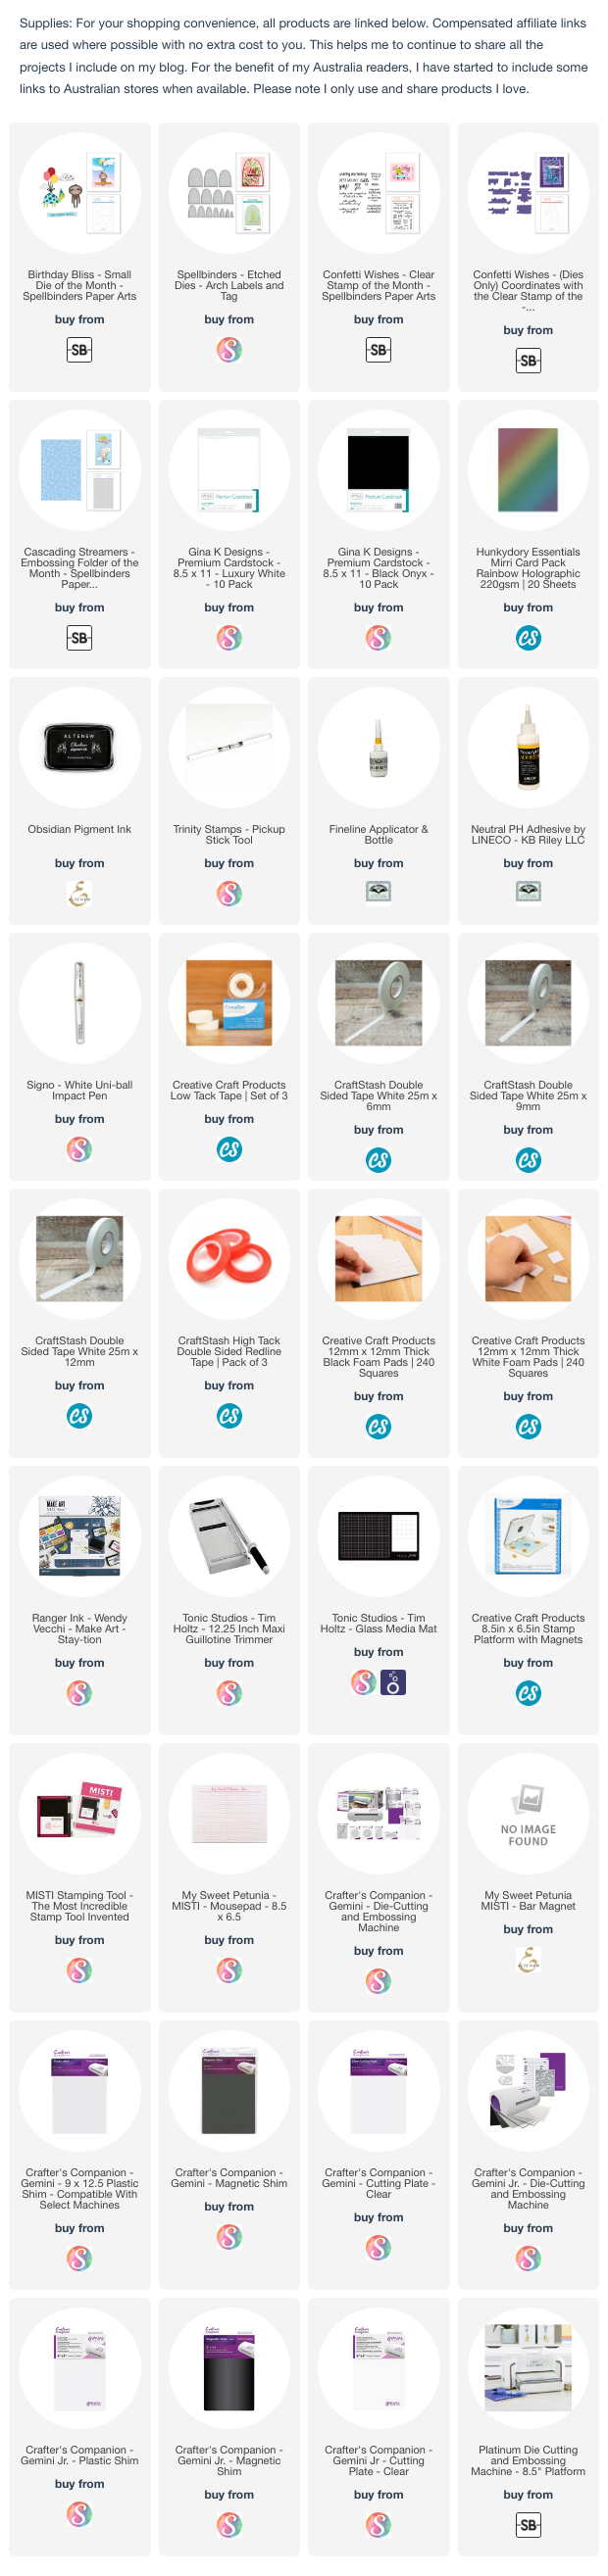
For the Arch shaped card base & layers, I used the Arch Labels & Tag die set. I cut the larger arch from dark blue cardstock and also one from white. And then counting down from the large arch as "1" I took the 3rd and 4th arch die for the layers, so I could have a larger border between the silver and dark blue base.

For the blue arch that acts as the sky I Spellbinders Cascading Streamers Embossing folder to add texture, this was the Embossing Folder the Month for November 24. The Sloth, balloons. clouds etc are all from the Birthday Bliss die set which was the Small Die of the Month for November 24. I ended up ordering the caboodle meaning I got all the products for November at a cheaper price which I received for a Christmas present.


The sentiment along the bottom of the card is one using a banner die set included in Spellbinders Advent Calendar for 2024 ... there is a banner die included in the die set I used for the rest of the card but it said Birthday Blessings and I preferred Happy Birthday for this one.


For the inside of the card I added a birthday sentiment from the Confetti Wishes which was the Clear stamp of the month for November 24. I also added a bunch of balloons to the right hand side of the panel.


Thursday, October 20, 2022

Roarsome


 Hi Crafty Friends,

It's challenge time with my friends over on the CCEE Stampers challenge blog. Lynn McAuley our challenge hostess for the month continues to issue the challenges.

Reptiles – Apparently October 21 is National Reptile Day. Be sure your card this week features the reptile of your choice: an alligator, a lizard, a turtle, a snake, a dinosaur! Or include them all! You choose!


I have purchased a few dinosaur stamps and dies in the past few months, so this was the perfect opportunity to get a few of them to create my card today.


For my card I used dies from Whimsy Stamps, the dinosaurs are from a die set called Roaring and the setting is from a die set called Roamsome. I also used papers from Whimsy Stamps Lost in Space Slimline Paper Pad for the background of my card. My slimline card measures 3 3/4 inches x 8 3/4 inches.


For the inside of my card I added a purple border along the bottom edge of my card using a slimline die from Honey Bee Stamps. I also added two more of the dinosaur images. to my card.


To finish off my card I added a dinosaur themed sentiment using a sentiment from Pretty Pink Posh's Dinosaur Friends Stamp set and the "Happy Birthday" sentiment is from Spellbinders Birthday UnBoxing Stamp set.


Don't forget to check out the CCEE Stampers blog (goes live 12 AM EST) to see the rest of the creations the CCEE Stampers created this week. You can also see more details of their creations on their individual blogs:


Tuesday, August 23, 2022

Paddington Magic Colour Slider


Hi Crafty Friends,

Thanks for visiting my blog. I am sharing a fun birthday card I created recently.

For my card today I created a Magic Colour Slider card using Made to Surprise by Sam Calcott's  Magic Colour Slide 5 x 7 Mechanism die set  

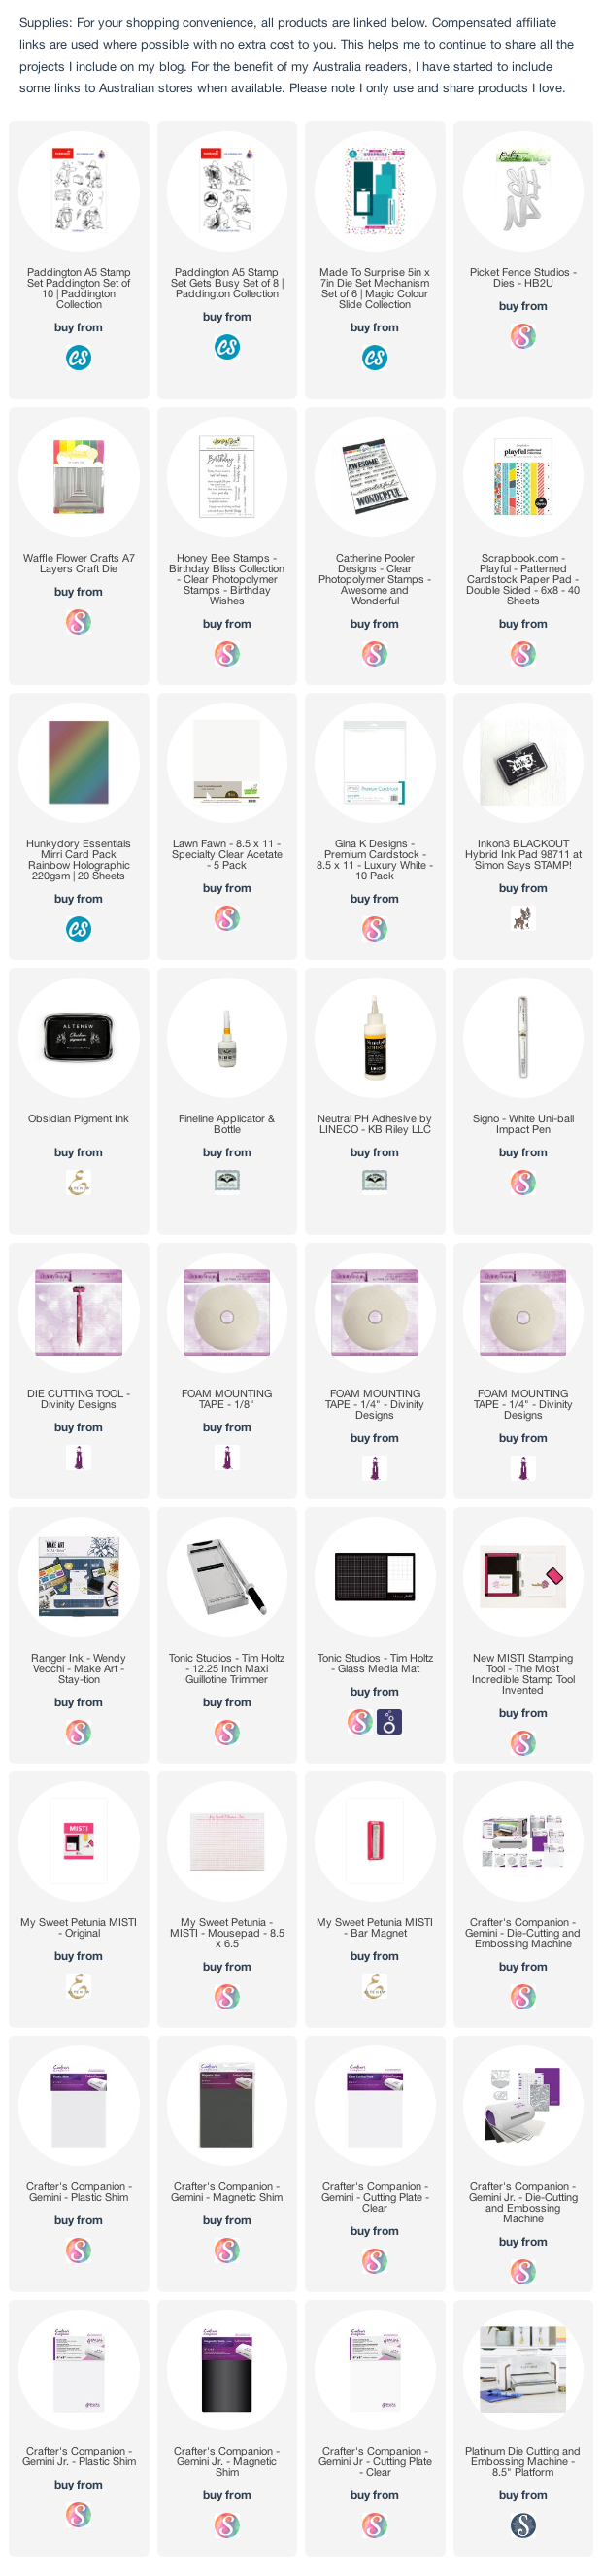
To decorate my card I used Paddington and Paddington Gets Busy Stamps sets from Craft Stash. 


When you start to pull the tab at the top of the card, the black and white image starts to disappear with a coloured image. 


Here is a look at my card when the tab is completely pulled, you can see the fully coloured Paddington Bear and also a sentiment. 

I layered the slider onto a panel of Holographic cardstock which is die cut using the largest rectangle die included in the Magic Color Slide 5 x 7 Mechanism die set.


For the inside of the card I added the "HB2U" sentiment using a die set from Picket Fence Studio. I added another of the Paddington Bear and Paper Airplane images from the stamp set.


Tuesday, August 2, 2022

August 2022 Karen Burniston Designer Challenge

Hi Crafty Friends, 

Welcome to our August Karen Burniston Designer Challenge.

Check out Karen Burniston's blog on Wednesday (US Time) when you will be able to see what all the designers created for the challenge this month, plus Karen will have an amazing video tutorial to share with us all.

Our challenge theme this month is ... "LABELS" - create a card of any theme that incorporates a pop-up label.

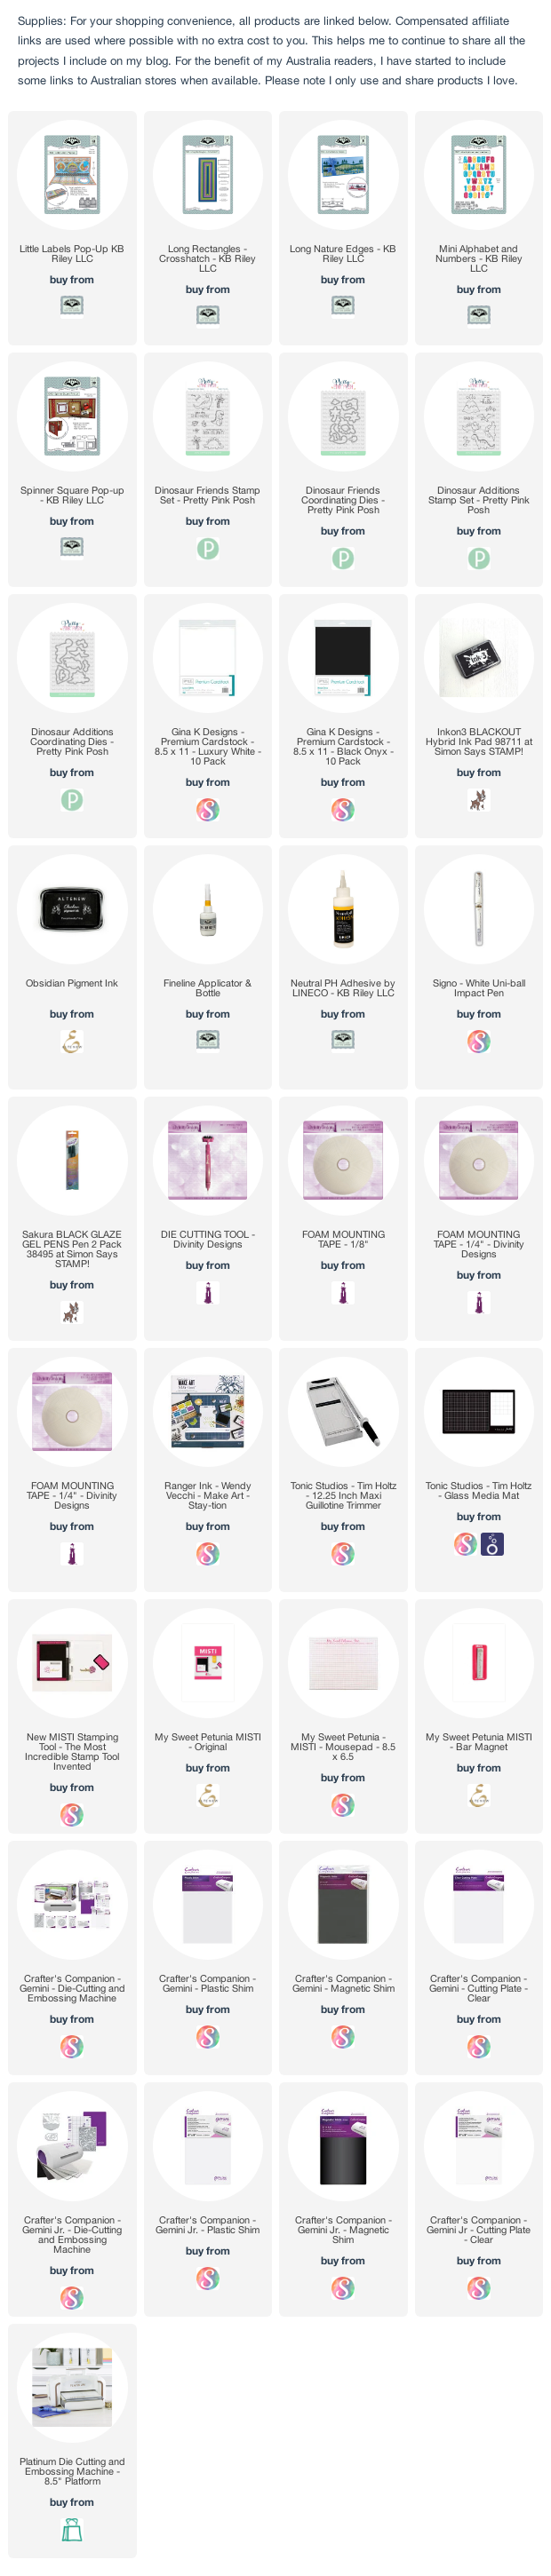
For my card today I decided to use the Little Labels Pop-up die set for the "label" part of this challenge. I love that this die will fit so many different card sizes including Slimline and Mini Slimline cards.

I used the largest rectangle die from the Long Rectangles - Crosshatch die set to die cut all the layers on this card. I used a blue patterned paper for the back (the sky area) and a green pattern paper for the base (the grass).


I used the grass die from the Long Nature Edges die set to crate a grass border which I adhered to the rectangle panel at the base of the Little Labels Pop-up die set as well as along the front edge of the base panel.

The "Dino-mite" along the front of the card was created using the Mini Alphabet and Numbers die set. This finishes off the sentiment which is in the centre label of the pop up. I also added a speech bubble above the purple dinosaur using the speech bubble included in the Spinner Square Pop-up die set, I repositioned the speech bubble in the die to shorten it a little.

The dinosaurs and stamped sentiments are from two Pretty Pink Posh stamp sets, details included in the supply list below.


For the front of my card, I used the Long Rectangles - Crosshatch die set to create the patterned paper layer, I used this on both the blue and green patterned paper. I also used one of the dies in the set to die cut the sentiment, again repositioning the die to shorten the length of the panel. The green paper was also die cut using the grass die included in the Long Rectangles - Crosshatch.

I used the remaining stamps included in the two stamp sets to complete my scene.


Monday, March 15, 2021

Racing To Wish You ...


Hi Crafty Friends,

I have a Slimline Pop-up card to share with you today.

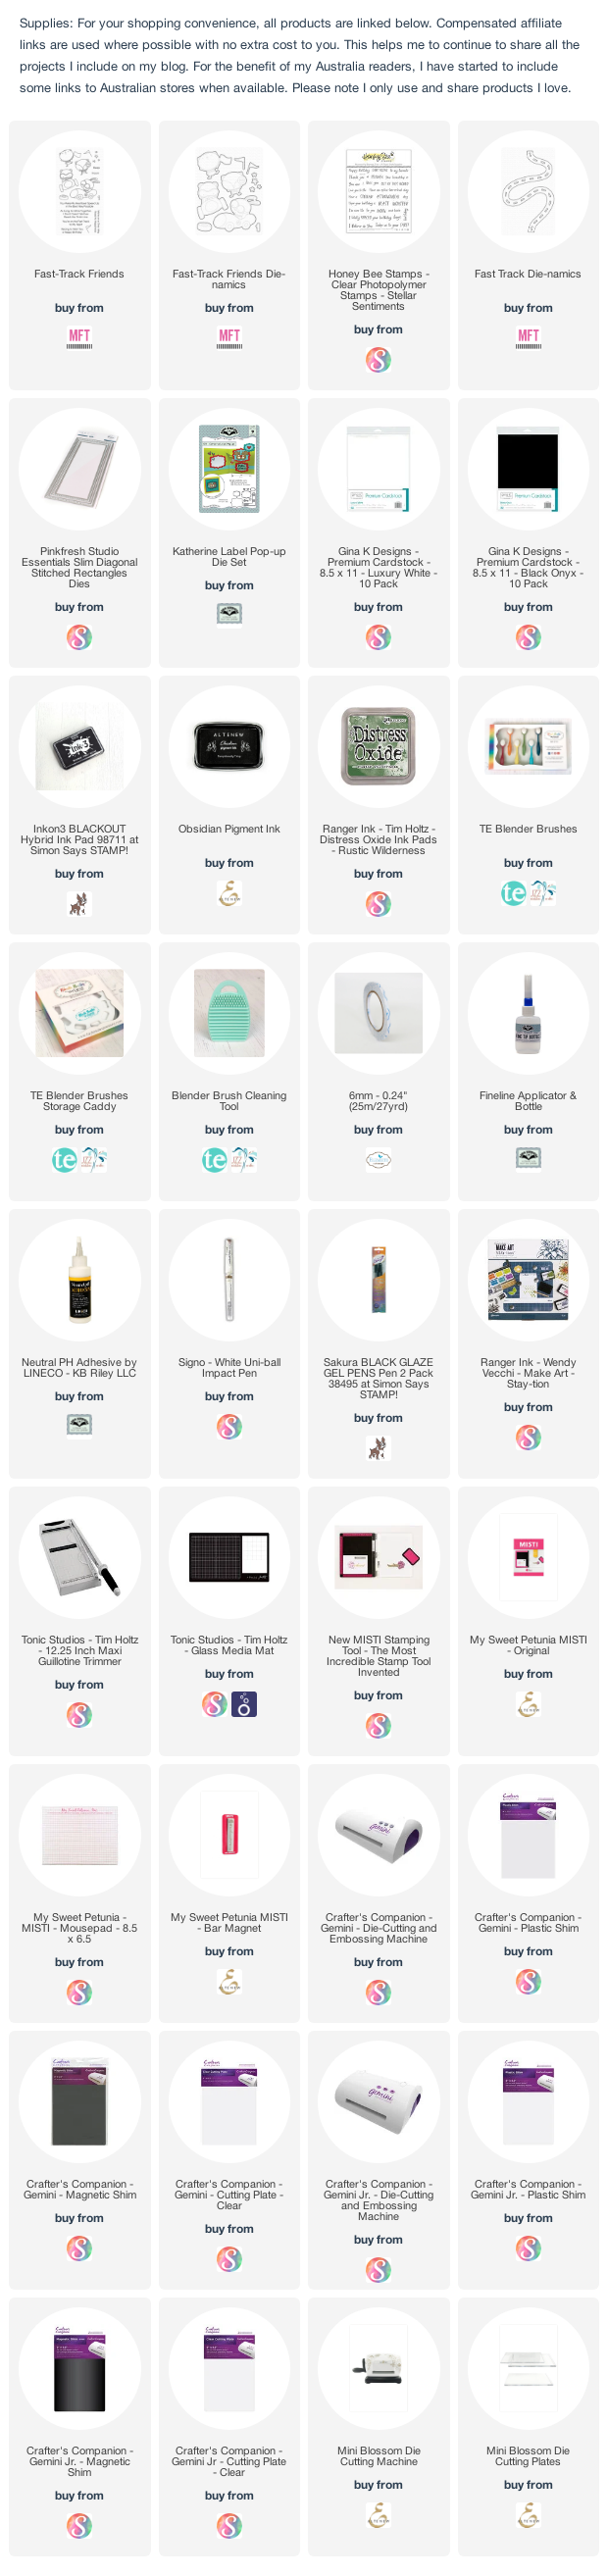
I recently got MFT Stamps Fast-Track Friends stamp set and the coordinating Fast Track Die-namics, so of course I had to play with it. I decided to create a Slimline card using the set.


I die cut a piece of green cardstock using Pinkfresh Studio's Slim Diagonal Rectangles die set to create my green background panel. I die cut two of the Fast Track Die-namics and layered them to white cardstock and trimmed around the edge of the track. I adhered the road to the green panel overlapping the two roads in the middle of the card. The join is hidden by one of the cars.

I used the stamps from the Fast-Track Friends stamp set and adhered them to the card as per the photo above. As my grandson is turning 11 this year, I decided to add the number 11 to one of the cars.


For the inside of the card I created a Double Pop-up card using Karen Burniston's Katherine Label Pop-up.

I added a panel of green cardstock to either edge of the card and then added the road up the panels. I also added more of the images that I used on the front of the card to the green panels.


Friday, April 5, 2019

Swinging By To Say ....


Hi Crafty Friends,

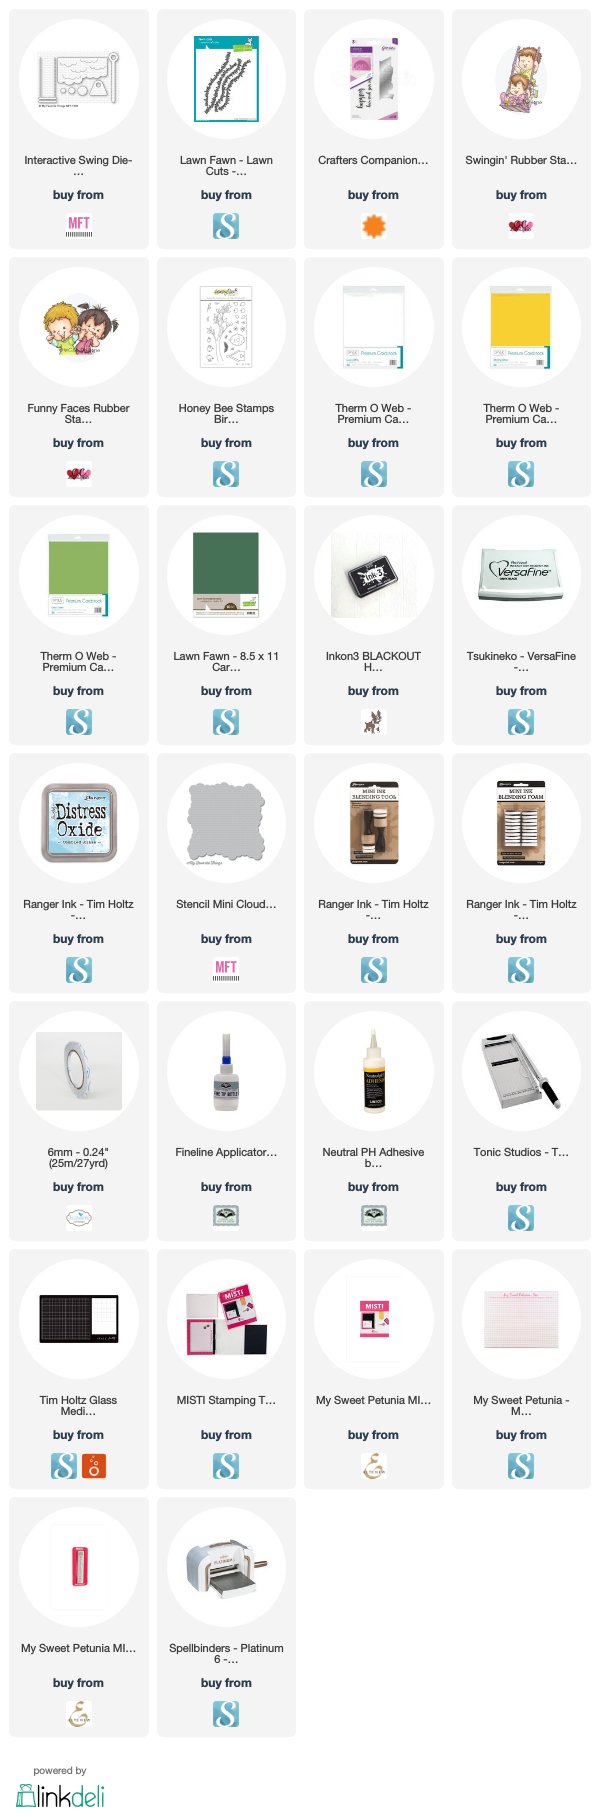
Today I am sharing an Interactive Card I recently creating using the new MFT Stamps Interactive Swing Die-namics. 

This die enables you to create fun swing themed cards that actually "swing" using either stamps or the swing die included in the set. MFT also released two different swing themed stamp sets that can be used in conjunction to this stamp set, but I discovered I already had a number of swing themed stamps that would work with this die, that I only purchased the die set.


Here is a quick video to see my card in action.

This is a tall card, it measures 7 inches x 4 3/8 inches. To create the cloud background I used MFT Stamps Mini Cloud Edges Stencil and Tumbled Glass Distress Oxide ink on white cardstock.

I used the Tree/Cloud die included in the Interactive Swing Die-namics set to create the tree the swing is connected to. I die cut the tree twice from two different colored green cardstocks and layered the two together so that you could partially see the darker one on the bottom. 

I added grass to the bottom edge of my card.

The swing is one of my favorite stamp images from the Roberto's Rascals Collection from CC Designs. This stamp so looks like my two grandchildren, so I colored them to look like them.

I added flowers and a bird from Honey Bee Stamps Birds and the Bees Clear Stamp set around the trees and grass.

The sentiment is from a now retired Paper Pretties stamp set.


For the inside of the card I added a sentiment using Crafter's Companion's Happy Edge'ables stamp/die set and added another CC Designs stamp set which matches the one on the front.

Supplies:
For your shopping convenience, all products are linked below. Compensated affiliate links are used where possible with no extra cost to you. This helps me to continue to share all the projects I include on my blog. Please note I only use and share products I love.


Sunday, March 17, 2019

Cold Hands Warm Hearts


Hi Crafty Friends,

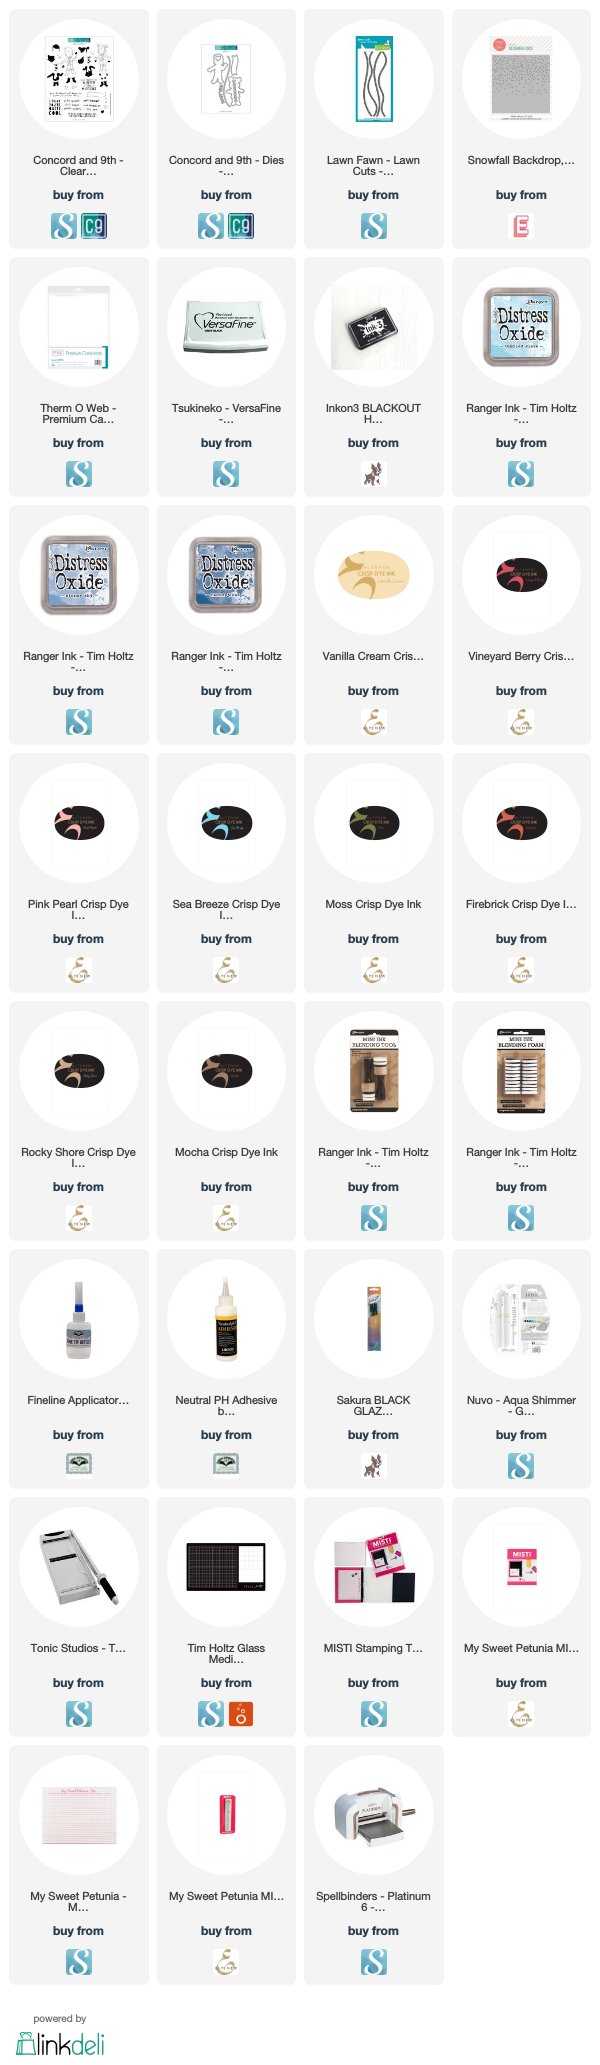
Today I have a wintered themed birthday card to share with you. We are in the middle of summer where I live, however as I recently managed to get hold on this cute "Bundled Up" stamp set from Concord & 9th I decided to create a winter scene card.

The kids are stamped using black ink and then I used the coordinating solid clothing/accessory stamps and Altenew inks to add color to the whole image. I wasn't sure whether I would like this type of coloring, but it was pretty easy to do.


For the background of my card I used Ellen Hutson's Snowfall Backdrop die which I die cut using white card stock and then colored using Distress Oxide inks in a number of different blues.

I added the snow to the bottom of the card using Lawn Fawn's Stitched Hillside Borders.

To finish off the front of the card I added a few of the sentiments from the stamp set.


For the inside of the card I added two more of the sentiments and added the boy and girl to the bottom of the card.

Supplies:
For your shopping convenience, all products are linked below. Compensated affiliate links are used where possible with no extra cost to you. This helps me to continue to share all the projects I include on my blog. Please note I only use and share products I love.