Showing posts with label Sewing. Show all posts

Friday, August 14, 2026

Sewing Jar


Hi Crafty Friends,

Today I am sharing a fun sewing themed Jar shaped Easel card I created for a friends birthday. I have been making her sewing themed cards for as long as I can remember. 

For my card I used two die sets from Spellbinders April 2024 Club Kits ... Pins & Needles Jar die set and Faux Stitched Sentiments & Floss die set. Unfortunately both of these die sets are out of stock now, but fortunately I had them so I could make this card.


As you can see, I decided to create a jar shaped Easel Card, adding the sewing themed images to the jar and also the base (which is also jar shaped).


Here is a look at the card when it is closed ready to be placed in an envelope.


Friday, August 8, 2025

A Patchwork of Happiness


Hi Crafty Friends,

Today I am sharing a Sewing themed Circle Accordion Card using products from Made To Surprise and Waffle Flower Crafts.

I made this for my friend, who loves sewing, especially quilting etc so I normally make her a card with this theme each year. This year when Waffle Flower released all the sewing themed products I had to get some for this card.

The card base itself was created using Made To Surprise by Sam Calcott's Circle Accordion Showstopper die set which is one that was released a few months back.

For the centre circle panel, I used Waffle Flower's Meandering Texture Die to add the texture to the background, this was also used on all the oval panels and the skinny rectangle panels. I used dies from the Notions die set to add the sewing tools. The postage stamps were created using Waffle Flower's Postage Collage die set and the Postage Collage Sew Fun Stencil. Rather than using the full panel, I cut this panel up to add to the card.


For all the quilted panels I used the Quilted Floral Stencil with the Meandering Texture Die to give them. that quilted look.

The sentiments are all from the Quilted Hugs stamp set.


Here is a look at my card, when it is folded to be placed in an envelope. It will fit inside a 5 x 7 envelope.


Thursday, February 22, 2024

Measure Up


Hi Crafty Friends,

Today I am sharing a sewing and postage themed Slimline Pop Up Card.


Last year, I purchased Waffle Flower Crafts Postage Collage dies and stencils. I love them so much that when they released their other postage themed dies/stencils in other size formats I had to add some of them to my stash.

One that I purchased was the die stencils in the slimline format.

As you can see I went with a sewing theme for my card, using stamps from Clearly Besotted. 

After I mounted my card to my top folding card base, I added the wax seal to the lower left corner of my card. In case you can't see, the wax seal has a sewing machine on it.


For the inside of my card, I created a pop-up card, using Karen Burniston's Katherine Label Pop-up die set. Rather than adding the label from the die set to my card, I kept with the postage theme and added the postage stamp. The sentiment is from a Your Next Stamp stamp set.


I also wanted to include something sewing related to the inside of my card, so I decided to go with the zipper border. This is an older die I purchased many years ago by a company called Zippity Do Da. The die is actually only about 6 inches long, but with some careful partial die cutting I was able to die cut it so it would fit the length of my slimline card.


Thursday, June 29, 2023

Sew It's Your Birthday


Hi Crafty Friends,

Thanks for visiting my blog. Today I am sharing a sewing themed Slimline Flip and See Card I created for a friend who likes sewing.

Here is a quick video to see my card in action.


To create the interactive Flip and See portion of my card, I used Made to Surprise by Sam Calcott's DL Flip and See die set. This die allows you to create a Slimline/DL sized card with either 1, 2, 3 panels that flip up and down.


To decorate my card, I combined two different Lawn Fawn stamp sets ... Sew Very Mice and Sewn With Love. The sentiment in the centre of the panel that is revealed when the front flaps flip up is from Creative Craft Products/Craft Stash.


For the inside of the card I added a couple more of the images from Lawn Fawn. The sentiment is from Your Next Stamp.


Friday, June 16, 2023

Seams Your Birthday's Here


Hi Crafty Friends,

Welcome to my blog. Today I am sharing an 80th birthday card for someone who likes sewing.

For the base of my card, I used the Made to Surprise By Sam Catcott's 5 x 7 Side Panel die set. I added the "80" to the side panel on the right side of my card using the Large Modern Numbers die set also from Made to Surprise.


I used Your Next Stamps' Sprinkles Sew Cute stamp set to add the sentiment and sewing images in the centre panel of my card.

To decorate the remainder of the card I used dies from Karen Burniston's Sewing Charms die set.


I added layers to two of the panels on the back of the card, one for decoration and the white panel to add another sentiment and a few more sewing images. The "80" birthday sentiment is from Creative Craft Product's Numbers Galore - 80 die set.


Tuesday, September 6, 2022

September 2022 Karen Burniston Designer Challenge


Hi Crafty Friends, 

Welcome to our September Karen Burniston Designer Challenge.

Check out Karen Burniston's blog on Wednesday (US Time) when you will be able to see what all the designers created for the challenge this month, plus Karen will have an amazing video tutorial to share with us all.

Our challenge theme this month is ... "JUST..." - create a card with a theme of "Just . .. something" (Just because, Just checking in, Just saying hi, Just popping up to say, Just a note, etc.) - Note - upcoming Word Set 15 has this theme - so don't work too far ahead.


For my card today I have used two of the new die sets that was released yesterday, the Word Set 15 - Just Because and Sewing Charms die sets.

When I was thinking about this challenge, I was wondering how I could incorporate the Sewing Charms die set as I hadn't made a card using it. So I went looking through my stamp sets for sentiments, I found the "Sew happy for You", in a stamp set from Your Next Stamp and I figured that would work perfectly for the challenge, so my sentiment says ... Just Sew Happy For You.

As you can see I created a top folding Slimline Card that measures 3 1/2 inches x 8 1/2 inches. To layer the sentiments and Sewing Charms on the front of my card I used the Short Rectangles - Crosshatch die set.


For the inside of the card I used the largest rectangle die included in the Long Rectangles - Crosshatch die set to die cut my patterned paper, I selected the paper as the hexagons on the paper reminded me of quilting.

I used the Little Labels Pop-up die set to create the pop-up panel in the centre of the card. I decorated the labels on the side and the base of the card using more of the images included in the Sewing Charms die set.


For the sentiment on my centre label, I used an older Art Impressions stamp set. I also added a sewing themed sentiment to the base panel which is also included in the Your Next Stamp stamp set.


Other Supplies:
Quilting Sisters Stamp Set - Art Impressions


Thursday, July 14, 2022

Seams Impossible!


Hi Crafty Friends,

It's challenge time with my friends over on the CCEE Stampers challenge blog. Lois Bak our challenge hostess for the month, continues to issue the challenges. 

Apparently today is National Tape Measure Day. My challenge to you is to make a card incorporating a tape measure or something else used in sewing on your card – either some kind of a sewing-related image or perhaps stitching.


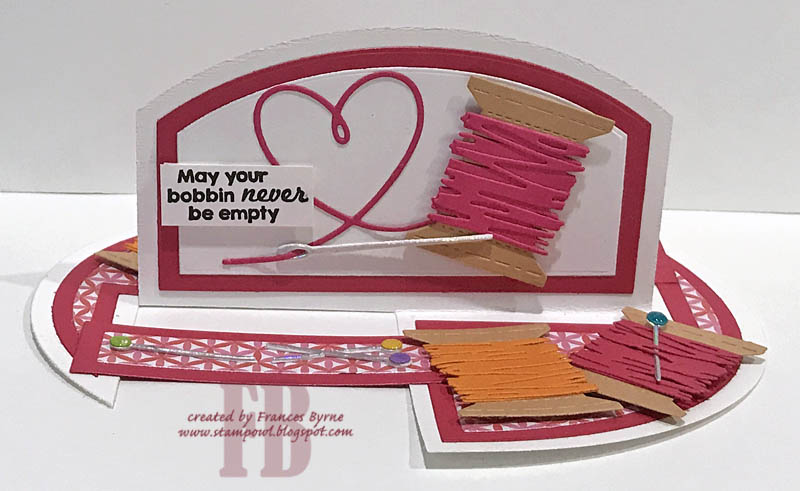
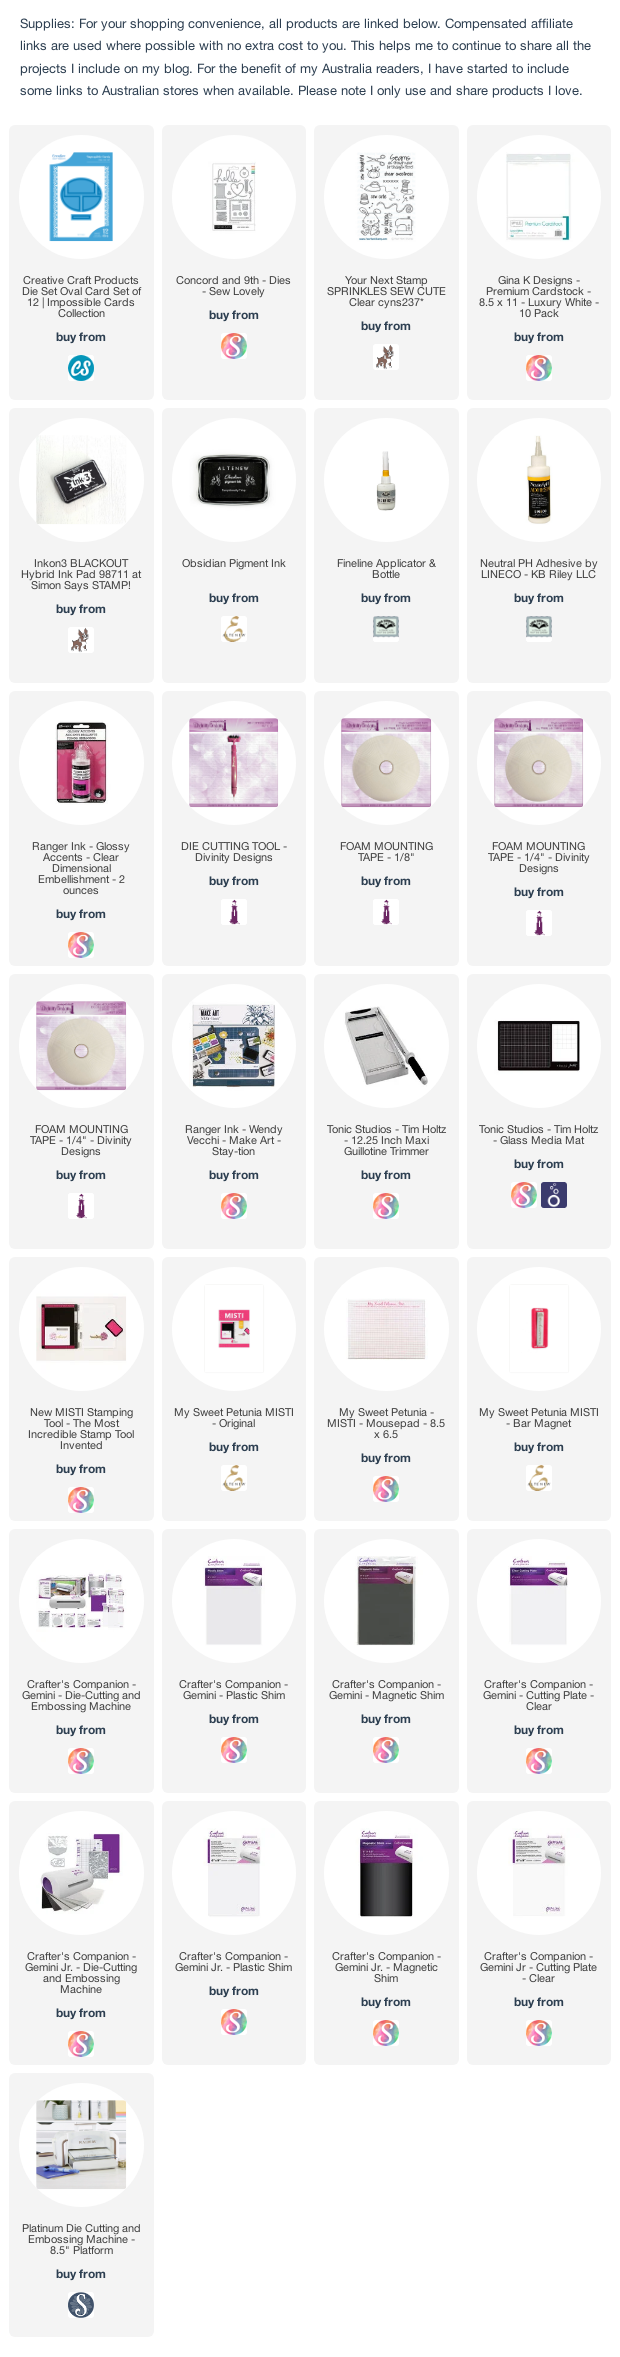
My card today is one that is called an Impossible Card. I made a few of these about 4 years ago, however I always had trouble getting the centre upright portion of the card to stay upright, so I didn't bother making any more since. I recently came across four sets of dies from Creative Craft Products that make this style of card, one of the sets was an oval shape so I decided to give it a try. I have to say I am more than happy with the die and how it works and the centre panel has stayed upright, like it is supposed to so I guess I will be making more.

To decorate my card used a stamp set from Your Next Stamp ... Sprinkles Sew Cute stamp set and also a die set from Concord and 9th ... Sew Lovely.


I decorated the back of my card using more die from the Sew Lovely die set from Concord and 9th. The sentiment is from an older Art Impressions stamp set called Quilt Set.

Don't forget to check out the CCEE Stampers blog (goes live 12 AM EST) to see the rest of the creations the CCEE Stampers created this week. You can also see more details of their creations on their individual blogs:


Other Supplies:
Quilt Set Stamp Set - Art Impressions (discontinued)


Thursday, February 17, 2022

Faux Embroidered Roses


Hi Crafty Friends,

It's challenge time with my friends over on the CCEE Stampers challenge blog. Liz Williams, our challenge hostess for the month continues to issue the challenges.

Apparently February is National Embroidery Month, so make use of stitching, faux stitching, cross-stitching, or any other embroidery stitching you might want to feature on your card. 


Late last year Divinity Designs released some cross stitch/embroidery stamp and die sets, including a cross stitch background for both Slimline and A2 cards; embroidery hoop and some cross stitched sentiments. I decided to pull these out to create my card for this challenge.

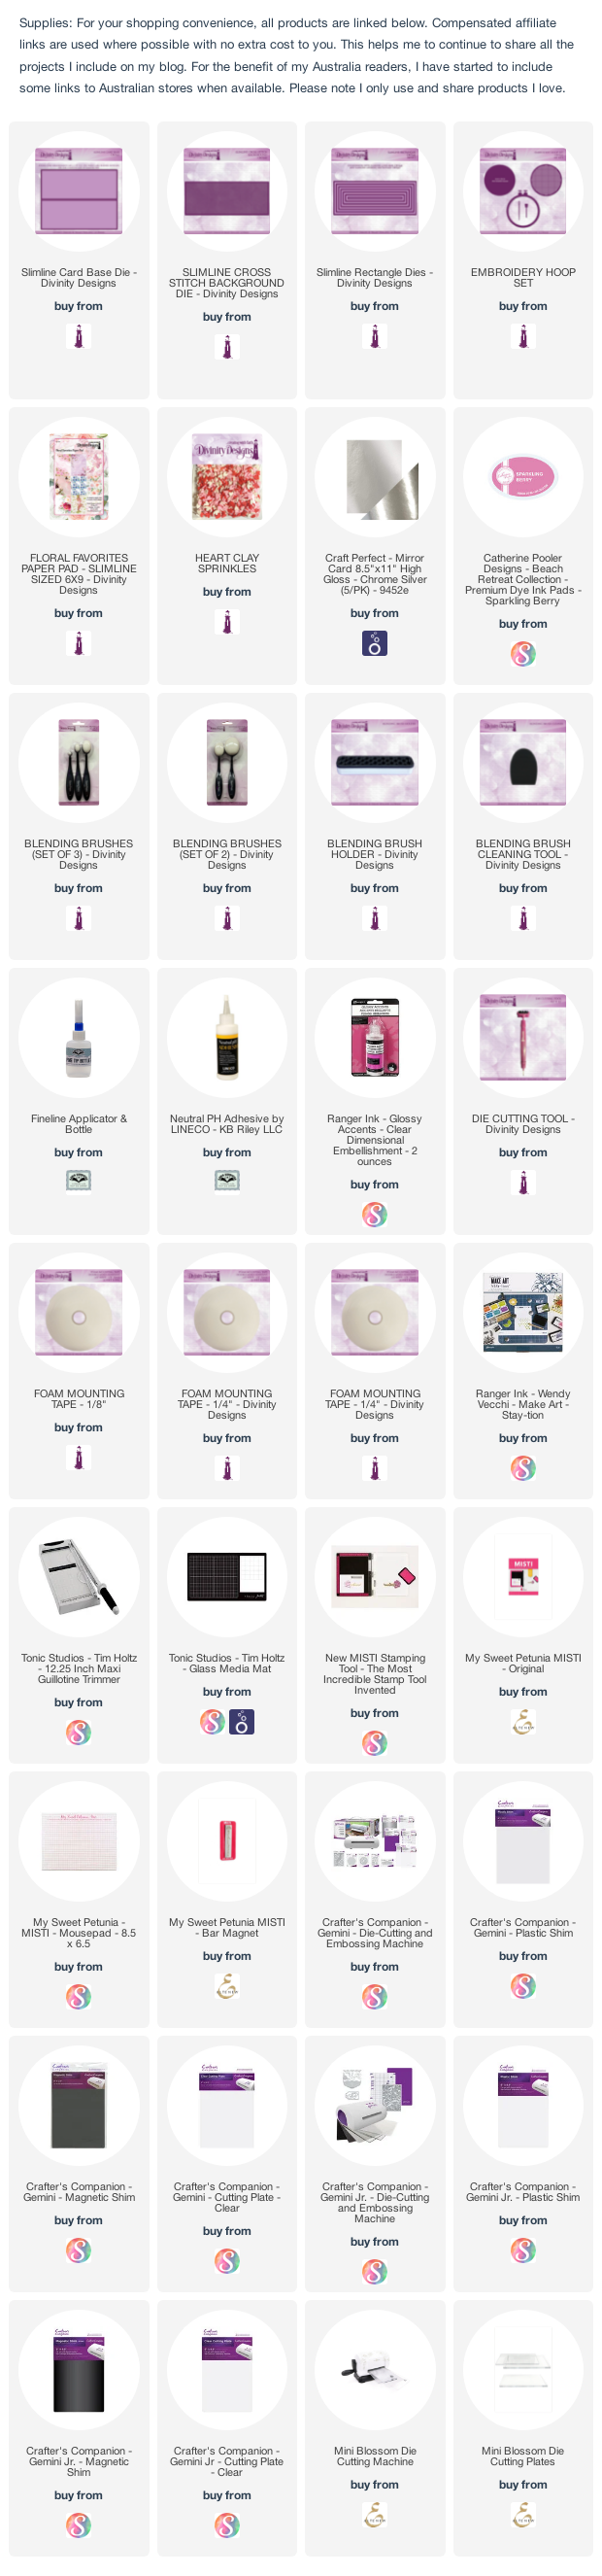
When I first received my stamps/dies last year I created two cards using a faux embroidered technique. For this technique you need two sheets of patterned paper that are exactly the same, I used Divinity Designs Floral Favorites Slimline Paper Pad. Using one of the sheets of patterned paper, I die cut the panel using the Slimline Cross Stitch Background die. I then applied adhesive all over the back of the die cut panel and adhered it directly over the second piece of patterned paper so that the pattern lined up perfectly to create the desired effect. This has become my favorite way to use the cross stitched background dies.

I layered the Slimline Cross Stitched Background panel onto Divinity Designs Slimline Rectangles die and Slimline Card Base dies.

To decorate my card I used the Embroidery Hoop die set, I die cut a circle using the same patterned paper I used for the background. I stamped the sentiment using the Keep Me In Stitches stamp set. I then adhered this hoop to the front of  my card. 

I added the needle which is also die cut using the Embroidery Hoop die set and adhered it to the top of the hoop, and then thread some pink twine through the eye of the needle.

To finish off the card, I added some pink clay hearts to the background.


For the inside of my card, I added strips of the patterned paper to the top and bottom edges. 

I created a simple box pop-up, which I placed in the centre of the card and added the embroidery hoop to this.

I used another sentiment to the inside of the hoop, using the same stamp set I used on the front.

I die cut another needle, which I again threaded with pink twine and added to the lower left hand side of my card.


Don't forget to check out the CCEE Stampers blog (goes live 12 AM EST) to see the rest of the creations the CCEE Stampers created this week. You can also see more details of their creations on their individual blogs:


Friday, January 21, 2022

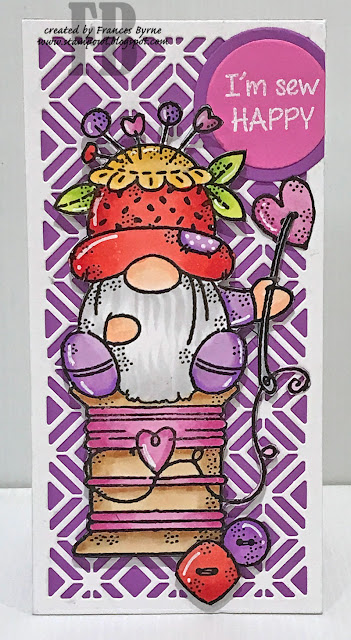
Sew Happy Gnome

Hi Crafty Friends,

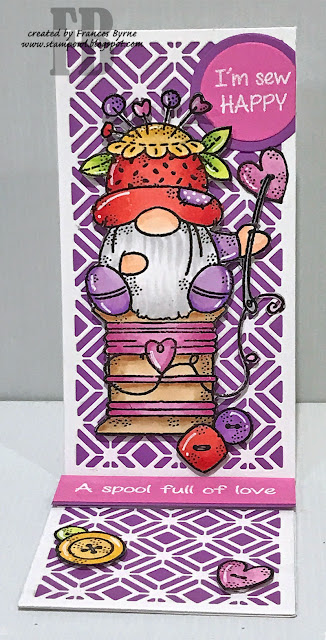
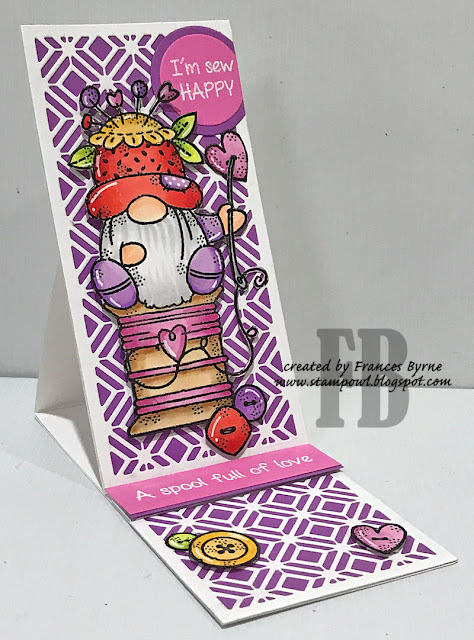
Today I am sharing a Gnome themed Mini Slimline Easel card that I created recently.

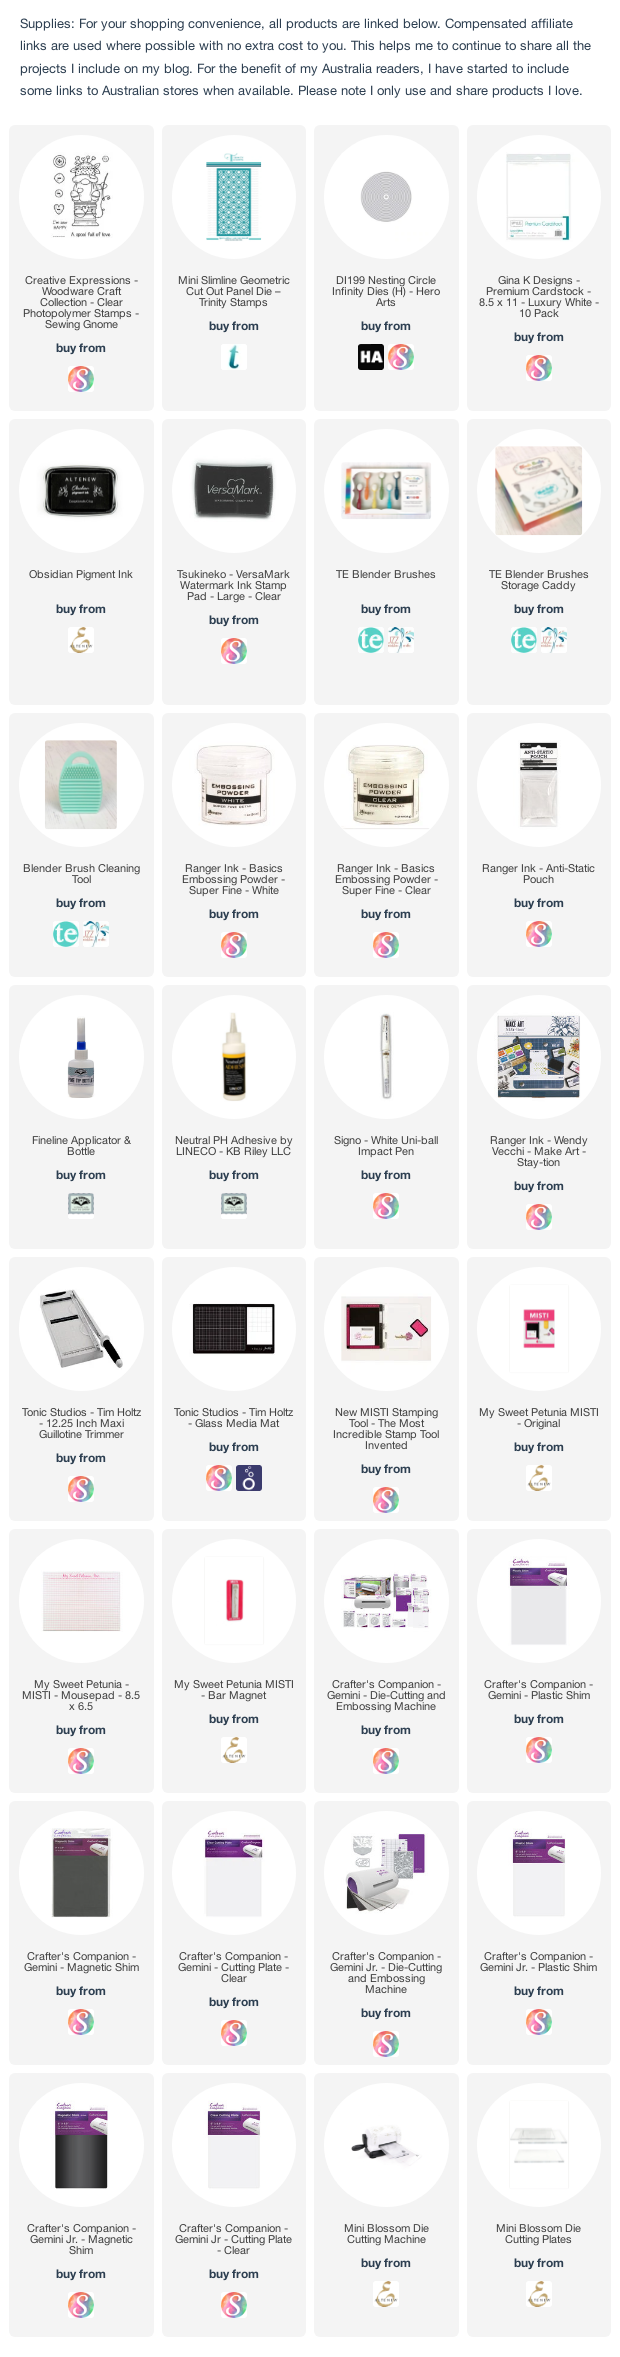
My card when it is closed measures 3 inches x 6 inches. I used Trinity Stamps Mini Slimline Geometric die to create the background of my card.


The gnome is from Woodware Stamp's Sewing Gnome stamp set.

I used Hero Arts Circle Infinity dies to add the sentiment on the top right hand corner of the card.


Here is a photo of my card when it is folded ready to be placed in an envelope.


Wednesday, October 27, 2021

Life Is Like A Bolt of Fabric

Hi Crafty Friends,

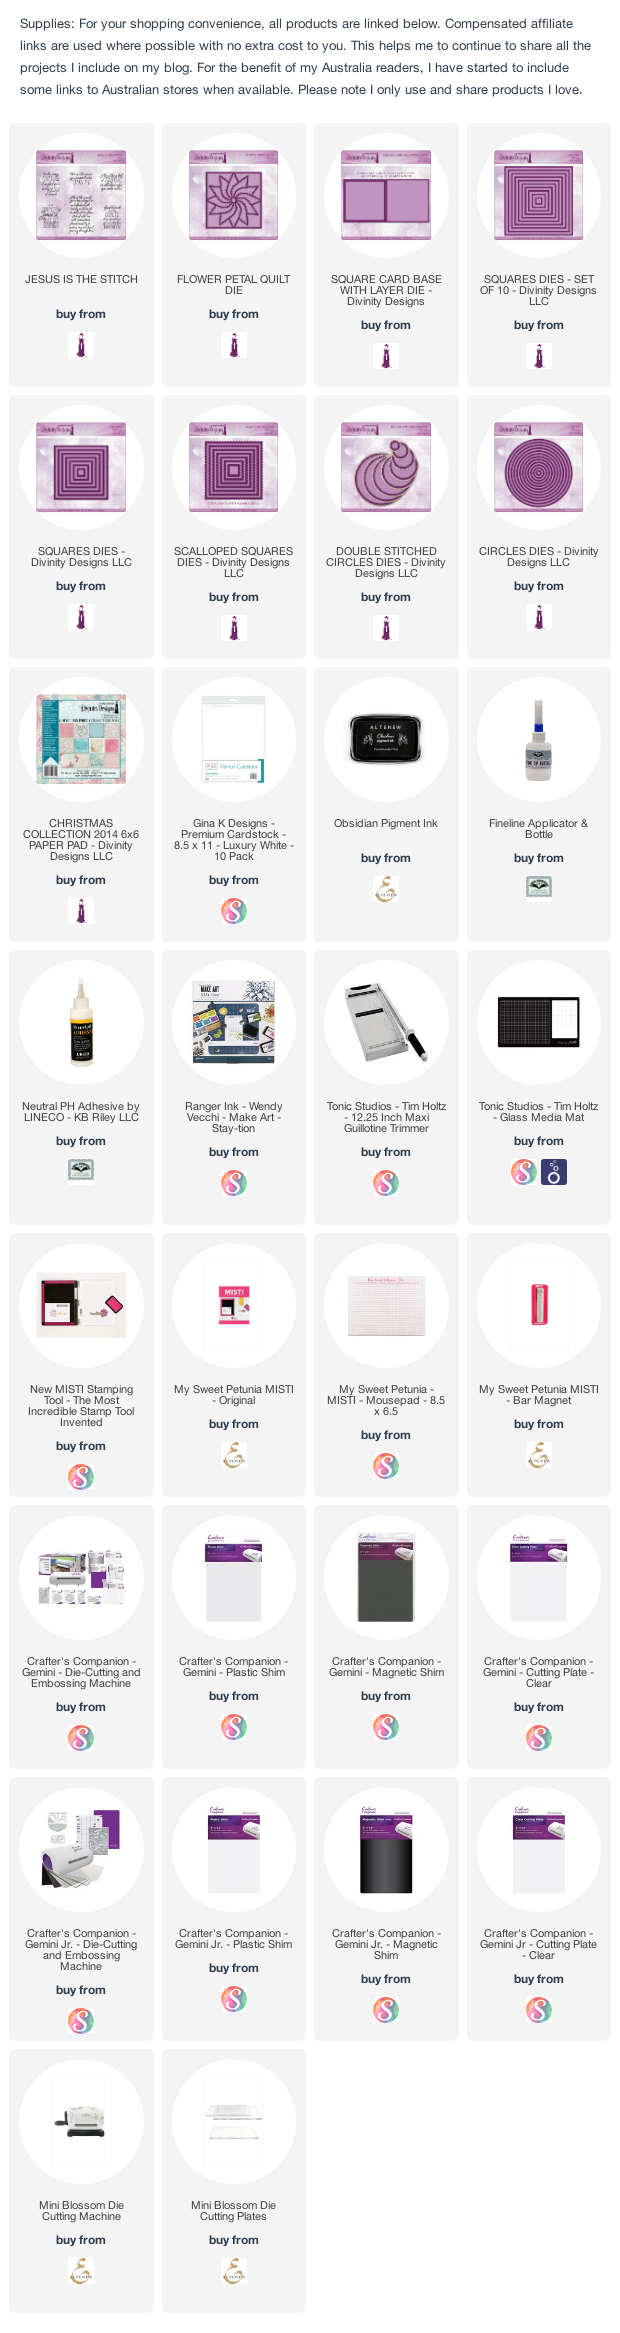
Today I am sharing a Quilt themed square card I created recently using stamps, dies and papers from Divinity Designs.

For the quilt background I used the new Flower Petal Quilt die and papers from the Christmas Paper 2014 collection.. I die cut the die  to die cut 4 different papers from the paper collection as well as one from white cardstock. I then paper pierced all the various designs to create the patterned quilt.

I layered the quilt onto a scalloped square using the Scalloped Squares die set. This was then layered to a top folding square card using the Square Card Base with Layer die set.

I used one of the sentiment from the Jesus is the Stitch stamp set onto white cardstock. I die cut and layered the sentiment using the Double Stitched Circles and Circles die sets.


For the inside of the card, I added the blue corners to each of the corners of the inside square which were left over from die cut the blue paper in the Flower Petal Quilt die. 

I used another of the sentiments included in the Jesus Is The Stitch stamp set which I die cut and layered using the Squares and Scalloped Squares die sets.