Showing posts with label Garden Bench Pop-up. Show all posts

Sunday, September 26, 2021

STAMPtember - Riley and Company

Hi Crafty Friends,

As many of you probably know this month is "STAMPtember" over on Simon Says Stamp. During this month Simon Says Stamp collaborates with other stamp manufacturers to bring you special limited edition collaboration sets. These sets are only available through Simon Says Stamp and as they are limited edition, once they are sold out, they are not available anymore. STAMPtember stamps are only available for the month of September.


Available now from Simon Says Stamp is today's STAMPtember Limited Edition Collaboration set from Riley and Company. You can purchase either the  I Like You stamp set or the I Like You stamp and die set for a limited time, while supplies last.  The exclusive collaborations are selling out in record time this year, so act fast if you can.


I was excited to see "Riley" featured again in this years STAMPtember, especially since I have been involved with Riley since he first made his debut many years ago. Like last year Riley is with his friend Simon (from Simon Says Stamp).

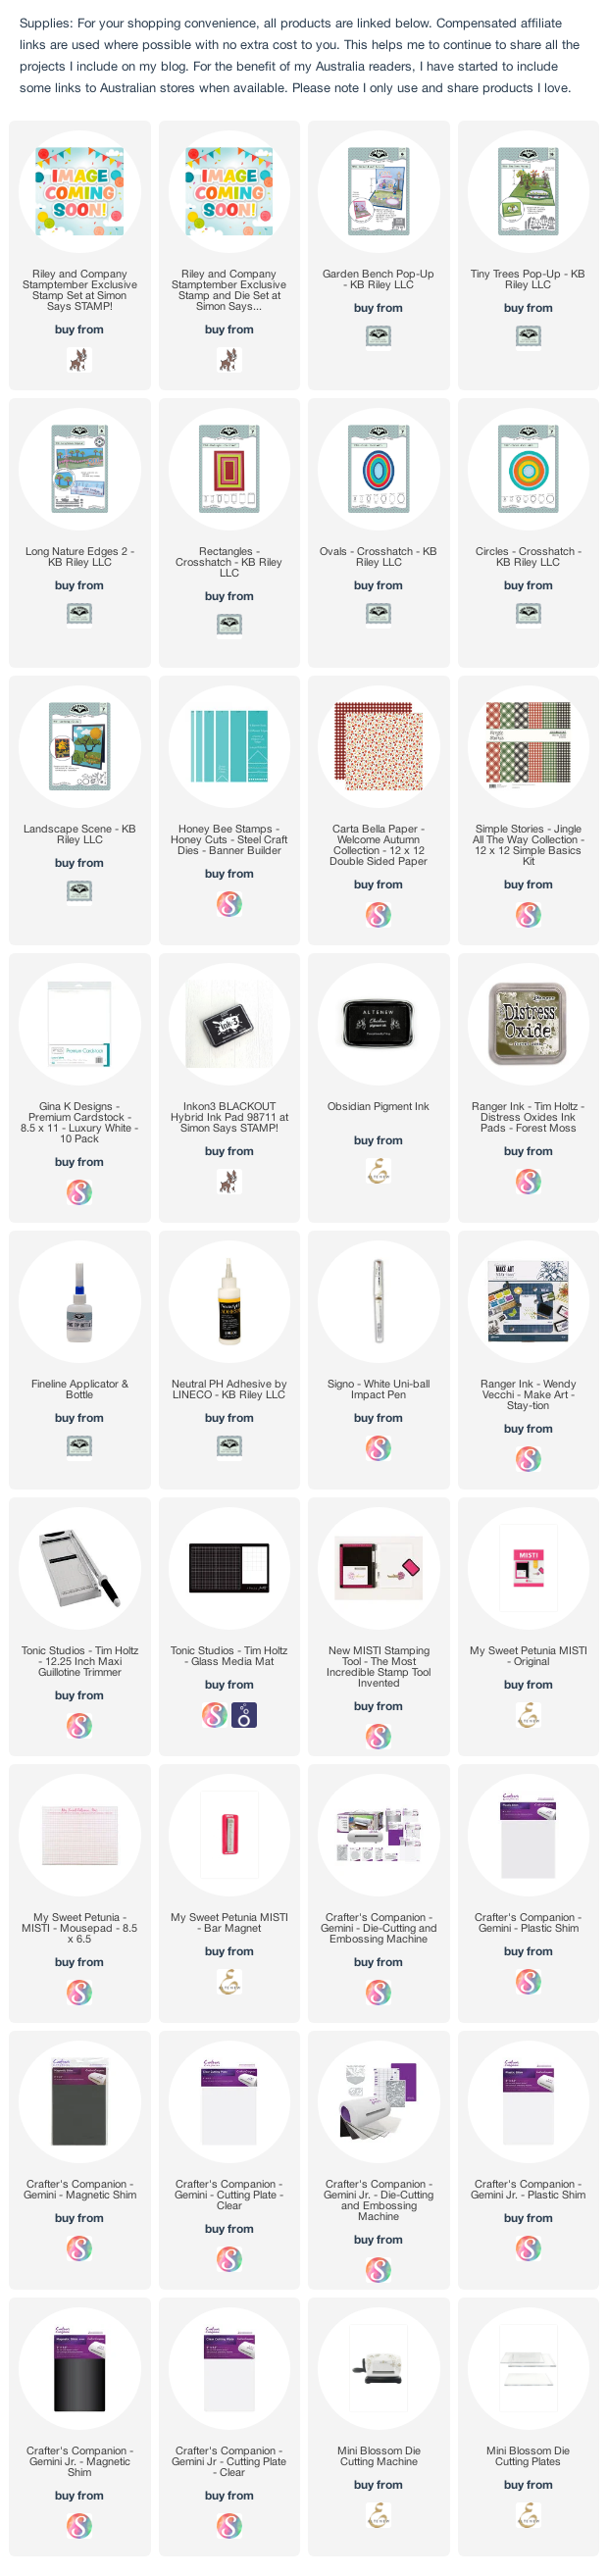
I created an autumn themed pop-up card using Karen Burniston's Garden Bench Pop up die set.  To complete my scene I used the grass die from the Long Nature Edges die set which I added to the bottom edge of the card and also long the fold on the back panel. 

For the trees I used the trunk and branches from the Tiny Trees Pop-up die set. The trunk does have a cut in it, to allow it to be used to make a 3D tree, so I placed my top cutting plate just above that so this part of the trunk didn't cut. This also allowed me to make the bottom of the trunk a little longer. The leaf on the pillows is also from the Tiny Trees Pop-up die set.


I die cut a rectangle panel using the Crosshatch Rectangles die set, which I placed to the right at the bottom edge of the card. This gives me a place to write a handwritten greeting.

For the sentiment, I stamped it onto white cardstock and then cut the rectangle panel and layered it onto rust cardstock.


For the front of the card, I added the two patterned papers I used on the inside of the card.

I stamped the Riley/Simon image again on white cardstock and die cut that and the rust oval using dies from the Crosshatch Ovals die set.

I added the Hi sentiment which I die cut using the sun from the Landscape Scene die set and a circle from the Crosshatch Circles die set.


Tuesday, September 7, 2021

Karen Burniston Designer Challenge - September 2021


Welcome to our September Karen Burniston Designer Challenge.

Check out Karen Burniston's blog on Wednesday (US Time) when you will be able to see what all the designers created for the challenge this month, plus Karen will have an amazing video tutorial to share with us all.

Our challenge theme this month is ... Theme: "SUN OR SNOW" - make a sunny or snowy day card.


As you can see by my card above, I went with the the snowy theme to create a Christmas card. My finished card measured 7 inches x 5 inches.

To create my card I used the Garden Bench Pop which I positioned in the centre of my card. The snowflakes on the cushions are from the Snowman Pop-up die set. I added the Street Lantern Pop-up die set to add the street lanterns on either side of the bench.

I used the snowy Slimline border from the Long Nature Edges die set to add the snowy border along the front edge and along the back found of my card. I also added the snowflake border from the Long Nature Edges 2 die set for the snowflake border which is at the front edge of the card, this was die cut using white glitter cardstock.

For the sentiment I used the Merry Christmas & Merry Christmas Shadow die sets which I adhered to the back panel of my card.


I added the snowman from the Snowman die set which I popped up in front of the garden bench using the die from the Street Lantern Pop-up die set.


I used the Snowman, Street Lantern and Slimline snow border which I used on the inside on my card to decorate the front of my card. For the sentiment I used the "brrr" sentiment from the Word Set 13 Snow die set.


Monday, August 9, 2021

Karen Burniston - KB Riley LLC August 2021 Release Blog Hop


Hi Crafty Friends, 

Welcome to our Karen Burniston Products - KB Riley LLC August Release Blog Hop. The Design Team have come together with Karen today for a fun blog hop to celebrate the release of 14 new dies. Sneak peeks of the new release started last week, and the dies are available to order NOW!


This release includes:

  • 4 new Add-Ons Die Sets - Character Add-ons 1; Character Add-ons 2; Gingerbread Tiny House Add-ons; Haunted Tiny House Add-ons
  • 4 new Pop-up Die Sets - Garden Bench Pop-up; Iron Fence Pop-up; Snowman Pop-up; Street Lantern Pop-up
  • 4 new sentiment sets - Hello; Happy Halloween; Word Set 13 - Snow; Merry Christmas Shadow
  • 1 new Stand Alone Die Set - Tiny Gnomes
  • 1 new Slimline Die Set - Long Nature Edges 2

Dies are available to order now on the website. 


GIVEAWAY:


To celebrate the release Karen Burniston and each of the Karen Burniston - KB Riley LLC Design Team members will be giving away a $25 Gift Certificate to some lucky person who comments on our blog posts, so make sure you join the hop and comment on everyone's blog post. Winners will be randomly chosen from ALL of the blog hop comments received on our blog posts by Monday, August 16th 2021. Lots of chances to win some goodies, so just leave a comment on this post or any other blog hop posts to enter! Don't forget to leave some way for us to contact you, in case you are a lucky winner!


For my card today I have used five of the new dies being released today ... Garden Bench Pop-up; Street Lantern Pop-up; Long Nature Edges 2; Tiny Gnomes and Hello.

As you can see by my photo above I have created a Slimline card, which gives me lots of room to create my scene. I added blue paper to the back panel and green cardstock to the base. 

I used the grass die from the Long Nature Edges die set to add the grass border to the very front edge of the card and the back of the card just above the fold. I also used the Long Nature Edges 2 die set to add the tree border along the back of the card and the flowers on the very front.

To create the pop-up elements I used the Garden Bench Pop-up and Street Lantern Pop-up. The Garden Bench Pop-up is a re-release of a previous pop-up die set when she was with Elizabeth Craft Designs. This one has a few changes, the biggest being that rather than having to die cut it into the card, it is now glue in ... and I love it! This set also includes a couple of dies to help you add things to the garden bench, which is lots of fun.

As I created a Slimline card which is only 4 inches wide, I had to cut the Street Lantern down slightly to make sure it fit when the card was closed, but that was very easy to do. 


I created three gnomes to add to the inside of my card using the new Tiny Gnomes die set. for the two gnomes that are popped up along the back of the card I used the pop-up die included in the Street Lantern Pop-up die set. I can see I will be using this pop-up die a lot in the future.

For the sentiment I used the "Hello" from the new Hello die set which includes the sentiment and shadow. I added the "gnomies" word underneath the sentiment which is from a stamp set I have in my stash.


To create the scene on the front of my card I used the Long Nature Edges; Long Nature Edges 2 and the Tiny Gnomes die sets.

I added a sentiment to the top left corner of the card which is also from another stamp set in my stash.

Well that is about it from me today, thank you for dropping by. To continue on the blog hop, click on the next person on the list which is the wonderful Lois Bak!

Here is the complete blog hop list if you need it.


Karen Burniston

Frances Byrne <<<<< You are here >>>>>

Lois Bak

Karen Aicken

Sandy Diller

Fran Sabad

Kelly Booth


Other Supplies:

Gnome Sweet Gnome Stamp Set - Your Next Stamp


Tuesday, March 11, 2014

Easter Egg Hunt

POD-EasterBench1-wm

Hi everyone,

As promised yesterday I am back today with another card for Karen Burniston’s Designer Challenge.

Check out the Elizabeth Crafts Designs blog on Wednesday when you will be able to see what all the designers created for the challenge this month, plus Karen Burniston will have another of her amazing video tutorials for us.

This time round Karen has asked us to use any of the Pop It Ups dies to create a card with a Spring theme.

Now as I mentioned yesterday, Easter isn’t Spring for me it’s Autumn as I live in Australia. But as it is Spring for you and Easter is almost here no matter where you live I decided to go with that option again.

POD-EasterBench2-wm

As you can see I have used the Garden Bench Pop-Up die again to create my card. But this one is different in that this time I have created a Floating floor, I have been wanting to create a floating floor on the Garden Bench ever since Karen posted it on her blog earlier in the year, but until now I just haven’t had the time.

For my card I played with my new Purple Onion Designs stamps which I purchased earlier in the year and again until now haven’t been able to play with.

I have also used the All Season Tree, but this time I added Easter Eggs to my tree rather than leaves. I also used the clouds from the All Season Tree to create the clouds in my sky.

POD-EasterBench3-wm

Here is another view of my card … you can see the floating floor a lot easier on this photo. You can also see my grass and Easter Eggs hiding in the grass along the front part of the floating floor.

POD-EasterBench-wm

And of course let’s not forget the front of my card. I added the Purple Onion Designs Poppy again on the front, which is layered using the ovals from the Oval Accordion Card die set. I used the Agatha Edges to cut the fancy shape from my green card and also to add the blue flourish above it.

If you are looking to purchase Karen’s Pop It Ups dies in Australia you can find them at Photo Continental…. they have just received another order and this time round it includes ALL the Elizabeth Craft Designs Dies.

Don’t forget to check out the Elizabeth Crafts Designs blog on Wednesday when you will be able to see what all the designers created for the challenge this month.

Here are the products I used on my card today:

Stamps: Sign; Poppy; Rosie – Purple Onion Designs; Easter Egg – Alota Rubber Stamps; Happy Easter – Penny Black
Paper: White; Blue; Green
Pop It Ups Dies: Garden Bench Pop-Up; Accordion Oval Card; Agatha Edges; All Season Tree – Karen Burniston for Elizabeth Craft Designs
Other: Black Ink; Foam Tape; Copics


#aa-owl-signature

Monday, March 10, 2014

Hopping On By ….

PIU-FrogOwlBench2-wm

Hi everyone,

It’s time for our March Karen Burniston Designer Challenge, this time round our theme is Spring is in the Air!

Check out the Elizabeth Crafts Designs blog on Wednesday when you will be able to see what all the designers created for the challenge this month, plus Karen Burniston will have another of her amazing video tutorials for us.

PIU-FrogOwlBench3-wm

For my card today I used the Pop It Ups Garden Bench Pop Up die set to create a fun Spring/Easter card. Now I must confess that for me Easter isn’t in Spring seeing that I live in Australia where it is now Autumn …. but I still had fun making this card Smile.

To decorate my card I used stamps from the Hero Arts Sending Happy Thoughts stamp set.

PIU-FrogOwlBench4-wm

To create the shaped edges at the top and bottom of my card I used one of the edges from the Agatha Edges die set.

I also added the sentiment using some of the labels from the Katie Label Pivot Card die set.

PIU-FrogOwlBench5-wm

Behind the Garden Bench I used the All Seasons Tree …. I decorated the tree using the 3 different leaves from the tree and also some flowers seeing this is a spring card.

PIU-FrogOwlBench-wm

And here is the front of my card. I added the owl and a sentiment which are both also included in the stamp set I used to decorate my card. The ovals are from the Oval Accordion Card die set.

If you are looking to purchase Karen’s Pop It Ups dies in Australia you can find them at Photo Continental.
 
Don’t forget to check out the Elizabeth Crafts Designs blog on Wednesday when you will be able to see what all the designers created for the challenge this month. I will also be back tomorrow with another Pivot card to share with you.

Garden Bench Pop Up
Agatha Edges
All Seasons Tree
Accordion Card Oval
Katie Label Pivot Card

Stamps: Sending Happy Thoughts Stamp Set – Hero Arts
Paper: White; Pink; DP
Pop It Ups Dies: Garden Bench Pop-Up; Agatha Edges; All Seasons Tree; Katie Label Pivot Card; Oval Accordion Card – Karen Burniston for Elizabeth Craft Designs
Other: Black Ink; Rhinestones; Foam Tape; Copics

#aa-owl-signature

Sunday, January 26, 2014

Happy Australia Day!

AussieGardenBench6-wm

Hi everyone and to all my Australian readers Happy Australia Day!

I have another pop up card to share with you today using the fabulous new Pop It Ups dies designed by Karen Burniston for Elizabeth Crafts Designs. I am just loving these new dies and having so much fun playing with them!

AussieGardenBench-wm

This card uses the Pop It Ups Garden Bench Pop-Up die … isn’t this such a fun die! For the top of my card I used one of the dies from the Agatha Edges set … the flourish at the bottom of my card is also included in this set. I love that I can create fancy edges to my cards.

The tree at the back of my card was created using Karen’s All Season’s Tree die, for foliage I used the cloud dies which double as both clouds and foliage for the tree. The set also includes three different leaves so you have lots of options decorating the tree.

AussieGardenBench3-wm

Here is another view of the inside of my card so you can see the pop up portion better.

AussieGardenBench5-wm

The other day while I was shopping with a couple of friends at our local stamp/scrapbook store I found this fun stamp set from Lawn Fawn, so I thought it would be fun to create an Aussie theme pop card today…. very appropriate seeing today is Australia Day!

I used the tiny slit die from the Lucy Label Pop-Up die to create a slot at the base of my card in  front of the bench so I could stand the Kangaroo up. This is so much easier than having to use a craft knife which is what I used to do. Karen definitely thought of everything we might need when she designed these dies for us all.

AussieGardenBench4-wm

Here you can see the base of my pop up card. I added a greeting to my card using one of the labels from the Katie Label Pivot Card die set.

AussieGardenBench1-wm

Here is the front of my card. I added the Koala image to my card layering it onto one of the ovals and the stitching die from the Ovals Accordion Card die set. The stitching is a separate die so you have options as to whether you use it or not.

AussieGardenBench2-wm

And one last photo of my card this time fully closed ready to be placed in an envelope. You see just a touch of the base of the inside of the card.

Garden Bench Pop Up

Agatha Edges

All Seasons Tree

Lucy Label Pop Up

Katie Label Pivot Card

Accordion Card Oval

Stamps: Aussie Critters – Lawn Fawn
Paper: White: Kraft; Brown; Blue; DP
Pop It Ups Dies: Garden Bench Pop-Up; All Seasons Tree; Agatha Edges; Lucy Label Pop-Up; Katie Label Pivot Card; Oval Accordion Card – Karen Burniston/Elizabeth Crafts Design
Other: Black Ink; Sizzix Embossing Folder; Foam Tape; Copics


#aa-owl-signature