Showing posts with label Mailbox Pop-up. Show all posts

Tuesday, September 2, 2025

September 2025 Karen Burniston Designer Challenge


Hi Crafty Friends,

Welcome to our September Karen Burniston Designer Challenge.

Check out Karen Burniston's blog on Wednesday (US Time) when you will be able to see what all the designers created for the challenge this month, plus Karen will have an amazing video tutorial to share with us all.

Our challenge theme this month is ... "LETTER" - How will you interpret this challenge? Does "letter" meana piece of mail? Or does "letter" mean an actual letter? You decide!


As you can see I decide to opt for the "Piece of Mail" definition for this challenge. I pulled out both the Postage Pop-up and Mail Box Pop-up die sets to create a large pop-up postage stamp which features a mail or letter box which ever you prefer to call it.

I die cut the main die from the Postage Pop-up from white cardstock and also sky patterned paper, trimmed around the edge of the sky panel and layered the two together.

After adding my mailbox decoration to this panel, I decided to add some of the faux post stamps from the Special Delivery Clear Stamp set.


To decorate the card a little further, I added the fence from the Fence Add-ons die set and the fence along the edge of all three red polka dot panels. I added the grass from the die set and also added a row of envelopes/letters along the bottom of the card.

I added the sentiment to another panel from the postage pop-up die set adding the heart wings to the corner. I also added a paper airplane to the top right hand corner of the card.


For the front, I echoed much of what I did on the inside, adding the mail box behind the fence and changing up the colour, so it looked like another mailbox. I added another of the sentiments from the Special Delivery Clear Stamp set, to the fence.

I added another couple of envelopes/letters to each side of the fence and added another paper plane so it would appear to be landing on the mailbox.


Tuesday, February 1, 2022

February 2022 Karen Burniston Designer Challenge


Hi Crafty Friends, 

Welcome to our February Karen Burniston Designer Challenge.

Check out Karen Burniston's blog on Wednesday (US Time) when you will be able to see what all the designers created for the challenge this month, plus Karen will have an amazing video tutorial to share with us all.

Our challenge theme this month is ... "MOD VALENTINES" - make a Valentines or Love-themed card WITHOUT using red or pink as the primary colors. Think blues, greens, oranges, yellows, browns, purples, grays, black and white, etc.

Here is a quick video to see my card in action.


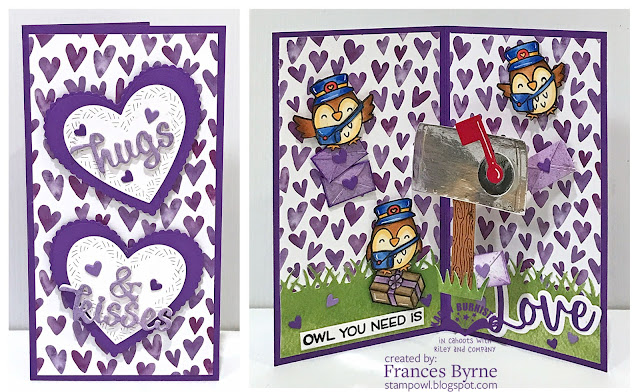
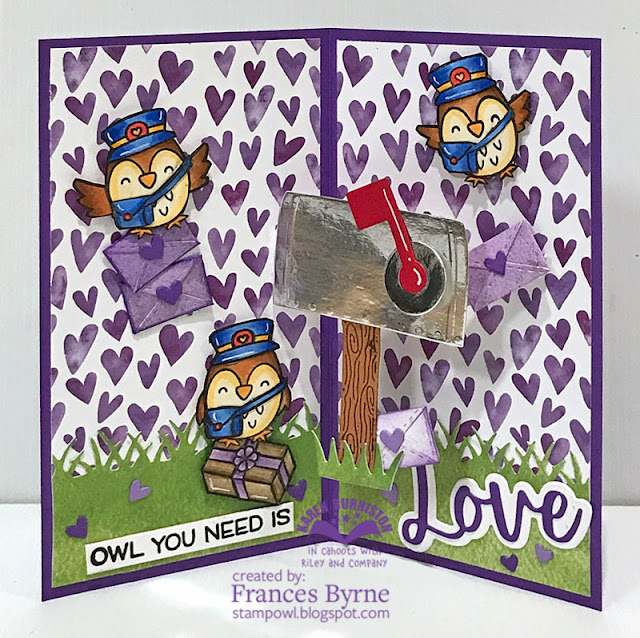
For my card today I went with a love mail theme using Karen Burniston's new Mail Box Pop-up die set. As you can see I went with a mostly purple and green color combo.

I used purple heart patterned paper from Paper House, for all the layers of my card. The grass along the bottom of the card uses Lawn Fawn's Watercolor Wishes Patterned Paper.

I die cut the mail box using silver mirror cardstock, the mail box looks a lot better in real life then it does on the photo above. I used the envelope and hearts included in the Mail Box Pop-up die set to add all the envelopes and hearts. I die cut most of the envelope from the reverse side of the purple heart paper.

The "Love" sentiment is from the Sending Love die set.

To decorate my card I added the "owl posties", parcel and the stamped sentiment from two Lawn Fawn stamp set.


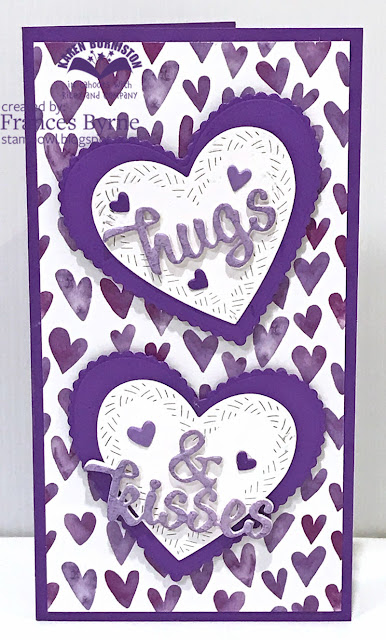
I kept the front of my card simple, as the focus of the card is on the inside. 

I added the hearts using the Hearts - Crosshatch die set. The sentiment is included in the Word Set 9 - Love die set.


Tuesday, January 18, 2022

Christmas Mailbox


Hi Crafty Friends,

Have you heard the news???

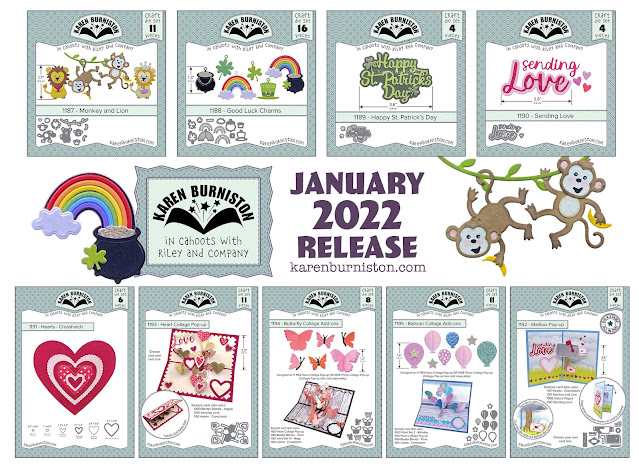
Today the Karen Burniston Design Team start sharing sneak peeks for the upcoming January release.  Karen Burniston - KB Riley LLC will be releasing 9 new dies which will be available to order on Monday 24th January.

Here is a quick video to see my card in action.

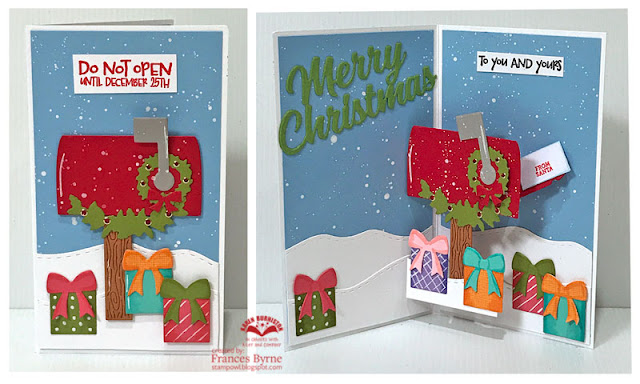
So I know Christmas has been over for nearly a month, however I received my dies about two weeks before Christmas. I had just finished making all my Christmas cards etc and thought I was Christmas Carded out ... and then when I start making my first card using the new Mailbox Pop-up die set, I decided to make a Christmas themed one! I decided to keep going, just to show you that this die set can be used for anytime of the year .


I created a Mini Slimline Card with my final card measuring 3 1/2 inches x 6 inches. The width of this card is probably the narrowest you can go for the mailbox to be hidden when the card is closed. 

I cut two panels of blue cardstock that I splattered with white paint. I then used the Nature Edges die set to add snow along the bottom of the panels before adhering to the inside of my card.

I assembled the mailbox using the Mailbox Pop-up die set and adhered it to my card. As it was Christmas I wanted to add some decoration to the mailbox, but I need to be careful that the decorations didn't impede the movement of the mailbox opening and closing. I die cut the wreath and trim from the Street Lantern Pop-up die set. I adhered the wreath around the circle  that the arm is adhered to and then added the trim along the bottom of the mailbox.

I die cut an envelope using a die included in the Mailbox Pop-up die set, adding a stamped sentiment to the front of the envelope. I then placed this on the pop-up mechanism of the mailbox so my letter can pop out of the mailbox.

I used the presents from the Big Birthday Charms die set, to add the presents around the bottom of the mailbox.

I used the Merry Christmas die to add the sentiment to the left hand side of the card. And then used a stamped sentiment to add the "To You and Yours" on the right hand side of the card.


The front of the card is basically using some of the same elements I used on the inside of the card. I used the Mailbox Pop-up die set to create a flat version of a mailbox. 

I added another sentiment to the top of the card.


Here is a quick look at the products being released next Monday 24th January, link included in the supply list below.