Showing posts with label Circle Card. Show all posts

Wednesday, April 15, 2026

Donut Circle Cards


Hi Crafty Friends,

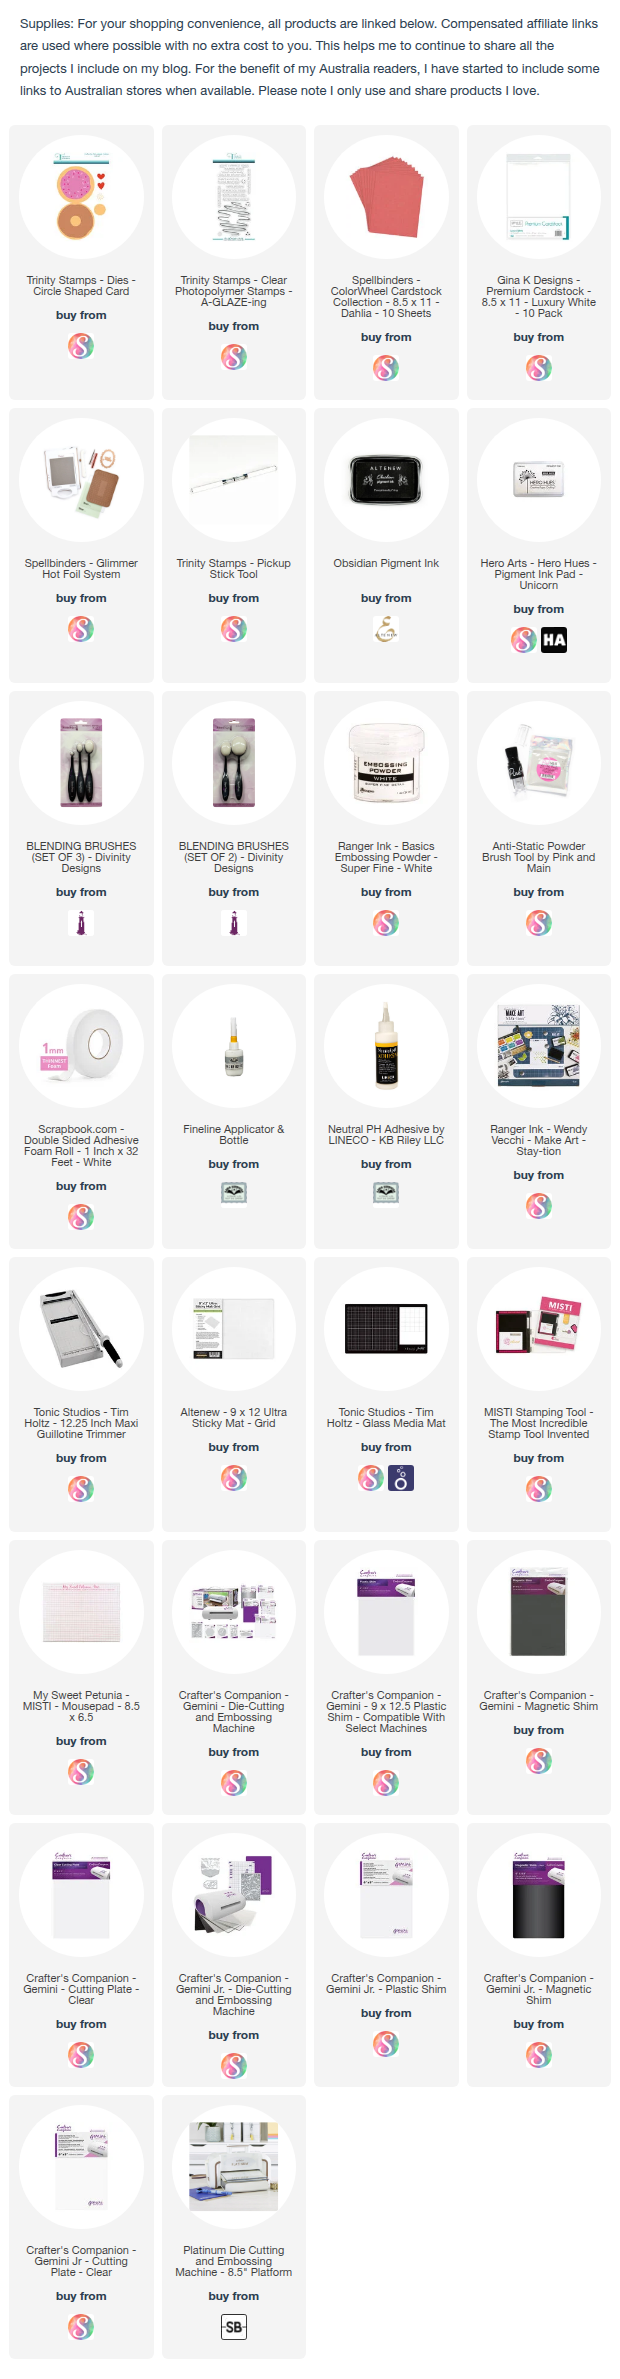
Today I am sharing two donut themed circle cards using stamps & dies from Trinity Stamps.

As I couldn’t decide if I wanted to make a donut with chocolate or pink icing, I decided to make both!


For the base of my card I used Trinity Stamps Circle Card die set which includes dies to create the donut.


I then used the A-Glaz-ing stamp set to add the white icing. The sentiment is also from this stamp set.


Here is a look at the inside of my card, I used more sentiment stamps from the stamp set.


Friday, March 6, 2026

Tee-riffic Micey Birthday


Hi Crafty Friends,

For as long as I can remember (over 25 years) I have made my friend who loves to play golf a golf themed birthday card.  I am a little late getting her card to her this year, as making cards takes more time for me these days, but I did get there in the end!

When I was thinking about what type of card to make this year, I thought about a golf ball and decided it might be fun to make a golf ball themed Easel Card.

Sometime back I purchased some of the Meet the Mice dies from Elizabeth Craft Designs, including the golf themed die set. So I pulled them out to use for my card today. To make the mouse work for a female golfing card, I selected pink cardstock colours for the outfit.


To get the golf ball effect on the large circle panel I used the Bubbles Embossing Folder from Made To Surprise. The sentiment on the bottom portion of the card is also from Made To Surprise and is from the Go Sporty Stamp/Die Set. I actually cut the stamps apart a little, so I could customise the wording how I needed it to be.


Here is a look at my card when it is closed, ready to be placed in an envelope. My finished card is just under 6 inches in diameter. 


Wednesday, April 16, 2025

Relax and Set Sail


Hi Crafty Friends,

Welcome to my blog! Today I am sharing a Nautical themed circle card I created recently. 

I received some new nautical themed products from two different companies that I was looking forward to playing with. As I couldn’t decide which to plsy with first, I ended up combining both to make one card.

For the porthole shaped portion of the card I used Made To Surprise by Sam Calcott’s It”s A-Boat Time die set. This is an add on set for the 3D Display & Stand Card, it contains the porthole frame & various nautical image dies. For this card I just used the porthole.

To decorate the card I used dies & stencils from Spellbinders Fair Winds Collection. The background is created using the Uncharted Waters stencil. I then used dies from the Set Sail; Oh Buoy & Guiding Light die sets.


On the inside of my card I added a sentiment using Karen Burniston’s Cruise Greeting stamp set. 

I added a few more images from the Oh Buoy die set. 


Tuesday, May 9, 2023

Precious Little One Circle Easel Card


Hi Crafty Friends,

Last week I shared a square baby card using dies and stamps from Made To Surprise by Sam Calcott. Today I am sharing another baby card using the same dies, but this time as a Circle Easel Card.

I had this idea to make a circle easel card using the circle die included in the Whatever the Weather die set. I couldn't decide what I wanted to use for the wedges inside the circle so I die cut a few things ... the pastel colours I used on the other card and the glitter card I used on this card. Originally I thought the purple glitter was pink, it looked that on the sheet but it turned out to be the purple colour which is okay was it worked well for a baby boy card. 


I used stamps and dies from the Baby, Baby Additions and Circular Frame Bubbles die sets to decorate my card. I love the "Mini Boss" word on the base of the card, new babies definitely rule the house.


I added part of the poem from the Baby Additions stamp set on the back of the card and the foot prints included in the Baby die set.


The card folds flat so it can be placed in an envelope. 

The placement of the baby elements on the circle panel is pretty much the same on both cards.


Saturday, October 17, 2020

Merry Christmas From Me To You


Hi Crafty Friends,

It’s challenge time with the “Crazies” over on the Crazy 4 Challenges blog. Rebecca Ednie our challenge hostess for the month, continues to issue the challenges.

Being the third Saturday of the month, it's time for a sketch challenge.


As you can see by the sketch above, this week's sketch is a Circle Card.


I turned my circle card into a Circle Easel Card, as you can see by the first photo on this post. I pulled out my older Spellbinders Grand Circles die set to create all the circles for this card.

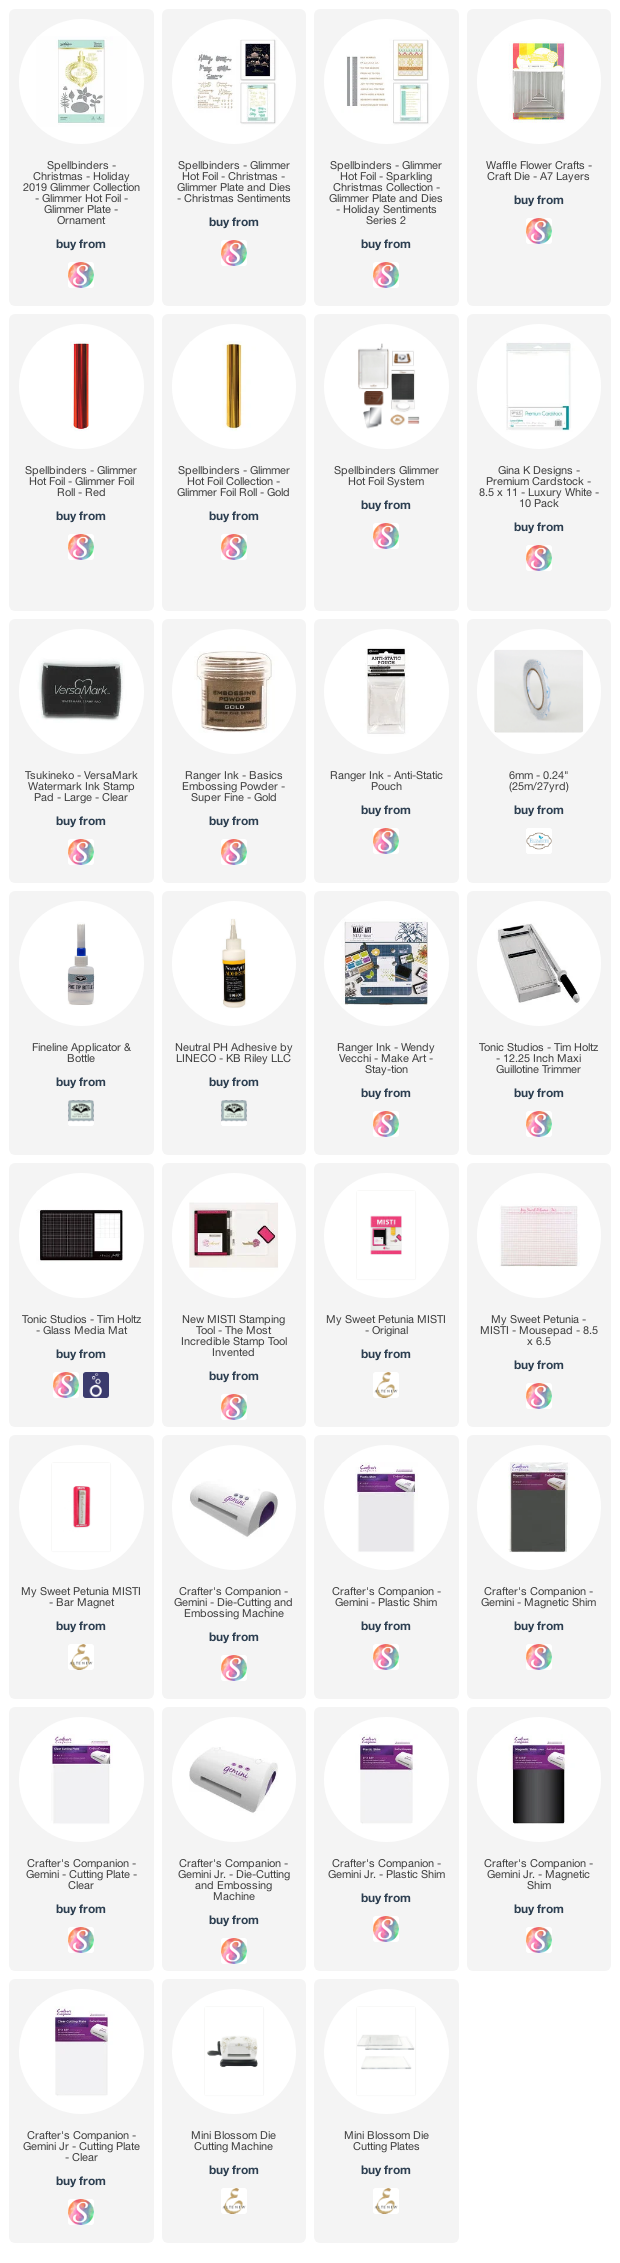
I also pulled out a few of Spellbinders Hot Glimmer Plate sets to decorate my card.

I used the Spellbinders Ornament which I hot foiled using red foil. I then added the Merry Christmas to the oval portion of the ornament which is from the Yana's Christmas Sentiments Glimmer Hot Foil set. I foiled the sentiments using gold foil. I used Holiday Sentiments Series 2 Glimmer Hot Foil set to add the "From Me To You" sentiment on the banner underneath the "Merry Christmas" sentiment so it resembled the sketch.

For the banner at the top of the card I decided to add 5 of the pine branches which are included in the Ornament Glimmer Hot Foil set.


Here is a side view of my Circle Easel Card, so you can see the folds of the easel a little better.

To help the easel to stay up, I added a stamped sentiment which was golden embossed and then die cut using Waffle Flower Crafts A7 Layers die set.

Don't forget to check out the rest of the “Crazies” cards over on the Crazy 4 Challenges blog and also their individual blogs for more details.


Supplies:
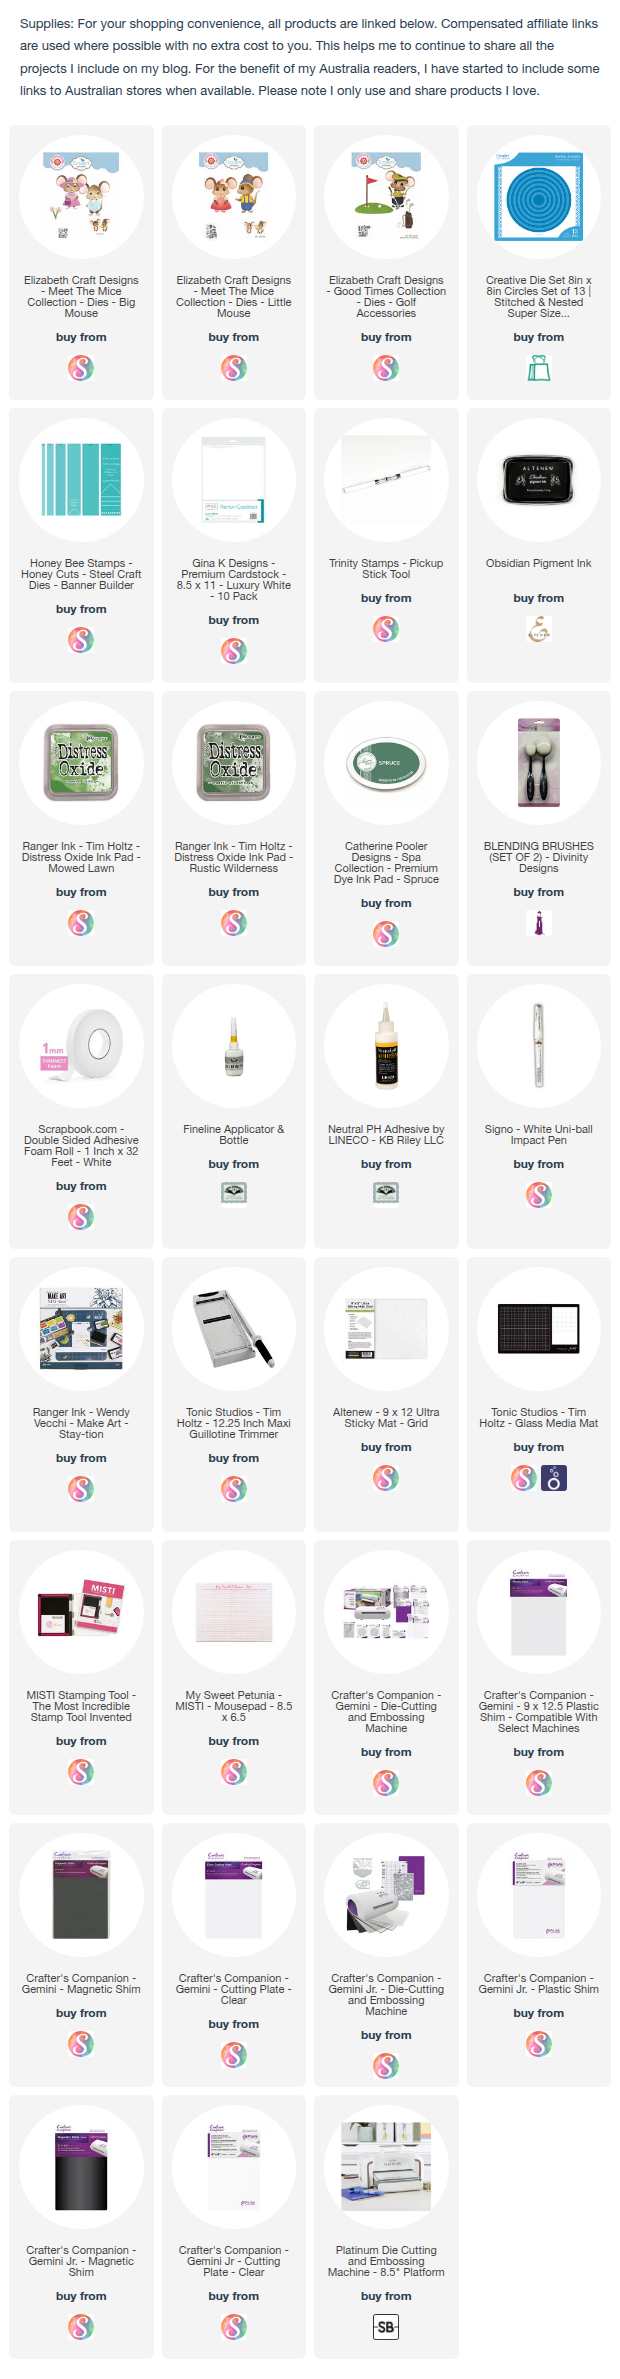
For your shopping convenience, all products are linked below. Compensated affiliate links are used where possible with no extra cost to you. This helps me to continue to share all the projects I include on my blog. For the benefit of my Australia readers, I have started to include some links to Australian stores when available. Please note I only use and share products I love.

Grand Circles Nestabilities - Spellbinders (discontinued)
Seasonal Sentiments - MFT Stamps (discontinued)


Saturday, June 11, 2016

Ahoy!

Hi everyone,

It’s challenge time with the “Crazies” over on the Crazy 4 Challenges blog. Karen Aicken our challenge hostess for the month continues to issue the challenges.

For our challenge this week Karen as asked us to .... Make it MASCULINE. Most of us need a masculine card or two in our stashes so let’s see a masculine project this week. 


A couple of weeks ago Karen Aicken posted a card on her blog where she used the Spiral Circle Pull Card die set to create a Circle card rather than the normal square or rectangle cards we normally make using this die set. Of course I LOVED the idea so my card today is inspired by what she created. You can see Karen's card here.

For my card I used the Spiral Circle Pull Card die set designed by Karen Burniston for Elizabeth Craft Designs to create the basic Pull Card and then used the largest Circle in the Fitted Circles die set to create the circle shape.

To decorate my card I used the Boat die and Ahoy Sentiments  and General Sentiments Clear Stamp Set both from the new Joset Designs Collection which were recently released by Elizabeth Craft Designs.


When you 'pull' the front flap open it reveals two circle panels with sentiments.

Don't forget to check out the rest of the “Crazies” cards over on the Crazy 4 Challenges blog and also their individual blogs for more details.

Stamps: Ahoy Sentiments Clear Stamps - Elizabeth Craft Designs
Paper: White Soft Finish Cardstock; Navy; Orange; Off White; Brown; Yellow; Blue; Snake Skin DP - BellaBlvd
Dies: Spiral Circle Pull Card - designed by Karen Burniston for Elizabeth Craft Designs; Fitted Circles; Stitched Circles; Boat - Elizabeth Craft Designs
Other: Black Ink; Foam Tape; Copics


Wednesday, August 26, 2015

A Christmas Wish


Hi all,

Today I am sharing a circle card I created using Crealies Modern Patchwork #1 die set. To decorate my card I used a stamp set from Stampendous.


As Circle cards are a little harder to keep standing I decided to use the new Card Stand/Easel from Elizabeth Craft Designs for my card to stand on.


Here is a side view of my card when the card is on the Card Stand/Easel.


And finally here is the inside of my card. I used two of the quarter circles from the die set to decorate the left hand side of the card and added a sentiment from Hero Arts.


Stamps: Jumbo Forest Friends - Stampendous; Wishing You a Joyous Christmas - Hero Arts
Paper: White; Red
Dies: Large Circle Nestabilities - Spellbinders; Modern Patchwork #1 - Crealies; Card Stand/Easel - Elizabeth Craft Designs
Other: Black Ink; Green Ink; Foam Tape; Copics


Thursday, August 23, 2012

Sweet Little Princess!

CCEE1234 Princess wm

Hi everyone,

It’s challenge time again with my friends over on the CCEE Stampers challenge blog. This week our challenge hostess, Anne Harmon continues with her August challenges.

Our challenge this week is to include Paper Piecing onto our card/project.

As you can see this week I decided to create a circle card. To decorate my card I used La La Lands Craft Princess Marci, I paper pieced her dress using two different designer papers.

CCEE1234 Princess2 wm

Here is the inside of my card, both sentiments the one on the outside and the one inside are from Paper Pretties stamp set.

Don’t forget to check out the CCEE Stampers blog (goes live 12 AM EST) to see the rest of the creations the CCEE Stampers created this week. You can also see more details of their creations on their individual blogs:

Stamps: Princess Marci – La La Lands Craft; Imagine; Lady Sophia – Paper Pretties
Paper: White; Pink; Enchanted DP – Imaginisce
Other: Black Ink; Pink Rhinestones; Spellbinders Circle and Scallop Circle Grand Nestabilities; MFT Die-namics Open Scallop Border; MFT Die-namics First Place Award Ribbon; MFT Die-namics Well Worn Greetings; Foam Tape; Copics

#aa-owl-signature