Showing posts with label Pattern Plates. Show all posts

Tuesday, January 5, 2021

Karen Burniston Designer Challenge - January 2021


Welcome to our January Karen Burniston Designer Challenge.


Check out Karen Burniston's blog on Wednesday (US Time) when you will be able to see what all the designers created for the challenge this month, plus Karen will have an amazing video tutorial to share with us all.

Our challenge theme this month is ...  "THINKING OF YOU" - make a thinking of you card, any style.


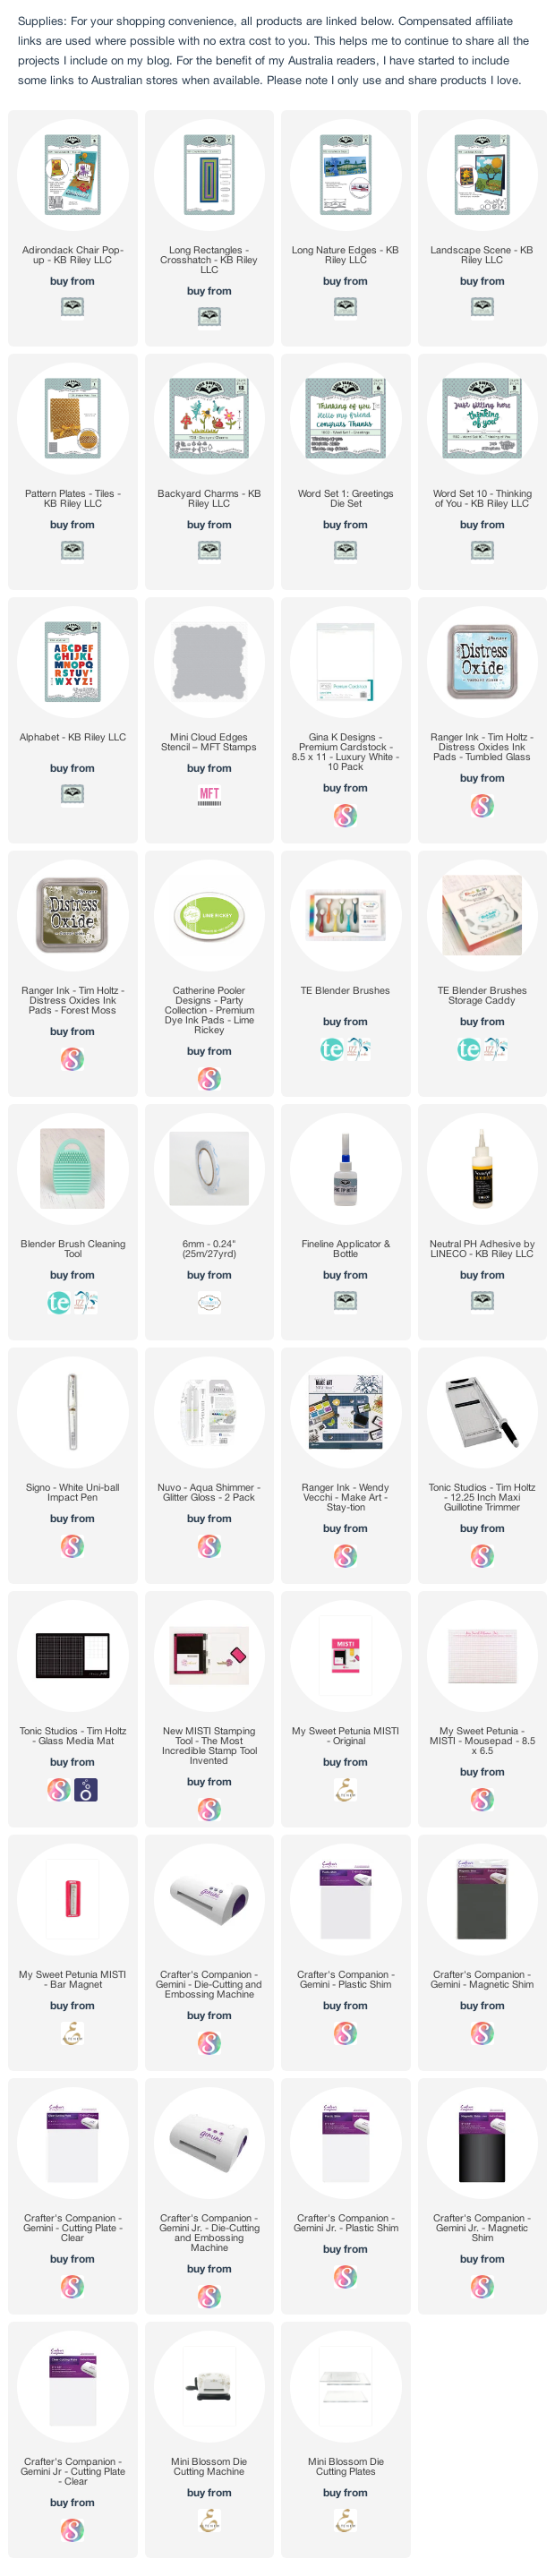
Over the years I have made a couple of cards featuring the Adirondack Chair Pop-up as a double pop-up. Both times were beach scenes and a larger style card. As I am fixated with Slimline cards these days, I decided to trying using this technique to create a Slimline card.

To enable you to create a card with the two chairs, you do need to use a larger die cutting machine as the card is 8 1/2 inches wide x 4 1/16 inches high. The card needs to be open when you are die cutting, so the card would not fit through the standard sized die cutting machine. I added the extra 1/16 inch to the height of the card, so that the chairs stayed within the inside of the card and couldn't be seen when the card was closed.

I die cut the Adirondack Chair pop up on white cardstock and then on green and blue cardstock for the sky and grass.

I used a cloud stencil to add clouds to the blue panel, before adding the sky and grass pieces to the white panel.

I used the grass border from the Long Nature Edges die set to cut two grass panels. One I adhered to the edge of the bottom panel, and the second I added to the back where the fold is.


I used the tree and sun from the Landscape Scene die set to add the tree behind the chairs and the sun.

I used the flowers, mushroom and fairy from the Backyard Charms die set to decorate the card.

To finish off the inside of the card I added the "Thinking of You" sentiment from Word Set 1 Greetings die set.


As the focus of this card is on the inside, I kept the front fairly simple.  

For the background I used the Pattern Plate - Tiles die set, which I die cut twice so it would fit the length of the card.

I used the Long Rectangles - Crosshatch to add the rectangle layers to the centre of the card.

For the sentiment I used the Alphabet die set to create the "Hello" and then added the "sitting here" from Word Set 10 - Thinking of You die set.

To finish off the front of the card I added the mushroom and fairy from the Backyard Charms die set.








Tuesday, October 20, 2020

Merry Christmas Snowman


Hi Crafty Friends,

Exciting news, Karen Burniston is releasing 10 new die sets which will start shipping in the first week of November. Pre-orders are available on the Karen Burniston Products - KB Riley web site now.

Today I am sharing a Christmas card I created using a few of the new products.


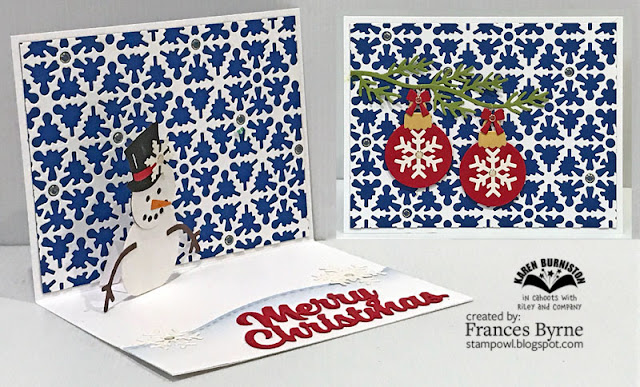
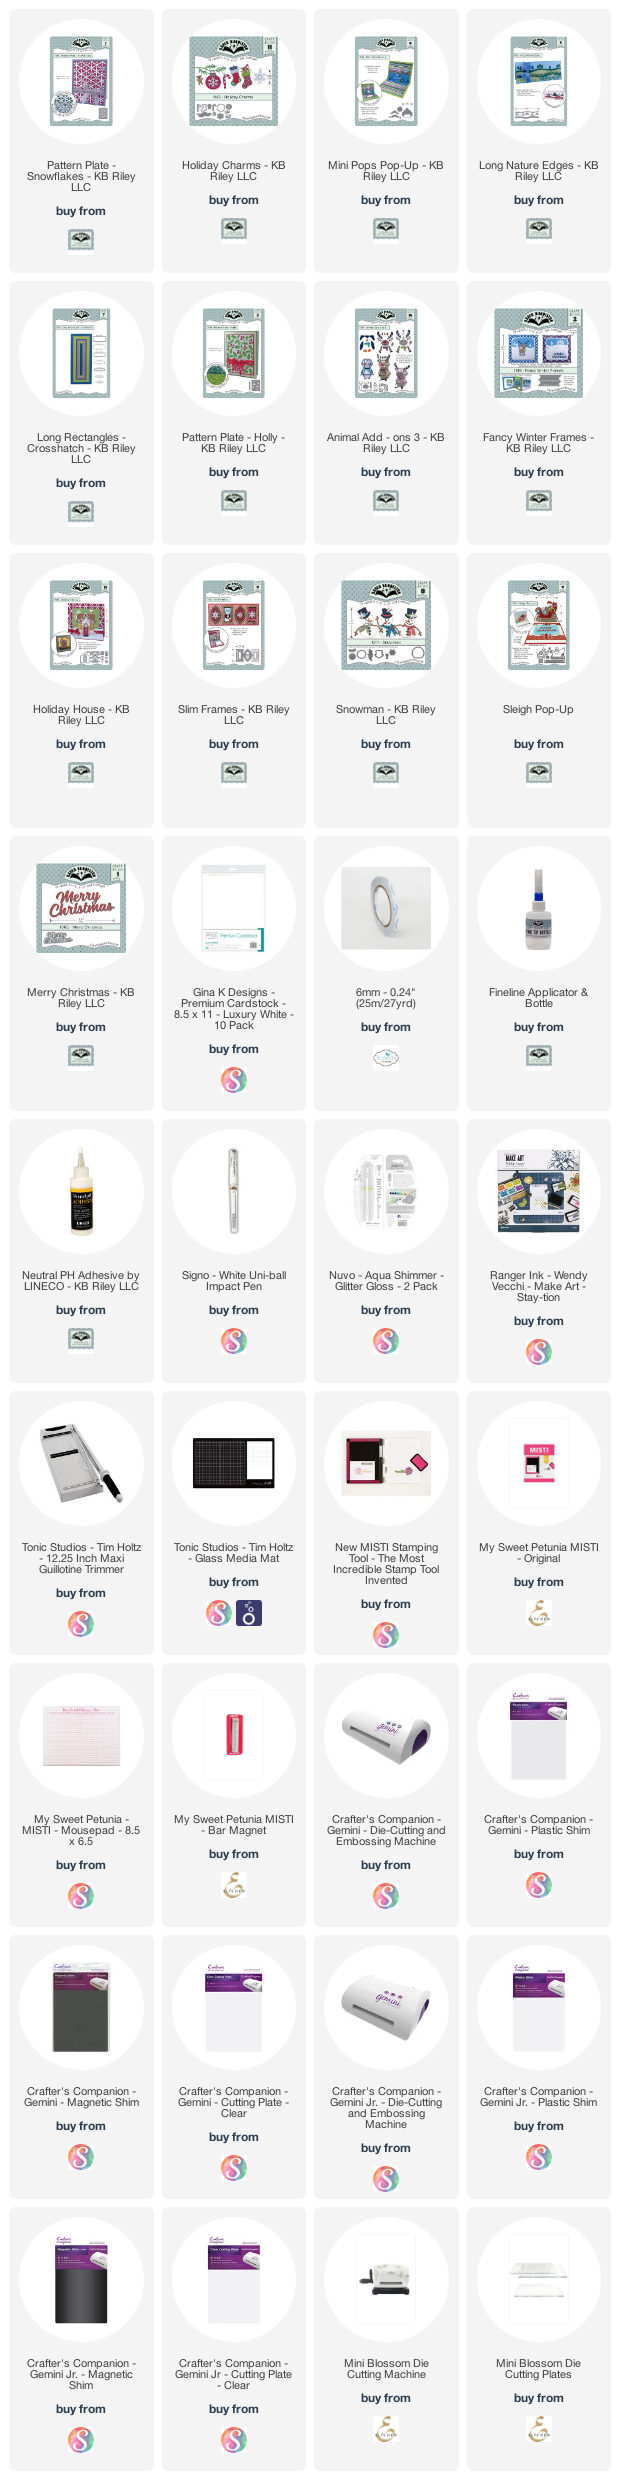
For my card today I used the new Pattern Plate - Snowflakes die which I die cut from white cardstock and then adhered to a panel of dark blue cardstock. This was then layered onto a top folding white card.

To decorate my card I used the ornament and branches from the new Winter Charms die set.


For the inside of my card I decided to created a pop-up card. I used the Pattern Plate - Snowflakes die set to create the back panel of my card. 

I then used one of the dies from the Mini Pops Pop-up die set to pop up my snowman which was created using the Snowman die set.

I used the stitched border from the Long Nature Edges die set to create a snowy border along the front of the card. I added some blue ink to this card to give it a little  depth.

I then added the Merry Christmas sentiment to the right hand corner of the card.


Here is another look at the inside of my card taken at a different angle, so you can see the pop-up a little better.

Supplies:

For your shopping convenience, all products are linked below. Compensated affiliate links are used where possible with no extra cost to you. This helps me to continue to share all the projects I include on my blog. For the benefit of my Australia readers, I have started to include some links to Australian stores when available. Please note I only use and share products I love.


Tuesday, June 2, 2020

June 2020 Karen Burniston Designer Challenge


Welcome to our June Karen Burniston Designer Challenge.

Check out Karen Burniston's blog on Wednesday (US Time) when you will be able to see what all the designers created for the challenge this month, plus Karen will have an amazing video tutorial to share with us all.

Our challenge theme this month is .... 
"PATTERN PLATES" - make a card of any theme that uses our new Pattern Plates in some way. This could be as a background, as a stencil, as an embossed surface, stacked together, cut into shapes, etc. Go wild!


If you follow my blog, you know that I have been creating a lot of Slimline cards lately. I decided to combine one of the pattern plates to create a slimline card.

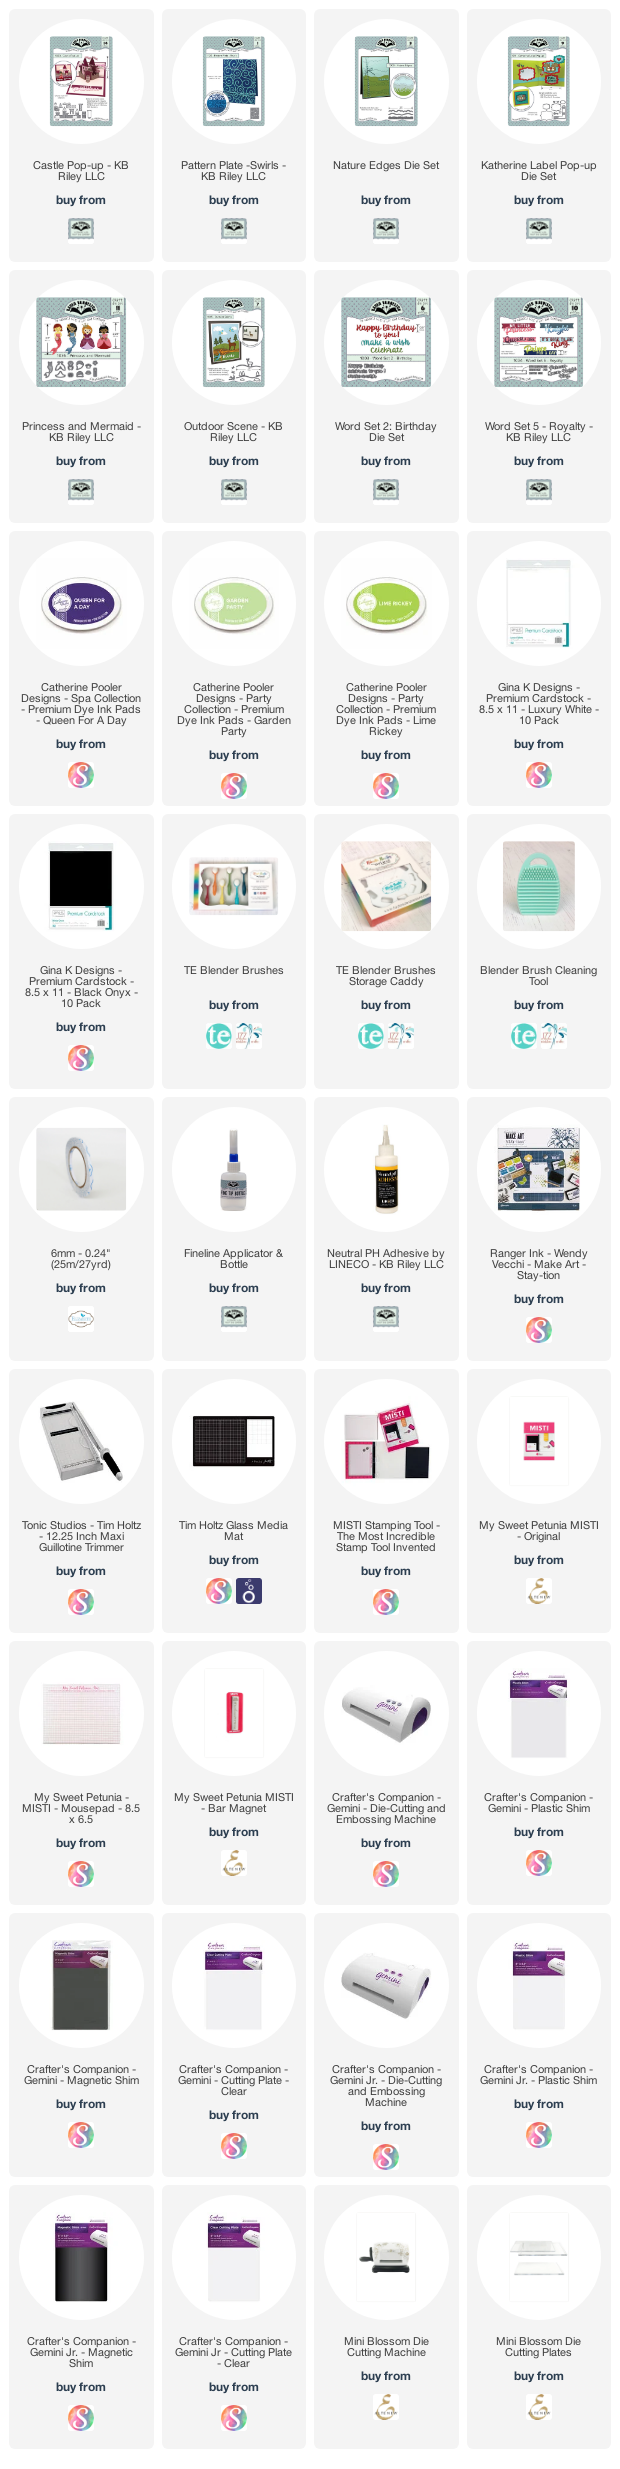
I used the Swirls Pattern Plates die, it makes great clouds in the sky. I die cut the plate twice from white cardstock and adhered it to a blue panel which was 8 1/4inches x 3 1/4inches.

Along the bottom of the panel I used the castle from the Castle Pop-up die set to create a flat castle.

I added three birds to the sky which are from the Outdoor Scenes die set.


As you can see I created a pop-up card using the Katherine Label Pop-up die set. I added the birthday sentiment from Word Set 2 - Birthday to the label of the pop-up.

Along the bottom edge of the card I created a grassy panel using a die from the Nature Edges die set. As this die is designed for a standard card size, I die cut the long white panel once and then carefully lined it up and die cut it a second time. I then used inks to color the grassy panel.

I added the princess to the right hand side which is from the Princess and Mermaid die set. I also added the Princess die cut sentiment which is from the Word Set 5 - Royalty die set.

Supplies:
For your shopping convenience, all products are linked below. Compensated affiliate links are used where possible with no extra cost to you. This helps me to continue to share all the projects I include on my blog. For the benefit of my Australia readers, I have started to include some links to Australian stores when available. Please note I only use and share products I love.


Wednesday, May 20, 2020

Hello, How Are You?


Hi Crafty Friends,

Today I am sharing a set of 6 "Hello" themed cards I created recently.


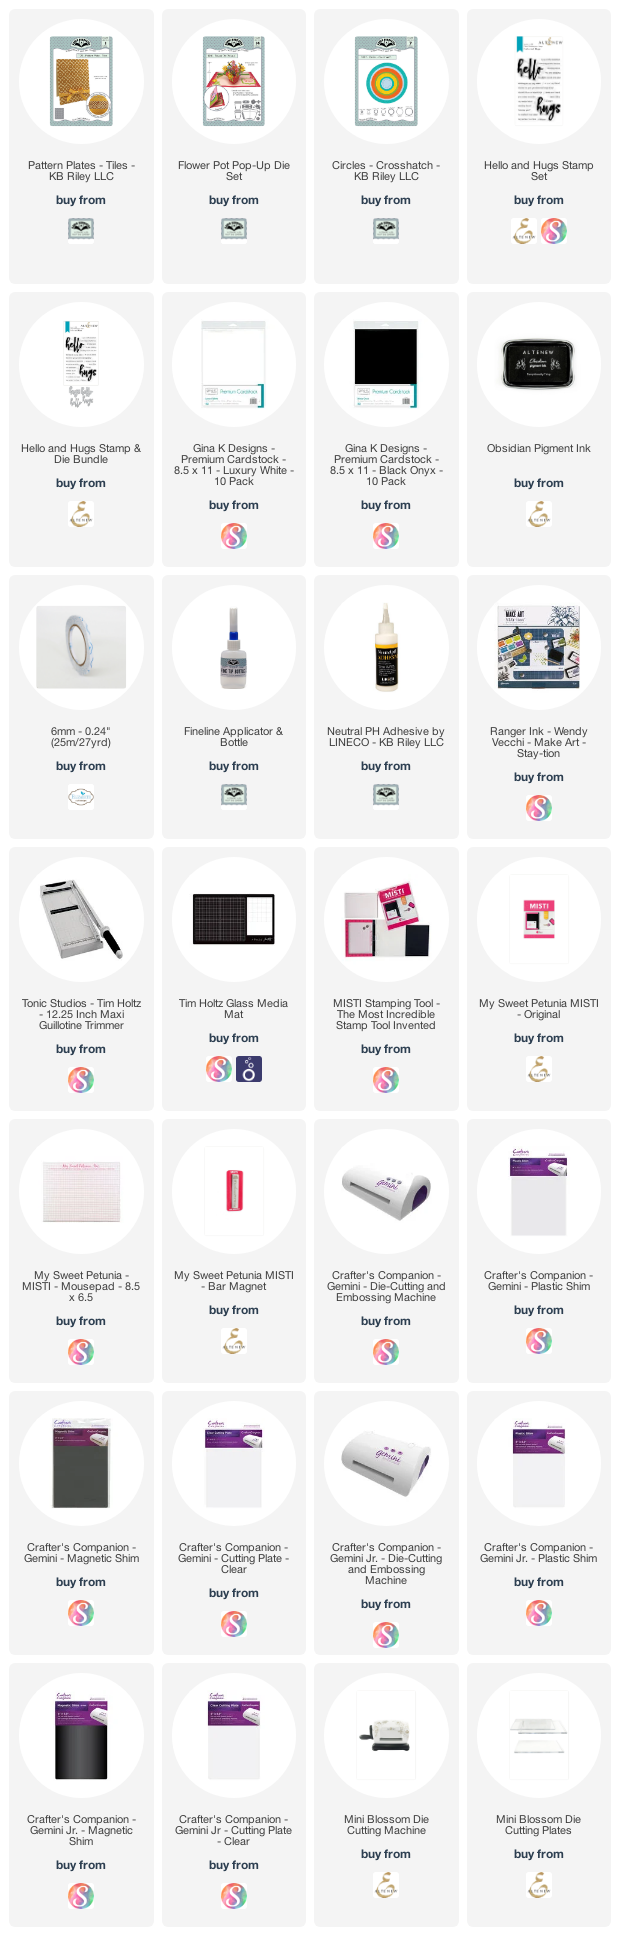
To create my cards I used Karen Burniston's Pattern Plate - Tiles die set and used scraps from my scrapbook which were large enough to fit the A2 sized die. I then adhered each tile panel onto a top folding white card base.


I die cut circles from the Crosshatch - Circles die set from white and black cardstock. I then stamped the sentiment onto each of the white circles using Altenew's Hello and Hugs stamp set.


I then added the flower and leaves to the bottom of each of the circles using dies from the Flower Pot Pop-up die set.


For the inside of the card I added sentiments from Concord & 9th's Retro Petals Turnabout stamp set.


Supplies:
For your shopping convenience, all products are linked below. Compensated affiliate links are used where possible with no extra cost to you. This helps me to continue to share all the projects I include on my blog. For the benefit of my Australia readers, I have started to include some links to Australian stores when available. Please note I only use and share products I love.


Monday, April 6, 2020

Karen Burniston - KB Riley LLC April Release Blog Hop


Hi Crafty Friends,

Welcome to our Karen Burniston - KB Riley LLC April Release Blog Hop. The Design Team have come together  with Karen today for a fun blog hop to celebrate the release of 8 new dies. The Design Team are all excited that sneak peeks for the new release starts today. 


This release includes: 
  • 2 interactive die sets -
  • Treasure Chest die set - which can be used as a stand along die set, or used with the Parcel Pop-up die set to create a Treasure Chest pop-up.
  • Paper Frames Pop-up - a new generic pop-up 
  • 3 Pattern Plate die sets -
  • Flowers Pattern Plate
  • Tiles Pattern Plate
  • Swirls Pattern Plate
  • 2 new charm sets and 1 new word set !

Our April 2020 Release is shipping out next week and we are now
taking website pre-orders! Shipping of pre-orders starts the week of
April 13th in the order received.

You can also view the new Flip Catalog which includes both the November & April releases here


GIVEAWAY:
To celebrate the release Karen Burniston and each of the Karen Burniston - KB Riley LLC Design Team members will be giving away a $25 Gift Certificate to some lucky person who comments on our blog posts, so make sure you join the hop and comment on everyone's blog post. Winners will be randomly chosen from ALL of the blog hop comments received on our blog posts by Monday, April 13th 2020. Lots of chances to win some goodies, so just leave a comment on this post or any other blog hop posts to enter! Don't forget to leave some way for us to contact you, in case you are the lucky winner.


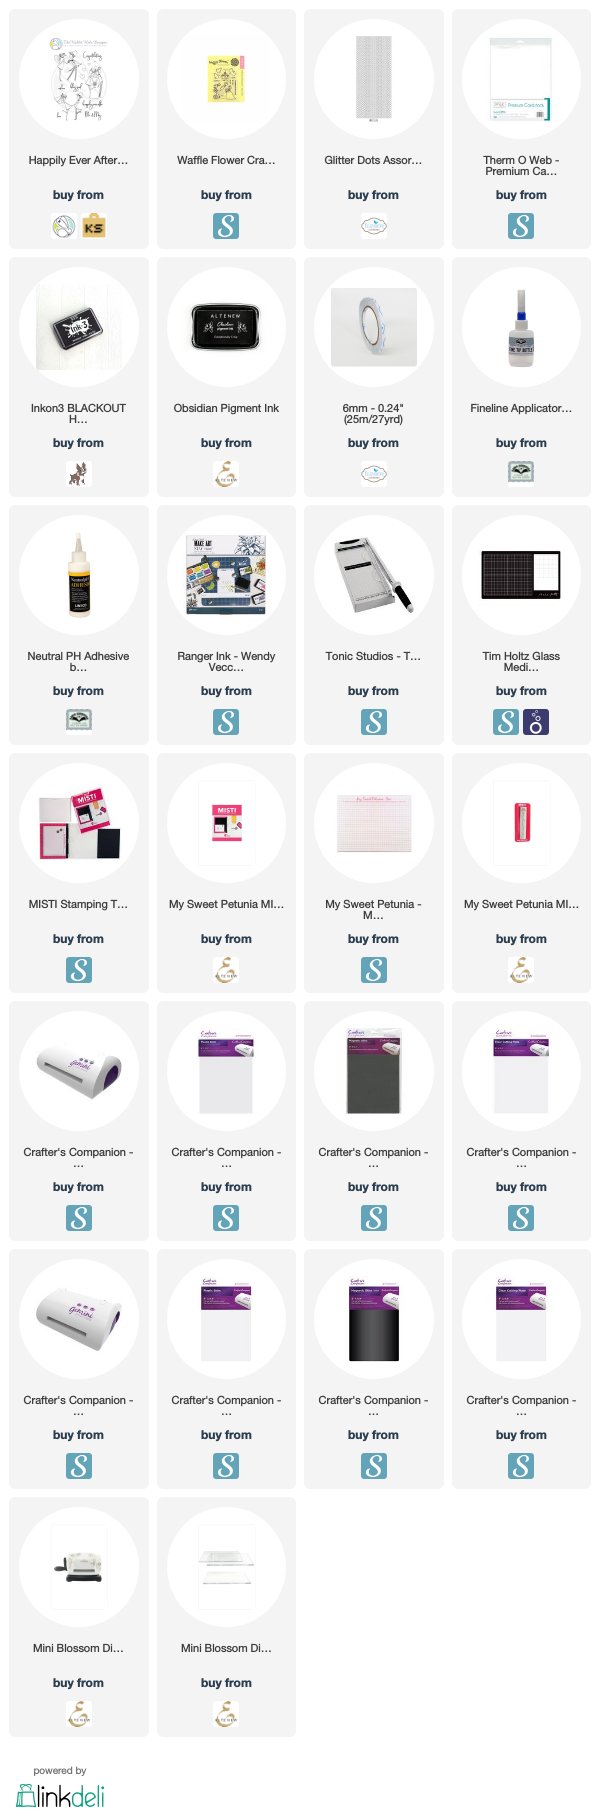
When I first started making this card, I was just going to use the new Flower Pattern Plate and create a simple flat card. But as you can see I couldn't stop there and decided to create a pop-up card.

For the front of the card I die cut the Flower Pattern Plate from white and dark teal cardstock. If you turn the pattern plate 180 degrees and place the white panel over the dark teal panel, you can see parts of the pattern from the teal panel through the white panel. I then adhered this panel to a side folding teal card.

I added circles to the right hand side of the card using dies from the Crosshatch - Circles and Snowman Twist Circle Pop-up die sets.

I added the bride and groom which is from The Rabbit Hole Designs Happily Ever After stamp set. To finish off the card I added the sentiment from Waffle Flower Crafts Wedding Day stamp set which I die cut using Taylored Expressions Mini Strips die set.


For the inside of the card, I die cut the Flower Pattern Plate two more  times from White and Dark Teal cardstock. After layering the two panels together, I trimmed them down so I could place a panel on either edge of the card.

I added another bride and groom image from The Rabbit Hole Designs stamp set. I also added a label to the left hand side of the card, for a handwritten message.


For the centre of the card, I used the new Paper Frames Pop-up die set. This die cut pop-up is attached to the centre of the card using tabs on either side of the labels.

I added the "Mr & Mrs" sentiment to the labels in the centre of the pop-up. I like how this pop-up can be added to a card at any time while making your card, so if you decide at the last minute like I did it is easy to add to your card.


I posted this card a couple of months ago, but then the release was delayed. So I thought I would add it to my post today seeing it uses one of the other new Pattern Plates - Tiles Pattern Plates. This time around I did just make a flat card, but this Pattern Plates are perfect for adding an interesting background to your cards. You can see more info about this card including the inside of the card on the original blog post here.

Well that is about it from me today, thank you for dropping by. To continue on the blog hop, click on the next person on the list which is the fabulous Karen Aicken!

Here is the complete blog hop list if you need it.

Frances Byrne <You Are Here>


Supplies:
For your shopping convenience, all products are linked below. Compensated affiliate links are used where possible with no extra cost to you. This helps me to continue to share all the projects I include on my blog. For the benefit of my Australia readers, I have started to include some links to Australian stores when available. Please note I only use and share products I love.


Tuesday, February 18, 2020

Oh My Whiskers


Hi Crafty Friends,

In case you haven't heard yet, Karen Burniston is releasing 8 new dies which will be shipping sometime in mid March, pre orders of the dies will be available at the beginning of March. 

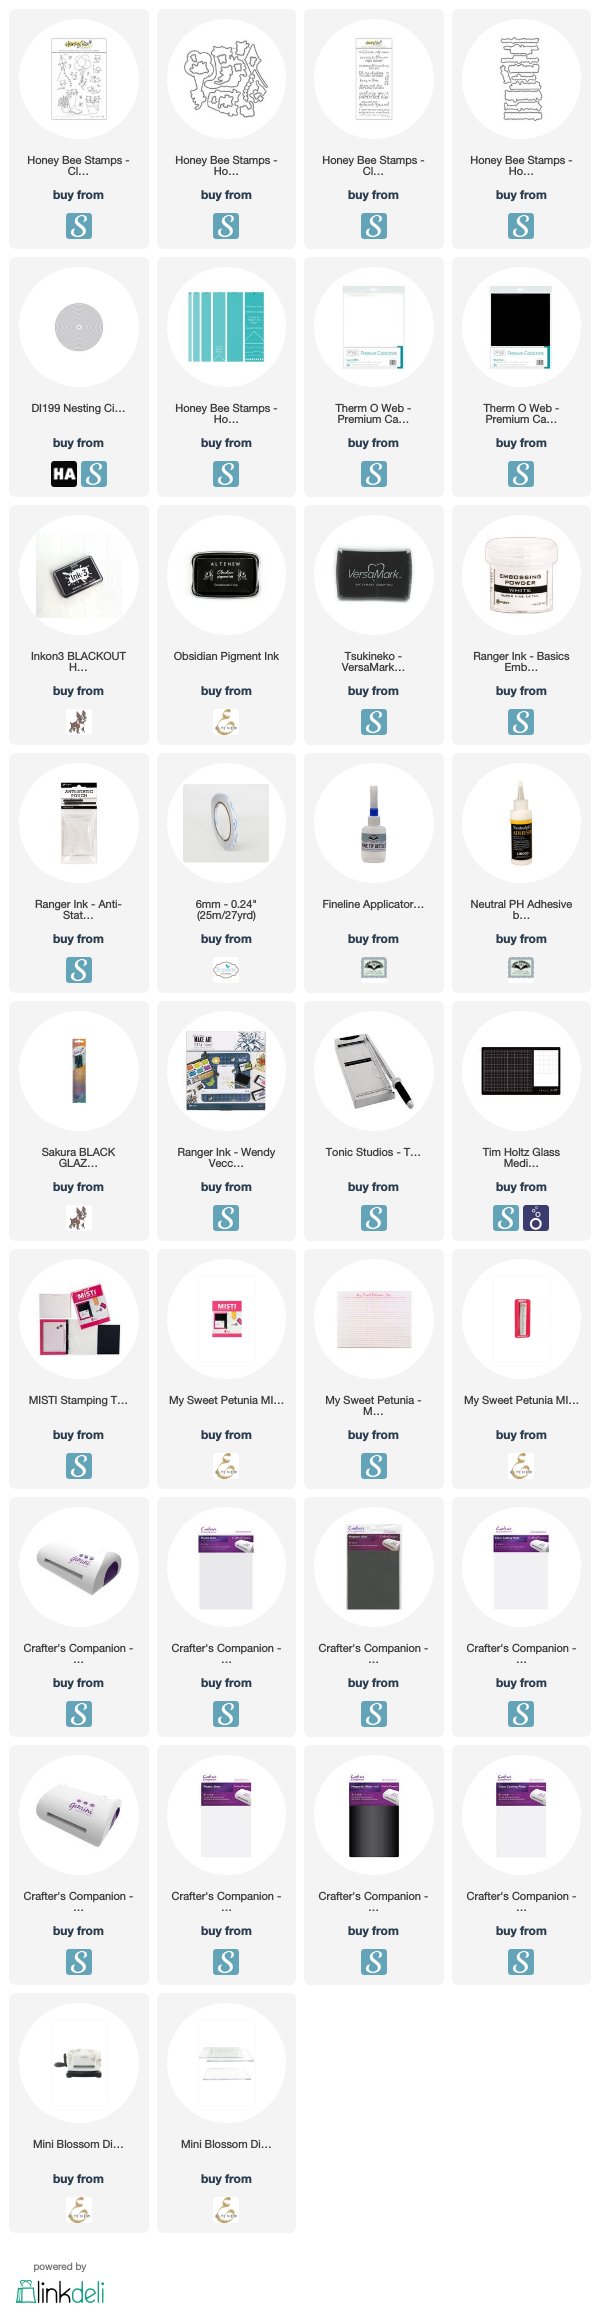
Three of the dies being released in March are Pattern Plates which can be used to decorate your backgrounds. So for my card today, I have a quick flat card I created using the new Tiles Pattern Plates. I die cut the plate from Guava cardstock and then adhered it to a top folding white card.

To decorate my card, I decided to pull out Honey Bee Stamps Oh My Whiskers stamp set .... I just love those cute little kitties. I also used their coordinating sentiment stamp set called Purrrfect Sentiments.


For the inside of my card, I used the Pattern Plate again to decorate the bottom of my card. I added another of the sentiments to the top portion of my card and added another of the cute kitties just above the sentiment.


Supplies:
For your shopping convenience, all products are linked below. Compensated affiliate links are used where possible with no extra cost to you. This helps me to continue to share all the projects I include on my blog. For the benefit of my Australia readers, I have started to include some links to Australian stores when available. Please note I only use and share products I love.

Tiles Pattern Plate Die - Karen Burniston/KB Riley LLC - available mid March