Showing posts with label Castle Pop-up Card. Show all posts

Tuesday, June 2, 2020

June 2020 Karen Burniston Designer Challenge


Welcome to our June Karen Burniston Designer Challenge.

Check out Karen Burniston's blog on Wednesday (US Time) when you will be able to see what all the designers created for the challenge this month, plus Karen will have an amazing video tutorial to share with us all.

Our challenge theme this month is .... 
"PATTERN PLATES" - make a card of any theme that uses our new Pattern Plates in some way. This could be as a background, as a stencil, as an embossed surface, stacked together, cut into shapes, etc. Go wild!


If you follow my blog, you know that I have been creating a lot of Slimline cards lately. I decided to combine one of the pattern plates to create a slimline card.

I used the Swirls Pattern Plates die, it makes great clouds in the sky. I die cut the plate twice from white cardstock and adhered it to a blue panel which was 8 1/4inches x 3 1/4inches.

Along the bottom of the panel I used the castle from the Castle Pop-up die set to create a flat castle.

I added three birds to the sky which are from the Outdoor Scenes die set.


As you can see I created a pop-up card using the Katherine Label Pop-up die set. I added the birthday sentiment from Word Set 2 - Birthday to the label of the pop-up.

Along the bottom edge of the card I created a grassy panel using a die from the Nature Edges die set. As this die is designed for a standard card size, I die cut the long white panel once and then carefully lined it up and die cut it a second time. I then used inks to color the grassy panel.

I added the princess to the right hand side which is from the Princess and Mermaid die set. I also added the Princess die cut sentiment which is from the Word Set 5 - Royalty die set.
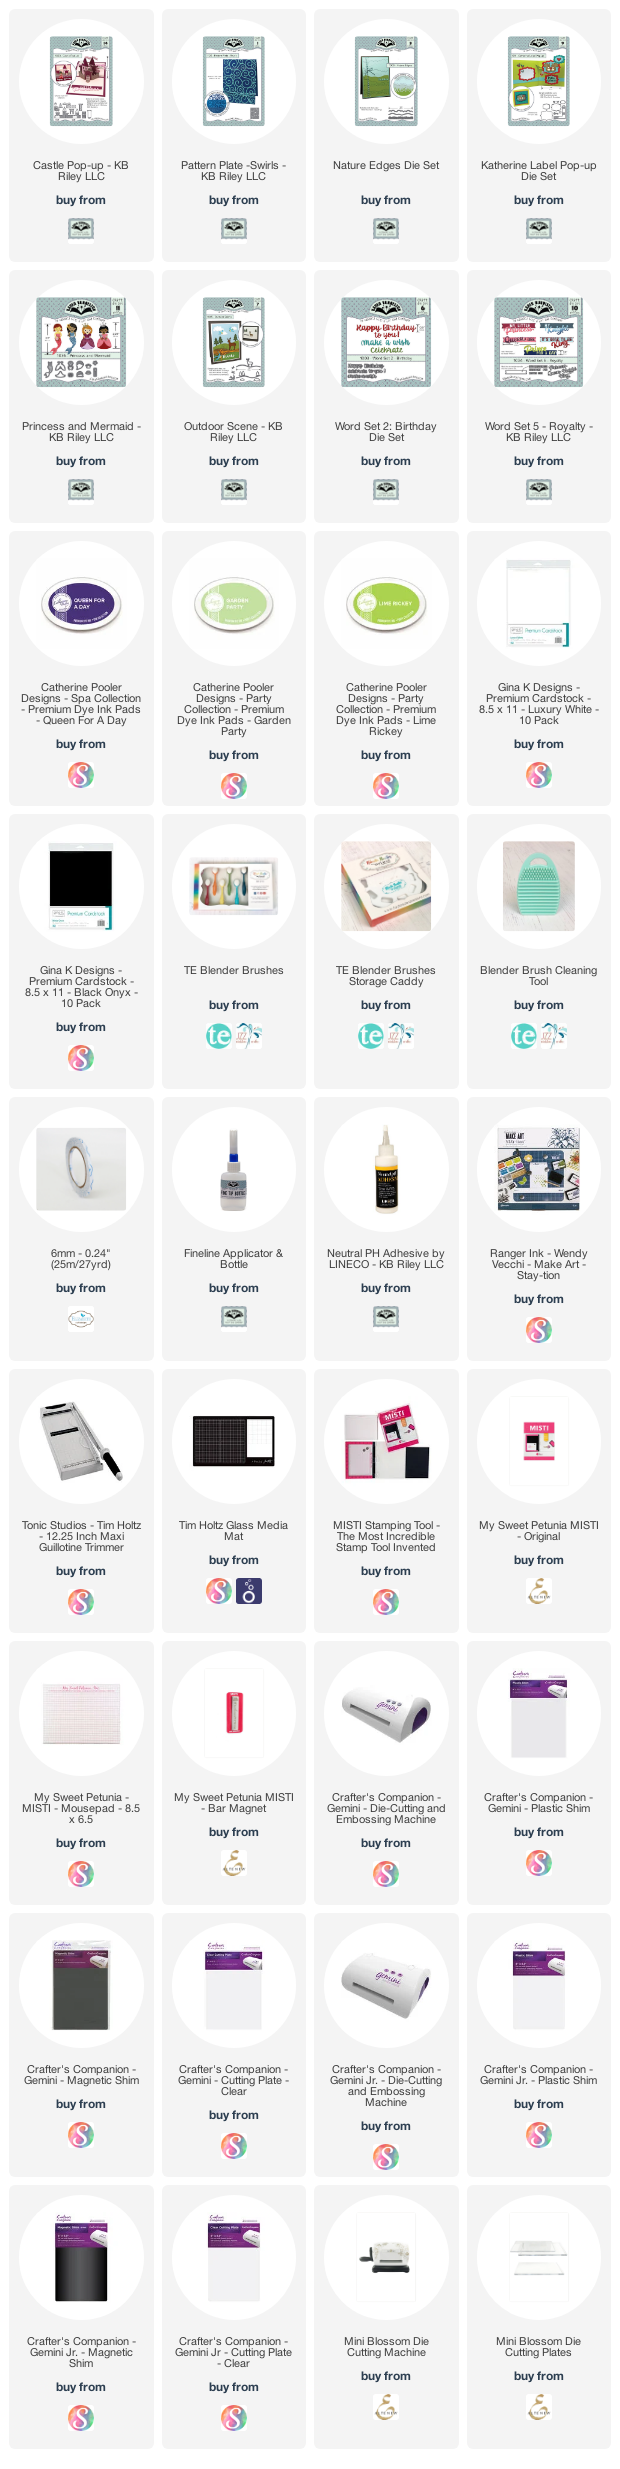
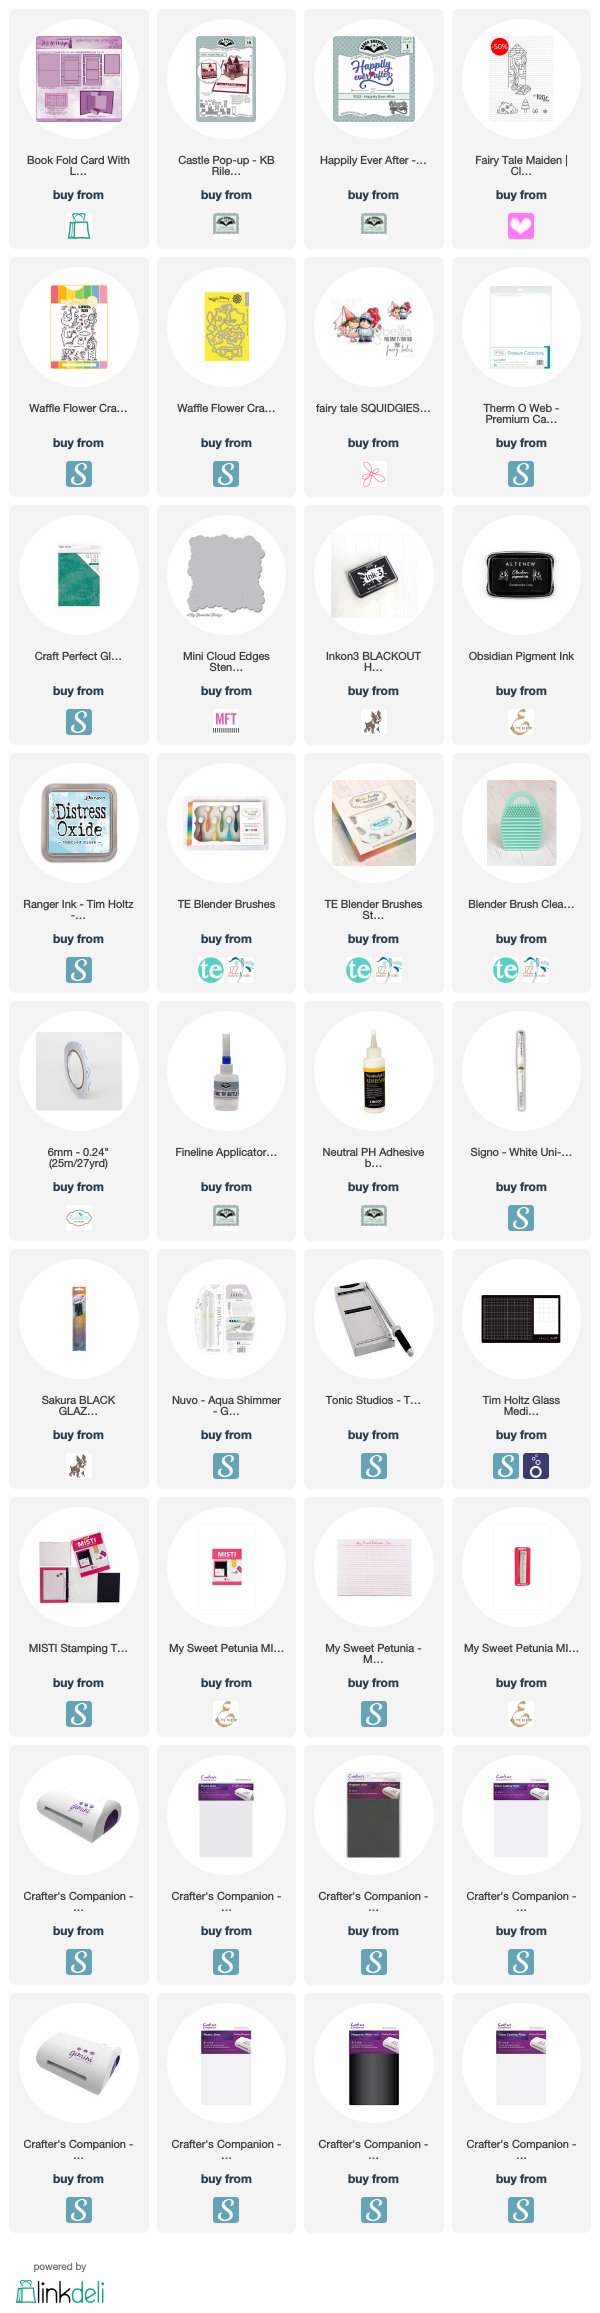

Supplies:
For your shopping convenience, all products are linked below. Compensated affiliate links are used where possible with no extra cost to you. This helps me to continue to share all the projects I include on my blog. For the benefit of my Australia readers, I have started to include some links to Australian stores when available. Please note I only use and share products I love.


Thursday, January 16, 2020

No One Is Too Old For Fairy Tales


Hi Crafty Friends,

It's challenge time with my friends over on the CCEE Stampers challenge blog. Lynn McAuley our challenge hostess for the month is continuing to issue the challenges.

Apparently today is Book Publishers Day  So for our challenge this week we are to create a card which features characters, a theme, or a quote from one of your favorite books!! Bonus points if it is on the current best sellers list!! 

Seeing it was a book theme, the first thing I decided was to use Divinity Designs' Book Fold Card with Layers die set to create a book fold card. This die was released in December and I was so happy that it did!


This was the perfect time to use the Clearly Besotted's Fairy Tale Maiden stamp set. I have had this stamp set for some time now and I was so happy when I found out that it would fit onto one side of the "book panels"

I stamped all the images and cut them out and then arranged them on the panel to create a scene.


I wanted to have a prince to rescue the princess who is stuck in the tower, so after going through my stash, settled on this one from Waffle Flower Crafts Level Up stamp set, it was the right size to go with the one of the other side of the book.

I again used the shrubs to create my scene. I also added a sentiment which is from Stamping Bella's Fairy Tale Squidgy stamp set.


For the front of the card I added a Castle using Karen Burniston's Castle Pop-up die set. I love that this can be used flat as well as on a pop-up card. I also added the Happily Ever After sentiment which I die cut from Teal Glitter Cardstock and layered onto white cardstock, offsetting one of the white layers.

Don't forget to check out the CCEE Stampers blog (goes live 12 AM EST) to see the rest of the creations the CCEE Stampers created this week. You can also see more details of their creations on their individual blogs:

Supplies:
For your shopping convenience, all products are linked below. Compensated affiliate links are used where possible with no extra cost to you. This helps me to continue to share all the projects I include on my blog. For the benefit of my Australia readers, I have started to include some links to Australian stores when available. Please note I only use and share products I love.


Saturday, August 3, 2019

Soak Up The Sun


Hi Crafty Friends,

It’s challenge time with the “Crazies” over on the Crazy 4 Challenges blog. Being the beginning of the month, it is time to introduce our challenge hostess for the month, which is ME!!!!

Apparently today is Sandcastle Day, so let's include sandcastles on our card this week … if you don't have sandcastles, sand or anything beach related will do.


About two months ago, Karen Burniston shared how to use the Castle from the Castle Pop-up die set with the Ice Cream Sundae Pop-up die set to create a fun pop-up card. I have been wanting to try this since I saw her video, so this challenge was a great opportunity to try it out. You can see Karen's video here


I started by creating the Sand Castle portion of the card, then I created the water scene using stamps from MFT Stamps Sunshine & Friendship stamp set. I added drinks to a couple of the animals which are from Drink Up The Sunshine stamp set also from MFT Stamps.

The wave border at the top of the water is from Karen Burniston's Tropical Scenes die set. The ripples in the water is from a stamp I have had in my stash for years.

I created the sky area by sponging on Distress Oxide inks in various shades of blue. I then used white pigment ink and MFT Stamps Cloud Stencil to sponge on clouds.

I die cut the sky panel using the border from Lawn Fawn's Palm Tree Border die set.

The palm trees were die cutting using the border from the Tropical Scenes die set.


For the sun I die cut a circle from the Crosshatch - Circles die set sponging this with Distress Oxide Inks in yellow shades. 

To finish off the card I added two sentiments ... the one on the base of the card is from the Sunshine & Friendship stamp set, and the one at the top is from the Drink Up The Sunshine stamp set.


For the front of the card I added, the ocean, sand and sky using the elements I used on the front. I just love these fun animals from the MFT stamp set.

Don't forget to check out the rest of the “Crazies” cards over on the Crazy 4 Challenges blog and also their individual blogs for more details.


Supplies:
For your shopping convenience, all products are linked below. Compensated affiliate links are used where possible with no extra cost to you. This helps me to continue to share all the projects I include on my blog. Please note I only use and share products I love.


Thursday, December 13, 2018

Gingerbread Hugs


Hi everyone,

It's challenge time with my friends over on the CCEE Stampers challenge blog.  As challenge hostess for the month I continue to issue the challenges.

This is our last challenge for 2018, so everyone can enjoy spending time with family and friends over the Christmas Season. But we will be back in January for more challenges.

Apparently the 8th December was Gingerbread Decorating Day and yesterday (12th December) was Gingerbread House Day. So for our challenge this week create a card or project that is a Gingerbread theme.


For my card today I decided to turn Karen Burniston's Castle Pop-up to a Gingerbread Castle. I die cut all the pieces from brown cardstock and then used a white gel pen to add "icing" around the rocks and bricks.

I layered the castle onto a red circle using the Crosshatch Circles die set to represent a plate. I also die cut 4 gingerbread men from the Winter Charms die set to add to the plate.


Along the top and bottom edges of the card I added a border using the Christmas Wishes Header Fold die set from Tonic Studios.


Seeing I used the Candy Cane Wishes and Gingerbread Hugs sentiment which is an old Penny Black stamp I had in my stash, I added two candy canes on either side of the castle gate.


Here is an overhead shot of my card so you can see the whole card.


For the front of the card I added circles (again for a plate) and then added the Merry Christmas sentiment, gingerbread men and candy canes.

Don't forget to check out the CCEE Stampers blog (goes live 12 AM EST) to see the rest of the creations the CCEE Stampers created this week. You can also see more details of their creations on their individual blogs:


Supplies:
For your shopping convenience, all products are linked below. Compensated affiliate links are used where possible with no extra cost to you. This helps me to continue to share all the projects I include on my blog. Please note I only use and share products I love.

Christmas Wishes Header Fold Die Set - Tonic Studios
Candy Cane Wishes Stamp - Penny Black


Tuesday, February 13, 2018

No One Is Too Old For Fairy Tales


Hi Crafty Friends,

Welcome to our February Paper Pros challenge. This month our challenge is again hosted by Karen Aicken who gave us the theme of .... Love


For my card today I wanted to play with my new Concord & 9th Heart Turnabout stamp, which I used to stamp onto the light pink cardstock in various shades of pink ink. I created three heart background panels so I could use them on the front and inside of my card.

To decorate the front of my card I used Karen Burniston's Castle Pop-up Card die set to add the castle to my card, the great thing about this die set is that it can be used to create a pop-up card or flat on a card as I have done here.

I added the smaller Stamping Bella Fairy Tale Squidgies image in front of the castle, this stamp set comes with a small and large version of the same image.


For the inside of my card I used added the other two heart background panels I created and continued the castle theme along the bottom of the card on both sides.

I used Karen Burniston's Spinner Square Pop-up Card die set to create the square panel in the centre of the card that has the spinner on the side.


This time around I added the larger of the 'squidgie' images to the square panel and then used Word Set 5 - Royalty to add the "My" and "Princess" to the square panel. 

For the spinner part of the card I used a sentiment that came with the stamp set.

You can see what the other "Paper Pros" created for this challenge on their blogs:


Supplies:

Karen Burniston:


Other:

Stamps -  Heart Turnabout - Concord & 9th; Fairy Tale Squidgies - Stamping Bella; Simply Enchanting - CC Designs
Cardstock - White; Pale Pink; Pink; Bright Pink
Polka Dot Designer Paper
Inks - Black; Catherine Pooler It's A Girl Ink Pad; Catherine Pooler Party Dress Ink Pad; Gina K Designs Passionate Pink Ink Cube; Delicata Rose Gold Ink Pad;
Nuvo Glitter Gloss Aqua Shimmer Pen 
Foam Tape
Copics


Tuesday, February 6, 2018

February 2018 Karen Burniston Designer Challenge


Hi Crafty Friends,

Welcome to our February Karen Burniston Designer Challenge.

Check out Karen Burniston's blog on Wednesday (US Time) when you will be able to see what all the designers created for the challenge this month, plus Karen will have an amazing video tutorial to share with us all.

Our challenge this month is .... "CASTLE" - use the new Castle Pop-up for a card of any theme. Will it be a fairy princess castle? A sand castle? The Eyrie? You decide! 


As you can see I decided to create a sandcastle using Karen Burniston's new Castle Pop-up Card die set. I kept the sandcastle and the sand base the same tones of the same color.

I added waves to the bottom edge of both sides of my card using the waves in the Tropical Scene die set.


I created mermaids using the Princess and Mermaids die set which I added to the right hand corner of each edge. I added Tonic Studios Shimmer Pen to the mermaids body so it would shimmer.

I added sentiments to the card using Honey Bee Stamps Mermaid Song stamp set. 


Here is an overhead view of my card so you can see the whole of the pop up card at one time.


For the front of the card I added some sand along the bottom edge using the Nature Edges die set.

I added another mermaid to the left hand side of the card.

I added the Happy Birthday sentiment which is another new die from Karen Burniston's new collection released in January.

To finish off the card I added the & Mermaid Kisses which is another sentiment from the Honey Bee die set. I used the fishtail banner from the Word Set 5 - Royalty to die cut this sentiment.


Don't forget to visit Karen Burniston's blog on Wednesday when you will be able to see what all the designers created for the challenge this month.


Supplies:

Karen Burniston:


Other:
Stamps: Mermaid Song - Honey Bee Stamps
Paper: White; Yellow; Pink;  Watercolor Wishes Paper Pad - Lawn Fawn
Inks: Black Ink; Gina K Designs Sweet Corn Ink Cube; Lawn Fawn Mermaid Ink Cube
Tonic Studios Shimmer Pen
Foam Tape
Copics