Tuesday, May 17, 2022

Pink Meadow Flowers


Hi Crafty Friends,

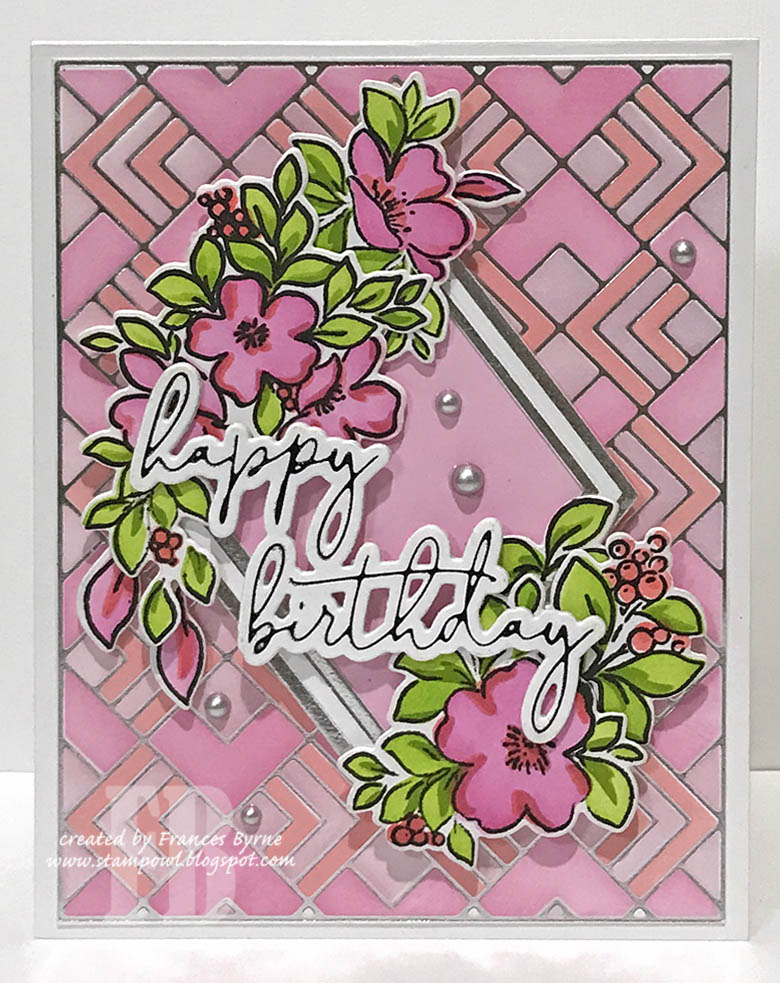
I have a floral foiled birthday card to share with you today using stamps, dies, stencils and hot foil plates from Pinkfresh Studio.

For the background of my card I used the Geo Tiles Hot Foil Plate which I foiled onto white cardstock using silver foil. I then used the coordinating stencils to add colour to the background using Distress Oxide inks. I layered this background onto a top folding white A2 card base.

I used the Nested Diamonds Hot Foil Plates and coordinating dies to create the silver foiled diamond shape in the centre of my card. I also used the Solid Hot Foil Plate so I could get the negative image of the diamond. I used the dies to die cut the diamond around the outer frame and the inner. I then backed this using white cardstock that I coloured using Kitsch Flamingo Distress Oxide ink.

For the flowers, I used Pinkfresh Studio's In the Meadow stamp set with coordinating stencils and dies. I coloured the flowers using inks from Catherine Pooler Designs. After die cutting the flowers I adhered them around the diamond frame.

I used the "Happy Birthday" sentiment using the Fancy Script Words Hot Foil set and coordinating dies. I foiled the sentiment using black foil to match the black outline of the flowers. I layered the sentiment three times and adhered to the middle of the flowers.

To finish off the front of the card I added silver metallic pearls.


For the inside of the card, I added another of the flower images included in the In the Meadow stamp set.

I added a birthday sentiment using an older Stampendous Birthday Wish stamp set.

Other Supplies:
Birthday Wish Stamp Set - Stampendous (discontinued)


Monday, May 16, 2022

Karen Burniston - KB Riley LLC May 2022 Release Blog Hop


Hi Crafty Friends, 


Welcome to our Karen Burniston Products - KB Riley LLC May Release Blog Hop. The Design Team have come together with Karen today for a fun blog hop to celebrate the release of 8 new dies. Sneak peeks of the new release started last week, and the dies are available to order NOW!


INSERT Graphic


This release includes:

  • 1 new "Ball" Die Set - Mini Ball Pop-up
  • 2 new Add-Ons Die Sets - Mini Ball Add-ons 1 Gnomes; Mini Ball Add-ons 2 - Monkey and Lion
  • 1 new Accordion Die Set - Landscape Rectangle Accordion
  • 1 new Crosshatch Die Set - Short Rectangles - Crosshatch 
  • 1 new Charms die Set - Flutter Charms
  • 1 new Slimline Sized Die Set - Long Flap and Closure
  • 1 new Alphabet Set - Mini Alphabet and Numbers 


Dies are available to order now on the website. 


GIVEAWAY:


To celebrate the release Karen Burniston and each of the Karen Burniston - KB Riley LLC Design Team members will be giving away a $25 Gift Certificate to some lucky person who comments on our blog posts, so make sure you join the hop and comment on everyone's blog post. Winners will be randomly chosen from ALL of the blog hop comments received on our blog posts by Monday, 23rd May 2022. Lots of chances to win some goodies, so just leave a comment on this post or any other blog hop posts to enter! Don't forget to leave some way for us to contact you, in case you are a lucky winner!


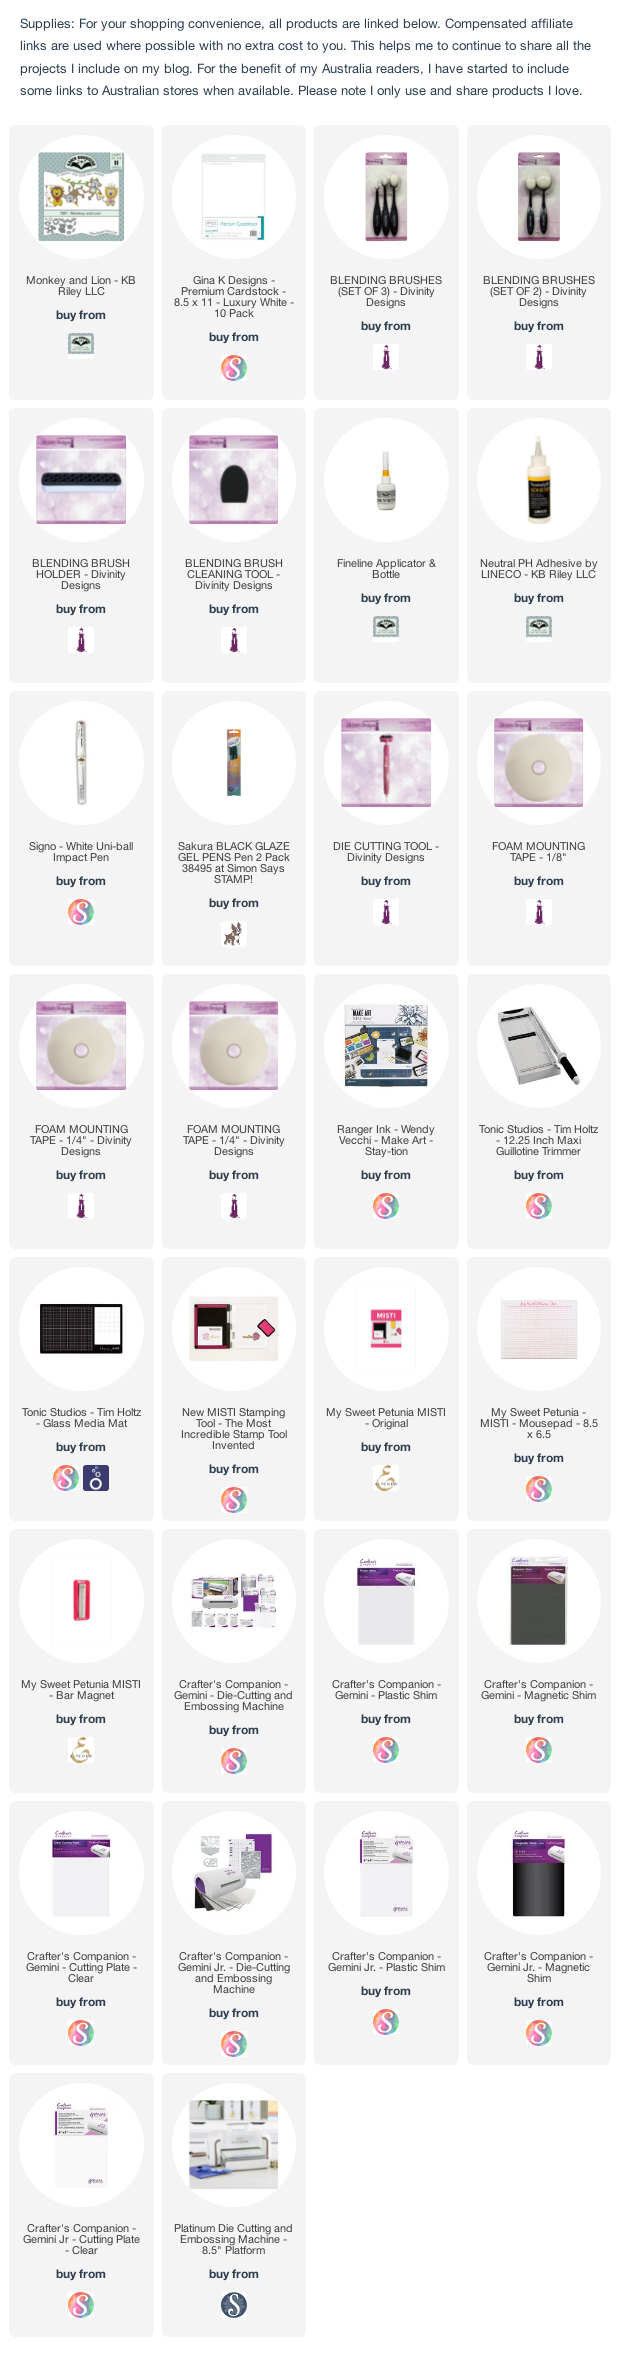
My card today uses three of the new die sets being release ... Landscape Rectangle Accordion; Mini Alphabet and Numbers and Short Rectangles - Crosshatch.

One of the very first dies I purchased when I first discovered Karen Burniston's products many years ago was an accordion die. So I was excited to see that Karen has added a new one to her collection ... the Landscape Rectangle Accordion die set, which is Mini Slimline sized. I die cut the main accordion page die from green cardstock and also from patterned paper and decorated the pages.


I used the monkey from the Monkey and Lion die set which I used to decorate the first page of my accordion card. For the to end pages I used the smaller square dies included in the Landscape Rectangle Accordion Die set to add my monkeys and stamped sentiment.


The "Go Bananas!" sentiment uses the new Mini Alphabet and Numbers die set. This set included the main alphabet and a shadow for each of the letters/numbers. I also added a couple more bananas from the Monkey and Lion die set. 

For the centre page I also used one of the rectangles from the Short Rectangles - Crosshatch die set to die cut the patterned paper and layered to the panel. I love how you can change the look of this card by either using the smaller squares or adding a rectangle instead.

I added a birthday sentiment to one of the small squares using an older stamp set.


Here is a look at the front of my card when it is closed, ready to be placed in an envelope.

I added banana bunches to each of the corners for some added interest.

Well that is about it from me today, thank you for dropping by. To continue on the blog hop, click on the next person on the list which is the wonderful Kelly Booth

Here is the complete blog hop list if you need it.

Blog Hop List:


Karen Burniston 

Lois Bak

Karen Aicken

Frances Byrne    <<<< You are here >>>>

Kelly Booth

Fran Sabad

Sandy Diller


Other Supplies:

Celebrate Your Day Stamp Set - Reverse Confetti/Simon Says Stamp (discontinued)


Friday, May 13, 2022

Divinity Designs May 2022 Release


Hi Crafty Friends,

I have lots to share with you today as it is time for Divinity Designs May 2022 Release. This time around Divinity Designs are releasing four stamp/die duo sets; two Slimline die sets; two die sets; two  foil/die duo sets and two foil plates.


First up I am sharing a Slimline card I created using three of the new products. To create the slimline portion of the card I used the new Slimline Pierced Large Windows die along with the Slimline Card Base and Slimline Rectangles die sets.

For the background on the light blue panel, I used the Waves Foil Plate and blue foil to foil the panel. As the slimline panel is longer than the foil plate, I position the foil and foil plate at the end of the card panel and foiled that section. I then carefully positioned the foil plate and foil so it lined up at the edge of the previous foiled to foil the remaining portion of the panel. I die cut this panel using the Slimline Layering Rectangles and adhered it to my Slimline card base.

I added the dinosaurs and sentiments using the Dinosaurs Stamp/Die Duo set.


Next I created another Slimline card, this time in a landscape orientation. I used the new Slimline Pierced Petals Background die to die cut the pink panel on my card. This is such a beautiful design. I then used the Slimline Rectangles and Slimline Card Base to create my card.

To decorate, I used flowers from the Beautiful Blossoms Set 2 Paper/Die Duo, these are pre coloured images. I love how easy it is to create beautiful cards with these flowers.

For the sentiment added the "Happy Birthday" sentiment which is gold foiled using the All Occasions Foil/Die Duo set. If you aren't into foiling, there is also a Stamp/Die Duo set available which included exactly the same sentiments.


For the inside of my card I added two more of the flowers and leaves from the Beautiful Blossoms Set 2 Paper/Die Duo set. I also added another foiled sentient using the All Occasions Foil/Die Duo set.


For my final card today, I created an A2 card using the new Pierced Waves Background die. This background was layered onto a green rectangle die cut using the Matting Rectangle die and then onto an A2 card which was die cut using the A2 Landscape Card Base with Layer die set.

I decorated the card using flowers from the Beautiful Blossoms Set 3 Paper/Die Duo set The sentiment is from the Bold Blessings Stamp/Die Duo set. If you are into foiling, there is also a Foil/Die Duo set available.


For the inside of my card, I added more of the flowers and another sentiment.


Thursday, May 12, 2022

Pink Butterflies


Hi Crafty Friends,

It's challenge time with my friends over on the CCEE Stampers challenge blog. Kelly Santi our challenge hostess for the month, continues to issue the challenges.

Apparently today is National Foam Roller Day - show us your cards using any rolled technique! Paper rolling, brayers, marbles - and have fun!


It's been a long while since I have had to pull out my brayer, so it was good to be able to use it for my card I am sharing today. A few weeks ago, Jennifer McGuire shared a technique of using a cover plate to dry emboss a background and then use a brayer and white ink to apply ink to the embossed areas which then leaves the debased areas the original color, while the embossed portion of the card was a softer color.

It's probably hard to tell by the photo, but that is what I did for my card today. I used Pinkfresh Studio's Hearts and Stars Coverplate to dry emboss the pink panel. I then used my brayer to add white pigment ink over the top.

I cut down my background panel using a stitched rectangle die and then layered this onto a dark pink rectangle panel and then onto a side folding A2 Card.

Butterflies seem to be very popular this year, with a fair few companies releasing butterfly stamps, dies, hot foil plates etc. I must admit I have added a few to my stash this year, including Bibi Cameron's Butterfly Collection she designed for Spellbinders. For this card I used Spellbinders Delicate Butterflies die set to create the three butterflies that I added to the front of the card. 

I added a "thinking of you" sentiment from a stamp set from Gina K Designs.


As you can see by the photo above, I created a pop up card using Bibi Cameron's Pop-up Butterfly die set. I used dark pink cardstock to add the pop-up butterfly. I then used two of the smaller butterflies from the Delicate Butterflies die set which I attached to the wings of the pop-up one.

I used the Pinkfresh Studio's Coverplate to dry emboss another panel, I trimmed this down and then added to each side of my card.

I added flowers using dies from the Butterfly Card Creator die set to the upper right hand corner of my card.

For the sentiment I used a butterfly themed sentiment using a sentiment included in Gina K Designs' Spread Your Wings stamp set.


Don't forget to check out the CCEE Stampers blog (goes live 12 AM EST) to see the rest of the creations the CCEE Stampers created this week. You can also see more details of their creations on their individual blogs:


Wednesday, May 11, 2022

Hello


Hi Crafty Friends,

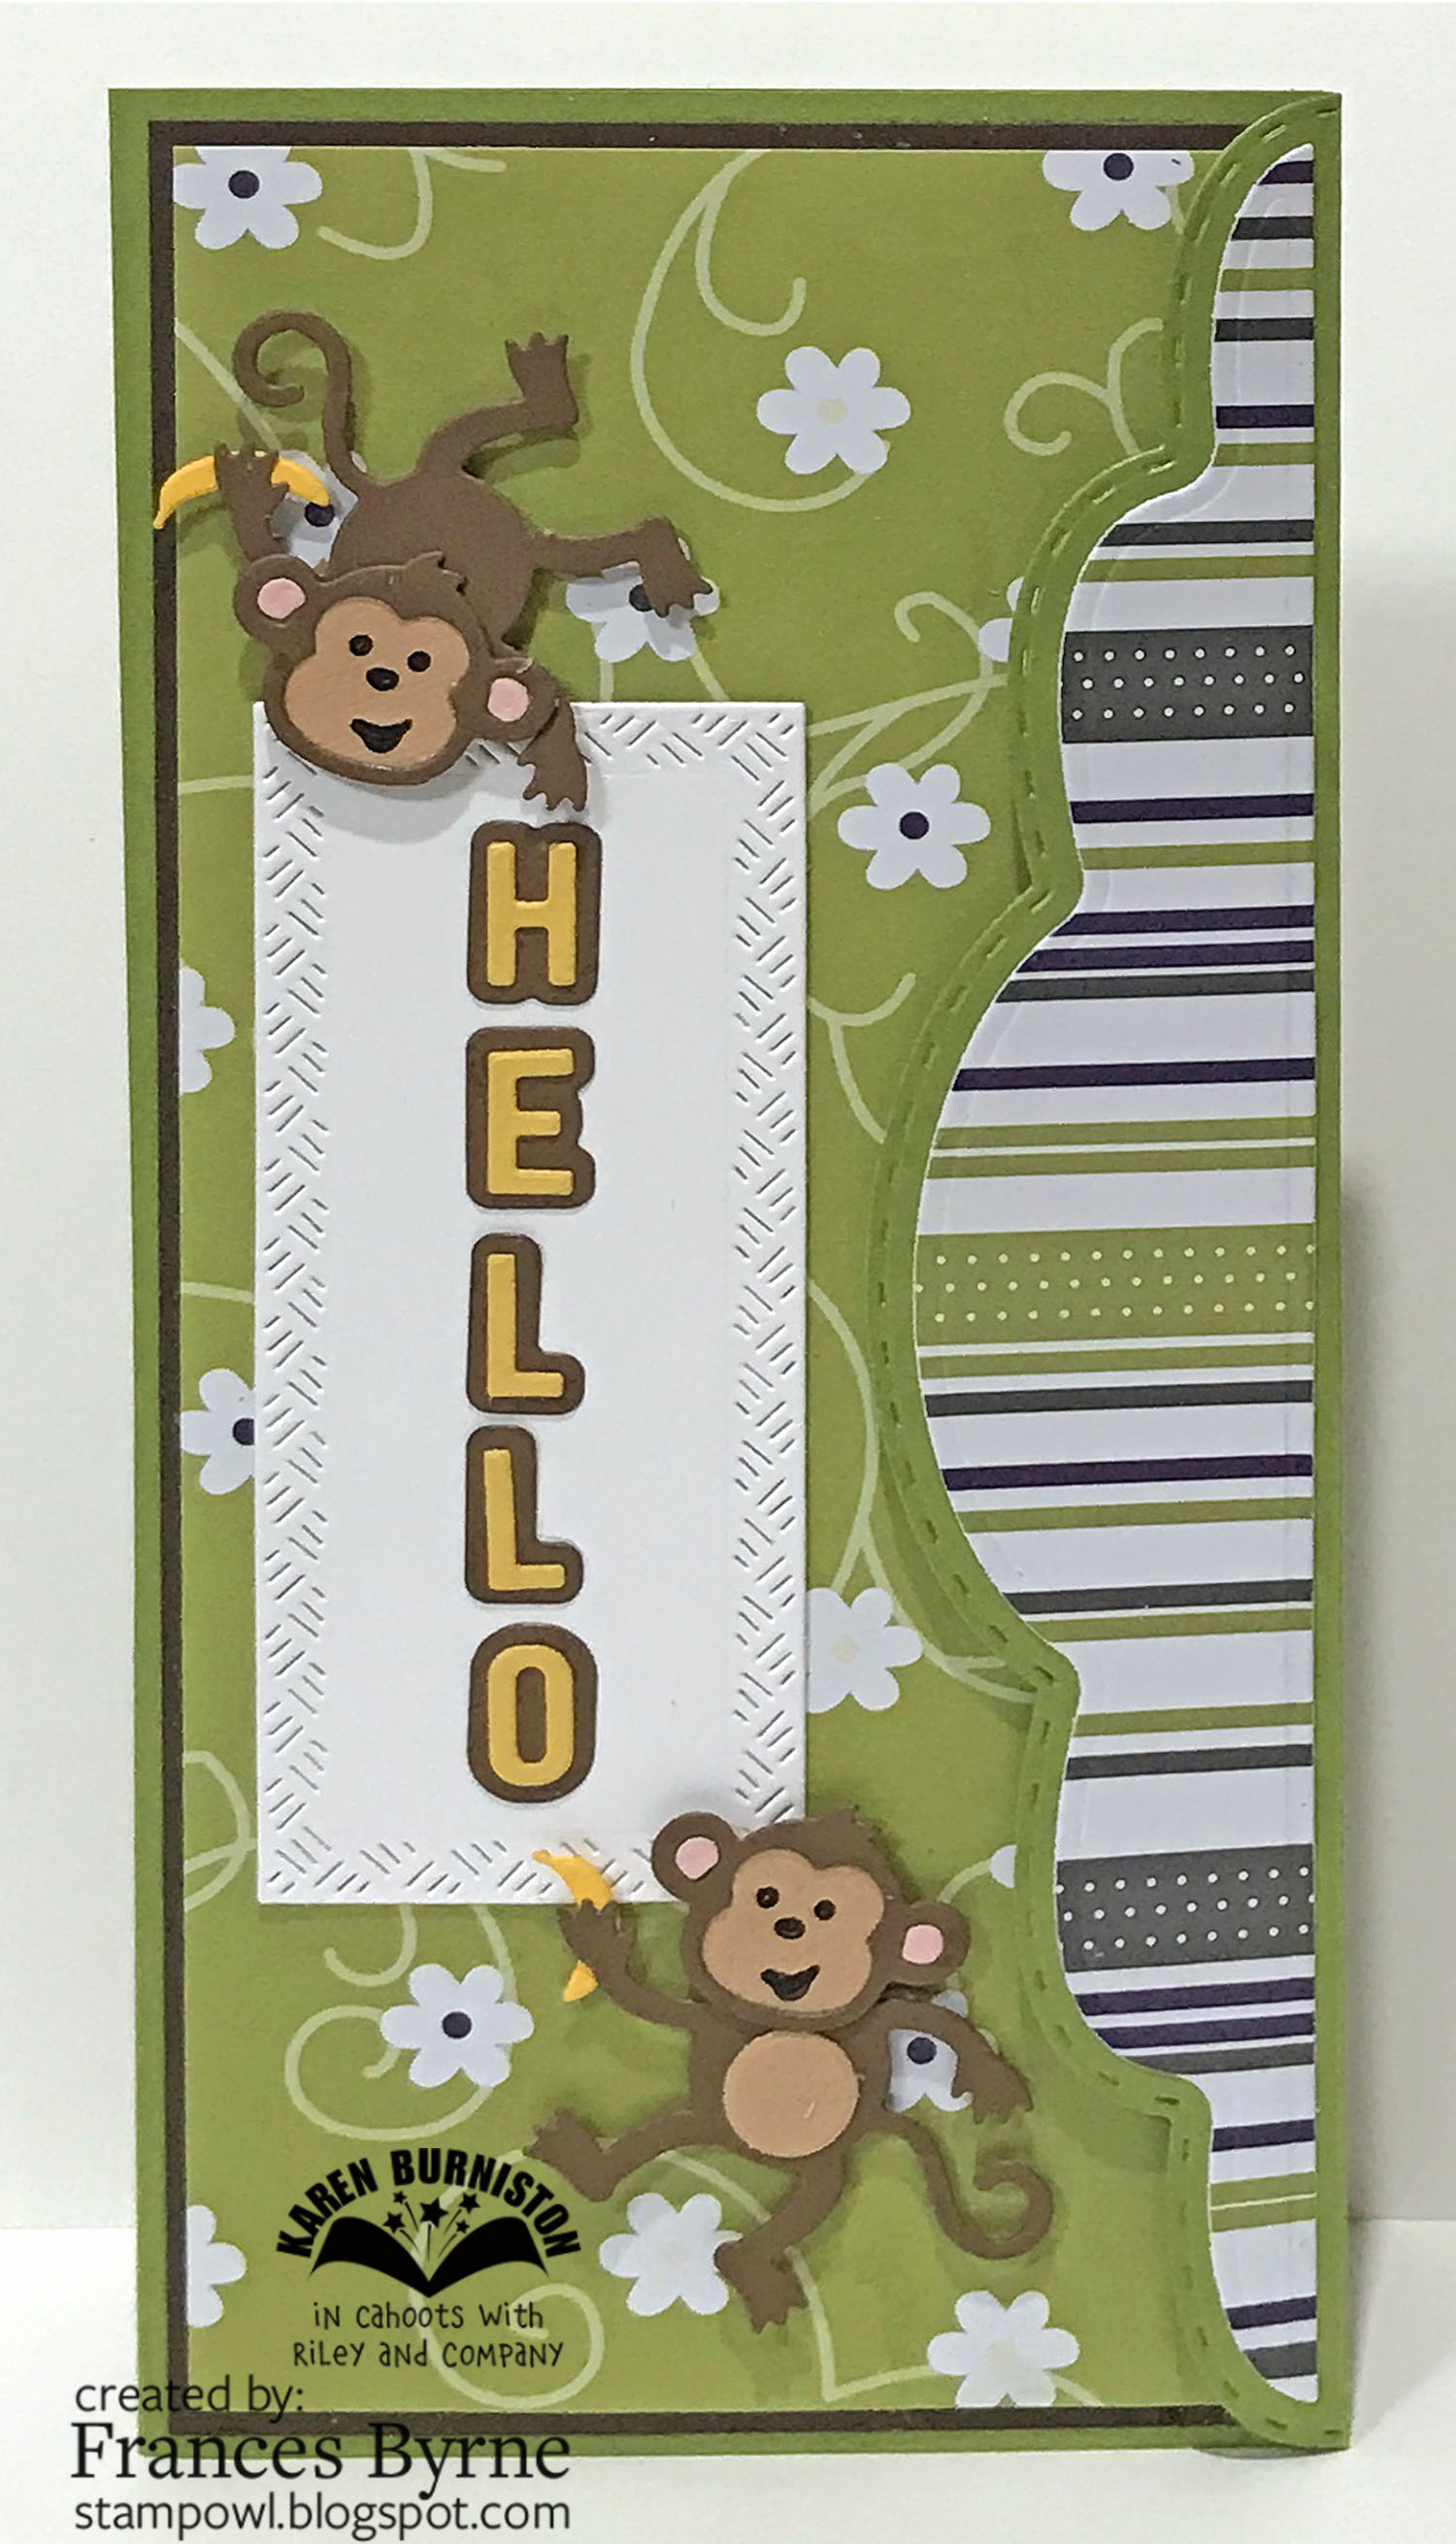
Today I am sharing a Mini Slimline card using new dies which will be released by Karen Burniston - KB Riley LLC, next Monday 25th April. 

For my card today I used the Short Rectangle - Crosshatch die set to create the layers for the Mini Slimline card. I die cut the largest die from the pink cardstock and the second largest using the floral designer paper.

For the sentiment I used dies from the "Hello" die set which is from a previous release.

I added two dragonflies to my card using the dragonfly dies from the new Flutter Charms die set. I die cut the solid dragonfly from blue iridescent cardstock and the outline die from black and then layered the two together.

I then layered the panels to a side folding Mini Slimline card that measures 6 inches x 3 1/2 inches.


I added a strip of the patterned paper I used on the front of my card, to the right side edge of my card. I used the "Miss You" sentiment from the Word Set 14 - Hugs die set. 

On the bottom right hand corner I added another dragonfly.


Tuesday, May 10, 2022

May 2022 Karen Burniston Designer Challenge


Hi Crafty Friends, 

Welcome to our May Karen Burniston Designer Challenge.

Check out Karen Burniston's blog on Wednesday (US Time) when you will be able to see what all the designers created for the challenge this month, plus Karen will have an amazing video tutorial to share with us all.

Our challenge theme this month is ... "BALL AND SMALL" - create a ball animal and pair it with the same critter from our animal sets. 

Here is a quick video to see my card in action. 


Karen Burniston will be releasing 8 new die sets next week Monday 16th May, and today I am sharing my first sneak peek of what is being released. I actually used 5 of the new dies on my card today.

Everyone who follows me, knows I love Slimline cards. So I was super excited when Karen told us she was releasing a Mini Ball Pop-up which would fit into a slimline card. I made my slimline card 4 inches x 8 1/2 inches, it will depend on what pieces you add to your Mini Ball as to the size of Slimline card you will need.

For the "Ball" portion of the challenge I used the new Mini Ball Pop-up and Mini Ball Add-ons 2 - Monkey and Lion die sets. 


On the left side of my card I added two of the monkeys from the Monkey and Lion die set. One is standing upright and the other is hanging by it's tail by a vine.


For the sentiment, I used the new Mini Alphabet die set. This die set includes the alphabet, numbers and some punctuation, along with the layering dies for each piece.


I added another. sentiment under the Monkey Mini Ball ... it's a little rebus. which says "Banana's 4 U" meaning I'm bananas for you!


To help keep the card closed I used the new Long Flap and Closure die set, this die set is designed to work with slimline cards. However the die does have notches along the die which allows you cut the flap down to suit any size card.


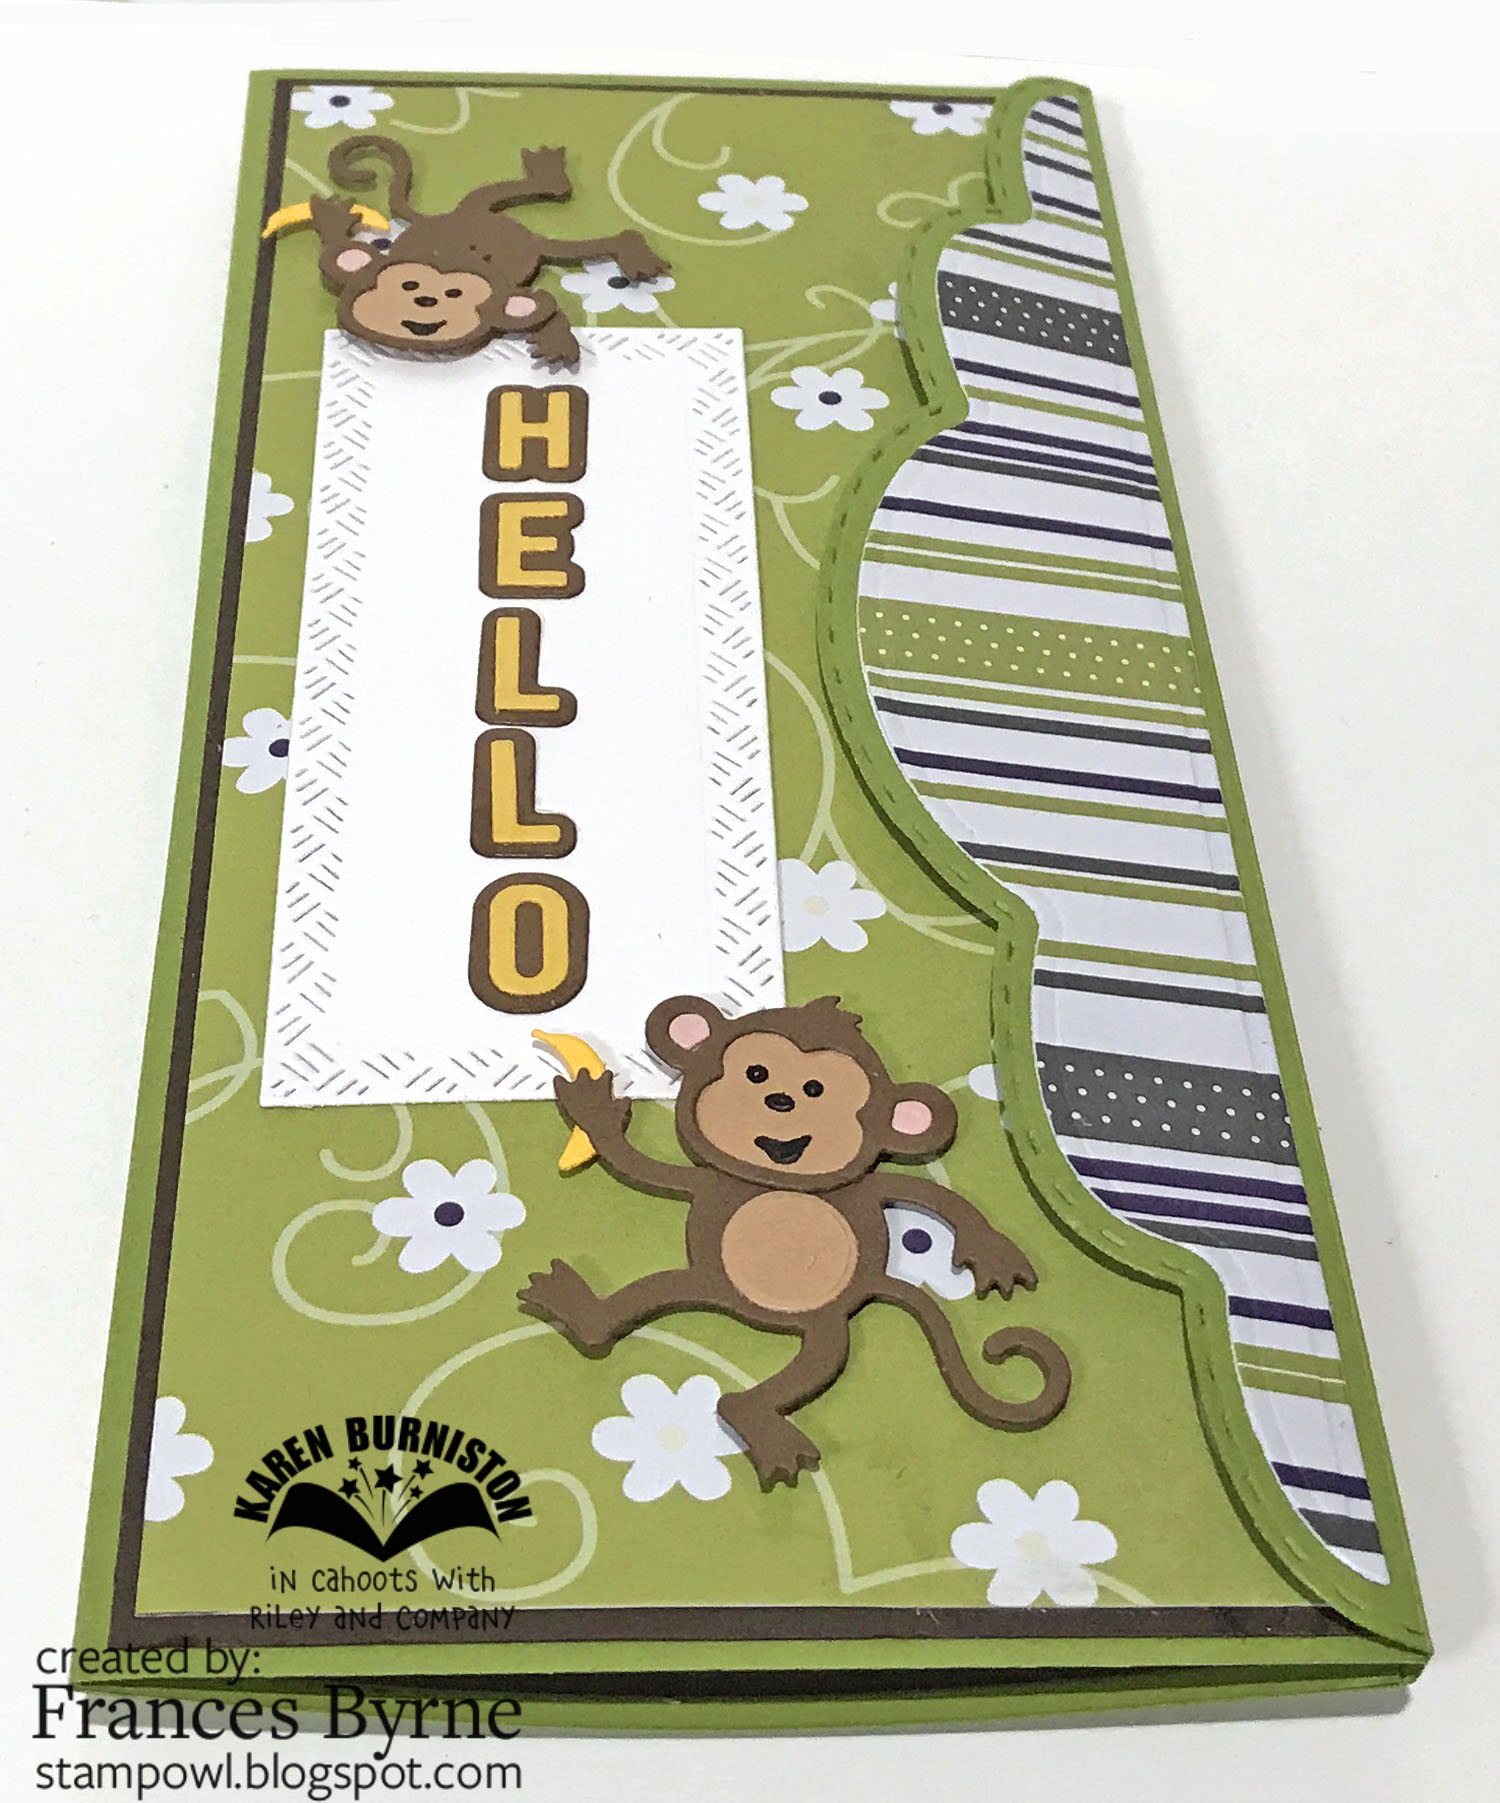
To decorate the front of my card, I added a rectangle from the new Short Rectangles - Crosshatch die set. I added the "Hello" again using the Mini Alphabet Die set.

To finish off the card I added the two monkeys to each end of the rectangle.


Monday, May 9, 2022

Birthday Wishes Slimline


Hi Crafty Friends,

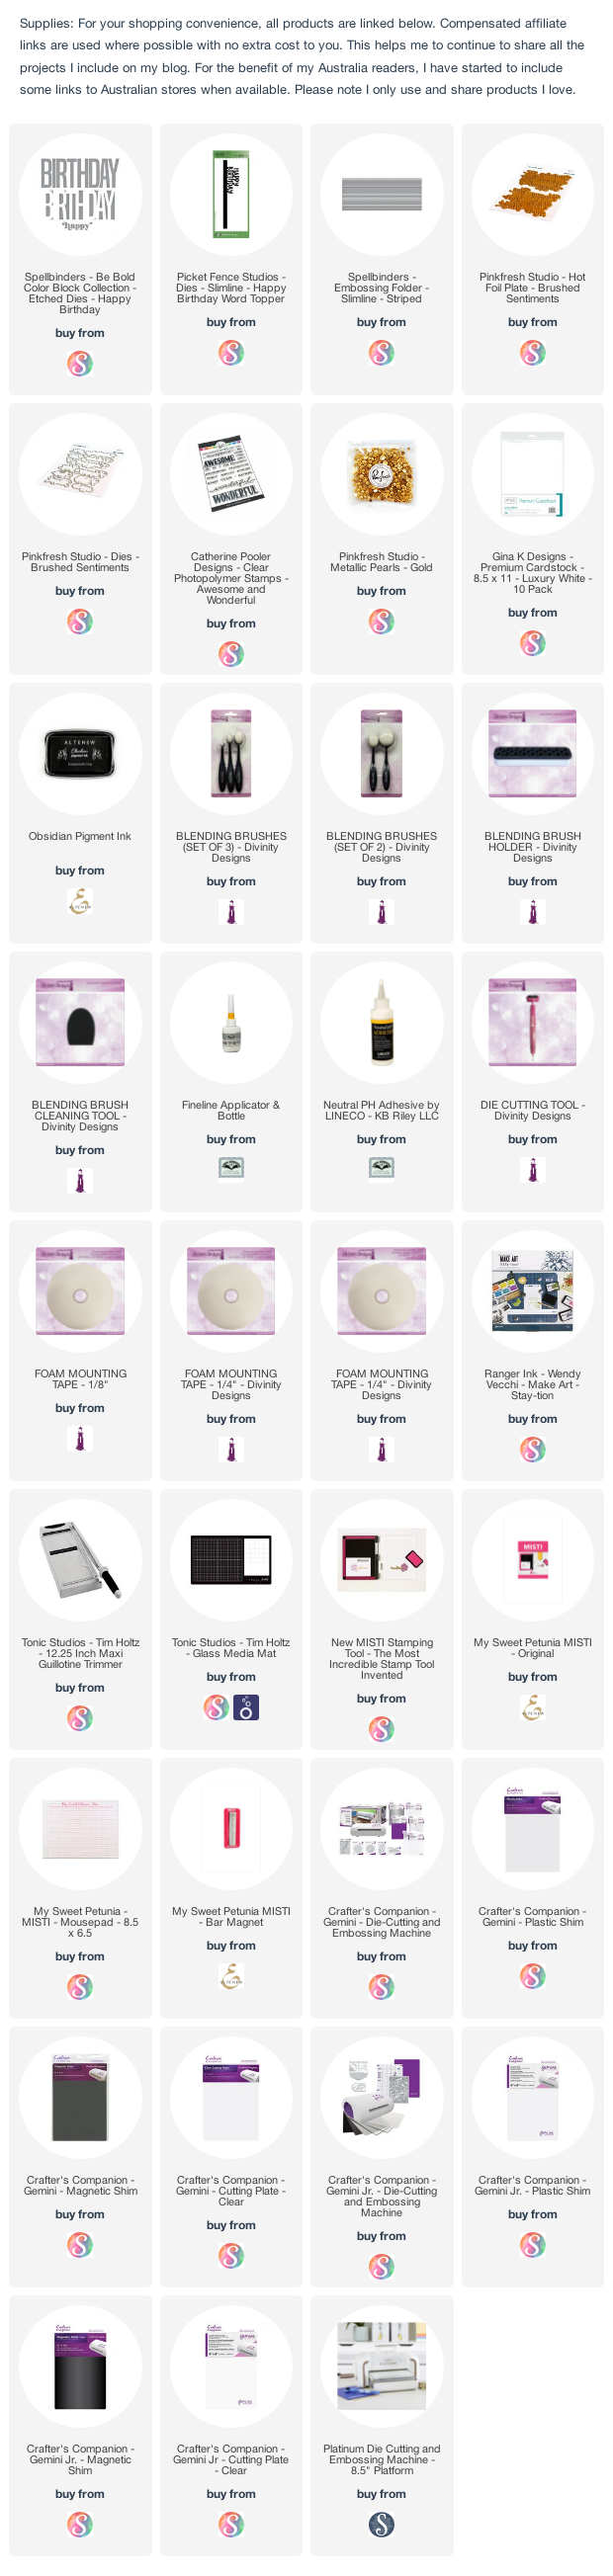
I have a birthday themed slimline card on my blog today using various products from Spellbinders Paper Arts and Pinkfresh Studio. 

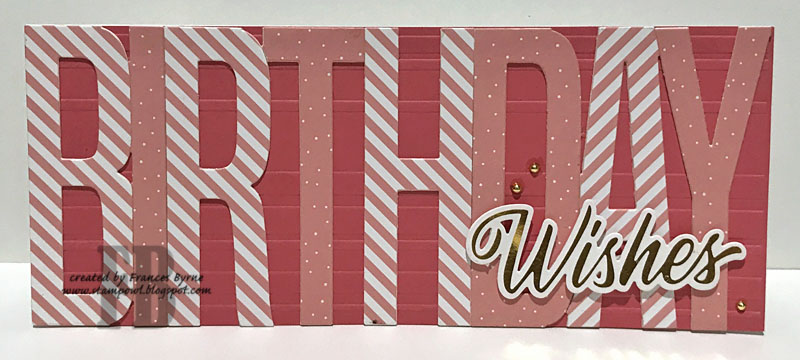
My slimline card measures 8 1/2 inches x 3 1/2 inches, to create the background I started with a piece of cardstock of this size which I then used Spellbinders Slimline Striped Embossing Folder to add texture.

I used Spellbinders Be Bold Color Block Collection - Happy Birthday to die cut the "Birthday" from two colours of pink cardstock ... one with dots and one with stripes. I adhered these letters to two additional layers for each letter, before adding them to my pink embossed panel. This was then adhered to a top folding slimline card.

I added the "Wishes" sentiment using Pinkfresh Studio's Brushed Sentiments Hot Foil Plates and coordinating dies. The sentiment was gold foiled. To finish off the front of the card, I added three gold pearls around the sentiment. 


For the inside of the card I added a piece of the dark pink cardstock along the bottom of the card.

I then used Picket Fence Studios' Slimline Happy Birthday Word Topper to add the "Happy Birthday" sentiment. I added a sentiment under the Happy Birthday using a Catherine Pooler Awesome and Wonderful stamp set.


Friday, May 6, 2022

Color Me Happy


Hi Crafty Friends,

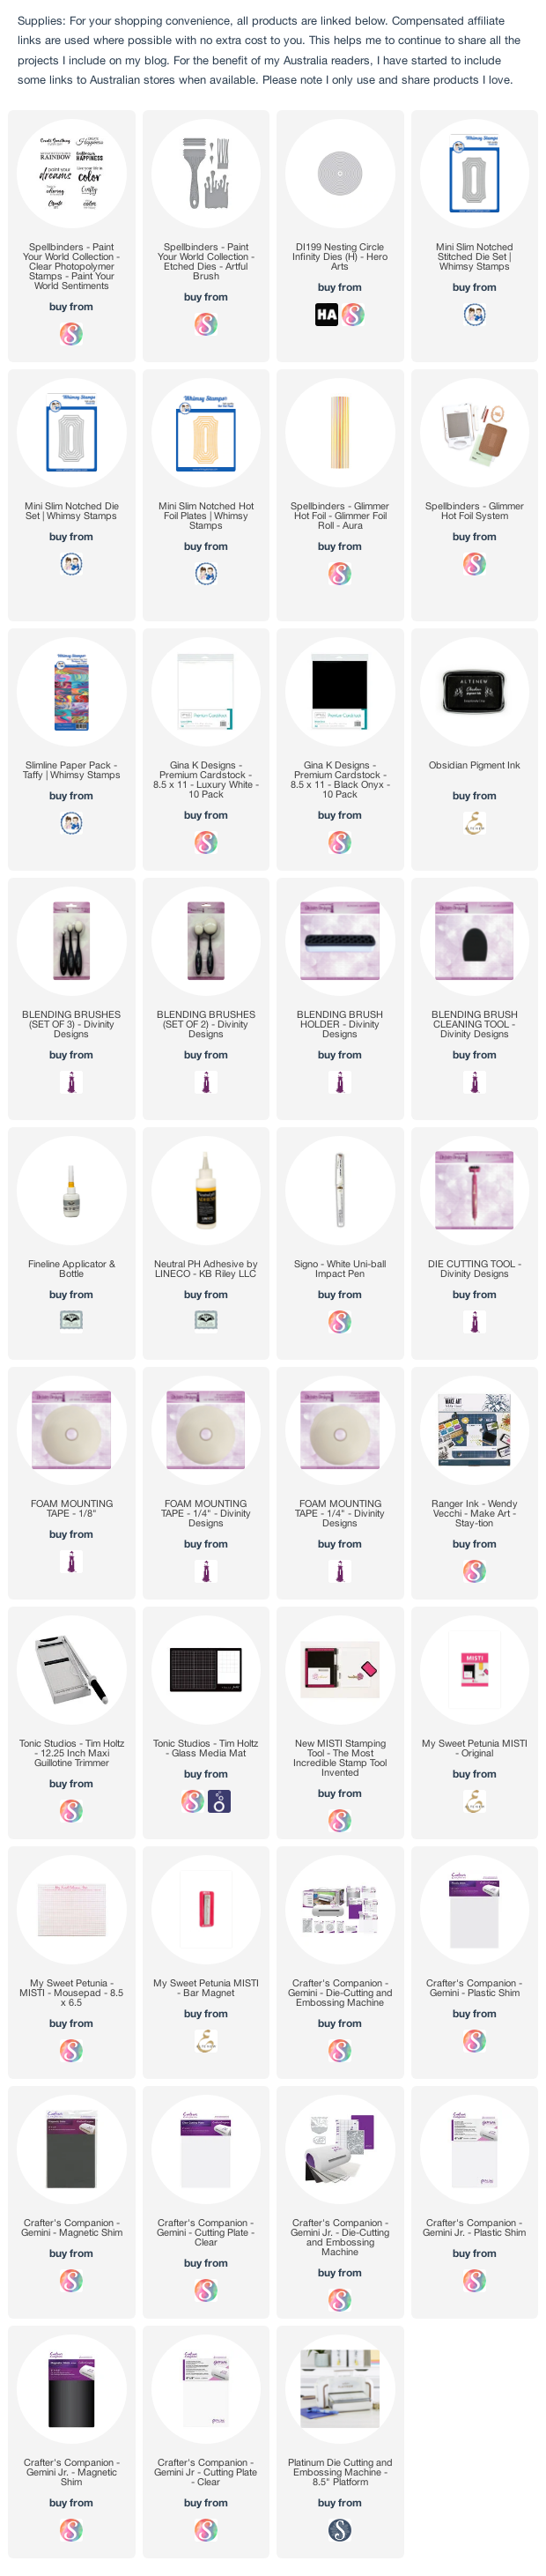
I have a paint themed slimline card to share with you today.

For my card I used one of the paint brush die sets that were designed by Vicky Papaioannou for Spellbinders Paper Arts. This die set is called the Artful Brush. I die cut the various elements from coloured cardstock including the large paint splot, which I die cut from both reddish brown and green and then cut one down the middle and layered over the other.

When I was making my card I remembered that I had some swirly papers from Whimsy Stamps, so I pulled them out and found this fun reddish brown & green pattern which I decided to use for my card. I trimmed it slightly to fit onto a 3 1/2 inch x 8 1/2 inch side fold card.

To layer my paintbrush, I used Whimsy Stamps Mini Slimline Notched dies and Hot Foil Stamps. I first hot foiled one of the hot foil plates included in the Mini Slim Notched Foil Plate set using Aura Foil. I then used on of the dies included in the Mini Slimline Notched die set to die cut around the outside of the foiled frame. I used the other notched set .... Mini Slim Notched Stitched die set to die cut the reddish brown panel panel.

To finish off the front of the card I added a sentiment from the Paint Your World Sentiment set.


For the inside of my card, I used the Mini Slim Notched and Mini Slim Notched Stitched die sets to die cut my white and green panels and adhered them to the centre of the inside panel. I then added another of the sentiments included in the Paint My World Sentiments set.

I die cut two more paint brushes and adhered them to my card so that the handles go off the edge of the card.


Thursday, May 5, 2022

Dandelion Day


Hi Crafty Friends,


It's challenge time with my friends over on the CCEE Stampers challenge blog. Liz Williams our challenge hostess for the month, continues to issue the challenges.

National Dandelion Day - yesterday was Dandelion Day so show us your best dandelion cards (or use an flower as an alternate)


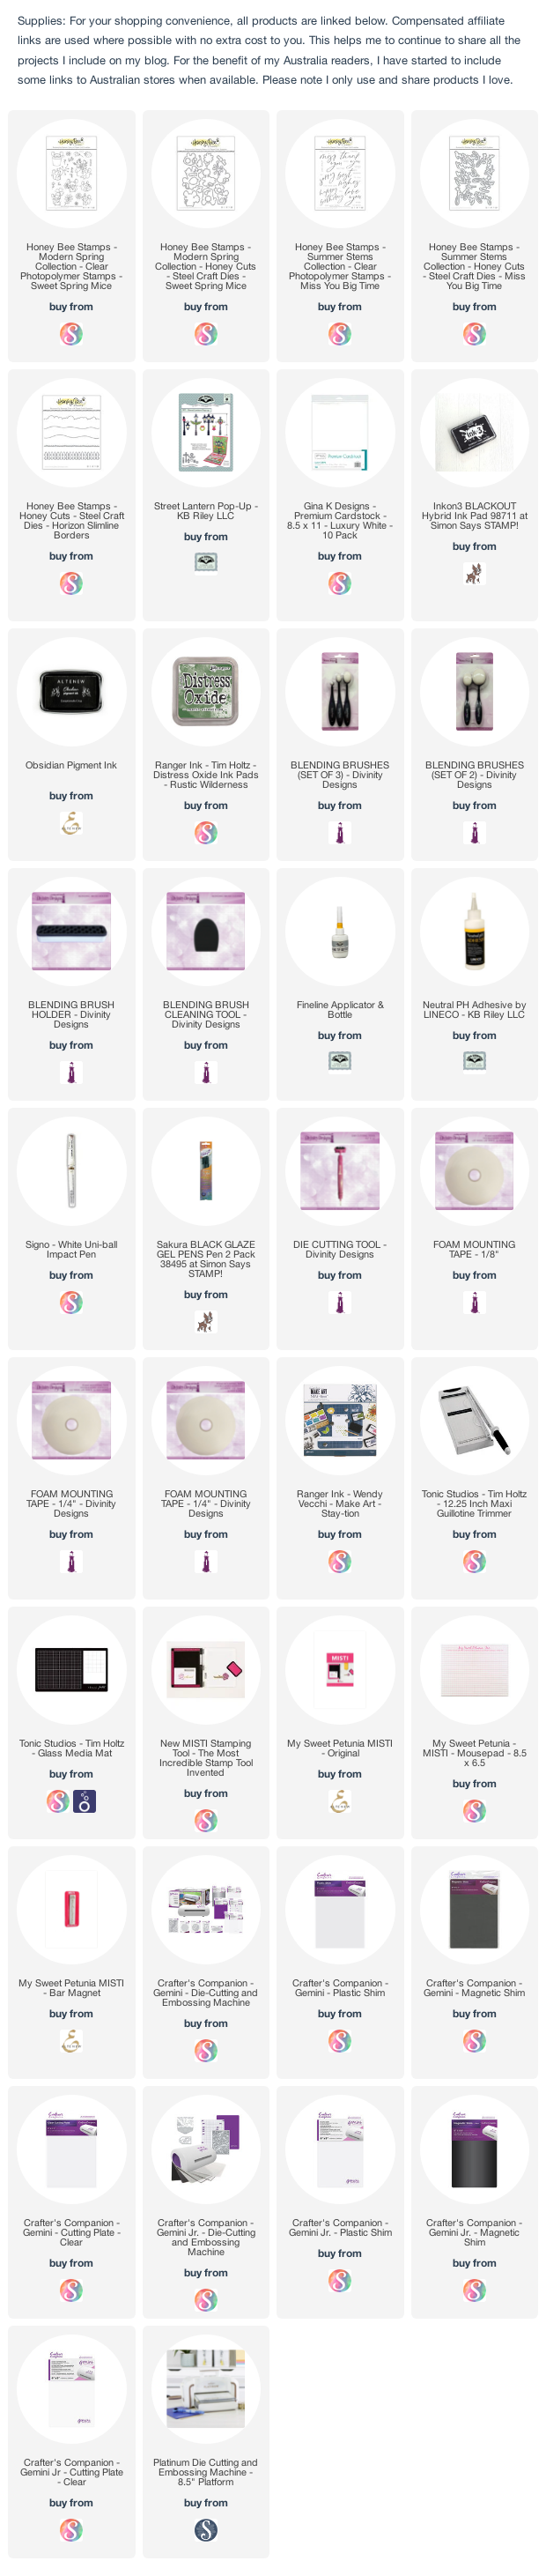
My first thought when I read this challenge, was that I didn't have any dandelion stamps or dies. But when I began to think about getting organised to do this challenge, I looked up and noticed a Honey Bee Stamps stamp set that was sitting in my box of stamps & dies waiting to be used. On closer inspection of the set, there was a cute mouse blowing a dandelion in the wind. So of course I had to get that stamp set out to play.

The stamp set is called Sweet Spring Mice and as it was a Honey Bee Stamps stamp set, I decided to pull out my Honey Bee Stamps Horizon Slimline Borders die set that contains dies to create grass, clouds and the fence. I stamped and die cut three of the mice images from the set to create my cute little scene.


For the inside of the card I used the same dies as I used on the front of the card to create my scene.

I used Karen Burniston's Street Lantern Pop-up die set to pop up the two mice.


I added the large birthday sentiment to the base of my card using the Miss You Big Time stamp set and coordinating dies.

Don't forget to check out the CCEE Stampers blog (goes live 12 AM EST) to see the rest of the creations the CCEE Stampers created this week. You can also see more details of their creations on their individual blogs: