Showing posts with label Gift Bag. Show all posts

Friday, August 28, 2026

Trick or Treat


Hi Crafty Friends,

As I have two grandchildren, I need two treat holders to give to them for Halloween. This is the second one I made using the Stitching Die of the Month from Spellbinders All Crates Club for August 2026. If you missed seeing the other one I made scroll down a few days and you will find it.

Although this is a stitching die set, I opted not to do the stitching, but I still used the insert dies that create the holes as I thought that added to the "aged" look a mummy would have. This die set is called Frank-N-Stitch.


I also used the 3D Embossing Folder ... Spooky Web for the black back panel. This embossing folder has two different designs on the one folder and I used the stripes for this project.

To create the treat bag itself, I again pulled out the Divinity Designs Card Caddy & Gift Bag die set, omitting the handle included in the set.


Monday, August 24, 2026

EEK!

Hi Crafty Friends,

 The Spellbinders All Clubs Crate for August 2026 was Halloween themed. Now I don't normally do a lot of Halloween stuff, as it isn't all that big a deal here in Australia where I live. However this club kit looked like lots of fun so I decided to get it anyway and so I got busy making some fun projects for my grandkids using the sets included in the kit. Sometimes it's fun to do something you don't normally get to play with.

I only ended up making a few cards as I don't need a lot of those. Instead I went with treat holders, money cards etc.

For my first project I created a treat holder, I will fill it up with some fun goodies to give to one of my grandchildren. 

To decorate the bag, I used the Scaredy Cat die set which was one of the bonus die sets from the kit.


To create the bag, I used Divinity Designs Card Caddy & Gift Bag die set die cutting it from purple cardstock. The die set does come with a handle, but I decided not to use it for these bags.

I added clouds to the front of the bag using a cloud stencil and black ink. I also added a circle for the moon.


Tuesday, December 12, 2023

Karen Burniston - KB Riley LLC December 2023 Release Blog Hop


Hi Crafty Friends, 

Welcome to our Karen Burniston Products - KB Riley LLC December Release Blog Hop. The Design Team have come together with Karen today for a fun blog hop to celebrate the release of 7 new dies. Sneak peeks of the new release started last week, and the dies are available to order NOW!


This release includes:

  • 2 new Add-ons Die Sets
  • 1 new Pop-up Die Sets
  • 1 new Tag Die Set
  • 2 new Stand Alone 3D Die Sets
  • 1 new Sentiment Shadow Die Set


Dies are available to order now on the website. 


GIVEAWAY:


To celebrate the release Karen Burniston and each of the Karen Burniston - KB Riley LLC Design Team members will be giving away a $25 Gift Certificate to some lucky person who comments on our blog posts, so make sure you join the hop and comment on everyone's blog post. Winners will be randomly chosen from ALL of the blog hop comments received on our blog posts by Monday,18th December 2023. Lots of chances to win some goodies, so just leave a comment on this post or any other blog hop posts to enter! Don't forget to leave some way for us to contact you, in case you are a lucky winner!


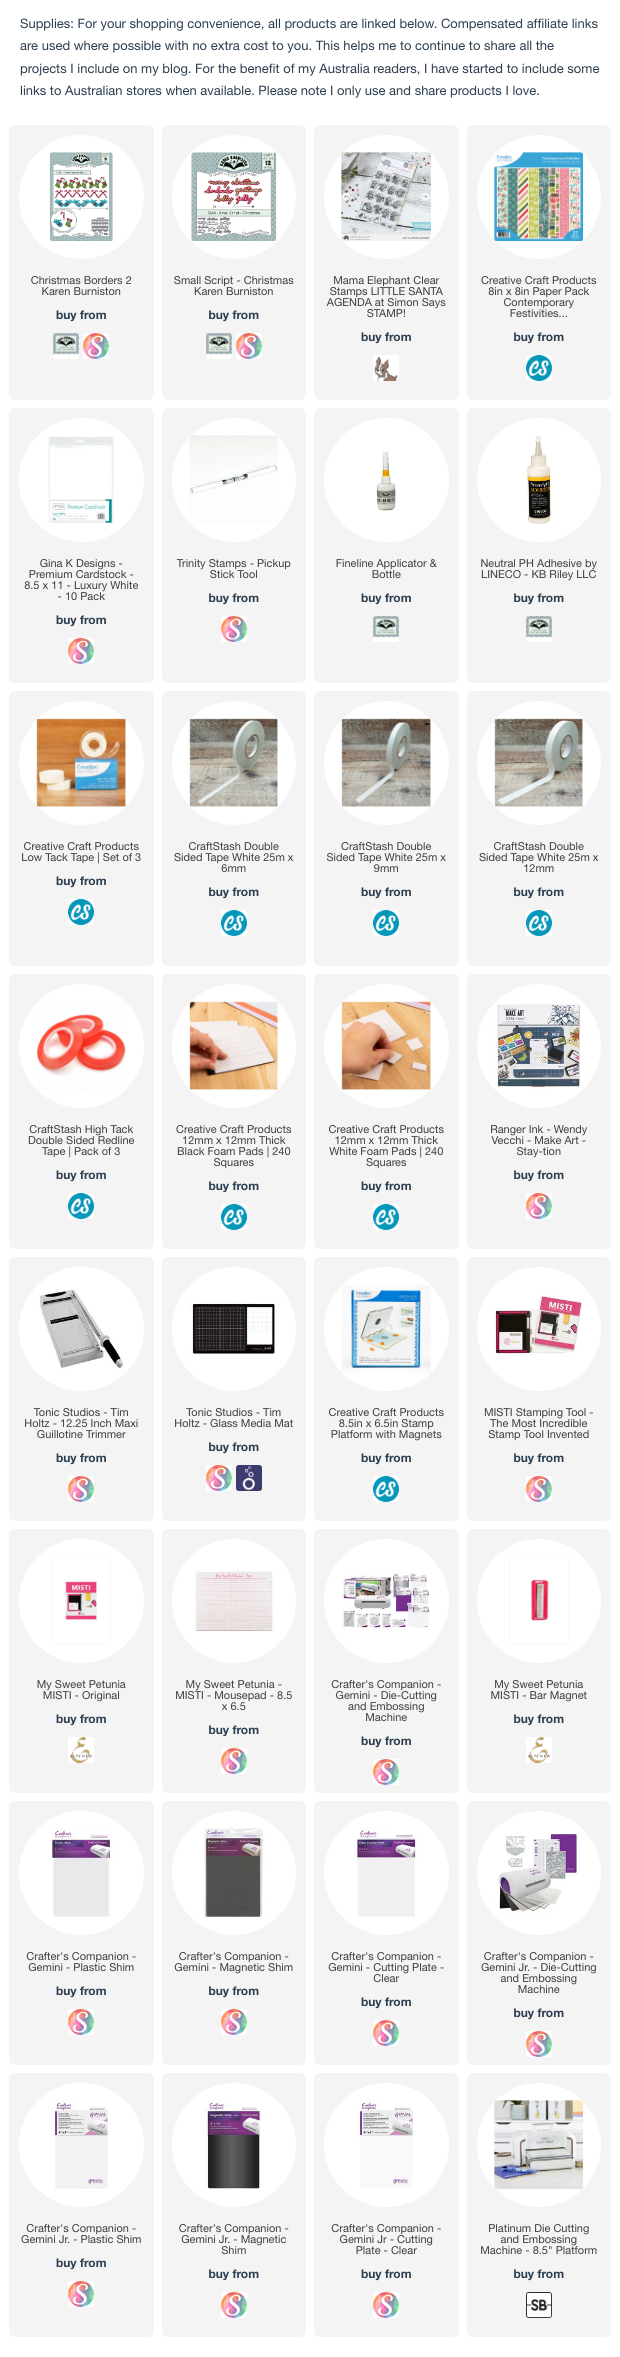
Today I am sharing a gift set which includes a Slimline Pop-up card, a mini gift bag and a Candy Heart Box. First up I am sharing my slimline card.

The photo above shows the inside of the card. For this I have used the new Raising Platform Pop-up die set. I can see me having a lot of fun with this die set in the future, and the great thing is that it fits into a Slimline card that is at least 3 1/2 inches wide.

I used the Small Script - Christmas die set to add the Christmas sentiment to the pop-up label. I added another of the large labels in white in the lower right hand corner of the card as a place to write a hand written greeting. I added candy canes which are from the Christmas Borders 2 die set. I used the Candy Cane Border and cut them apart.


I kept the front of my card simple. The circles on the front are from the Mini Gift Bag die set and I added more of the candy canes to the circles.


As mentioned above I also made matching Candy Box and Mini Gift Bag.


For the Gift Box, I used the new Candy Heart Gift Box, with comes with Hearts and Conversation Hearts ... perfect for Valentine's Day and anything love related. As Christmas is only a few week's away I decided to use it to make a Christmas themed gift Box. As you can see, I added another Candy Cane to the centre of the square window opening.


And finally a coordinating gift bag using the new Mini Gift Bag die set. This is perfect for tiny treats or gifts or even a gift card. I added a Christmas sentiment to the tiny gift tag which is also included in the set.

The circle in the centre of the bag, is also from the die set and I added another of the candy canes.

Well that's about it from me today, thank you for dropping by. To continue on the blog hop, click on the next person on the list, which is Jennifer Webster 


Here is the complete blog hop list in case you need it.


Blog Hop List:


Karen Burniston   

Lois Bak 

Sue Small-Kreider 

Frances Byrne  <you are here>

Jennifer Webster 

Fran Sabad 

Suzanne Smit 

Nicky Foden

Sandy Diller


Monday, October 16, 2023

Bat Halloween Gift Bag


Hi Crafty Friends,

Last week I shared a Witches Cat Halloween Gift Bag that I created for my granddaughter for Halloween. Today I am sharing a Bat version which I have made for my grandson.


Here is a quick video to see my card in action.


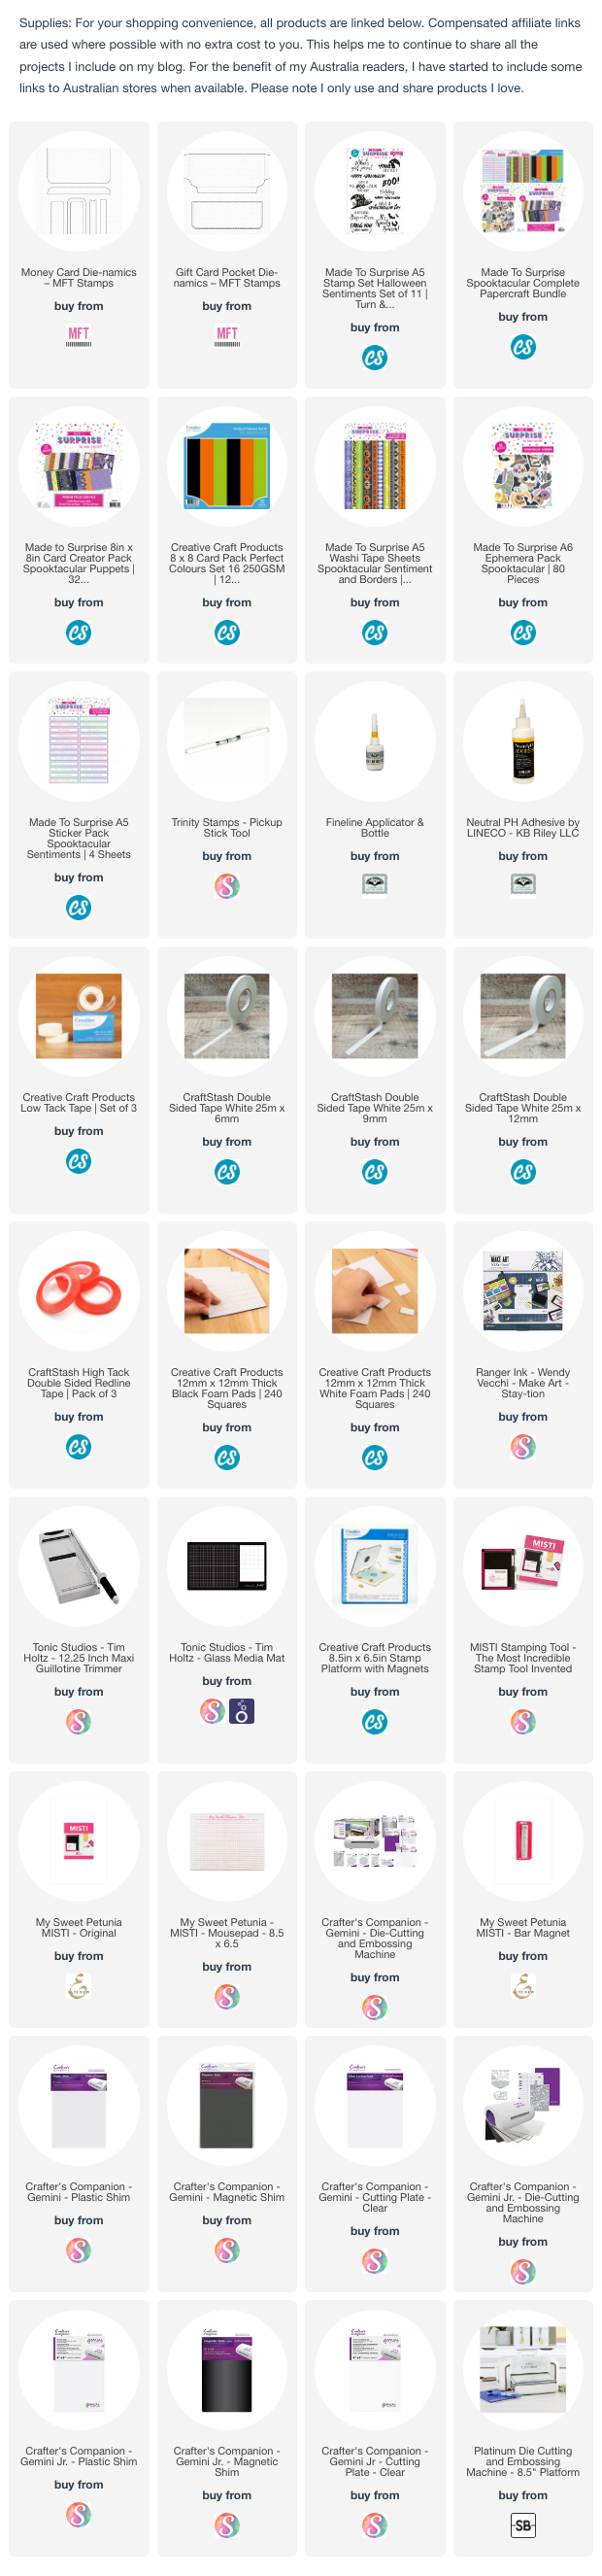
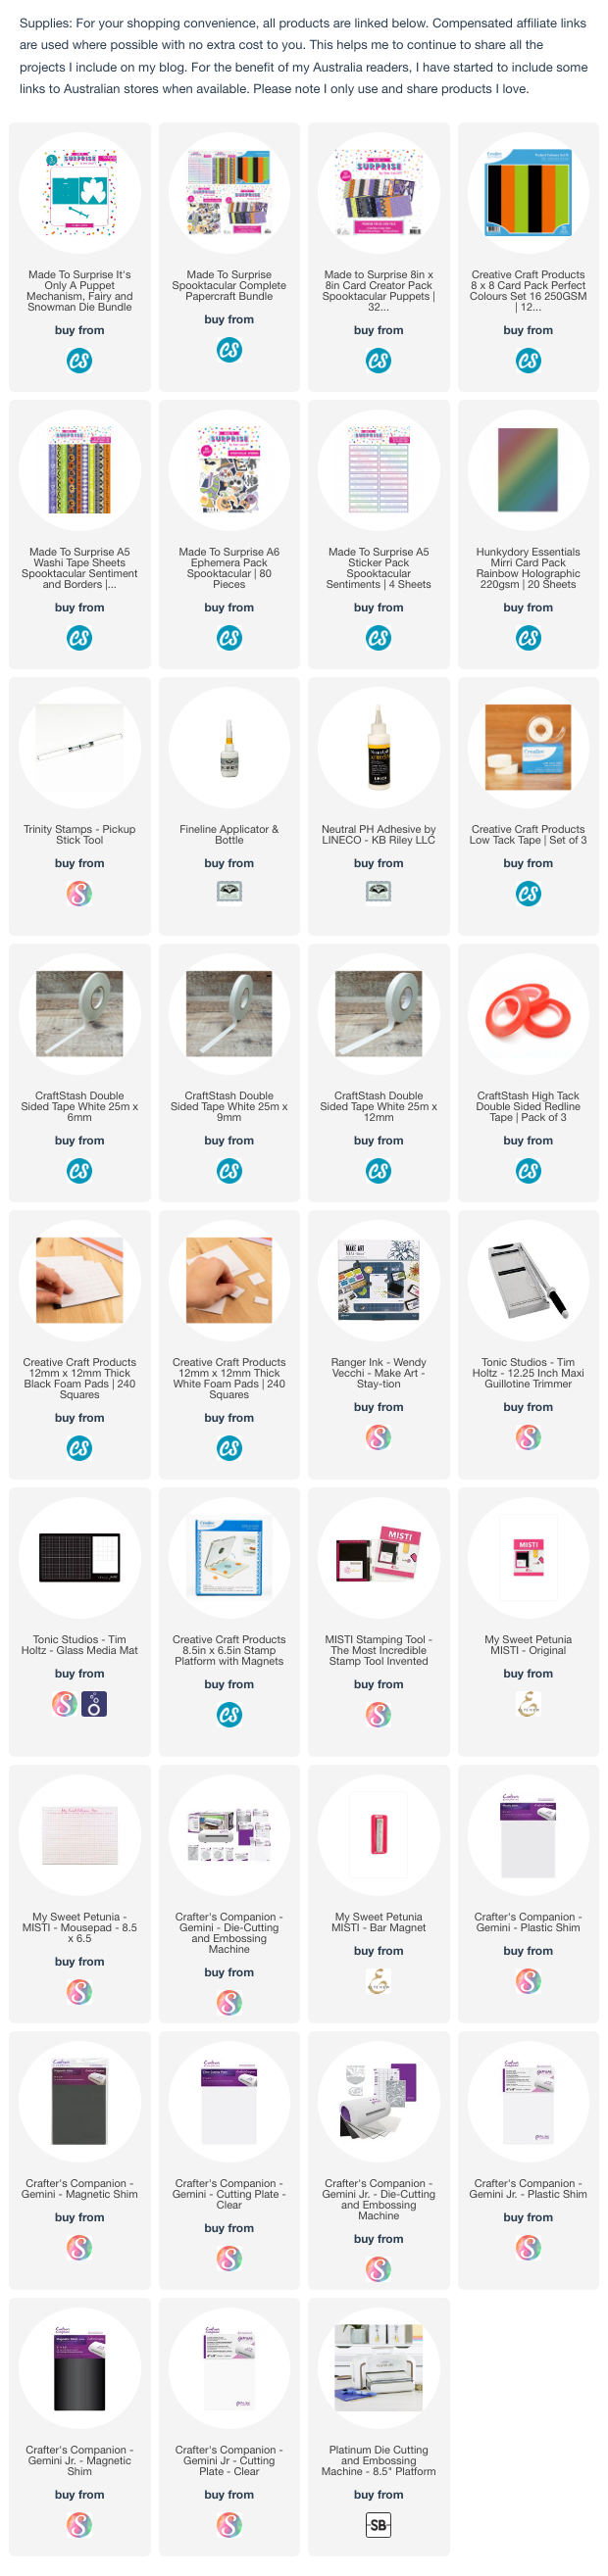
To decorate my bag I used papers from Made To Surprise by Sam Calcott's Spooktacular Collection. The paper pad included in this collection includes six different Halloween themed puppets. 


Here is another view of my gift bag, the sentiment under the cat says "Spooky Wishes".


Monday, October 9, 2023

Witches Cat Halloween Gift Bag


Hi Crafty Friends,

Today I am sharing an Halloween themed interactive gift bag that I have made for my granddaughter for Halloween. 


Here is a quick video to see my card in action.


To decorate my bag I used papers from Made To Surprise by Sam Calcott's Spooktacular Collection. The paper pad included in this collection includes six different Halloween themed puppets. 

I don't normally make Halloween gifts for the grandkids ... but these were just too cute that I had to play. 


Here is another view of my gift bag, the sentiment under the cat says "Happy Halloween".


Wednesday, May 6, 2020

Faith, Hope, Love


Hi Crafty Friends,

Today I am sharing a couple of projects using stamps and dies from Divinity Designs April release. I am a little behind creating my cards for this release as it has become very difficult getting mail from the USA to Australia right now.

As you can see I created a gift set which includes a card and gift bag.


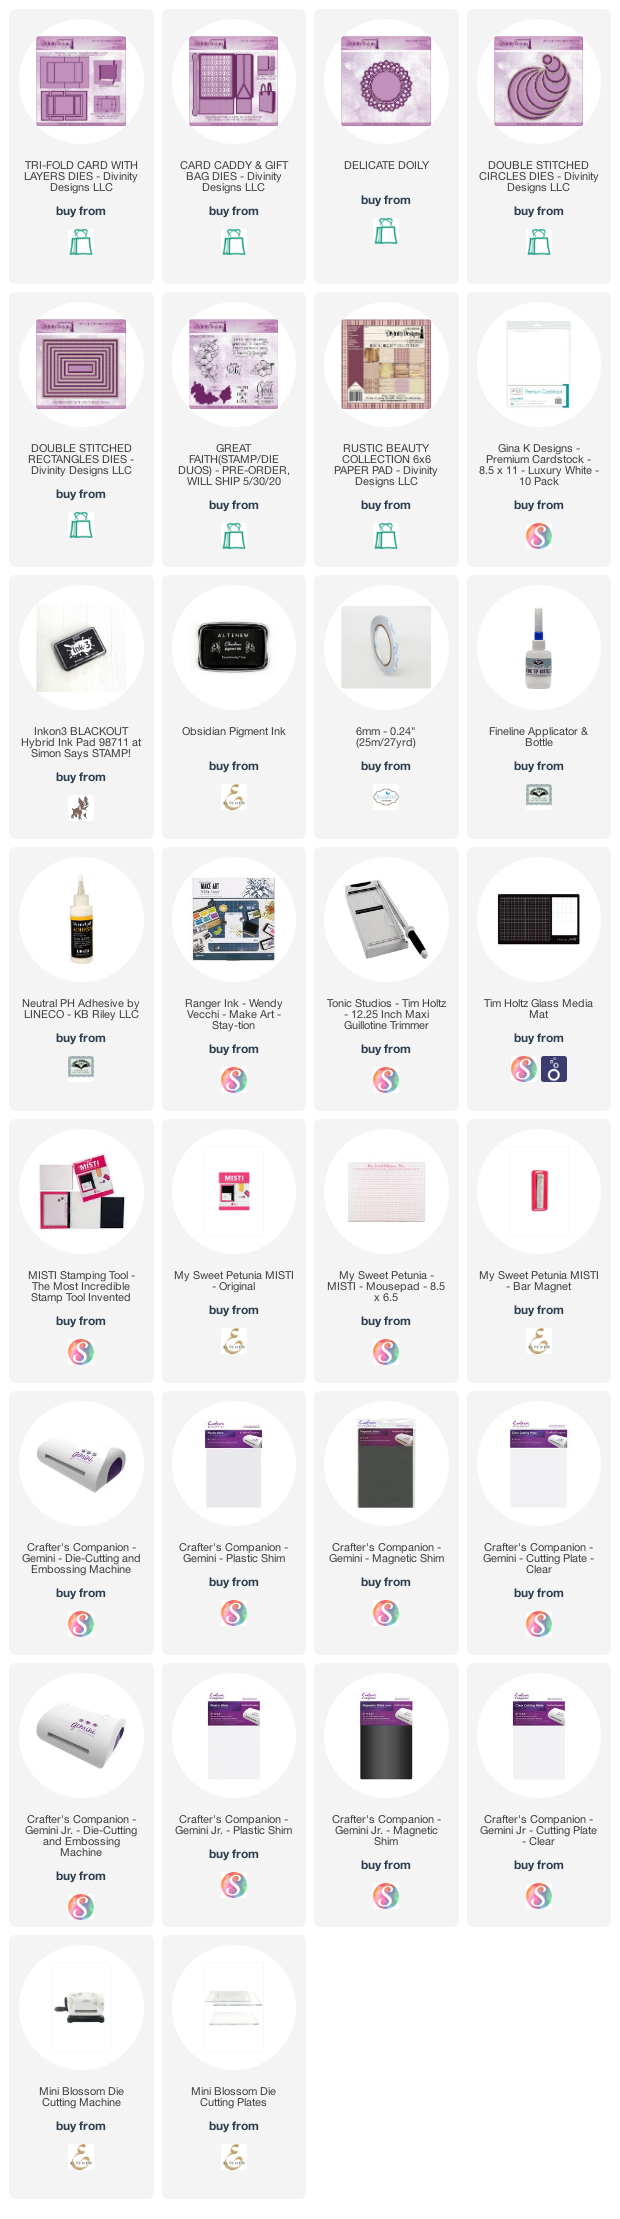
First up I created a card using Divinity Designs Tri-fold Card with Layers die set. I used the new Great Faith Stamps/Die Duos set to decorate the card.


The sentiment in the centre of the card is adhered to Delicate Doily die, I added a white circle the to centre of the doily using the Double Stitched Circle die set.


I used papers from Divinity Designs Rustic Beauty Collection Paper Pad.


For the bag I used the Card Caddy & Gift Bag die set and then decorated it using the Delicate Doily and Great Faith Stamps/Dies Duo set.


Here is another photo of the card taken at a different angle.

Supplies:
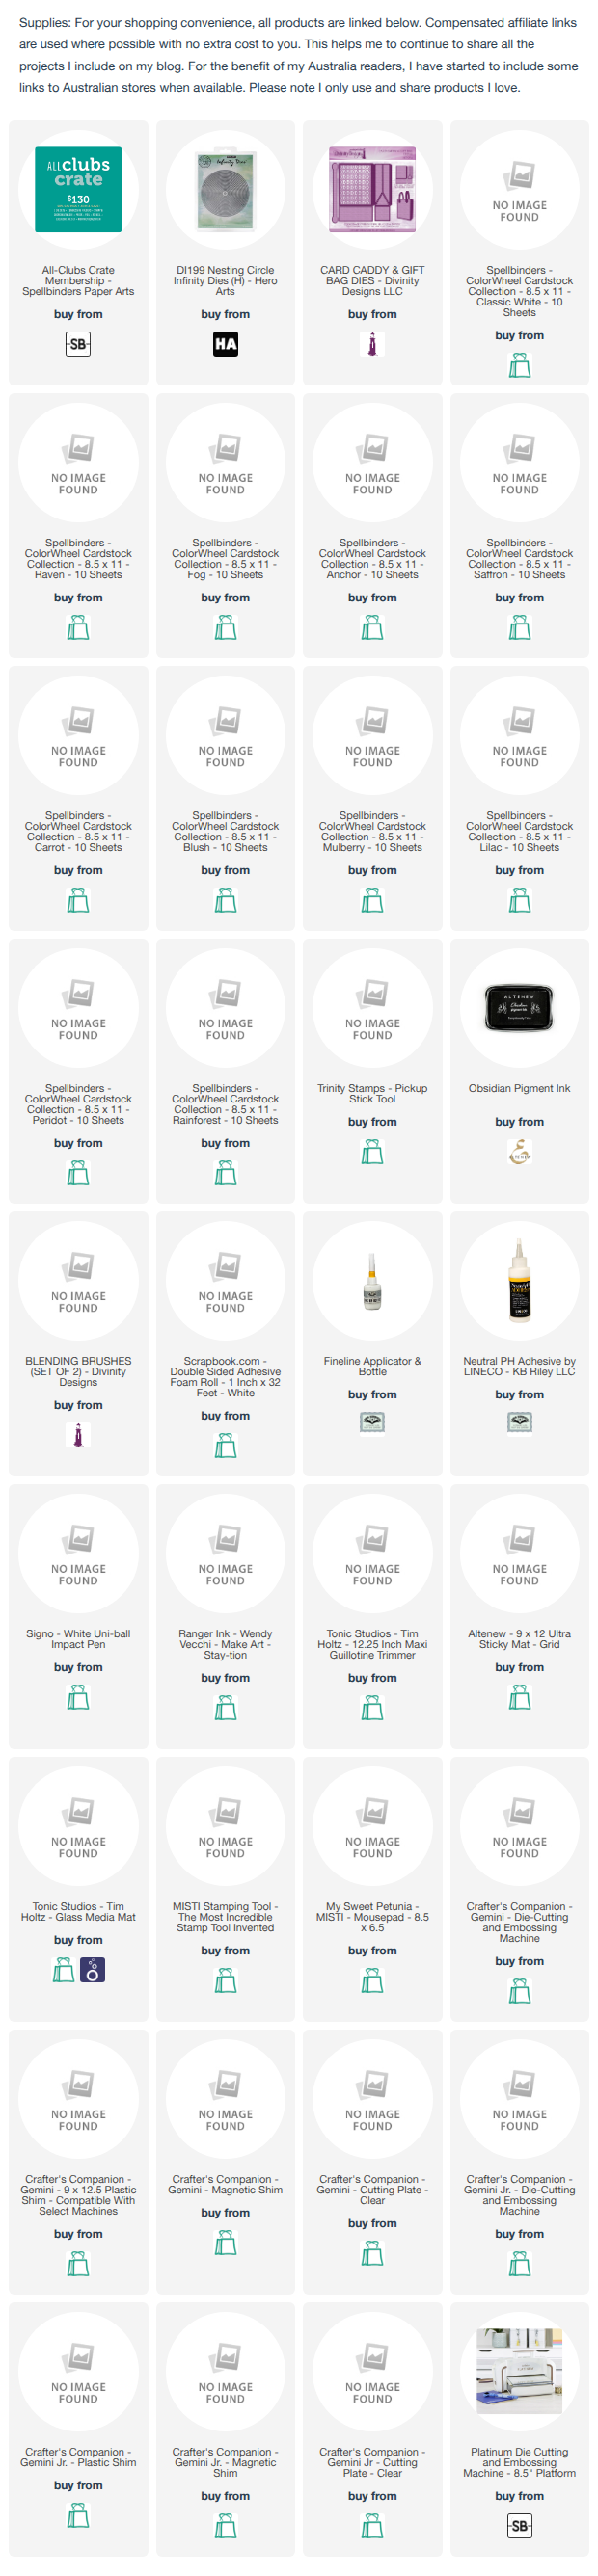
For your shopping convenience, all products are linked below. Compensated affiliate links are used where possible with no extra cost to you. This helps me to continue to share all the projects I include on my blog. For the benefit of my Australia readers, I have started to include some links to Australian stores when available. Please note I only use and share products I love.


Sunday, September 6, 2015

Poppylicious Gift Bag


Hi everyone,

Today I am sharing a gift bag I decorated for my friend who had a birthday recently. 

My friend loves poppies and I had already made her a poppy themed card which I posted here a week or so ago and then I discovered this cute Poppylicious Digital Stamp from Tiddly Inks which of course I HAD to buy so I could make a gift bag using it for her present.

One of the bonuses of digital stamps is you can size the image whatever you want, so I kept it fairly big, although it would still fit on a card. I pulled out my Grand Nestabilities dies to die cut and layer the image and colored with my copics. The set also comes with a poppy border so I printed that out twice and cut that out and attached that to the bottom of the bag.


Here is another look at my bag, this time at a different angle. Recently while at Costco, I found some fun wire-edged ribbon which of course I had to buy and as I had seen a video on how to make these bows a few days prior to buying the ribbon, I had to try it out. As the colors worked with this poppy themed gift bag, I added it to the top of the bag.


Stamps: Poppylicious Digital Stamp; Poppylicious Border Digital Stamp - Tiddly Inks
Paper: White; Red
Dies: Grand Circle Nestabilities; Grand Scallop Circle Nestabilities - Spellbinders
Other: Red Wire-Edged Ribbon; White Gift Bag; Foam Tape; Copics