Showing posts with label Washi Tape. Show all posts

Wednesday, March 22, 2023

Happy Blooming Birthday


Hi Crafty Friends,

Today I am sharing a floral birthday card I created recently.

It's been a little while since I played with my Rockin' Rectangle Pop-up die set from Karen Burniston, this is such a fun die set. I love creating the acetate front version of this card which is what I did today.


To decorate my card I used the Pinkfresh Studio's Sunflower Washi with the coordinating die set. The is a rectangle panel underneath all those sunflowers, but I layered the flowers and leaves up a fair bit, so you can only see small parts of the rectangle layers.

The sentiment is combining of sentiments from two stamp sets, one from Made to Surprise (floral hug) and the remainder of the words from Honey Bee Stamps.


I decorated the left hand panel on the front of the card using Crafter's Companion's Chevron Lattice die set. I added brown jewels to each of the points in the design.

I also added a birthday sentiment using another Made To Surprise stamp set.


Monday, April 4, 2022

Pink Floral Slimline


Hi Crafty Friends,

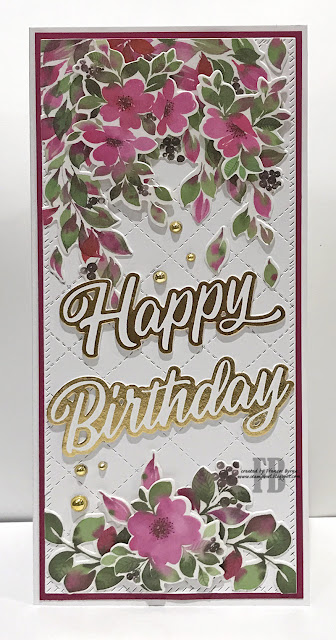
Today I am sharing a floral birthday Slimline card using products from Pinkfresh Studio and Concord and 9th.

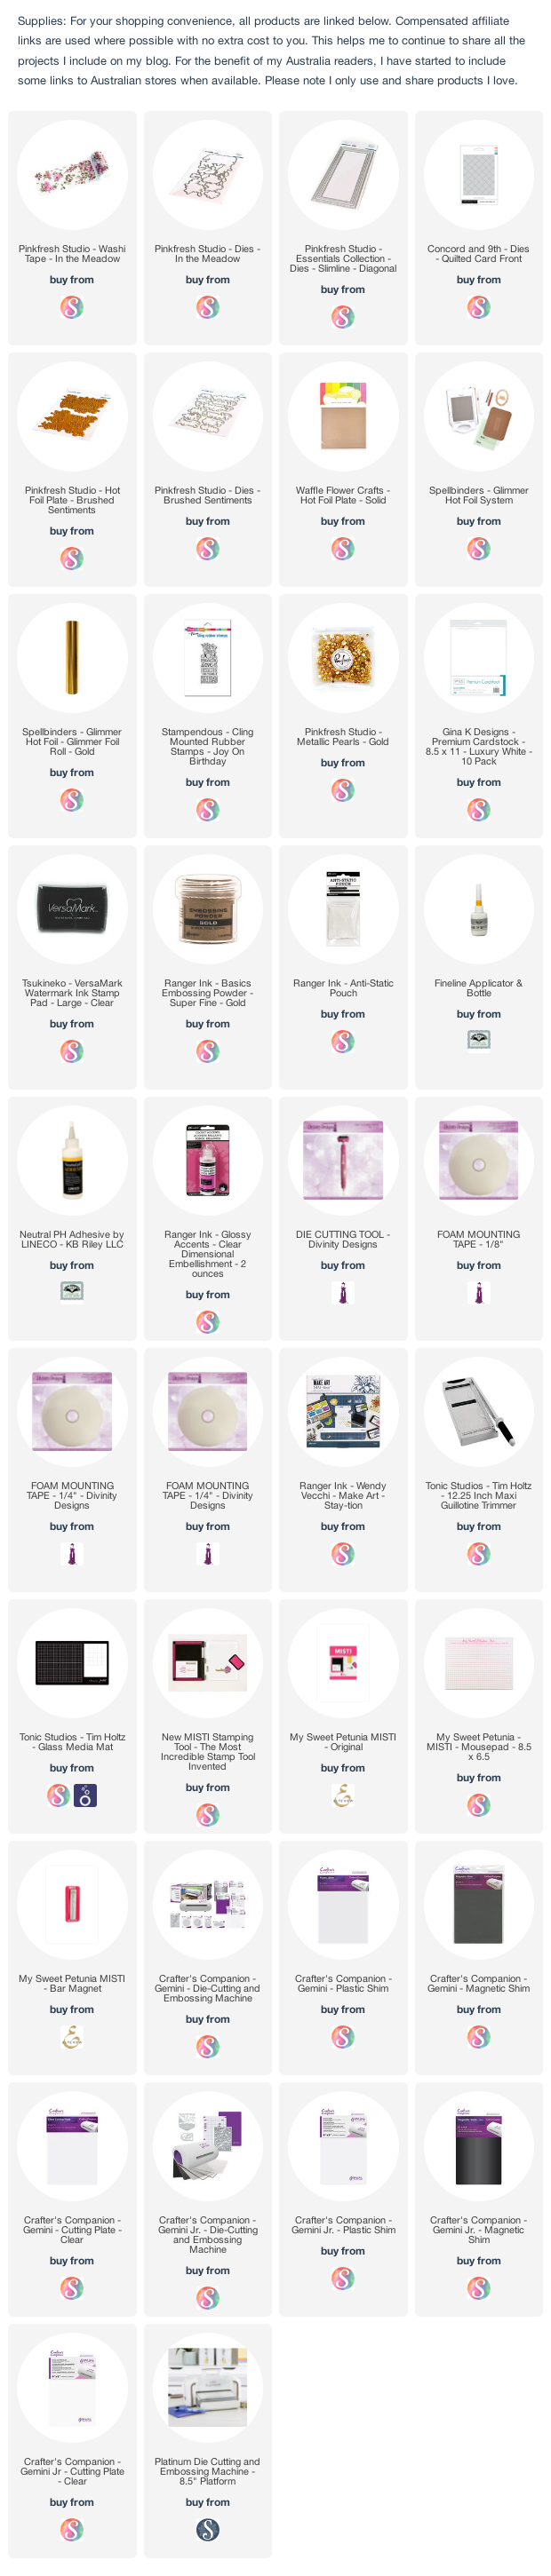
For the background of my card, I used Concord and 9th's Quilted Card front die to create the stitched diamond design on the white rectangle panel. After running the design through my die cutting machine once, I then repositioned the background carefully and die cut a second time to create the slimline background. I then used Pinkfresh Studio's Slim Diagonal Stitched Rectangles die set.

For the flowers I used Pinkfresh Studio's In The Meadow Washi Tape. I layered the washi tape onto white cardstock and then used the coordinating die to die cut the panel. I layered the washi flowers onto the to and bottom of the white slimline panel. Some of the flowers I glued directly to the slimline panel and others I added using foam tape.

The birthday sentiment was created using Pinkfresh Studio's Brushed Sentiments Hot Foil Plate using gold foil and also the Solid Hot Foil Plate which allows us to use the left over foil to create a negative sentiment with a gold outline and white centre. 

To finish off the front of my card I added some of the Gold Metallic Pearls to the card.

The slimline panel was layered onto dark pink cardstock and then a Side Folding 4 inch x 9 inch card front.


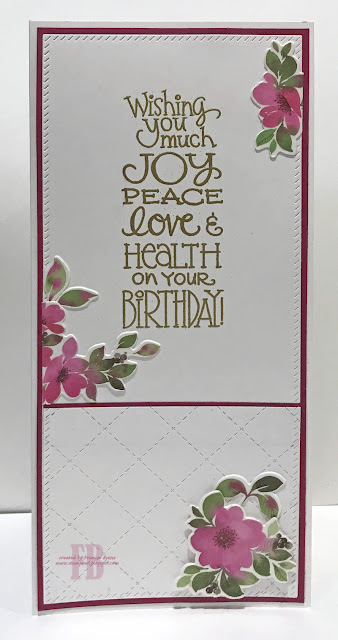
For the inside of my card I die cut a piece of white cardstock using the Slim Diagonal Stitched Rectangle die set. I also used the Concord and 9th's Quilted Card Front die to add the stitched diamond design on another piece of white cardstock. I used the Slimline die again to die cut the panel, this was cut down to about 3 inches and then added to the bottom of the slimline panel.

I stamped the birthday sentiment to the top portion of the card using Stampendous' Joy On Birthday Cling stamp using gold embossing powder.

I then used a few more of the washi flowers to decorate the panel.


Sunday, August 4, 2019

Hoping Your Birthday Is A Blast


Hi Crafty Friends,

Today I am sharing another Waterfall Card which I created recently using Karen Burniston's Frame Pull Pop-up die set. Karen shared a way to create a waterfall card using her Frame Pull Pop-up die set. If you have this die set, you can see her video here.

For my card today I decided to use the rocket from the Rocket Pop-up and the Space Charms die set.


Here is a quick video to see my card in action.

The astronaut, space ship and aliens are all from the Space Charms die set.


For the background of my card I used the Nebula Washi Tape from Altenew. This makes a quick and easy space themed background.

To create the moon surface I used the pop-up portion of the die from the Rocket Pop-up die set and also the Moon Background from Whimsy Stamps which I used on the card base. 


The sentiment on the Waterfall part of the card are from Whimsy Stamps A Boy's Dream stamp set.


For the planets around the base of the card I used stamps from There She Goes Stamps Out of This World stamp set and also MFT Stamps Space Explorer stamp set.


On the back of the card I added a white panel which I decorated using the Whimsy Stamps Moon Background stamp and also added the Rocket from the Rocket Pop-up die set. I added an astronaut to the inside of the rocket which you can see peeking out of the window.

I also added a sentiment which is from the stamp set from There She Goes, which is discontinued.

Supplies:
For your shopping convenience, all products are linked below. Compensated affiliate links are used where possible with no extra cost to you. This helps me to continue to share all the projects I include on my blog. For the benefit of my Australia readers, I have started to include some links to Australian stores when available. Please note I only use and share products I love.

Out Of This World Clear Stamp set - There She Goes (discontinued)


Tuesday, November 27, 2018

Jingle Bells


Hi Crafty Friends,

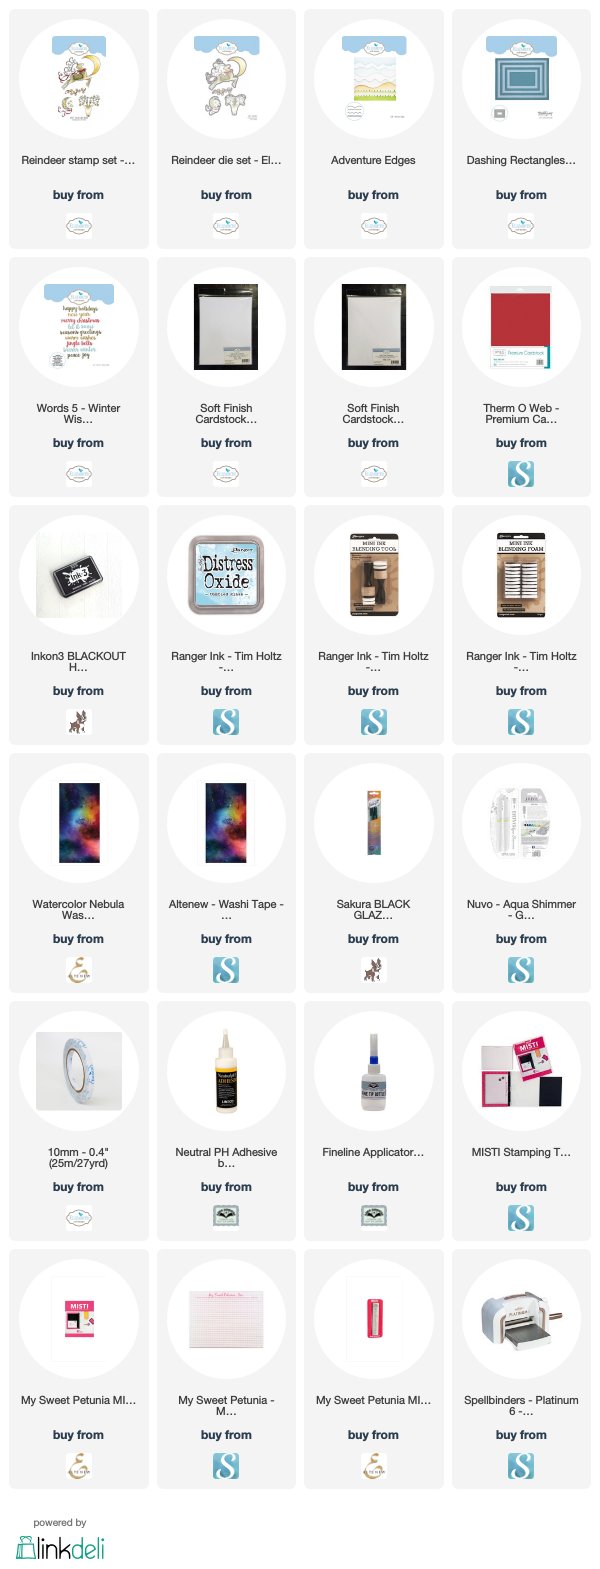
Today I am sharing a Christmas card I made using some stamps and dies from Elizabeth Craft Designs.

For the base of the card I used Altenew's Watercolor Nebula Washi Tape which I adhered to white cardstock. I then die cut this using a rectangle die from the Dashing Rectangles die set.

Along the bottom of the card I added some clouds using the cloud die from the Adventure Edges die set. 

I added the "Jingle Bells" sentiment to the bottom cloud.


The reindeer is from Reindeer Clear Stamp set with coordinating dies. After die cutting the reindeer, I used a kraft knife to remove some of the excess white in between the antlers and the ribbon as I wanted more of the background to show through.

I then adhere my panel to a folded white card base.


For the inside of the card I added a sentiment from the Holiday Cheer Clear Stamp set and added some bells above and below the sentiment which are also included in the Reindeer Clear Stamp set.

Stamps:
For your shopping convenience, all products are linked below. Compensated affiliate links are used where possible with no extra cost to you. This helps me to continue to share all the projects I include on my blog. Please note I only use and share products I love.


Monday, November 19, 2018

Thinking of YOU-CALYPTUS


Hi Crafty Friends,

Today I am sharing another card I created recently using Altenew Washi Tape. This tape is so pretty and it is so much fun using it.

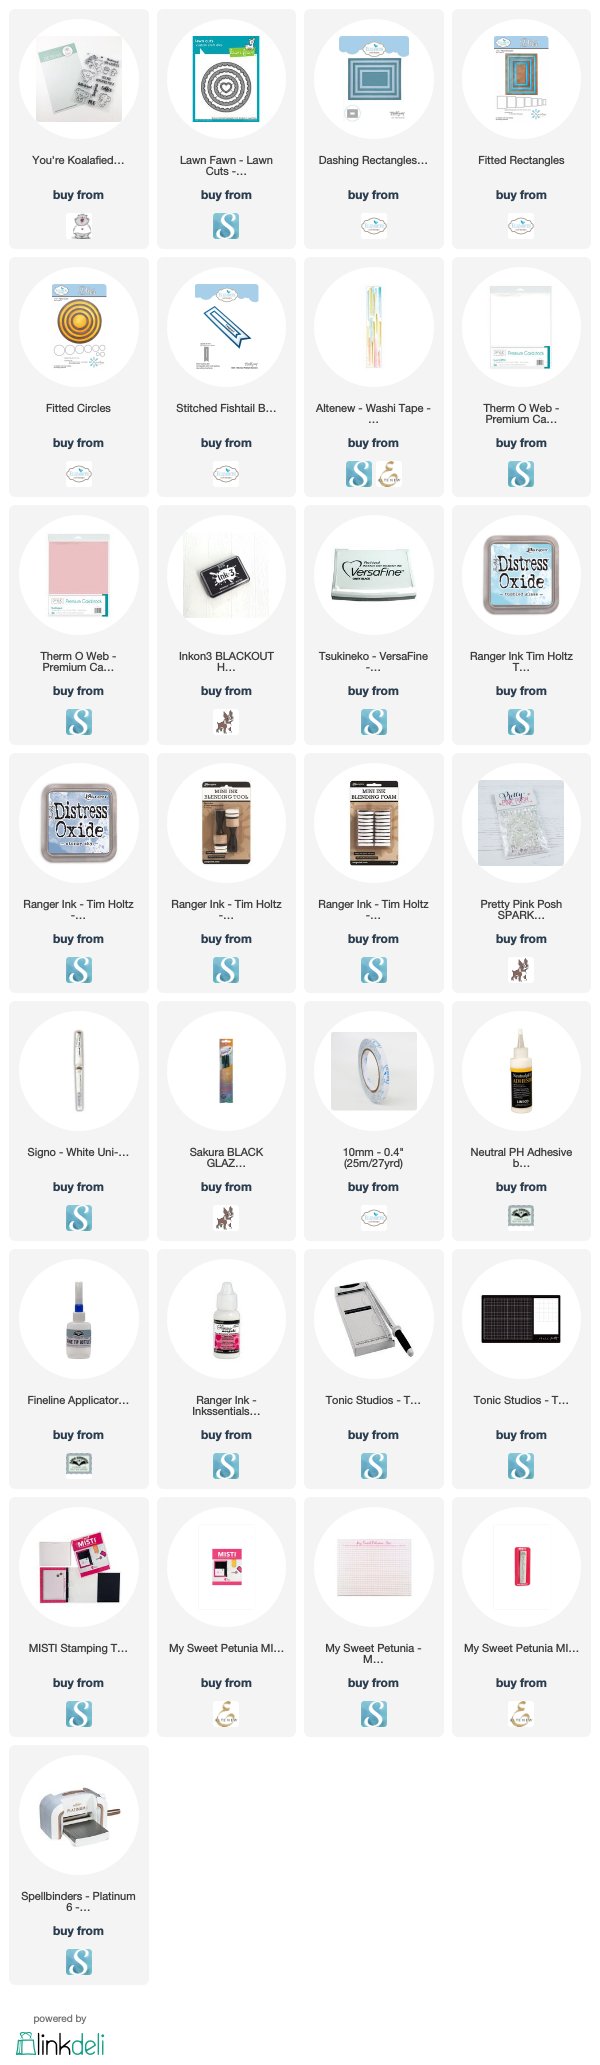
To decorate my card I pulled out Gerda Steiner's You're Koalafied Clear Stamp set. 


On the upper portion of the card I used Lawn Fawn's Reverse Stitched Circles die set to die cut the circle cut out. I created a background using Tumbled Glass & Stormy Sky Distress Oxide ink.

I added a second sentiment onto a piece of cardstock which was die cut using fishtail dies. I added the two koalas which I adhered on top of each other.


For the inside of my card I added another strip of Washi Tape and then added two of the sentiments from the stamp set and another koala.

Supplies:
For your shopping convenience, all products are linked below. Compensated affiliate links are used where possible with no extra cost to you. This helps me to continue to share all the projects I include on my blog. Please note I only use and share products I love.


Sunday, November 18, 2018

You Are Wonderful


Hi Crafty Friends,

Today I have a quick birthday card to share with you today.

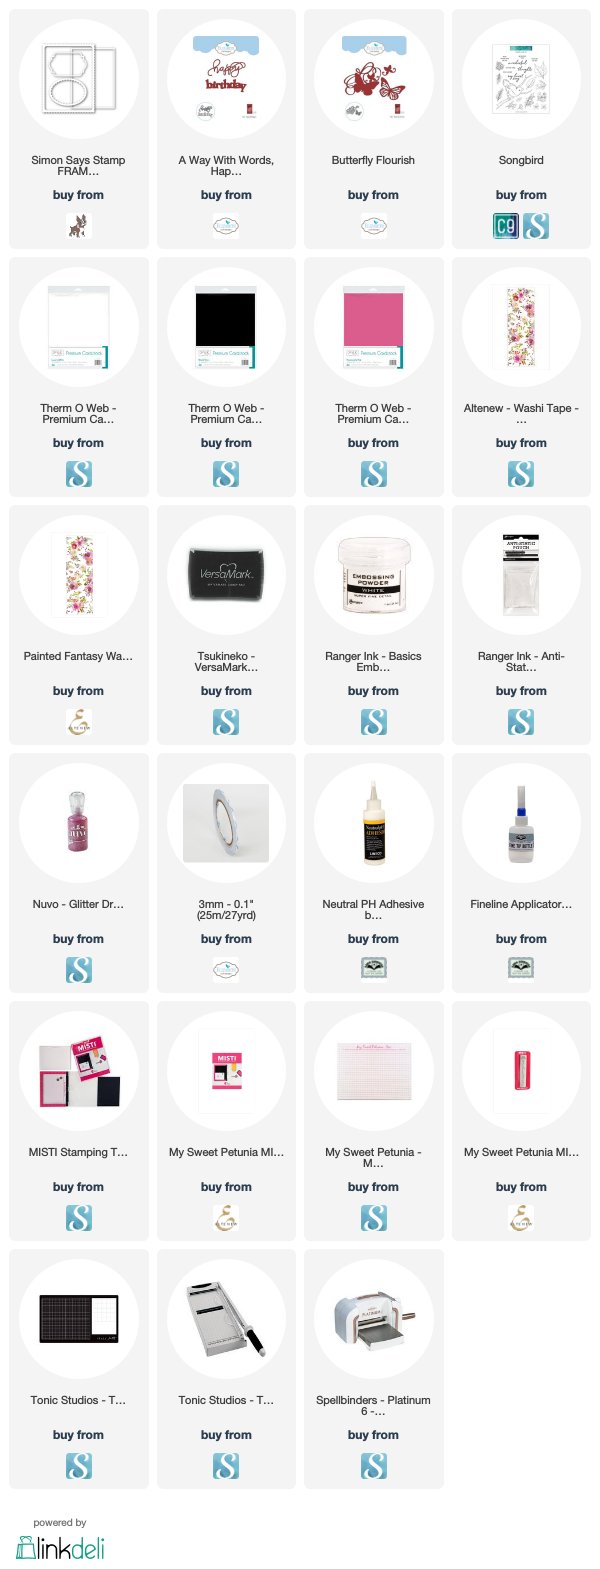
Have you seen all the wonderful washi tapes that Altenew sell???? They have some amazing ones, and I couldn't resist purchasing a few from their recent washi tape release. For my card today I used the Painted Fantasy Washi Tape.


After applying the washi tape to some cardstock and die cutting the panel so it would fit on a standard sized card, I then used the Simon Says Stamp Frames die set to create three panels with the one in the middle being thin. I then die cut a piece of bright pink cardstock using the same die and pieced the two larger washi tape panels and the thin pink frame to the top of my folded card.

I added a butterfly to the bottom right hand corner of the card. I stamped the sentiment which is from the Concord & 9th Songbirds stamp set to a piece of black cardstock using white embossing powder.

To finish off the front of the card I added pink jewels.


For the inside of the card I added another frame die cut using the Frames die set and washi tape. I hand cut a couple of flowers from the washi tape and added it to the top left hand corner of the card.

The birthday sentiment is from the A Way With Words - Happy Birthday 3 die set available from Elizabeth Craft Designs.

Supplies:
For your shopping convenience, all products are linked below. Compensated affiliate links are used where possible with no extra cost to you. This helps me to continue to share all the projects I include on my blog. Please note I only use and share products I love.


Wednesday, May 21, 2014

TSOL Die Release

TSOLBdaySign-wm

Hi everyone,

It’s that time of the month when The Stamps of Life release their new exclusive dies sets. Who doesn’t love new dies … right!

For my first card today I have used the new Sign4Words dies set with it’s coordinating sign4words stamp set. I used washi tape on the right hand side of my card.

TSOLBdaySign2-wm

For the inside of my card I added a sentiment from the sign4words stamp set and used the wider washi tape on the side of my card.

TSOLForeverFriendsSign-wm

My next card also uses the Sign4Words dies set with it’s coordinating sign4words stamp set. For the background of this card I have used the Sizzix Squares in Ovals Embossing Folder.

Stamps: Sign4Words; Crazy4Life – The Stamps of Life
Paper: White; Orange; Blue; DP
TSOL Dies: Sign4Words – The Stamps of Life

Other: Black Ink; Blue Ink; Sizzix Squares in Ovals Embossing Folder; Washi Tape; Foam Tape


#aa-owl-signature

Tuesday, August 27, 2013

Just For You!

CHF34-Cactus-wm

Hi everyone,

It’s time for another CHF challenge over on the Cornish Heritage Farms Blog . This week the challenge is hosted by Anne Harmon.

Anne has challenged us this week to create a card/project using the color green somewhere. Now this i a big surprise that Anne would ask us to use this color seeing that her favorite color is red haha!

For my card today I used Cornish Heritage Farms Cactus Flower Digital Stamp as well as a sentiment from the Script Essential Expressions stamp set.

CHF-Challenge-Winner

Want to play along????

If you would like to play along with us of course we would love to have you!

To play create a card using CHF images. You can use either CHF digi or rubber stamps to create a card or project.... anything you like as long as the stamps are Cornish Heritage Farms. (Yes, they can be older stamps.)

Once you have created your card/project come back here and place a comment with a link to your card/project to this post so that we can see what you created. If you upload your card/project to SCS don't forget to include the keyword CHF34. We can't wait to see what you create!

Don’t forget to check out the rest of the Design Teams blogs today so see what they created for this challenge.

Stamps: Cactus Flower Digital Stamp; Script Essentials Expressions – Cornish Heritage Farms
Paper: White
Other: Black Ink; My Mind’s Eye Washi Tape; Light Green Hemp Cord; Pink Button; Copics


#aa-owl-signature

Saturday, June 8, 2013

Fab Grandpa

MFT-WashiGrandpa-wm

Hi everyone,

Welcome to day 4 of the MFTeasers in preparation of the release of the new stamp sets which are all due to be released by MFT Stamps this month. The new products will be available on Tuesday 11th June at 10 PM in the MFT Boutique.

Of course being Saturday it is also challenge time with the “Crazies” over on the Crazy 4 Challenges blog. Our challenge hostess Kristine Reynolds has another fun challenge for us.

Father’s Day-Don’t wait till the last minute to make those Father’s Day cards for those special dad’s in your life. Father’s Day will be here before you know it so let’s see your cards for that special, uncle, grandfather, dad, or son in your life.

For my card today have used a few new sets from MFT Stamps. I started by using Kraft card stock and I stamped the sentiment from the Bold Sentiments stamp set (this month’s triple scoop set) onto this using Black Licorice ink. The “Grandpa” is from the Baby Onesie stamp set … I cut of the s at the end .. don’t worry being a clear stamp I can still use it the way it was intended at a later date.

I used the the Washi Patterns stamp set and the Washi Tape Die-namics to create the faux washi panels surrounding the sentiment. These were stamped using Hot Fudge ink and Jellybean Green ink.

On the left hand side of my card I used the Trendy Triangles stamp set and the Triangle Die-namics using Hot Fudge ink to create the triangle pieces. I also used Kraft ink to sponge around the edge of my Kraft card.

MFT-WashiGrandpa2-wm

Here is the inside of my card. I stamped another of the sentiments from the Bold Sentiments stamp set (this month’s triple scoop set) and also used another two faux washi pieces to decorate the inside.

Here are the MFT products I used on my card today. Please note the links to the new products won’t work until  they are released by MFT Stamps on the 11th June.


aTeaserTime_FullSize

Be sure to stop by the MFT Blog to see what the rest of the team has stamped for this release.  You'll also read about some HUGE prizes being given away this week during Teaser Time that you won't want to miss.  ;)  You can find all the details HERE.

Stamps: Bold Sentiments; Baby Onesie; Washi Patterns; Trendy Triangles – MFT Stamps
Paper: Kraft – MFT Stamps
Die-namics: Triangles; Washi Tape – MFT Stamps
Other: Black Licorice Ink (MFT); Jelly Bean Green Ink (MFT); Hot Fudge Ink (MFT); Kraft Ink (MFT); Foam Tape


#aa-owl-signature