Hi Crafty Friends,
It's time for a new release over at Elizabeth Craft Designs, this is the first of three releases which will be happening over the next month.
Today the Elizabeth Craft Designs Design Team are doing Focus on New Release blog post on the Elizabeth Craft Designs blog. This time around we are focusing on Joset van de Burgt or Joset Designs, there are 12 new die sets and 2 new sentiment stamps being released.
For my card today I created a Stair Step Card using two of Joset's new die sets and one of the stamp sets. Here I have used the Sand Castle; Palm Trees and Summer Fun Clear Stamps sets along with the Adventure Edges die set.
Here is how I created my card:
Step 1 -
- Cut a piece of white cardstock to measure 4 1/4 inches x 11 inches.
- Score along the long edge at 2 3/4 inches; 5 1/2 inches; 7 1/4 inches; 8 3/4 inches and 9 3/4 inches.
- Starting with the 2 3/4 inch score line alternate folding with mountain and valley folds starting with a mountain fold.
- Sponge color onto the back of the 2nd and 4th panels (the ones not seen from the front) to match the color used on the sand of the panels adhered to the finished stair step card.
Step 2 -
- Using the sand/hill border from the Adventure Edges die set, die cut 4 sand borders which are 4 1/2 inches wide by a little higher than the panel the sand will be adhered too. (Tip: make them higher as you can always trim them down if too high).
- Sponge a sand colored ink over all sand panels (Gina K Designs Sweet Corn ink used here).
- Adhere two of the sand panels to the "stair steps" on the front of the Stair Step Card.
Step 3 -
- Cut a piece of white cardstock to measure 4 1/4 inches x 5 1/2 inches.
- Sponge Broken China Distress Ink over the whole panel and spritz with water using a Distress Sprayer.
- Arrange the remaining two sand panels you created in step 2 on top of each other to get a look you like. (Trim bottom if necessary).
- Adhere the sand to bottom of panel.
Step 4 -
- Using the Palm Trees die set, die cut one large palm tree and two small palm trees from white cardstock. Color pieces using Copic markers. (If preferred you can die cut pieces from colored cardstock).
- Assemble palm trees and adhere to panel as per photo above.
Step 5 -
- Using the circle from the Sand Castle die set, die cut one solid circle and color yellow for the sun.
- Stamp the sunglasses from the Summer Sentiments Clear Stamp set onto the sun. Draw in a mouth using a black marker.
- Adhere sun to top left hand corner of cardstock panel.
Step 6 -
- Stamp the sentiment "Soak Up The Sun" to top left hand corner of card.
Step 7 -
- Adhere the bottom half of the decorated card panel to the back part of the Stair Step Card.
Step 8 -
- From the Sand Castle die set die cut one of everything from white cardstock.
- Sponge a darker colored ink to all the sand castle pieces than the one you used for the sand (Catherine Pooler Shea Butter used here).
- Assemble sand castle and adhere to the left side of the middle step.
- Color bucket and spade in colors of your choice and adhere next to sand castle.
- Color the solid circle and beach ball overlay in colors of choice. Layer together and adhere to the left side of the front step.
Step 9 -
- Stamp the sentiment "Happy Summer" from the Summer Sentiments Clear Stamp set onto white cardstock using black ink.
- Die cut sentiment using the pinked circle from the labels die set. Adhere to front step and trim off the bottom edge of circle.
Step 10 -
- A sentiment can be added to the inside of the back panel if desired. For my card I added a sentiment and two more images from the Summer Fun Clear Stamp set.
Don't forget to visit the Elizabeth Craft Designs blog to see what the other Design Team have created using the Joset Designs new release dies.
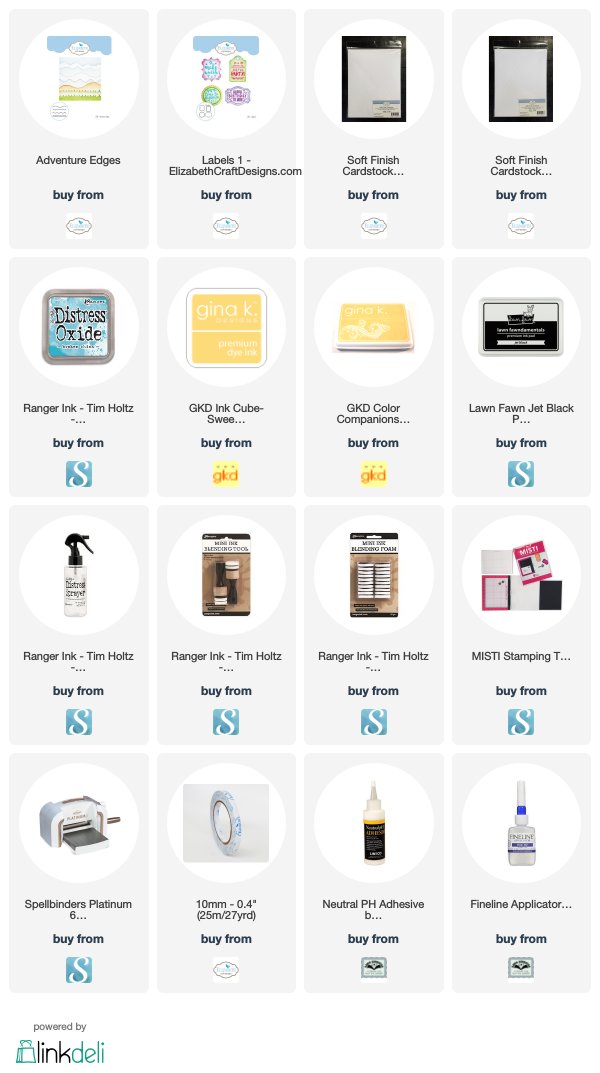
Supplies:
Elizabeth Craft Designs:
Supplies:
Elizabeth Craft Designs:

Other:
Shea Butter Ink Pad - Catherine Pooler


3 comments:
Ohhh it's my blog - sandcastlestamper! What an incredible card! I'm trying not to drool too hard :) Love the beach vibe!
Cute beach scene!
beautiful and inviting beach card
Post a Comment