Showing posts with label Frame Pull Pop-up. Show all posts

Wednesday, August 5, 2020

Party Animals Waterfall Card


Hi Crafty Friends,

Today I am sharing an interactive Slimline card I created recently.

As most of you who follow me know, I have been enjoying creating Slimline Cards this year. I had been thinking for some time that a waterfall would work on a Slimline card. With the extra length in a Slimline card I also thought it would be great to make the waterfall longer than the standard 4 pages to 6 pages.


Here is a quick video to see my card in action.


To create the waterfall part of the card I used Karen Burniston's Frame Pull Pop-up die set. It is very easy to convert this die to create a waterfall card, Karen Burniston showed how to do this in a video about 18 months ago. You can see her video here.


To decorate the waterfall card I used MFT Stamps Picture Perfect Party Animal stamp set, this is a new stamp set similar to one their released last year which is "selfie" themed but this one also have a birthday theme to it.

I used the images and sentiments that coordinate with the images for each of the pages of my waterfall.


In the past when I have made a waterfall card using this die set, I have just used the pull tab the width you see the part with the arrow. But as I have seen other die sets which allow you to add a wide panel which is perfect for a sentiment or gift card, I decided to adapt mine this time around to include the wider panel. This is easy to do by just cutting a strip of card 2 1/4 inches wide by the left of the water fall (this all depends on the amount of the pages too). 


The sentiment at the wide panel at the bottom comes from two older MFT Stamps stamp sets ... Delicious Birthday and Birthday Greetings stamp sets.


Because of the extra pages and all the layers on each off the pages, this waterfall is a little thick. So this won't be able to be posted in a standard envelope and is probably better off being hand delivered ... but I am good with that. I still was a fun card to make.


Here is a photo of all the different view of each of the pages together.


Because of the bulk on the front of the card, it did make the card a little heavy on the front. By adding a second panel to the back of the card and all the layers for the sentiment on the inside, that helped balance it all out.

Having this as a landscape card rather than a portrait would have also helped with that problem. however I wanted to use the sentiments that came with the images I used and they fitted better in this orientation.

Supplies:
For your shopping convenience, all products are linked below. Compensated affiliate links are used where possible with no extra cost to you. This helps me to continue to share all the projects I include on my blog. For the benefit of my Australia readers, I have started to include some links to Australian stores when available. Please note I only use and share products I love.

Delicious Birthday Sentiment Stamp set - MFT Stamps (retired)
Birthday Greetings Stamp Set - MFT Stamps (retired)


Monday, June 24, 2019

Picture Perfect Waterfall Card


Hi Crafty Friends,

My card today is for a challenge I do with a couple of friends of mine. Each month we challenge each other to create something using supplies we all own.

This month our challenge is Waterfall Cards - A few months ago, Karen Burniston shared a way to create a waterfall card using her Frame Pull Pop-up die set. If you have this die set, you can see her video here.  This is now my favorite way to make waterfall cards and I have made a few since Karen shared her video.

If you look closely you may also see a couple of sneak peeks of new die sets being released next month by Karen Burniston. Sneak peeks start on the 24th June, which is today here in Australia but officially still a few hours away up there in the USA.


Here is a quick video to see my card in action.


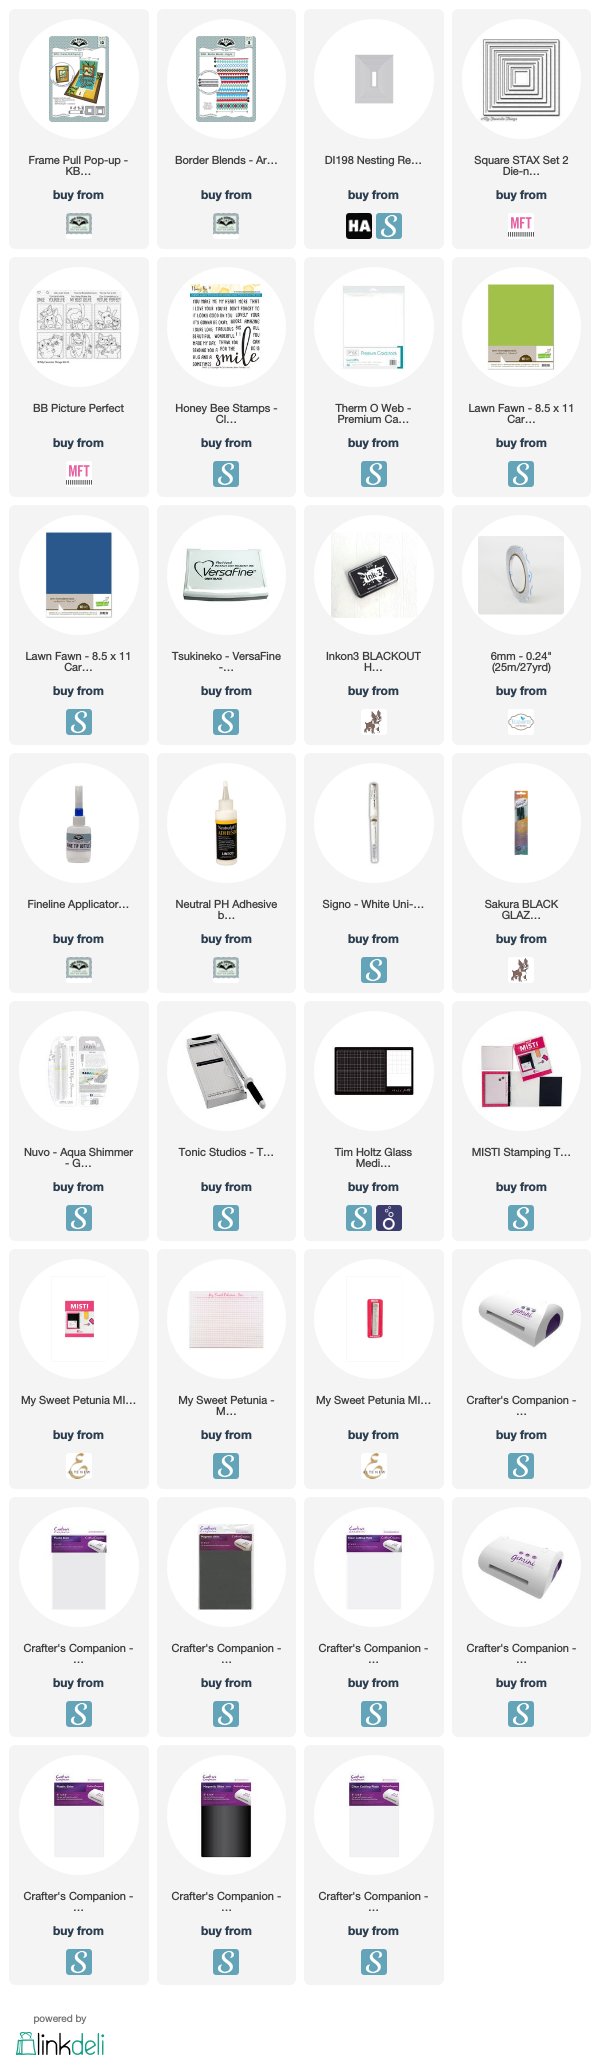
To decorate my card I used MFT Stamps Picture Perfect stamp set. 


On the left hand side of each banner I added a sentiment from the stamp set and a border using Karen Burniston's Border Blends - Argyle die set.


To finish off the front of my card I added the camera, the "smile" sentiment and the fishtail banner. Hint these three items are from three die sets which Karen will be sharing with you later today.


I like to decorate the back of my card so I have room for another sentiment and a place to write a personal greeting when needed. Here I used a mini photo frame and the smile sentiment again and added a stamped sentiment.


Supplies:
For your shopping convenience, all products are linked below. Compensated affiliate links are used where possible with no extra cost to you. This helps me to continue to share all the projects I include on my blog. Please note I only use and share products I love.


Tuesday, May 7, 2019

May 2019 Karen Burniston Designer Challenge


Hi Crafty Friends!!!

Welcome to our May Karen Burniston Designer Challenge.

Check out Karen Burniston's blog on Wednesday (US Time) when you will be able to see what all the designers created for the challenge this month, plus Karen will have an amazing video tutorial to share with us all.

Our challenge theme this month is .... "CONGRATS" - this can be graduation or general congrats - your choice! 


I am always in need of baby cards, so that is what I decided to create for today's challenge. 

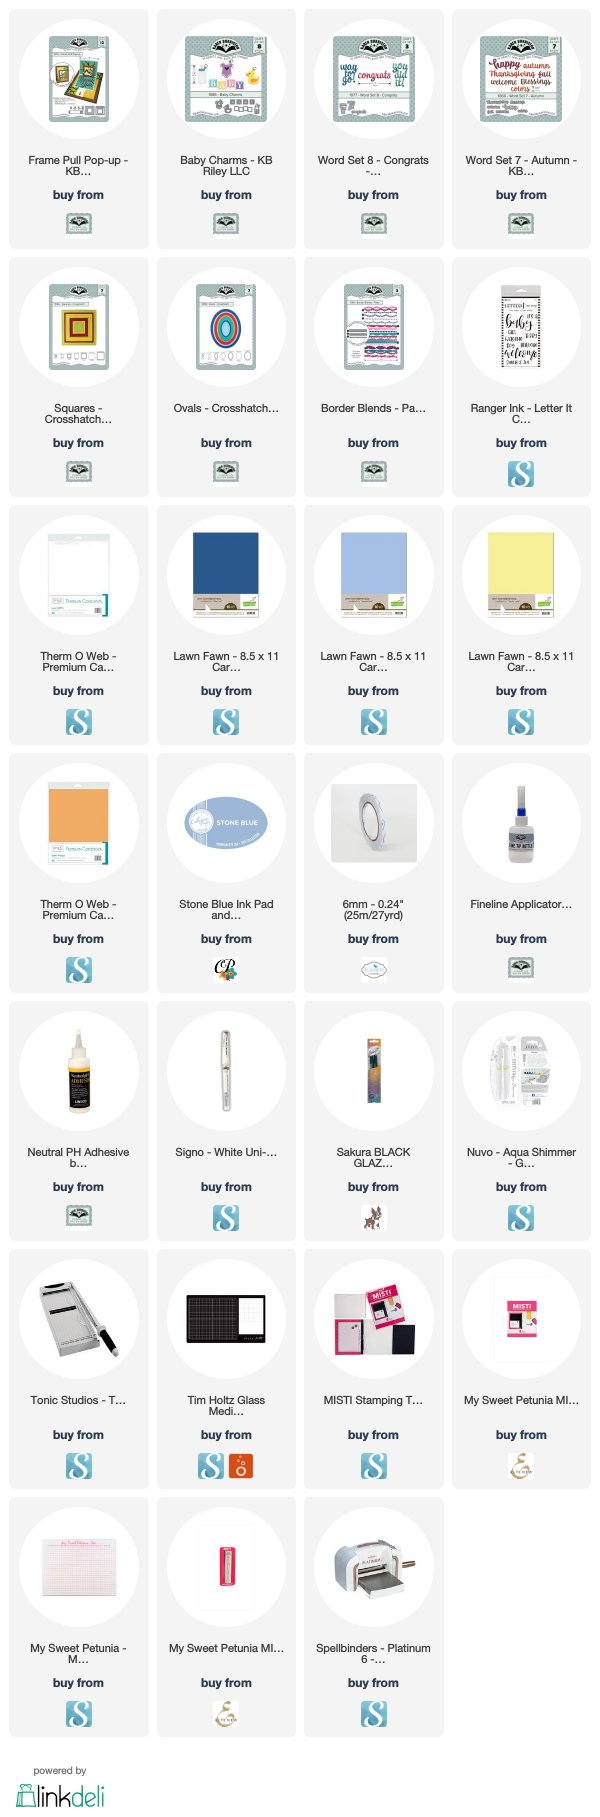
To create my card I pulled out the Frame Pull Pop-up die set. I have been using this a lot recently to create Waterfall cards, but this time around I used it as it was designed to be used. To decorate my card I used the Baby Charms, Crosshatch Ovals and the Congrats from the Word Set 8 - Congrats die set.


When you "pull" the pull tab at the bottom of the card, the card opens up to reveal a cute little pop-up card inside. Here I added the BABY blocks and ducks from the Baby Charms die set. I used the Crosshatch Ovals for both of the ovals on the card, one to hand write a personal message. The "Welcome" is from the Word Set 7 - Autumn die set.


Here is a quick video to show my card in action.


This card has a few different options on how to add the frame pull card pop-up piece. For my card today, I decided to adhere it to the front of a folded card. I used the Crosshatch Squares for the square panels and added a sentiment and baby bottles.


Don't forget to visit Karen Burniston's blog on Wednesday when you will be able to see what all the designers created for the challenge this month.


Supplies:
For your shopping convenience, all products are linked below. Compensated affiliate links are used where possible with no extra cost to you. This helps me to continue to share all the projects I include on my blog. Please note I only use and share products I love.


Saturday, March 30, 2019

Get Wild Waterfall Card


Hi Crafty Friends,

t’s challenge time with the “Crazies” over on the Crazy 4 Challenges blog. As challenge hostess for March, I finish off the month with one last challenge.

April Fools  Day is right around the corner. For our challenge this week, create a card that has some sort of "trick to it. It could be an interactive card of some sort or maybe an image that has some humour to it.

For my card today I decided to create another Waterfall Card using Karen Burniston's Frame Pull Pop-up die set. I am having lots of fun creating this style of card using this die set, and it is really easy to adapt the Frame Pull Pop-up to make it suitable for a Waterfall Card, Karen Burniston showed us how a few months ago in her video here.


Here is a quick video to see my card in action.


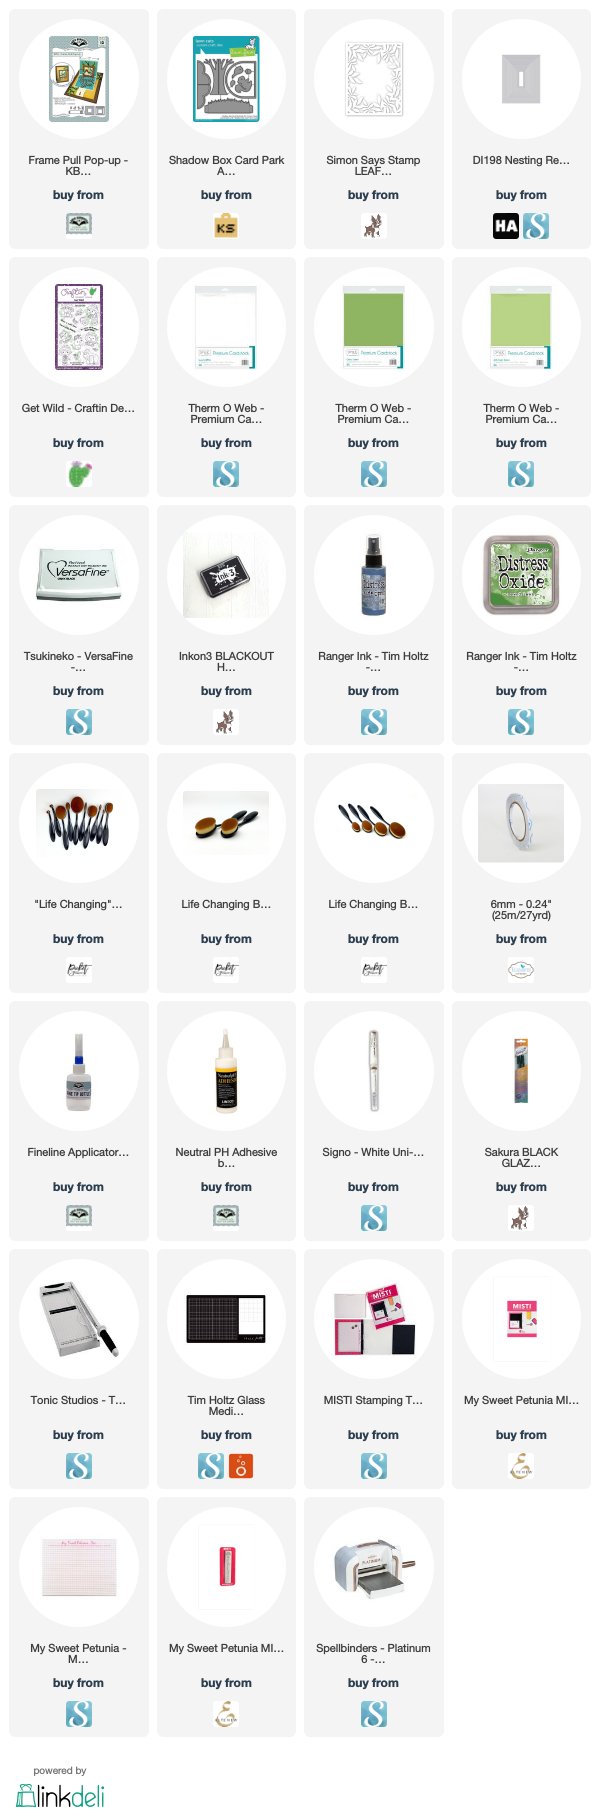
To create the backgrounds of my card, I used pale blue cardstock and then sprayed from a distance Faded Jeans Distress Oxide Spray.

Each panel is decorated using the tree and grass from Lawn Fawn's Shadow Box Card Add-On Park die set.


The animals and people are from Craftin' Desert Divas' Get Wild Clear Stamp set.


For the base of my card I die cut Simon Says Stamp's Leafy Frame which I adhered to another blue panel which had Distress Oxide Spray added to it. The decorate panel needed to be adhered well to the base so it didn't interfere with the movement of the waterfall card.


I like to keep my waterfall cards on a flat card rather than adhered to a folded card. So on the reverse side of my card I added a white panel and also another Leafy Frame and added a sentiment to the centre.

Don't forget to check out the rest of the “Crazies” cards over on the Crazy 4 Challenges blog and also their individual blogs for more details.


Supplies:
For your shopping convenience, all products are linked below. Compensated affiliate links are used where possible with no extra cost to you. This helps me to continue to share all the projects I include on my blog. Please note I only use and share products I love.


Wednesday, March 20, 2019

Oz Waterfall Card


Hi Crafty Friends,

Today I am sharing another Waterfall Card I created using Karen Burniston's Frame Pull Pop-up die set. It is really easy to adapt the Frame Pull Pop-up to make it suitable for a Waterfall Card, Karen Burniston showed us how a few months ago in her video here.


Here is a quick video to see my card in action.


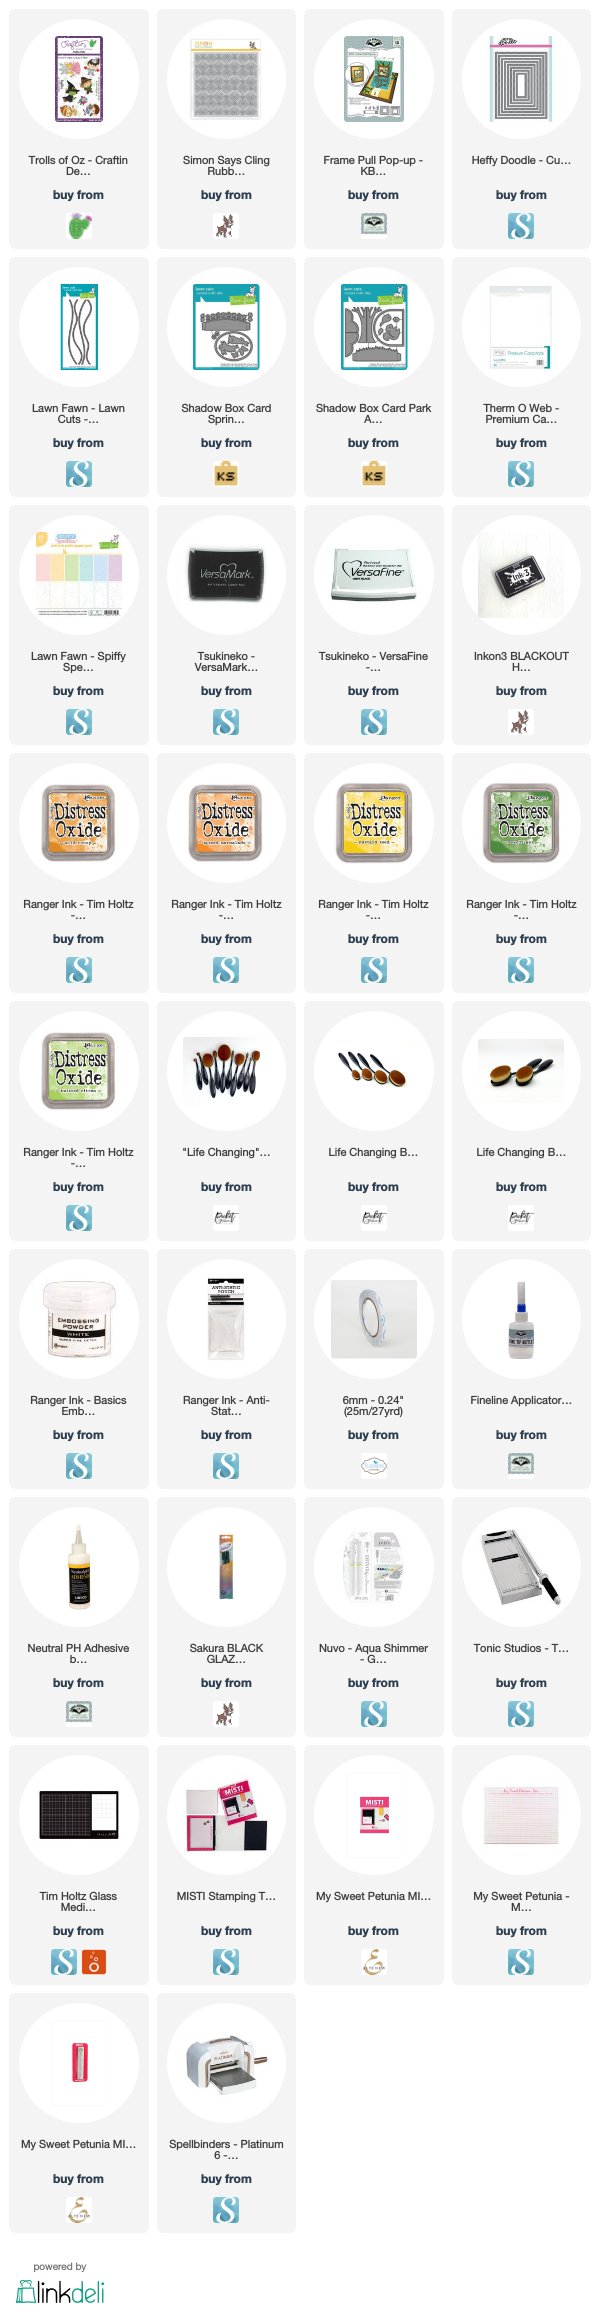
To decorate my card I used Craftin' Desert Divas' Trolls of Oz stamp set which was released earlier this year. 
For the background of each panel I used the rectangle die included in the Frame Pull Pop-up die set to die cut patterned paper. To create the flower and grass background I used dies from Lawn Fawn's Shadow Box Card Spring Add On & Shadow Box Card Park Add On die sets 


For the background on the base of my card, I created a "Yellow Brick Road", by stamping Simon Says Stamp Deco Diamonds Background Stamp onto white cardstock and embossed using white embossing powder and then sponging on three colors of yellow/orange Distress Oxide inks.


Here is a look at the final waterfall panel as you pull the tab further out. As each waterfall panel flips over it reveals a new image and sentiment.


I decided to keep this card as a flat card rather than adhered to a folded card. On the back of the waterfall panel I have added another white rectangle panel which is die cut using the largest rectangle from Heffy Doodles Imperial Stitched Rectangles die set.

I also added a couple more images and the last sentiment included in the stamp set.


Supplies:
For your shopping convenience, all products are linked below. Compensated affiliate links are used where possible with no extra cost to you. This helps me to continue to share all the projects I include on my blog. Please note I only use and share products I love.


Thursday, February 7, 2019

Easter Waterfall Card


Hi Crafty Friends,

It's challenge time with my friends over on the CCEE Stampers challenge blog. Being a brand new month it is time to introduce our new challenge hostess for the month which is Maryann Einam.

The birthstone for February is Amethyst use a shade of purple and include gem stones or charms on your card.

I had so much fun a couple of weeks ago making a waterfall card by using a tutorial by Karen Burniston showing how to convert the Frame Pull die set and make a Waterfall card, that I just had to make another.


Here is a quick video to see my waterfall card in action.


I used the small rectangle die included in the Frame Pull Pop-up die set to die cut the pieces of patterned paper that are in each of the waterfall panels. I also added some grass along the bottom of each panel using the Nature Edges die set.


I love all the fun animals peeking out from each of the waterfall panels. These stamps are from the Gerda Steiner Peeking Easter Friends stamp set


Here is a look at the final waterfall panel as you pull the tab further out.


For the back of the card I added rectangle panel, and some grass using the grass die from the Nature Edges die set and added a few more eggs and a sentiment.

Don't forget to check out the CCEE Stampers blog (goes live 12 AM EST) to see the rest of the creations the CCEE Stampers created this week. You can also see more details of their creations on their individual blogs:


Supplies:
For your shopping convenience, all products are linked below. Compensated affiliate links are used where possible with no extra cost to you. This helps me to continue to share all the projects I include on my blog. Please note I only use and share products I love.


Wednesday, January 23, 2019

Make Your Own Magic


Hi Crafty Friends,

I was super excited when Karen Burniston shared her project and tutorial for her January Designer Challenge. Last year I purchased a few waterfall die sets from a couple of different companies ... two of the die sets the finished cards were over sized and the other one was very tiny. Karen's clever adaptation of using her Frame Pull Pop-up die set to make a waterfall card is just brilliant! And even better it makes the waterfall the size I have been looking for. 

You can find Karen's tutorial here.


Here is a quick video to see my card in action.


Converting the Frame Pull Pop up die set to make the waterfall card is very easy, and takes no more effect any of the previous waterfall die sets I have tried ... actually I think it may be slightly easier.

To decorate my card I used a stamp set from Craftin' Desert Divas called Troll Wizards which is a fun take on Harry Potter.


The background papers I used for this card are both digital papers which I found on Etsy. I have linked to them both in the supply list below.


I love all the fun characters that are included in this stamp set.


I decided to keep this card as a flat card rather than adhered to a folded card. On the back of the waterfall panel I have added another panel adding some designer paper and a sentiment.


Supplies:
For your shopping convenience, all products are linked below. Compensated affiliate links are used where possible with no extra cost to you. This helps me to continue to share all the projects I include on my blog. Please note I only use and share products I love.