Thursday, June 19, 2025

Cheerful Chirps


Hi Crafty Friends,

Welcome to my blog. Today I am sharing a 5 x 7 Trifold card I created using products from Spellbinders Cheerful Chirps Collection.  Living in Australia of course I had to create a cockatoo and for this card I created a Major Mitchell Cockatoo, which is an actual bird.

The cockatoo is made using the Flying High die set, all sentiments from the Spread Your Wings Sentiment stamp set and the Bamboo Screen 3D Embossing Folder.


For the trifold card I used the Made by Surprise by Sam Calcott’s 5 x 7 Trifold card from the Showstoppers 1 Collection.


Here is a look at the back of my card. I added a white panel to the right hand side for a place to add a sentiment and write a personal message.


Wednesday, June 18, 2025

90th Birthday


Hi Crafty Friends,

Welcome to my blog. Today I am sharing a 90th birthday card I created recently for a friend to give to her sister later in the year.

I used the 5 x 7 Side Panel card from Made To Surprise by Sam Calcott’s Showstopper 1 Collection.


To decorate my card I used the cake,  party hat and birthday sentiment dies from Papertrey Ink.

I added them”90 th” to the narrow panel on the right which is another Made To Surprise die set.


Here is a look at the back of the card. I added a white panel, so I could add a sentiment and have a place to add a personal message.


Monday, June 16, 2025

Karen Burniston - KB Riley LLC June 2025 Release Blog Hop


Hi Crafty Friends, 


Welcome to our Karen Burniston Products - KB Riley LLC June Release Blog Hop. The Design Team have come together with Karen today for a fun blog hop to celebrate the release of 10 new dies and 5 new stamp sets. Sneak peeks of the new release started last week, and the dies are available to order NOW!


This release includes:

  • 1 new Pop-up Die Sets
  • 1 new Interactive Die Set
  • 1 new Pop-up Add-ons Die Sets
  • 2 new Charm Die Sets
  • 4 new Stand Alone Die Sets
  • 5 new Clear Sentiment Stamp Sets


Dies are available to order now on the website. 


GIVEAWAY:


To celebrate the release Karen Burniston and each of the Karen Burniston - KB Riley LLC Design Team members will be giving away a $25 Gift Certificate to some lucky person who comments on our blog posts, so make sure you join the hop and comment on everyone's blog post. Winners will be randomly chosen from ALL of the blog hop comments received on our blog posts by Monday, 23rd June 2025. Lots of chances to win some goodies, so just leave a comment on this post or any other blog hop posts to enter! Don't forget to leave some way for us to contact you, in case you are a lucky winner!
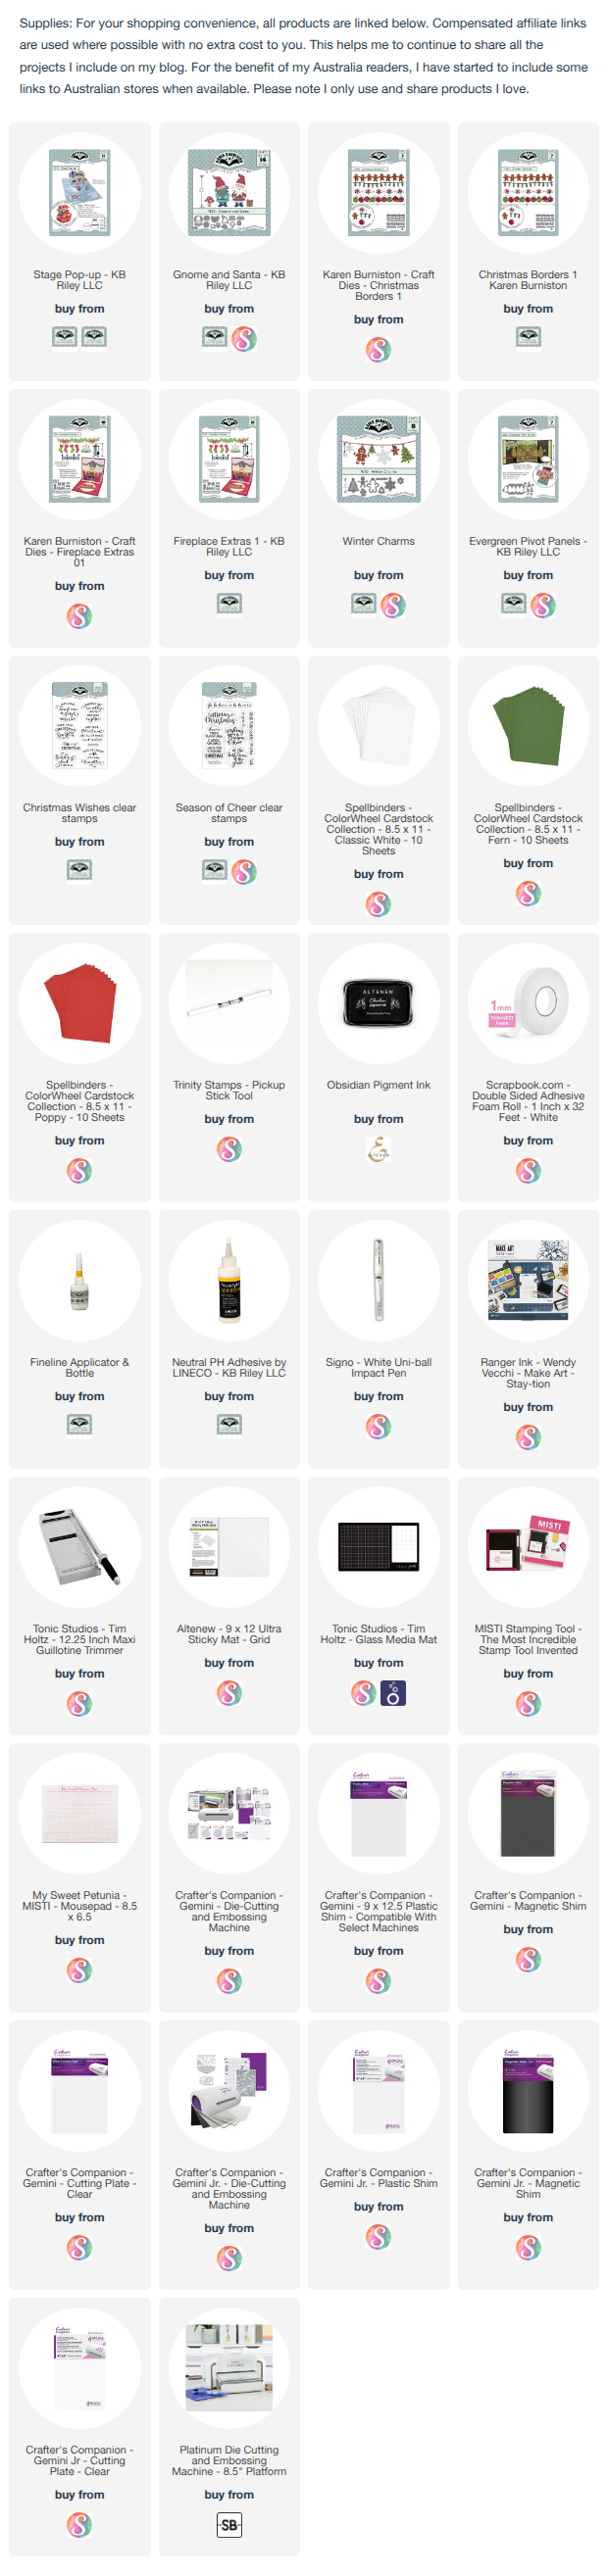


This card uses the new Arch Pop-up and the coordinating Rainbow Add-ons die sets to create the fun pop up rainbow at the top of the card. I used pastel colours to create my rainbow opting for pink rather than red.

Along the bottom edge of my card, I used the cloud die from the Curved Edges die set. I die cut the edges twice for each side of the card. I added two sentiments from the Rainbow Greetings Clear Stamp set.
 

I die cut three unicorns from the Leaping Animals die set, die cutting the mane, tail etc from different colours. I also assembled one of the unicorns so it was facing the opposite direction. 


I kept the front of the card fairy simple, repeating elements that I had used on the inside of my card ... the rainbow, unicorn and a sentiment.

I used the Oval Crosshatch die set to layer my sentiment.

Well that's about it from me today, thank you for dropping by. To continue on the blog hop, click on the next person on the list, which is Jennifer Webster


Here is the complete blog hop list in case you need it.


Blog Hop Order


Karen Burniston

Lois Bak

Sue Small-Kreider

Frances Byrne  <<<you are here>>>

Jennifer Webster

Suzanne Smit

Nicky Foden

Sandy Diller


Spellbinders Weekender 2025


Hi Crafty Friends,

A few weeks ago, I participated in a virtual class which was given by Spellbinders Paper Arts. One of the things I liked about this was the ease of being able to participate, as I was able to order my kit from my local store here in Australia. I didn’t get to make card from all the classes yet, but I have the supplies and access to all tutorials which I have already watched.


First up on Friday night (Saturday morning for me) Channin Pelletier  shared two cards using supplies from the kit. As I had prepared my homework for one of her cards prior to the weekend, I was able to make my card. I did make a few changes, such as changing the size to 5 x7 and adding texture to the yellow background by using the Plaster 3D Embossing folder.


Next up was a card designed by Kim Kesti of Spellbinders. I love that ship! Again I changed the size of my card to 5 x 7. I also added another of the main ship portion to add a slight border.


Of course I had to decorate the inside of my card, with sentiments and left of card along the bottom edge.


The next class I was able to participate during the weekend due to time zones was one given by Suzanne Hue. I enjoyed making her version of the ship card, yes I did change the size to 5 x 7 which meant I was able to add clouds & birds to the top portion of my card. I also added another extra sentiment.


The inside of this one is fairly simple. I am adding it here for my records.


Next up, Suzanne shared her second card using the Beyond the Door die set. I loved the Easel Card she created.


I think this is pretty much the same as her card other than the lemons on either side of the sentiment. I used lemons from the die set rather than the lemon stamp included in the Sentiment set.


The last class for the weekend was given by Jennifer Macguire, she always gives a fun twist to the cards she creates. The rays of the sun on this card actually spin!


I. decorated the inside of my card by adding some of the blue shimmer spray to the bottom of the card and adding a sentiment. The shimmer spray was also used on the blue panel on the front of my card.


Jennifer’s final card was a Z Fold card using the Beyond the Door die set.

When the card is closed the open arch door on the front of the card, shows the scene which is attached to the inside of the card.

I enjoyed the classes I did and would definitely consider participating again next year.


Friday, June 13, 2025

National Frances Day


Hi Crafty Friends, 

According to the Holiday Calendar website, today (13th June) is National Frances Day! The name Frances has Latin roots and means "free one". There are several notable historical figures that bear this name including Saint Frances of Rome and author Frances Hodgson Burnett.

Seeing my name is Frances, I wanted to do something to celebrate this day this year, but of course I didn't want to send myself a card. About 18 months ago, I met another person whose name is Frances who is now a friend, so I decided to make a card to send to her to celebrate the day.

So next question was what do you put on a "Frances" card, so you know it is a Frances card ... the name of course. So I decided to do the eclipse technique using letters which are a little camouflaged into the background of the card.

For the background I used a Magnolia Washi sheet from Textures and cut. it down to a slimline size. I then used an old alphabet die set to die cut the name into the background. I have had the die set for many years, but as Frances is a long name it needed to be one which wasn't too wide. I did cut each of the letters about 3 more times from white cardstock and layered them together and then from the dark pink cardstock. I layered the dark pink letters into the opening and then adhered the other stack of letters so they were offset slightly.

Next I layered the panel onto a filagree die cut panel and finally onto a top folding slimline card base. 


For the inside of the card, I computer generated the sentiment, so the recipient knew why she was receiving a card with our name on it. I also added a couple more of the magnolia washi tape flowers to the edge of the card.


Thursday, June 12, 2025

Love You


Hi Crafty Friends,

Today I am sharing another card I created using one of the new dies from Karen Burniston’s June release. The new dies & stamp sets will be available on Monday 16th June.


This time round I am playing with the new Arch Pop up die sets. There are also two add on die sets that coordinate with this set .. balloons & rainbow, however for my card I pulled out a number of different heart die sets to create a love themed card.


The “love you” sentiment is from the Word Set 9 - Love die set.


As the focus of this card is on the inside, I kept the front of the card simple. I added a few hearts and then a couple of sentiments.


Wednesday, June 11, 2025

Flying By To Say


Hi Crafty Friends,

Today I am excited to start sharing some of the new dies which are being released by Karen Burniston next Monday 16th June, 

As tomorrow (12th June) is the 5th anniversary of when I started the Slimline Card Addicts Facebook Group which now has over 9000 members, I decided to create a Slimline card. 

Here is a quick video to see my card in action.


I created a Whirly Wheel Slimline Card using the new Whirly Wheel die set & Whirly Wheel Words stamp set. I was excited when I discovered that the Whirly wheel would inside a slimline card, This card measures 4 inches x 9 inches. 

To decorate my card I created a space scene using the Rocket Pop up & Space Charms die sets. The background paper is from Whimsy Stamps.


For the inside of the card I used the new Curved Edges die set to create the planet ground, I added the spaceman & alien from the Space Charms die set. I also added the big rocket flame from the Rocket Pop up die set.

The sentiment is from the new Birthday Magic stamp set, which I layered using the frame included in the Whirly Wheel die set.


Monday, June 9, 2025

Have A Classic Birthday


Hi Crafty Friends,

Today I am sharing a fun male themed birthday card I created using products from Spellbinders Classic Road Legends Collection designed by Mindy Eggen. I am always on the lookout for male themed products to create cards.

I decided to create a Double Z Fold Card, it seems ages since I made one of these. My base card measures 5 inches x 11 inches, then I scored at 2 3/4 inches & 5 1/2 inches. The smaller panel on the front is 2 inches in height, all other measurements are the same.

The road & grass are both older MFT Stamps dies that I have had in my stash for years.


I used the Classic Car which I die cut from red cardstock and the Speedometer. I also used the sentiment die set.


I decided to add panels to the back, one to add another sentiment and one to hand write a message. I used the Betterpress Radiant Starburst, part of the Speedometer die set & the sentiment stamp set.