Showing posts with label Slimline Bridge Card. Show all posts

Monday, June 6, 2022

On Your Retirement

Hi Crafty Friends,

A friend I have known for many years, retired last month. They have sold their home and planning on moving up to a coastal area in the very near future. My friend normally is the one who has organised the cards for her fellow workmates over the years, and as she didn't want to make her own retirement card she asked me if I would make one for her. Of course I said yes.

When I was planning my card, I thought of the different things that would suit ... beaches, playing golf, trips away in their caravan etc. 

In the end I decided to create a Slimline Bridge Card, the base of this card is slimline sized being 4 inches x 9 inches. However because the palm tree leaves are overhanging on both ends of the card it is a little longer than that. This could be easily fixed by cutting the palm trees flush with the edge of the card, but I liked the overhanging look, so I kept them as it. It did mean I had to find an envelope which would fit. I fixed that issue by finding an oversized envelope and cutting it down to fit.


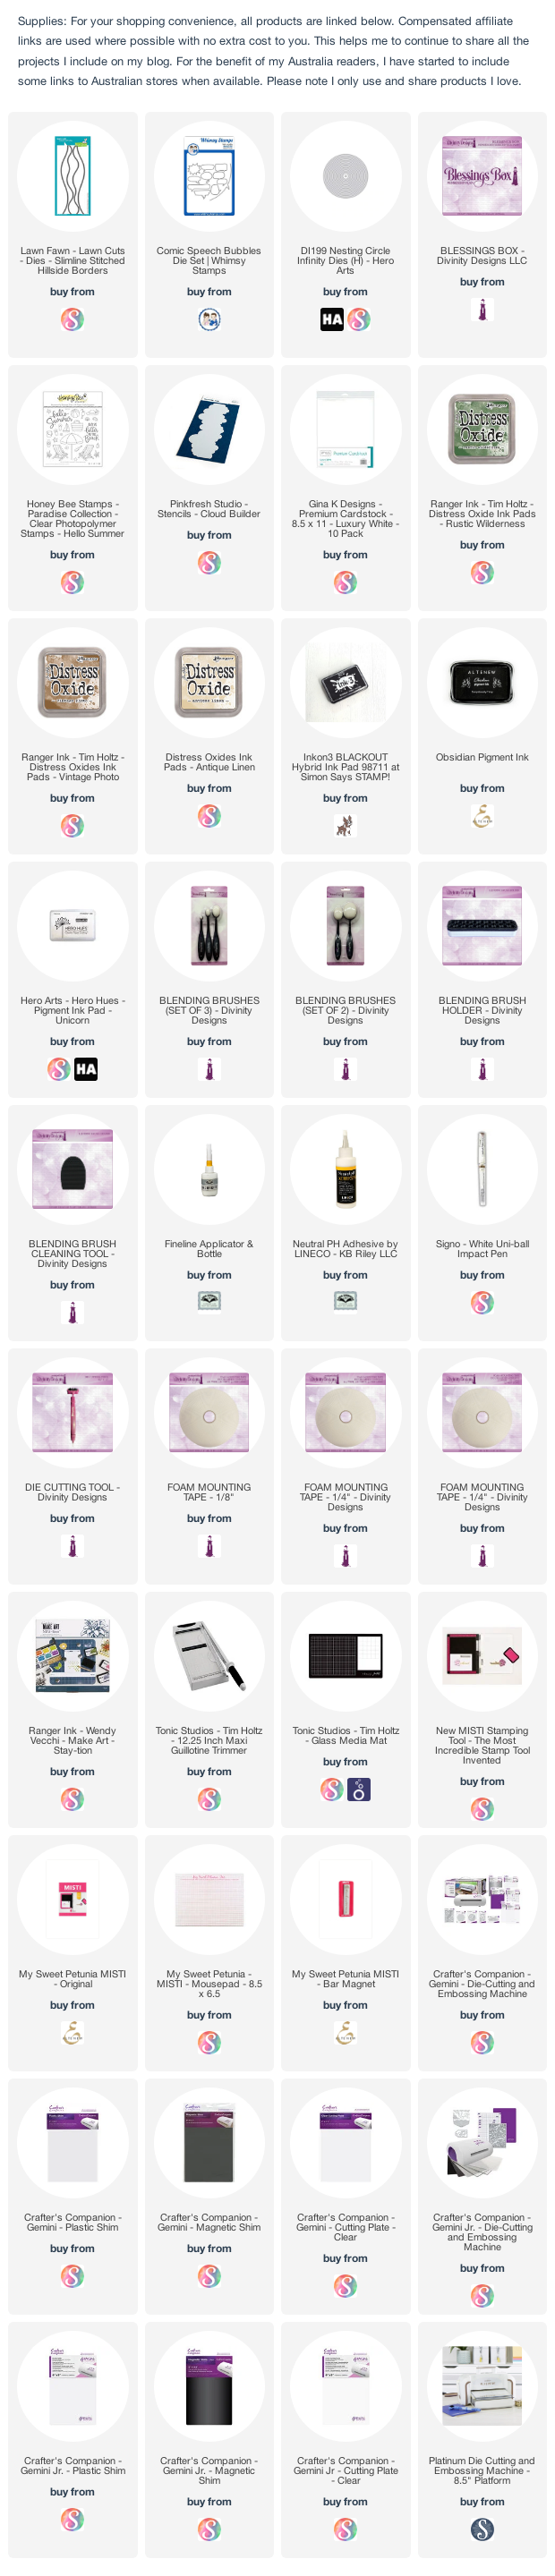
To create the sand hills and waves in the background I used Lawn Fawn's Slimline Hillside Borders die set. I die cut the sand from a soft yellow cardstock and the waves from a bright blue card and added ink to both.

The caravan and palm trees are two older dies I had in my stash from MFT Stamps.

I couldn't find a retirement sentiment, so I used my computer to create one and added it to the top of my card inside a speech bubble using Whimsy Stamps Comic Speech Bubbles die set. 

The birds are from Divinity Designs Beach Silhouettes die set which is included in the April 2022 Blessings Box. I think I will be using those dies a lot!

As I know my friend and her husband will do a lot of golfing, now they are retired, I had to add a golf club and ball to the card. I have made many golfing themed cards for my friend in the past.

To finish off the front of the card I added a sign post with the name "Hervey Bay" which is where they will be moving to.

One more photo of the front of my card, taken so you can see a bit more of the depth of the card. The waves in the background with the yacht etc.


On the back of the card, I added a panel for a personal greeting, adding more sand along the bottom of the card, another palm tree and of course the golf club and ball. 

Other Supplies:
Palm Tree Die-namics - MFT Stamps (retired)
Happy Camper Die-namics - MFT Stamps (retired)


Thursday, April 8, 2021

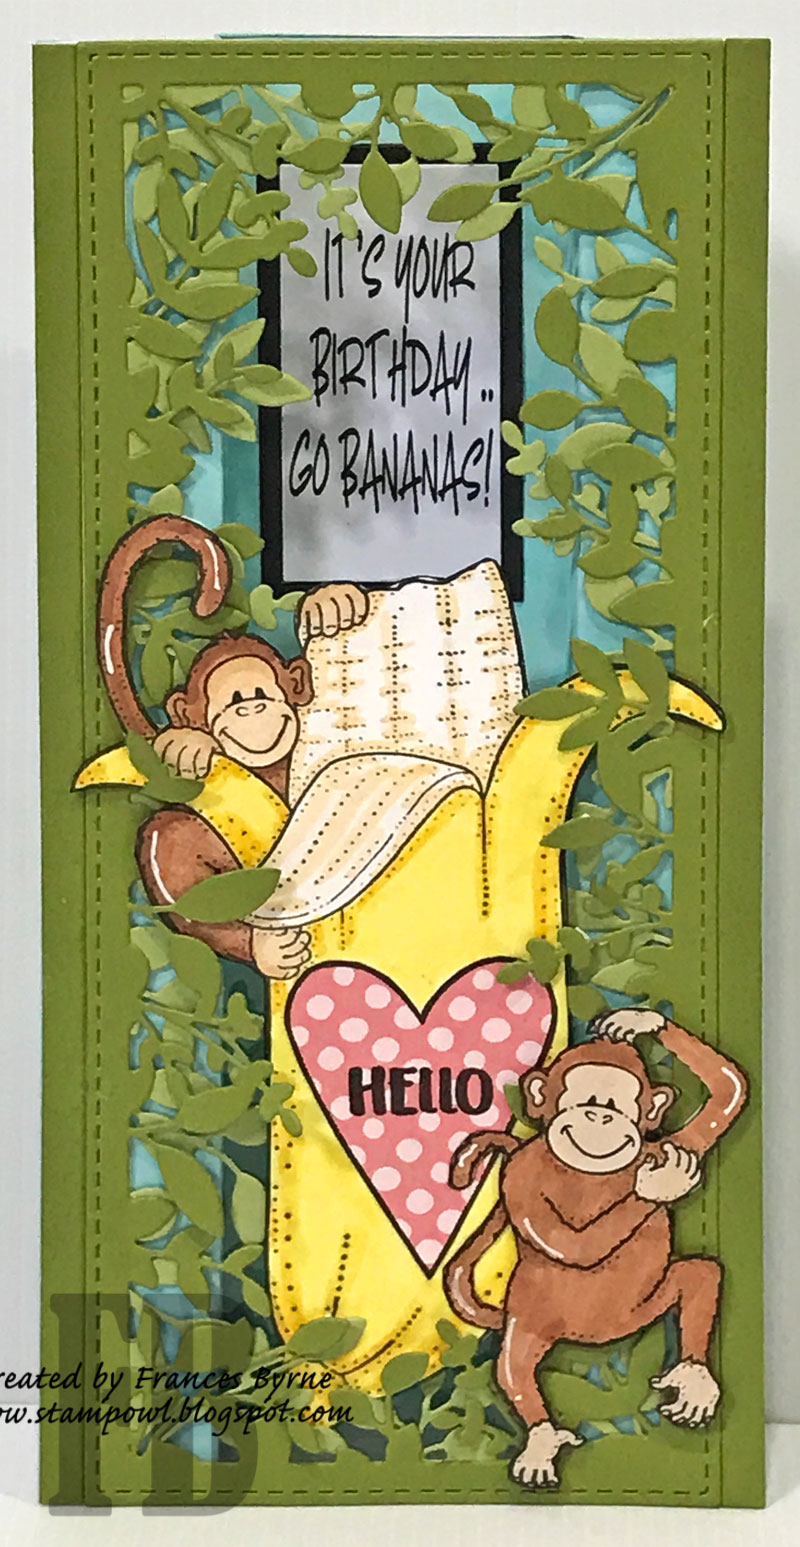
Go Bananas


Hi Crafty Friends,

It's challenge time with my friends over on the CCEE Stampers challenge blog.  As challenge hostess for the month, I continue to issue the challenges.

Apparently today is Zoo Lovers Day. Create a card that includes at least one animal you might find in a zoo.


Recently I have been revisiting some older Darcie Country Folk stamps from about 15 or 20 years ago. 

For my card today I pulled out two other stamps to create a Slimline Bridge Card. This card measures 4 inches x8 1/2 inches. To create the Slimline Bridge base I started with a piece of cardstock measuring 5 1/2 inches x 8 1/2 inches. I then scored along the 5 1/2 inch side at 1 inches; 1 3/4 inches; 3 3/4 inches; 4 1/2 inches.

To decorate the top of the bridge card, I used Trinity Stamps Slimline Foliage Frame die. I die cut the die twice from two different shades of green cardstock, I then turned one of the panels so it was the opposite of the other and glued the outer frame on top of each other. As the frame is 3 1/2 inches and the Slimline Bridge card is 4 inches. I cut two of the strips from Trinity Stamps Slimline Stitched Strips dies to get a green strip and added this to each side, with a thing piece of cardstock underneath so I could adhered them beside the panel. 

I added a piece of acetate to the bottom portion of the card so that I had a place to adhere the large banana/monkey. For the banana I stamped the heart portion of the stamp to a piece of patterned paper, cut this out and paper pieced over the heart area. I added a sentiment to the top of the heart.I added the other monkey to the bottom right hand corner of the card.


I have many monkey themed sentiment stamps in my stash, but as the panel in the centre where the sentiment is attached is fairly thin, so I computer generated my sentiments, I used rectangle dies to die cut the sentiments and adhered them to the blue sentiment portion of the card so that the sentiment can be seen through the open portion of the frame.


For the back of my card, I die cut another of the Slimline Foliage Frames. I trimmed the die cut so I only had the long sides of the frame and adhered them to each edge of the card.

I cut a thin white panel for the centre portion of the card, to this I added another of the monkey that I used on the front of the card.

I computer generated another sentiment and adhered it to the top of the panel.

Don't forget to check out the CCEE Stampers blog (goes live 12 AM EST) to see the rest of the creations the CCEE Stampers created this week. You can also see more details of their creations on their individual blogs:


Other Supplies:
Tall Banana with Monkey Stamp - Darcie Country Folk (discontinued)
Monkey - Darcie Country Folk (discontinued)
Celebrate Sentiments Stamp Set -  Tonic Studios


Thursday, November 5, 2020

Enjoy Life It's Delicious


Hi Crafty Friends,

It's challenge time with my friends over on the CCEE Stampers challenge blog.  Being a brand new month it's time to introduce a new challenge hostess which is Kelly Santi.

Apparently today is Men Make Dinner Day. Sit back, relax and prepare for dinner to be served! Create a card with the men (or critter) showing off their cooking skills. And yes – BBQ is acceptable!


I am pretty lucky, my husband cooks most nights. I just need to prep. For my card today I decided to create a Slimline Bridge Card. 

To create the Slimline Bridge card, I cut a piece of blue cardstock to 4 inches x 11 inches and then scored on each side at 1 1/4 inches and 2 1/4 inches. I used a cloud stencil and white pigment ink to add clouds to the background. I used MFT Stamps Slimline Grassy Hills to add the grass to the front and inset of the card. The grass panels for the front piece is 9 inches long.


To decorate my card I used Stamping Bella's Uptown Couple Bella and Barney have a Barbecue stamp set. The BBQ tables are older wood mounted stamps I have had for years from a company called Eccentricks. I figured this scene was taking place at a park where there were BBQ's and tables.

I added trees to the background of my card using Lawn Fawn's Birch Trees die set.

The birds in the background are from a Hero Arts stamp set.

The rest of the images are from various Lawn Fawn stamp sets which are all listed in the supply list below.


My Slimline Bridge card folds flat to measure 4 inches x 9 inches and will fit inside a #10 envelope


I always like to decorate the back of my Bridge cards, it's a great place to add extra sentiments and write a hand written greeting.

To decorate the back panel, I used the MFT Stamps Slimline Grassy Hills Die-namics, stamps from Lawn Fawn's Let's BBQ stamp set and a sentiment from DRS Designs.


Don't forget to check out the CCEE Stampers blog (goes live 12 AM EST) to see the rest of the creations the CCEE Stampers created this week. You can also see more details of their creations on their individual blogs:


Supplies:
For your shopping convenience, all products are linked below. Compensated affiliate links are used where possible with no extra cost to you. This helps me to continue to share all the projects I include on my blog. For the benefit of my Australia readers, I have started to include some links to Australian stores when available. Please note I only use and share products I love.

Picnic Table 1 Wood Mounted Stamp - Eccentricks. (discontinued)
Picnic Table 2 Wood Mounted Stamp - Eccentricks. (discontinued)


Saturday, October 10, 2020

Oh So Merry


Hi Crafty Friends,

It’s challenge time with the “Crazies” over on the Crazy 4 Challenges blog. Rebecca Ednie our challenge hostess for the month, continues to issue the challenges.

Our challenge this week is to create a Bridge card. 

As I am still enjoying creating Slimline cards when I can, I decided to create a Slimline Bridge Card for the challenge today.


To create my card, I started out with a piece of red cardstock that measures 4 inches x 9 inches. I then scored this panel at 1 1/4 inches & 2 1/4 inches on either end of the card.

The bridge panel at the bottom of the card is 9 inches long. This completed this creates a Slimline Bridge card that is 4 inches x 9 inches.


To decorate my card I used Mama Elephant's Gingerbread Cookies stamp set. I placed all the gingerbread cookies, the milk bottle and note to Santa on the bridge panel at the bottom of the card.

On the back panel I added the Oh So Merry sentiment which is a die included in Mama Elephant's The Penguin Waddle die set. This was layered onto an elongated oval using Spellbinders Mega Ovals & Mega Scallop Ovals which are two older die sets in my stash.


The Slimline Bridge Card fold down flat and will fit into a #4 Envelope.


On the back of the card I added a panel of white cardstock. I placed a piece of leftover patterned paper to the left side of the panel. 

I added the milk bottle and three gingerbread men to the lower right hand side of the panel.

I added a Christmas sentiment to the top left corner of the panel.

This is a good place to write a personal greeting for the recipient of the card.


Don't forget to check out the rest of the “Crazies” cards over on the Crazy 4 Challenges blog and also their individual blogs for more details.


Supplies:
For your shopping convenience, all products are linked below. Compensated affiliate links are used where possible with no extra cost to you. This helps me to continue to share all the projects I include on my blog. For the benefit of my Australia readers, I have started to include some links to Australian stores when available. Please note I only use and share products I love.

Mega Ovals - Spellbinders (retired)
Mega Scalloped Ovals - Spellbinders (retired)
Christmas Sentiment - Kaisercraft (retired)


Saturday, September 12, 2020

Unicorns and Rainbows


Hi Crafty Friends,

It’s challenge time with the “Crazies” over on the Crazy 4 Challenges blog. As challenge hostess for the month, I continue to issue the challenges.

Continuing the "S" theme we have this month, our challenge is all about .... 
Stripes - create a card that includes stripes! Create your own striped background by using paper/card scrap strips; striped stamps or patterned paper.


A few weeks ago I created a Slimline Bridge card in landscape style, today I have created one in portrait style. This card measures 4 inches x 9 inches. To create the Slimline Bridge base I started with a piece of cardstock measuring 5 1/2 inches x 9 inches. I then scored along the 5 1/2 inch side at 1 inches; 1 3/4 inches; 3 3/4 inches; 4 1/2 inches.


I used Mama Elephant's Quick Stripes die set to create the stripes used on the background of my card. I had previous die cut cardstock in the colors of the rainbow and I still had enough left to make my background for this card and possibly for something else in the future. After creating my rainbow background, I cut it down to the size needed for each of the layered panels.

I used Divinity Designs Slimline Clouds die set, die cutting each of the three dies included from the set from white cardstock. I blended some blue ink along the scalloped edges of all the clouds. I layered the 3 clouds together and then adhered it to the bottom of the Slimline Bridge card.


I used the clouds included in Lawn Fawn's Stitched Rainbows die set to add the single clouds to the top portion of the card.

To decorate the card I used the unicorns, castle & sentiments from Kraftin' Kimmie Stamps Unicorns & Rainbows stamp set.

It's hard to see in the photos, but once the card was all decorated I added shimmer along the edges of all the clouds and added some translucent star sequins over the clouds. In real life the stars have a hint of pink & blue all over the clouds, adding a little sparkle.


I had a small amount of rainbow background left over that I used on the front of the card, so I trimmed that down to use some on the back panel. I added a single cloud, unicorn and sentiment.

Don't forget to check out the rest of the “Crazies” cards over on the Crazy 4 Challenges blog and also their individual blogs for more details.


Supplies:
For your shopping convenience, all products are linked below. Compensated affiliate links are used where possible with no extra cost to you. This helps me to continue to share all the projects I include on my blog. For the benefit of my Australia readers, I have started to include some links to Australian stores when available. Please note I only use and share products I love.


Tuesday, August 18, 2020

Life Is Better at the Beach


Hi Crafty Friends,

Today I am sharing another Slimline card that I created yesterday. It may be hard to see  in the photo above, but this card is 3D and is a Slimline Bridge card.

A couple of days ago, Jennifer McGuire posted a video which was all about more ideas for creating Bridge Cards. I have made a fair number of Bridge Cards in the past, but I hadn't thought about making one Slimline size which is two of the ideas Jennifer shared in her video ... one landscape style and one portrait style. Of course I loved the idea so set to work to make one. You can see Jennifer's video tutorial here.

Just like making a normal slimline card, having the extra length works well when you are creating scenes, which is one of the reasons I am enjoying making slimline cards.


To create the Slimline Bridge card, I cut a piece of blue cardstock to 4 inches x 11 inches and then scored on each side at 1 1/4 inches and 2 1/4 inches. I used a cloud stencil and white pigment ink to add clouds to the background.

I use Lawn Fawn's Slimline Stitched Hillside Border to create the ocean and the sand . The ocean uses the wavy border dies which I die cut from a bright blue cardstock and sponged along the top of the waves using white ink. The sand I die cut three panels of white stock which were just over 9 inches long and used the other two border dies in the set. I then applied color to the panels using Antique Linen and Gathered Twigs Distress Oxide inks. Once I have blended the color, I then flicked on Gathered Twigs Distress Oxide ink to add texture to the panels. I used these sand panels to add one to the inside portion of the card which I trimmed to fit at the back and sides of the card. I then used the other two sand panels to bridge the front of the card.


I used Honey Bee Stamps Hello Summer stamp set to stamp the umbrella, chairs and other beach stuff which is decorating the card.

For the trees and birds I used the Beach House Add-On die set.


My Slimline Bridge card folds flat to measure 4 inches x 9 inches and will fit inside a #10 envelope.


I always like to decorate the back of my Bridge cards, it's a great place to add extra sentiments and write a hand written greeting.

I added the large "beach" sentiment from the Hello Summer stamp set and repeated a few of the elements that I used on the front of the card.

Supplies:
For your shopping convenience, all products are linked below. Compensated affiliate links are used where possible with no extra cost to you. This helps me to continue to share all the projects I include on my blog. For the benefit of my Australia readers, I have started to include some links to Australian stores when available. Please note I only use and share products I love.