Showing posts with label Stamping Bella. Show all posts

Wednesday, March 3, 2021

Teacher Desk Pop-up

Hi Crafty Friends,

Today I have a Slimline Pop-up Teacher Thank You card I created recently using the new Lawn Fawn Desk Pop-up  die set.


Two of my favourite things to create when making cards are pop-up and Slimline cards. So when I saw that Lawn Fawn was releasing a Desk Pop Up die set, I knew I needed to add it to my collection. I was even more excited when I received mine and made a quick mock up to see whether it would fit into a Slimline card ... as you can see it does! The desk fits within a 3 1/2 inches slimline card ... so I could make my card 3 1/2 inches x 8 1/2 inches.

This desk pop up comes with the laptop, so I decided to use these to create a teacher thank you, for one of my grandchildren's teachers which I will need for the end of the year. 

Seeing I was creating a Slimline card I have plenty of space to create a room. I used patterned paper for the "wall" and colored cardstock for the "floor". 

I die cut the largest circle from Karen Burniston's Circles Crosshatch die set, cut it a little over half and added it to the "floor" close to the fold of the card. Next I die cut the Desk Pop-up applied brown inks to the desk to add detail and then adhered it to the centre of the card.

I die cut the laptop from silver card, as this is a thank you card, I decided to add the words "Thank You" to the computer screen. I added items to the desk from various stamp sets which are listed in the supply list.

I added a window to the left side of the wall using the window from Trinity Stamps Room Builder die set.


The kids are from Stamping Bella, I stamped and coloured three of them and added two of the kids to the card using Karen Burniston's Mini Pops Pop-up  die set.The third kid I adhered to the desk.

I used a sentiment from Heffy Doodles Teach Me Words stamp set. To read the sentiment you start with the laptop and then continue with to the black panel ... so the sentiment reads "Thank you to the most awesome Teacher for all you have taught me"


As the focus of this card is on the inside I kept the front of the card simple. For the strips on the centre of the card I used dies from Trinity Stamps Slimline Stitched Strips die set.

The ovals are older Spellbinders dies I have in my stash which are perfect for Slimline cards.

I used Honey Bee Stamps Special Teacher die set for the teacher sentiment. The "#1" is from an older Papertrey Ink die set which I believe is no longer available.

To finish off the card, I added a stack of books from Lawn Fawn's Den Sweet Den stamp set.

Other Supplies:
Mega Ovals Die Set - Spellbinders (discontinued)
Mega Scalloped Ovals Die Set - Spellbinders (discontinued)
Wonderful Words Teacher Die Set (#1) - Papertrey Ink (discontinued)
Teacher Hanna Stamp Set - Hanna Stamps (discontinued)


Thursday, February 25, 2021

Day Like A Fairytale


Hi Crafty Friends,

It's challenge time with my friends over on the CCEE Stampers challenge blog.  Manal Habib our challenge hostess for the month, finishes off the month with one last challenge. 

Fairytale Madness - We all have fond memories of the fairytales we heard or read when we were children. So our challenge today is to created something featuring a fairytale, carnival or circus.


I love fairytales, so I decided to go with the fairytale option when creating my card today.

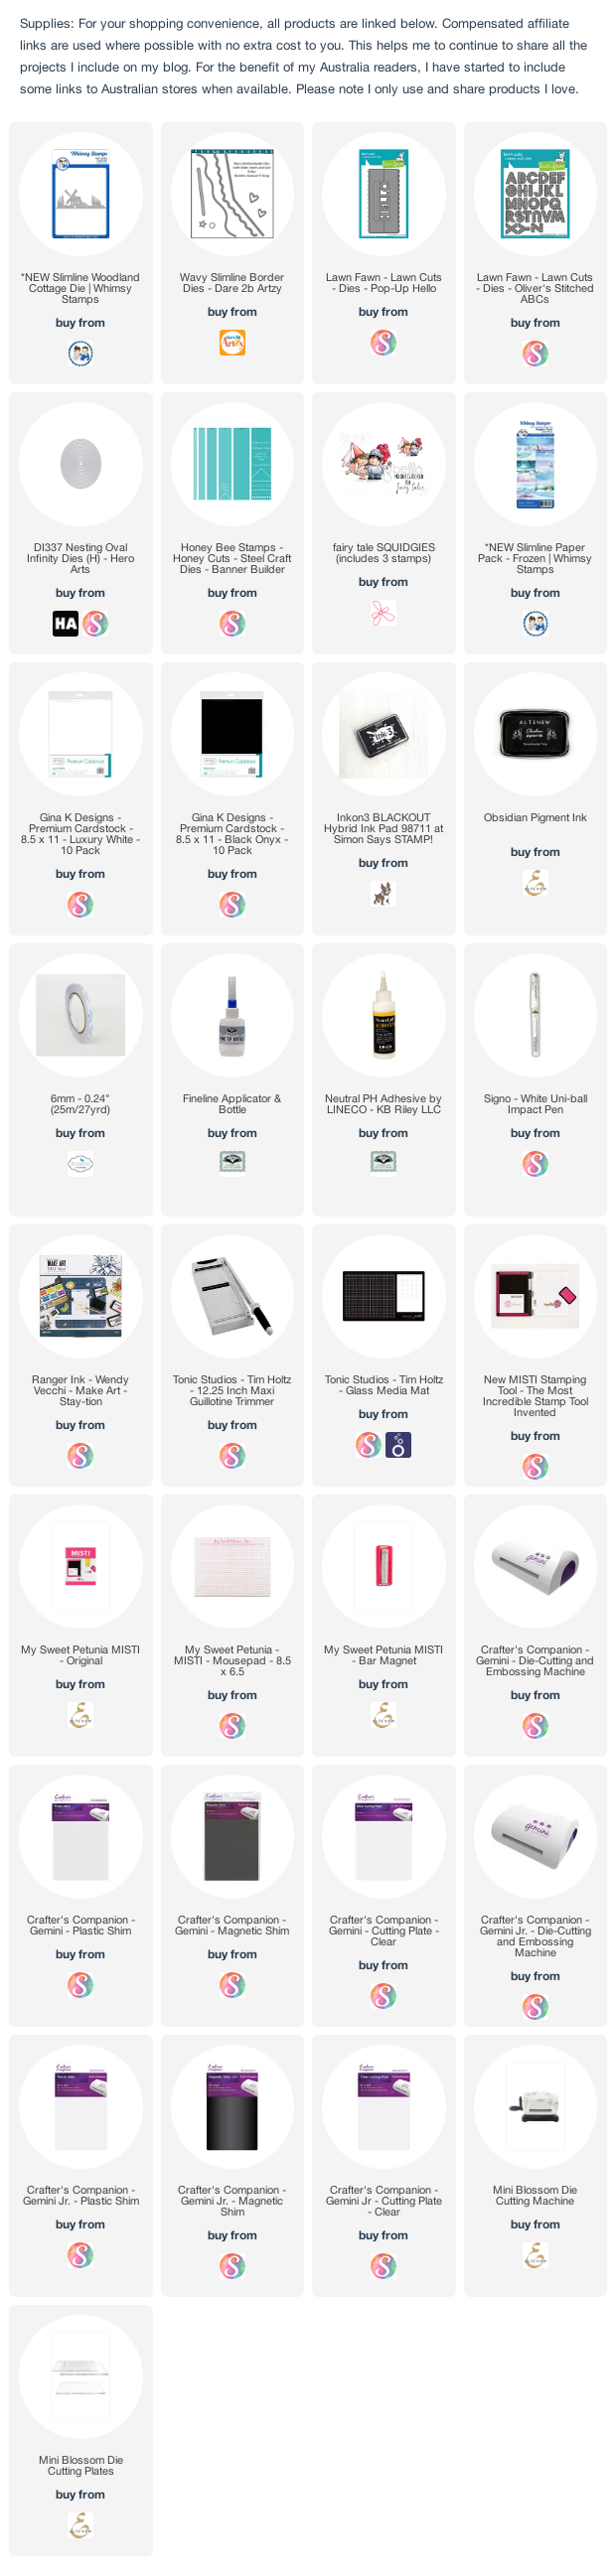
I recently purchased a slimline die and papers from Whimsy Stamps. The die is called Slimline Woodland Cottage, the cottage looks a like a windmill and I love the magical look of the papers. I did some research and discovered there were two fairytales that had a Windmill theme ... one is called The Windmill and the other The Windmill & The Butterfly, so I decided to use those on my card. I added a fairytale sentiment from CC Designs Simply Enchanting stamp set which I have had in my stash for some years.


For the inside of the card I created a pop-up card using Lawn Fawn's Pop Up Hello die set.

I used patterned paper from Trinity stamps and a Slimline die set from Dare 2B Artzy to add the border along both edges of my card.

I added a couple of image that also had a fairy tale theme (nothing to do with windmills) on either side of the pop up. the princess & knight are from Stamping Bella and the castle is from MFT Stamps.

To finish off the card I added another stamped sentiment which was included in the Stamping Bella stamp set.


Don't forget to check out the CCEE Stampers blog (goes live 12 AM EST) to see the rest of the creations the CCEE Stampers created this week. You can also see more details of their creations on their individual blogs:


Thursday, November 5, 2020

Enjoy Life It's Delicious


Hi Crafty Friends,

It's challenge time with my friends over on the CCEE Stampers challenge blog.  Being a brand new month it's time to introduce a new challenge hostess which is Kelly Santi.

Apparently today is Men Make Dinner Day. Sit back, relax and prepare for dinner to be served! Create a card with the men (or critter) showing off their cooking skills. And yes – BBQ is acceptable!


I am pretty lucky, my husband cooks most nights. I just need to prep. For my card today I decided to create a Slimline Bridge Card. 

To create the Slimline Bridge card, I cut a piece of blue cardstock to 4 inches x 11 inches and then scored on each side at 1 1/4 inches and 2 1/4 inches. I used a cloud stencil and white pigment ink to add clouds to the background. I used MFT Stamps Slimline Grassy Hills to add the grass to the front and inset of the card. The grass panels for the front piece is 9 inches long.


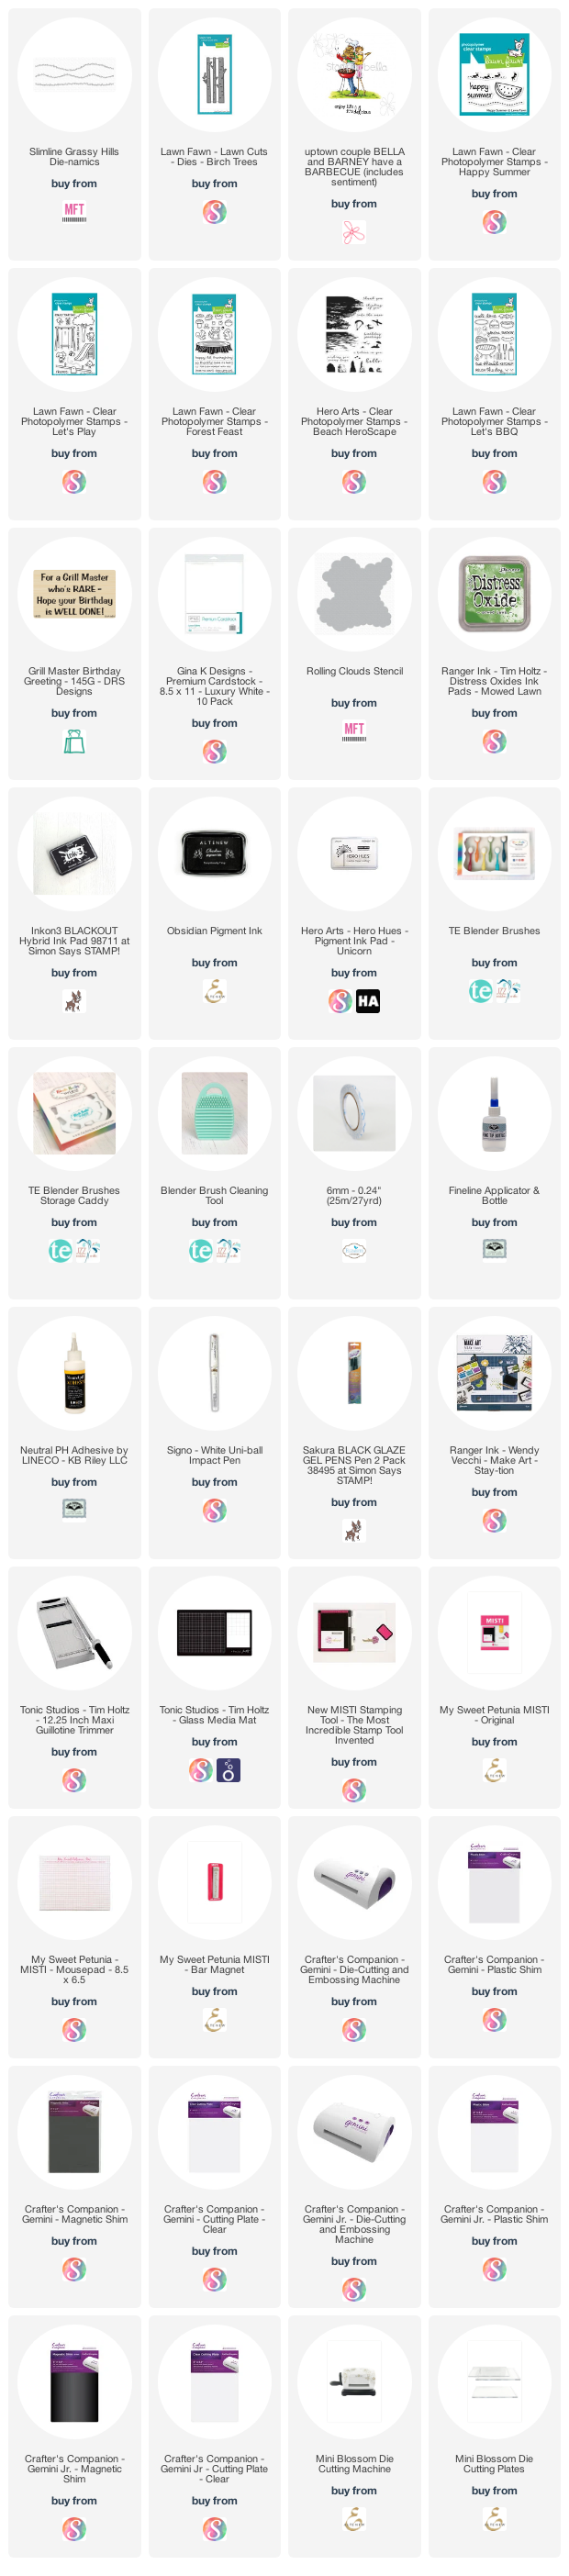
To decorate my card I used Stamping Bella's Uptown Couple Bella and Barney have a Barbecue stamp set. The BBQ tables are older wood mounted stamps I have had for years from a company called Eccentricks. I figured this scene was taking place at a park where there were BBQ's and tables.

I added trees to the background of my card using Lawn Fawn's Birch Trees die set.

The birds in the background are from a Hero Arts stamp set.

The rest of the images are from various Lawn Fawn stamp sets which are all listed in the supply list below.


My Slimline Bridge card folds flat to measure 4 inches x 9 inches and will fit inside a #10 envelope


I always like to decorate the back of my Bridge cards, it's a great place to add extra sentiments and write a hand written greeting.

To decorate the back panel, I used the MFT Stamps Slimline Grassy Hills Die-namics, stamps from Lawn Fawn's Let's BBQ stamp set and a sentiment from DRS Designs.


Don't forget to check out the CCEE Stampers blog (goes live 12 AM EST) to see the rest of the creations the CCEE Stampers created this week. You can also see more details of their creations on their individual blogs:


Supplies:
For your shopping convenience, all products are linked below. Compensated affiliate links are used where possible with no extra cost to you. This helps me to continue to share all the projects I include on my blog. For the benefit of my Australia readers, I have started to include some links to Australian stores when available. Please note I only use and share products I love.

Picnic Table 1 Wood Mounted Stamp - Eccentricks. (discontinued)
Picnic Table 2 Wood Mounted Stamp - Eccentricks. (discontinued)


Thursday, May 21, 2020

Hop Hop Hooray!


Hi Crafty Friends,

It's challenge time with my friends over on the CCEE Stampers challenge blog.  Kelly McKown-Santi our challenge hostess for the month continues to issue the challenges.

Mother May !? Create a card based on the popular children's game either featuring playing or create a card for a child.


As soon as I read this challenge, I knew I needed to use my Stamping Bella Playing Hopscotch stamp set. There are a number of fun stamps of kids playing in the series, but so far I have only purchased the one.

I posted a card I couple of days ago which used Hello Bluebird's Skating Pond die set. When I pulled out the stamp set, I stamped the hopscotch image onto some clear plastic so I could see what it would fit onto, I had my other card handy and the image fitted perfectly on the path, so of course I had to grab that die to use for my card today. This  time around I also added a cloud from the Sunshine Scene die set which I turned into the branches of the trees.

I added the "Hop Hop Hooray" sentiment which is from an older Woodware Stamps stamp set.


For the inside of my card I decided to continue my scene from the front of the card. I used Hello Bluebird's Oak Tree Scene die set to create the panel on the back of the pop-up panel.

As you can see I created a pop-up card using Karen Burniston's Katherine Label Pop-up die set.


I used Karen Burniston's Circle - Crosshatch die set which I added to the base of the card for a hand written greeting.

Don't forget to check out the CCEE Stampers blog (goes live 12 AM EST) to see the rest of the creations the CCEE Stampers created this week. You can also see more details of their creations on their individual blogs:


Supplies:
For your shopping convenience, all products are linked below. Compensated affiliate links are used where possible with no extra cost to you. This helps me to continue to share all the projects I include on my blog. For the benefit of my Australia readers, I have started to include some links to Australian stores when available. Please note I only use and share products I love.

Hoppy Birthday Stamp Set - Woodware Craft Collection


Thursday, January 16, 2020

No One Is Too Old For Fairy Tales


Hi Crafty Friends,

It's challenge time with my friends over on the CCEE Stampers challenge blog. Lynn McAuley our challenge hostess for the month is continuing to issue the challenges.

Apparently today is Book Publishers Day  So for our challenge this week we are to create a card which features characters, a theme, or a quote from one of your favorite books!! Bonus points if it is on the current best sellers list!! 

Seeing it was a book theme, the first thing I decided was to use Divinity Designs' Book Fold Card with Layers die set to create a book fold card. This die was released in December and I was so happy that it did!


This was the perfect time to use the Clearly Besotted's Fairy Tale Maiden stamp set. I have had this stamp set for some time now and I was so happy when I found out that it would fit onto one side of the "book panels"

I stamped all the images and cut them out and then arranged them on the panel to create a scene.


I wanted to have a prince to rescue the princess who is stuck in the tower, so after going through my stash, settled on this one from Waffle Flower Crafts Level Up stamp set, it was the right size to go with the one of the other side of the book.

I again used the shrubs to create my scene. I also added a sentiment which is from Stamping Bella's Fairy Tale Squidgy stamp set.


For the front of the card I added a Castle using Karen Burniston's Castle Pop-up die set. I love that this can be used flat as well as on a pop-up card. I also added the Happily Ever After sentiment which I die cut from Teal Glitter Cardstock and layered onto white cardstock, offsetting one of the white layers.

Don't forget to check out the CCEE Stampers blog (goes live 12 AM EST) to see the rest of the creations the CCEE Stampers created this week. You can also see more details of their creations on their individual blogs:

Supplies:
For your shopping convenience, all products are linked below. Compensated affiliate links are used where possible with no extra cost to you. This helps me to continue to share all the projects I include on my blog. For the benefit of my Australia readers, I have started to include some links to Australian stores when available. Please note I only use and share products I love.


Monday, October 14, 2019

Hop Hop Hooray!


Hi Crafty Friends,

Today I am sharing a colorful birthday card I created recently.

When I first saw this fun Stamping Bella hopscotch themed stamp online a few months back, I knew it was one I needed to add to my stash .... so of course did. Well I have finally gotten around to playing with it.


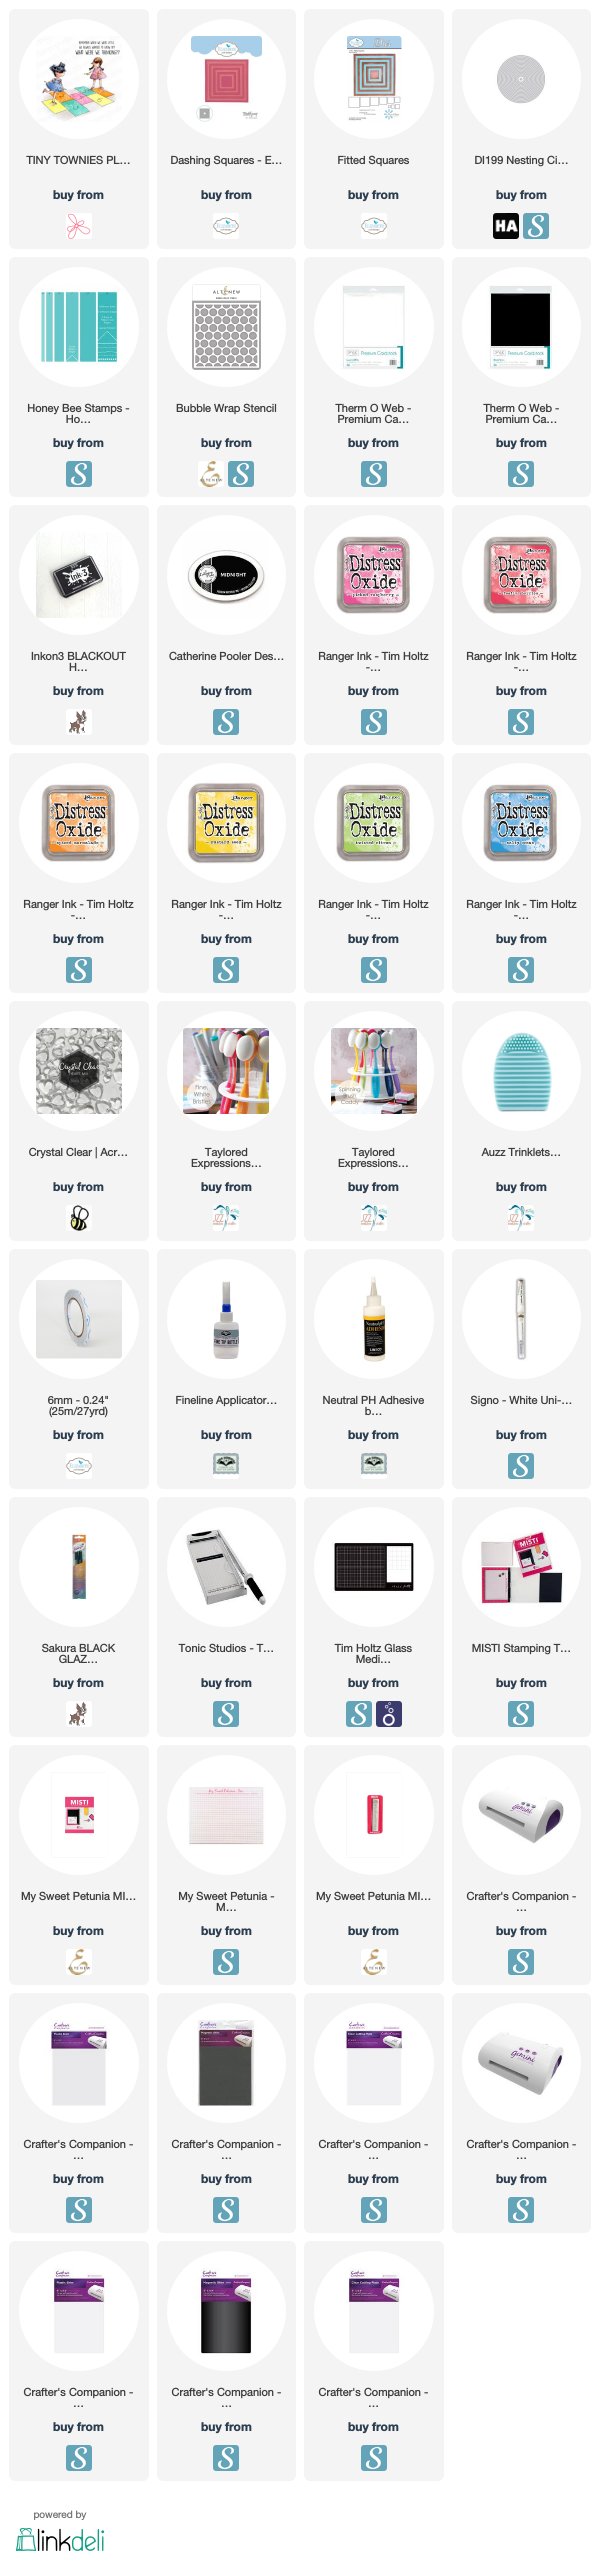
I created the background using Altenew's Bubble Wrap Stencil blending Distress Oxide inks in rainbow order through the stencil. Once I had finished the background I die cut it using one of the squares from Elizabeth Craft Designs Dashing Squares die set.

To finish off the front of the card, I added four heart acrylic embellishments to the background panel.

The sentiment is actually three lines, so I masked off the bottom row and stamps the first two onto white cardstock and die cut using Honey Bee Stamps Banner Builder die set.


I used the same colored inks I used on the front to create the circle border along the bottom of the white panel on the inside of the card.

I added the third line of the sentiment which I masked off for the front of the card to the top of my white panel. I then added two "hop" themed sentiments from Woodware's Hoppy Birthday stamp set.

Supplies:
For your shopping convenience, all products are linked below. Compensated affiliate links are used where possible with no extra cost to you. This helps me to continue to share all the projects I include on my blog. For the benefit of my Australia readers, I have started to include some links to Australian stores when available. Please note I only use and share products I love.


Tuesday, July 16, 2019

Teacher Gatefold Shutter Card


Hi Crafty Friends,

Today I have another Teacher thank you card I created for my grandchildren to give to their teachers at the end of the year.

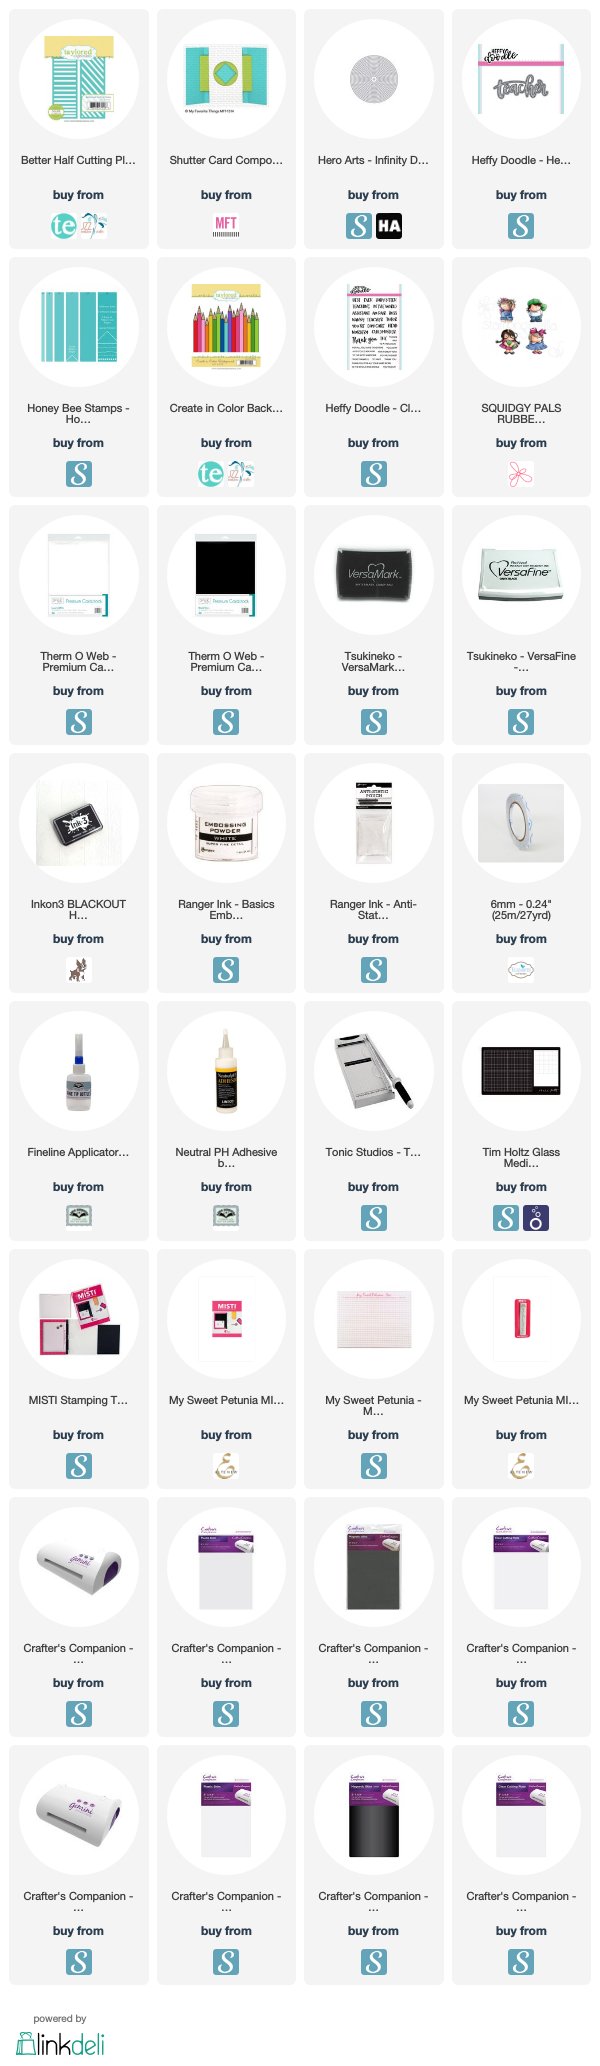
Taylored Expressions recently released a couple of items which I knew I needed to add to my stash. I am always looking for stamps/dies that would be suitable to make teacher cards and this pencil stamp called Create in Color Background is one I will think I will use a lot.

I also make a few Gatefold cards, so the Better Half Cutting Plates were a perfect addition for these types of cards.


Here is a quick video to see my card in action.


I die cut the one of the dies from the Better Half  Cutting Plate die set four times from white cardstock and once each from red, orange, yellow, green, blue and purple cardstock. I then adhered each of the white panels onto white cardstock that had double sided adhesive tape on the front and paper pieced all the colored stripes into the white frames in rainbow order. I have plenty left to make more cards in the future.

I stamped the pencil background onto white cardstock and then die cut this using a circle die and layered that on the centre of the card. I added sentiments from Heffy Doodle Stamps Teach Me Clear Stamp set and die cut using Honey Bee Stamps Banner Builders die set.


Here is my card when it is partially opened.


For the inside of the card I added two more of the rainbow panels I used for the front of the card.

I created a Gatefold Shutter Card using MFT Stamps Shutter Card Components die set.

I stamped the pencil background again on white cardstock and added that to the centre panel at the bottom of the card. I used Heffy Doodle Stamps Teacher die and Teach Me Clear stamp set for the sentiments.

On both of the side panels I added two kids which are from Stamping Bella's Squidgy Pals stamp set.


Supplies:
For your shopping convenience, all products are linked below. Compensated affiliate links are used where possible with no extra cost to you. This helps me to continue to share all the projects I include on my blog. For the benefit of my Australia readers, I have started to include some links to Australian stores when available. Please note I only use and share products I love.


Wednesday, January 2, 2019

Happy 2019


Hi Crafty Friends,

Today I am sharing a Happy New Year card to help celebrate the beginning of 2019.

To create my card I used Karen Burniston's Fancy Label Accordion die set. I die cut each page using red, yellow and green cardstock and also in coordinating patterned papers in the same color that had the same star design on it.


To decorate my card I used the cute Stamping Bella's Celebrating Squidgy stamp set. 


For the image on the right hand side of the card, I stamped the image so I got a mirrored image of the image.

In the centre page I added the "Happy New Year" sentiment also included in the stamp set and use an older alphabet/number die set for the "2019".


Here is a look at my card when it is closed ready to be placed in an envelope. 

On the top of the card I added the "Celebrate" sentiment which I die cut three times and added gold glitter to the final layer.

Supplies:
For your shopping convenience, all products are linked below. Compensated affiliate links are used where possible with no extra cost to you. This helps me to continue to share all the projects I include on my blog. Please note I only use and share products I love.