Showing posts with label Bridge Card. Show all posts

Wednesday, October 15, 2025

Three Magi Bridge Card


Hi Crafty Friends,

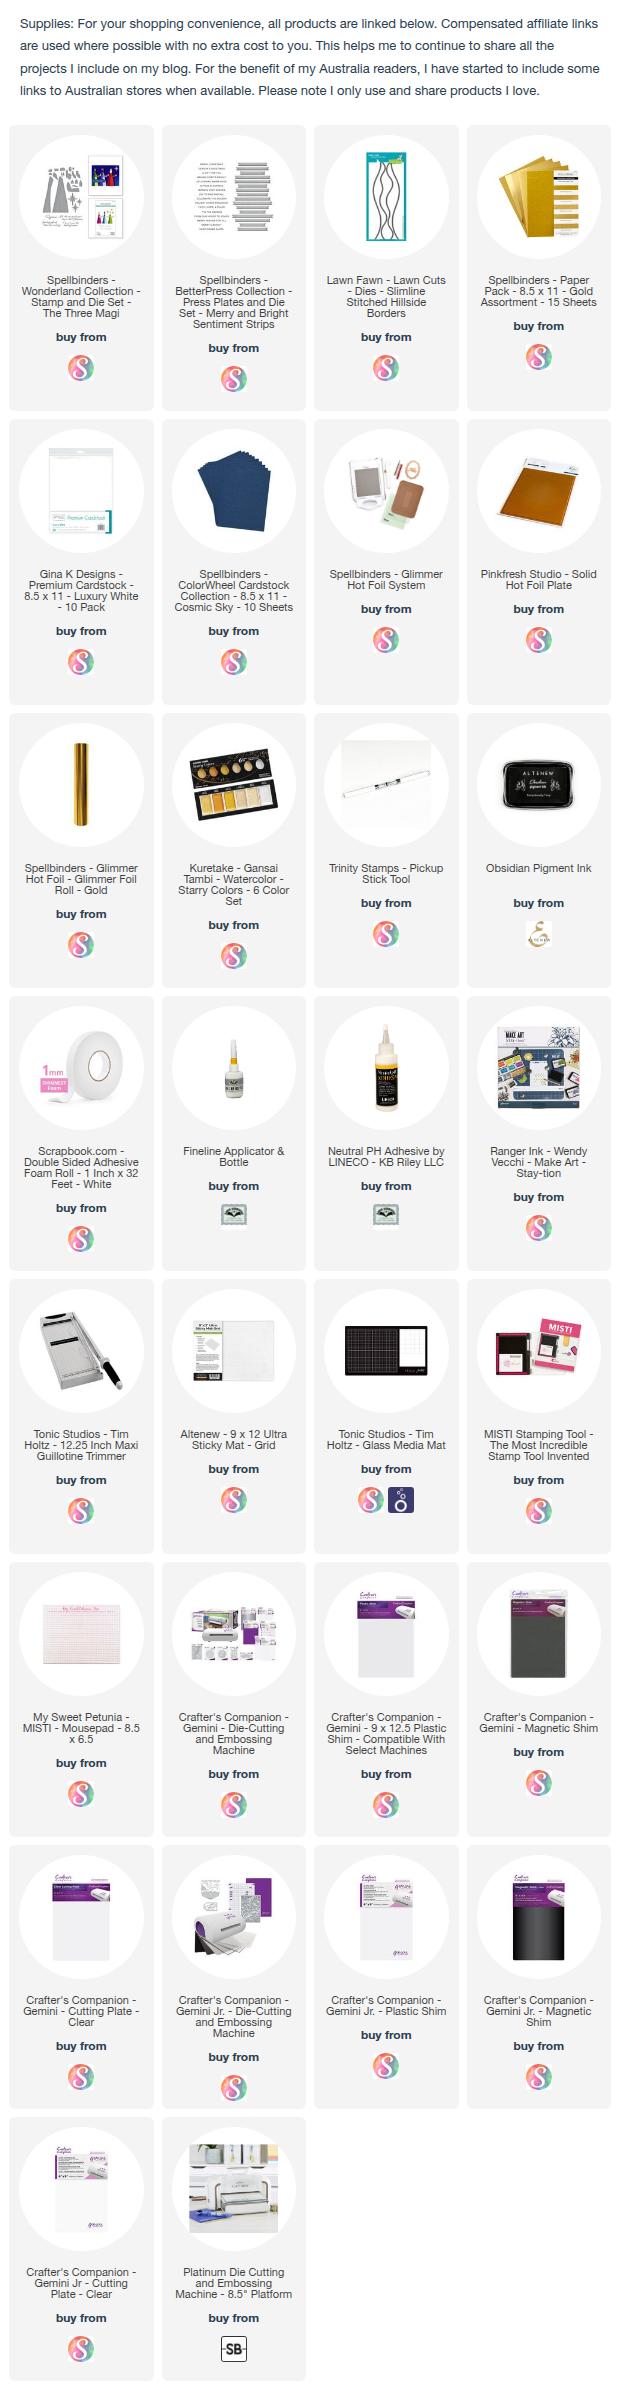
Thanks for stopping by my blog. Today I am sharing a Christmas card using Spellbinders The Three Magi Die set. For this card I created a Bridge Card, I have had this idea for this set for a while, and finally found some time to get the card made.


 I started with a piece of Spellbinders Cosmic Sky cardstock that measures 8 inches x 4 3/4 inches. I then scored along the 8 inch side at 1 1/4 inches and 2 1/2 inches on each side. I added patterned paper to each of the five sections, splatting them all. with gold ink to resemble stars.

I used a Slimline Hillside Border die to die cut the kraft panel which the Magi are standing on. I attached this to the base of my card to be the "bridge" of the card.


I assembled the Magi images using various colours of cardstock and attached them to the "bridge"

I added a gold foiled sentiment under the Magi using a sentiment from Spellbinders Merry & Bright Sentiment Strip Betterpress Plate.

To finish off the front of the card, I die cut the stars included in the set twice from gold mirror cardstock and adhered them to the card.


I added a white panel to the back of my card, adhering more stars to the top of the panel. I then added a stamped sentiment from the coordinating stamp set to the panel.


Thursday, January 4, 2024

Hooray It's Your Day


Hi Crafty Friends,

Back in October, I shared a Trellis Style Bridge Fold Card using a tutorial from Sam Calcott, which you can find here. For my card today, I basically CASED the card, just changing up the theme, colours and images.


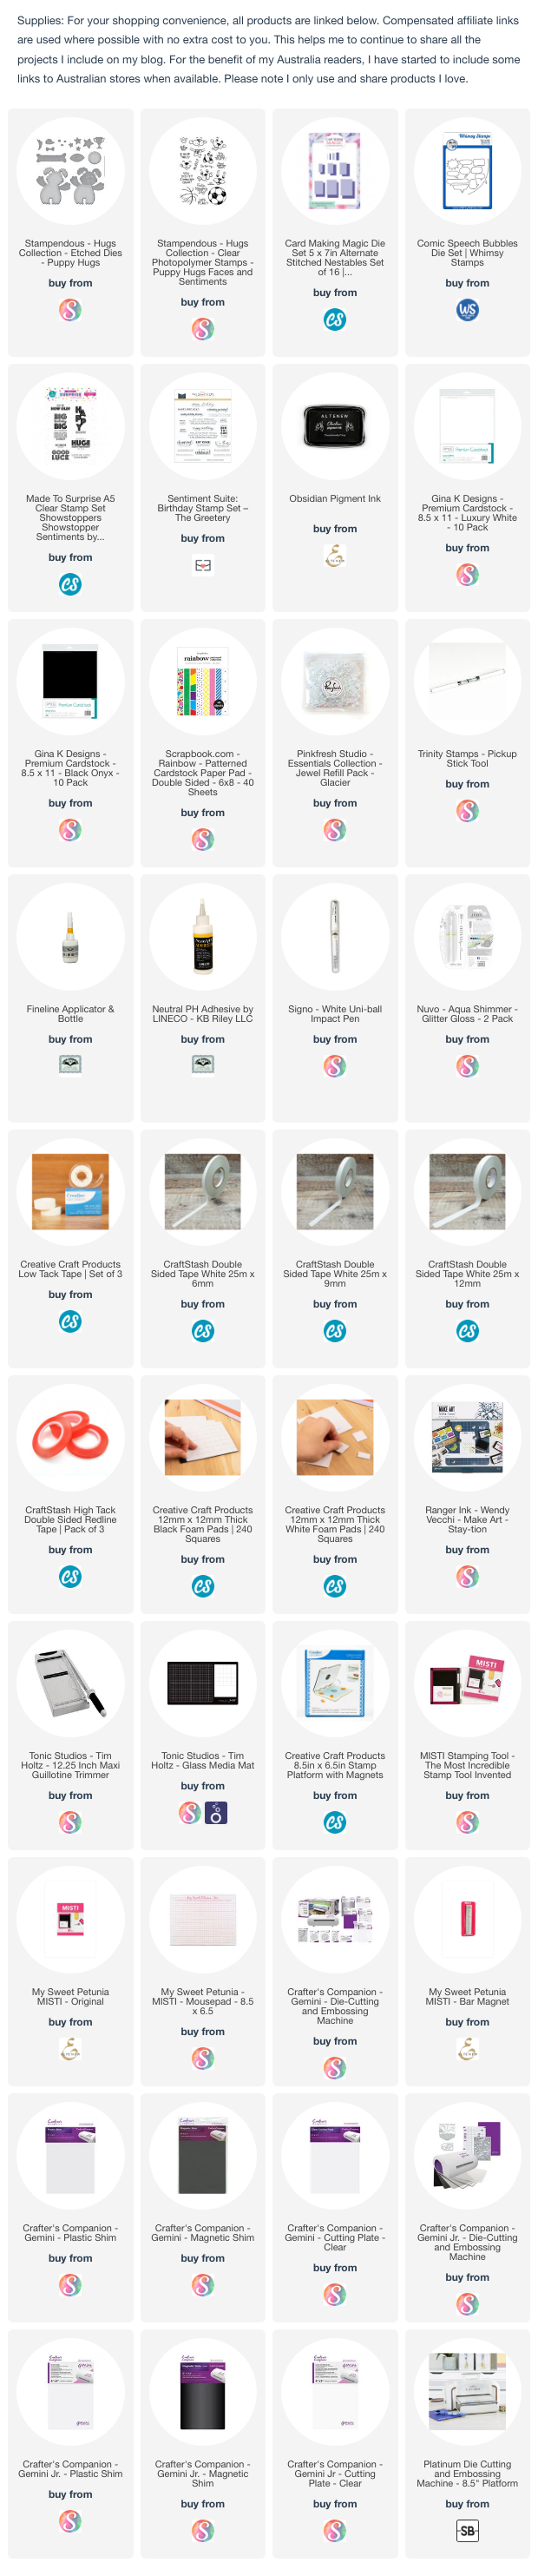
To decorate my card, I used the Spellbinders/Stampendous Puppy Hugs die set. This die set included the puppy image as well as the all the various balls. There is also a coordinating stamp set, which I used to stamp the detail on a couple of the balls.

I added the sentiment using one of the sentiments included in The Greenery's Sentiment Suite: Birthday stamp set. I die cut the sentiment using a speech bubble die. I die cut the speech bubble from white and blue cardstock, offsetting the two together so I had a red shadow under the white speech bubble.

To finish off the front of the card I added some blue stars and then embellished each of the stars using some jewels from Pinkfresh Studio.

I mounted the panel to a top folding white 5 x 7 card.


For the inside of the card I added a sentiment using a stamp set from Made To Surprise. I also added a few more of the stars and the trophy which are included in the die set.


The card folds flat, so that it will fit inside a 5 x 7 envelope.


Tuesday, October 10, 2023

Santa I Can Explain


Hi Crafty Friends,

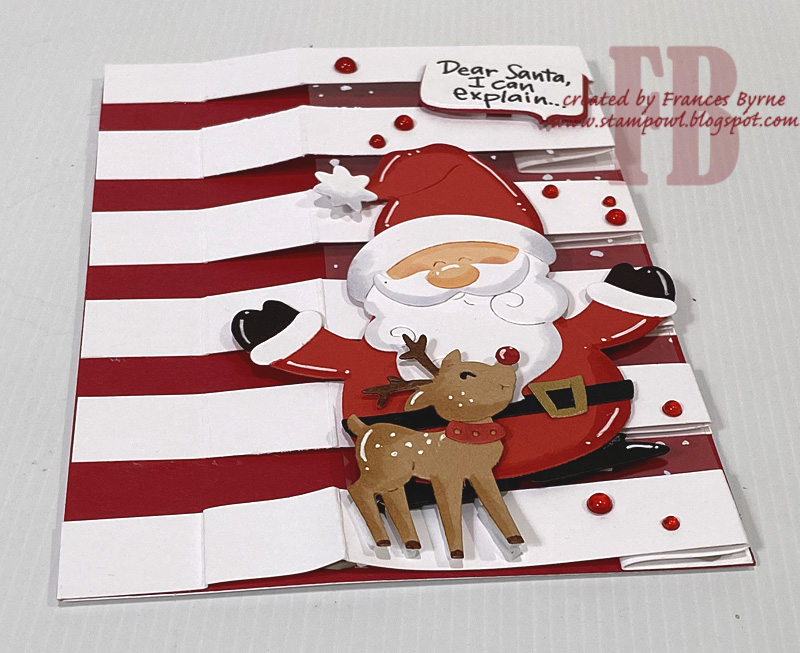
Today I am sharing a Christmas themed Trellis Style Bridge Fold Card I created recently.

Sam Calcott shared a tutorial for this style of card back in September, as it looked like a fun style of card, I decided to give it a go. You can see her tutorial here


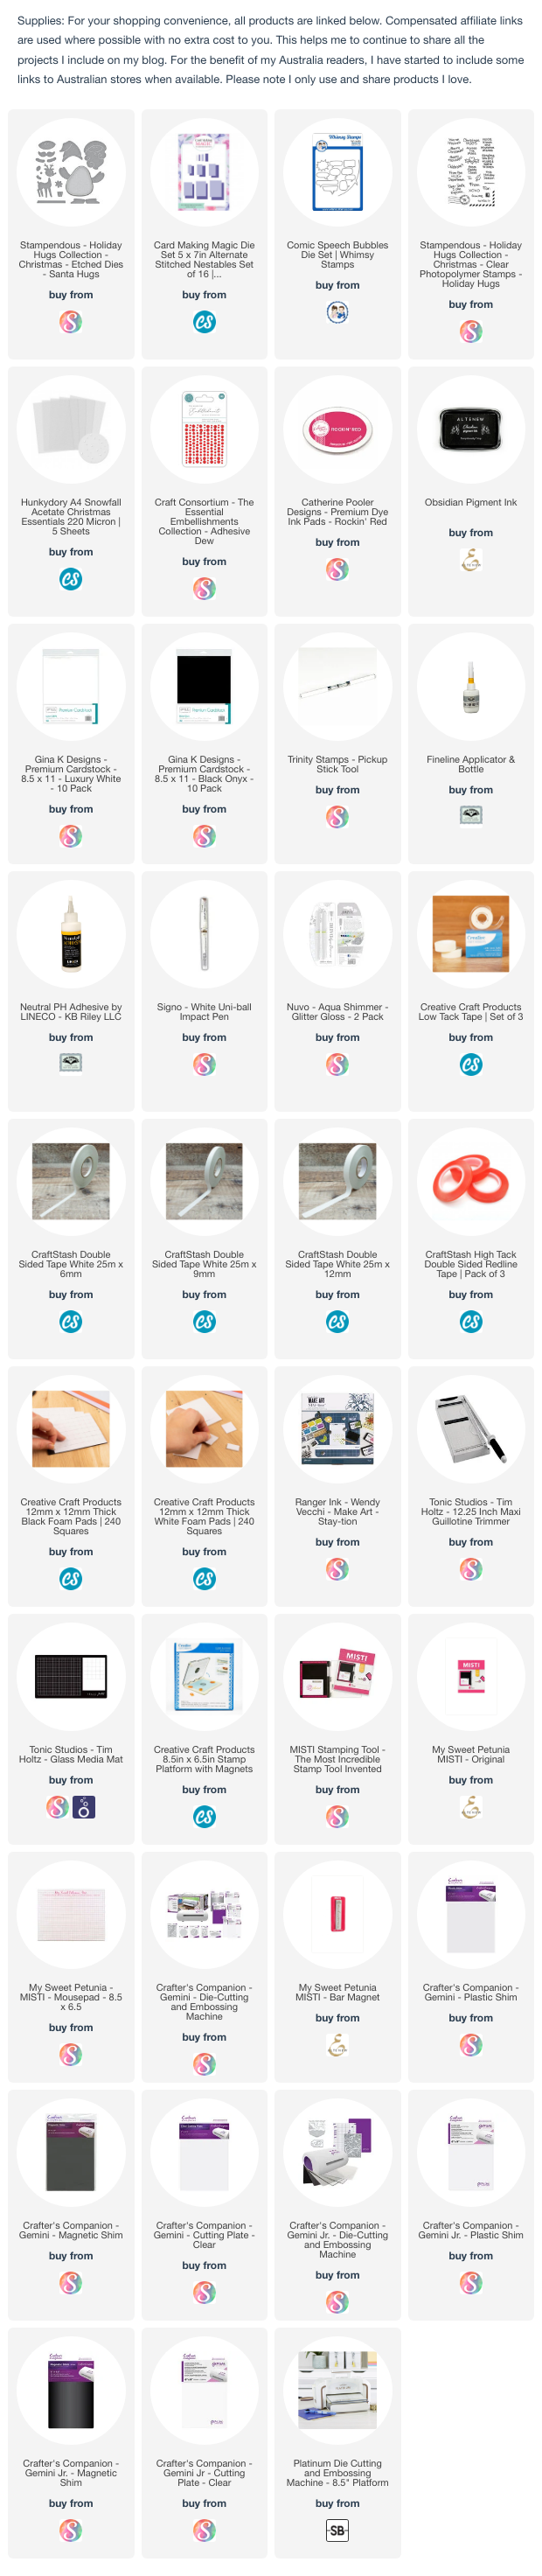
To decorate my card, I used the new Spellbinders/Stampendous Santa Hugs die set. This die set included the Santa image as well as the cute little reindeer.

I added the sentiment which is from the Holiday Hugs Sentiments stamp set. I die cut the sentiment using a speech bubble die. I die cut the speech bubble from white and red cardstock, offsetting the two together so I had a red shadow under the white speech bubble.

To finish off the front of the card I added some red dew drops.

I mounted the panel to a top folding white 5 x 7 card.


For the inside of the card I added a sentiment and the Santa image which are both from an Apple Blossom stamp set.  


The card folds flat, so that it will fit inside a 5 x 7 envelope.

Other Supplies:
  • Festive Globes Stamp Set - Apple Blossom


Thursday, April 8, 2021

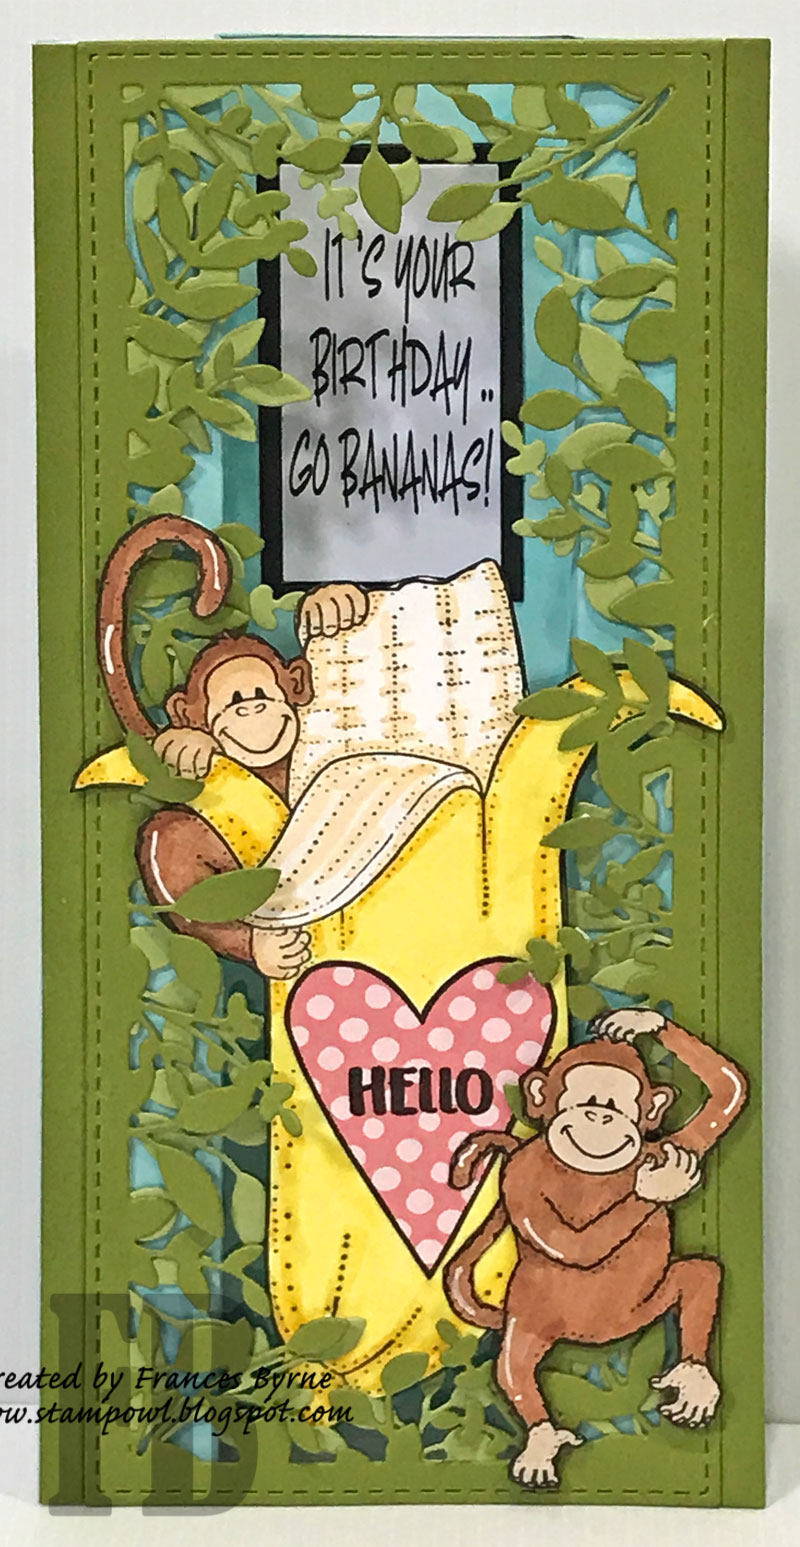
Go Bananas


Hi Crafty Friends,

It's challenge time with my friends over on the CCEE Stampers challenge blog.  As challenge hostess for the month, I continue to issue the challenges.

Apparently today is Zoo Lovers Day. Create a card that includes at least one animal you might find in a zoo.


Recently I have been revisiting some older Darcie Country Folk stamps from about 15 or 20 years ago. 

For my card today I pulled out two other stamps to create a Slimline Bridge Card. This card measures 4 inches x8 1/2 inches. To create the Slimline Bridge base I started with a piece of cardstock measuring 5 1/2 inches x 8 1/2 inches. I then scored along the 5 1/2 inch side at 1 inches; 1 3/4 inches; 3 3/4 inches; 4 1/2 inches.

To decorate the top of the bridge card, I used Trinity Stamps Slimline Foliage Frame die. I die cut the die twice from two different shades of green cardstock, I then turned one of the panels so it was the opposite of the other and glued the outer frame on top of each other. As the frame is 3 1/2 inches and the Slimline Bridge card is 4 inches. I cut two of the strips from Trinity Stamps Slimline Stitched Strips dies to get a green strip and added this to each side, with a thing piece of cardstock underneath so I could adhered them beside the panel. 

I added a piece of acetate to the bottom portion of the card so that I had a place to adhere the large banana/monkey. For the banana I stamped the heart portion of the stamp to a piece of patterned paper, cut this out and paper pieced over the heart area. I added a sentiment to the top of the heart.I added the other monkey to the bottom right hand corner of the card.


I have many monkey themed sentiment stamps in my stash, but as the panel in the centre where the sentiment is attached is fairly thin, so I computer generated my sentiments, I used rectangle dies to die cut the sentiments and adhered them to the blue sentiment portion of the card so that the sentiment can be seen through the open portion of the frame.


For the back of my card, I die cut another of the Slimline Foliage Frames. I trimmed the die cut so I only had the long sides of the frame and adhered them to each edge of the card.

I cut a thin white panel for the centre portion of the card, to this I added another of the monkey that I used on the front of the card.

I computer generated another sentiment and adhered it to the top of the panel.

Don't forget to check out the CCEE Stampers blog (goes live 12 AM EST) to see the rest of the creations the CCEE Stampers created this week. You can also see more details of their creations on their individual blogs:


Other Supplies:
Tall Banana with Monkey Stamp - Darcie Country Folk (discontinued)
Monkey - Darcie Country Folk (discontinued)
Celebrate Sentiments Stamp Set -  Tonic Studios


Saturday, October 10, 2020

Oh So Merry


Hi Crafty Friends,

It’s challenge time with the “Crazies” over on the Crazy 4 Challenges blog. Rebecca Ednie our challenge hostess for the month, continues to issue the challenges.
Our challenge this week is to create a Bridge card. 

As I am still enjoying creating Slimline cards when I can, I decided to create a Slimline Bridge Card for the challenge today.


To create my card, I started out with a piece of red cardstock that measures 4 inches x 9 inches. I then scored this panel at 1 1/4 inches & 2 1/4 inches on either end of the card.

The bridge panel at the bottom of the card is 9 inches long. This completed this creates a Slimline Bridge card that is 4 inches x 9 inches.


To decorate my card I used Mama Elephant's Gingerbread Cookies stamp set. I placed all the gingerbread cookies, the milk bottle and note to Santa on the bridge panel at the bottom of the card.

On the back panel I added the Oh So Merry sentiment which is a die included in Mama Elephant's The Penguin Waddle die set. This was layered onto an elongated oval using Spellbinders Mega Ovals & Mega Scallop Ovals which are two older die sets in my stash.


The Slimline Bridge Card fold down flat and will fit into a #4 Envelope.


On the back of the card I added a panel of white cardstock. I placed a piece of leftover patterned paper to the left side of the panel. 

I added the milk bottle and three gingerbread men to the lower right hand side of the panel.

I added a Christmas sentiment to the top left corner of the panel.

This is a good place to write a personal greeting for the recipient of the card.


Don't forget to check out the rest of the “Crazies” cards over on the Crazy 4 Challenges blog and also their individual blogs for more details.


Supplies:
For your shopping convenience, all products are linked below. Compensated affiliate links are used where possible with no extra cost to you. This helps me to continue to share all the projects I include on my blog. For the benefit of my Australia readers, I have started to include some links to Australian stores when available. Please note I only use and share products I love.

Mega Ovals - Spellbinders (retired)
Mega Scalloped Ovals - Spellbinders (retired)
Christmas Sentiment - Kaisercraft (retired)


Saturday, September 12, 2020

Unicorns and Rainbows


Hi Crafty Friends,

It’s challenge time with the “Crazies” over on the Crazy 4 Challenges blog. As challenge hostess for the month, I continue to issue the challenges.

Continuing the "S" theme we have this month, our challenge is all about .... 
Stripes - create a card that includes stripes! Create your own striped background by using paper/card scrap strips; striped stamps or patterned paper.


A few weeks ago I created a Slimline Bridge card in landscape style, today I have created one in portrait style. This card measures 4 inches x 9 inches. To create the Slimline Bridge base I started with a piece of cardstock measuring 5 1/2 inches x 9 inches. I then scored along the 5 1/2 inch side at 1 inches; 1 3/4 inches; 3 3/4 inches; 4 1/2 inches.


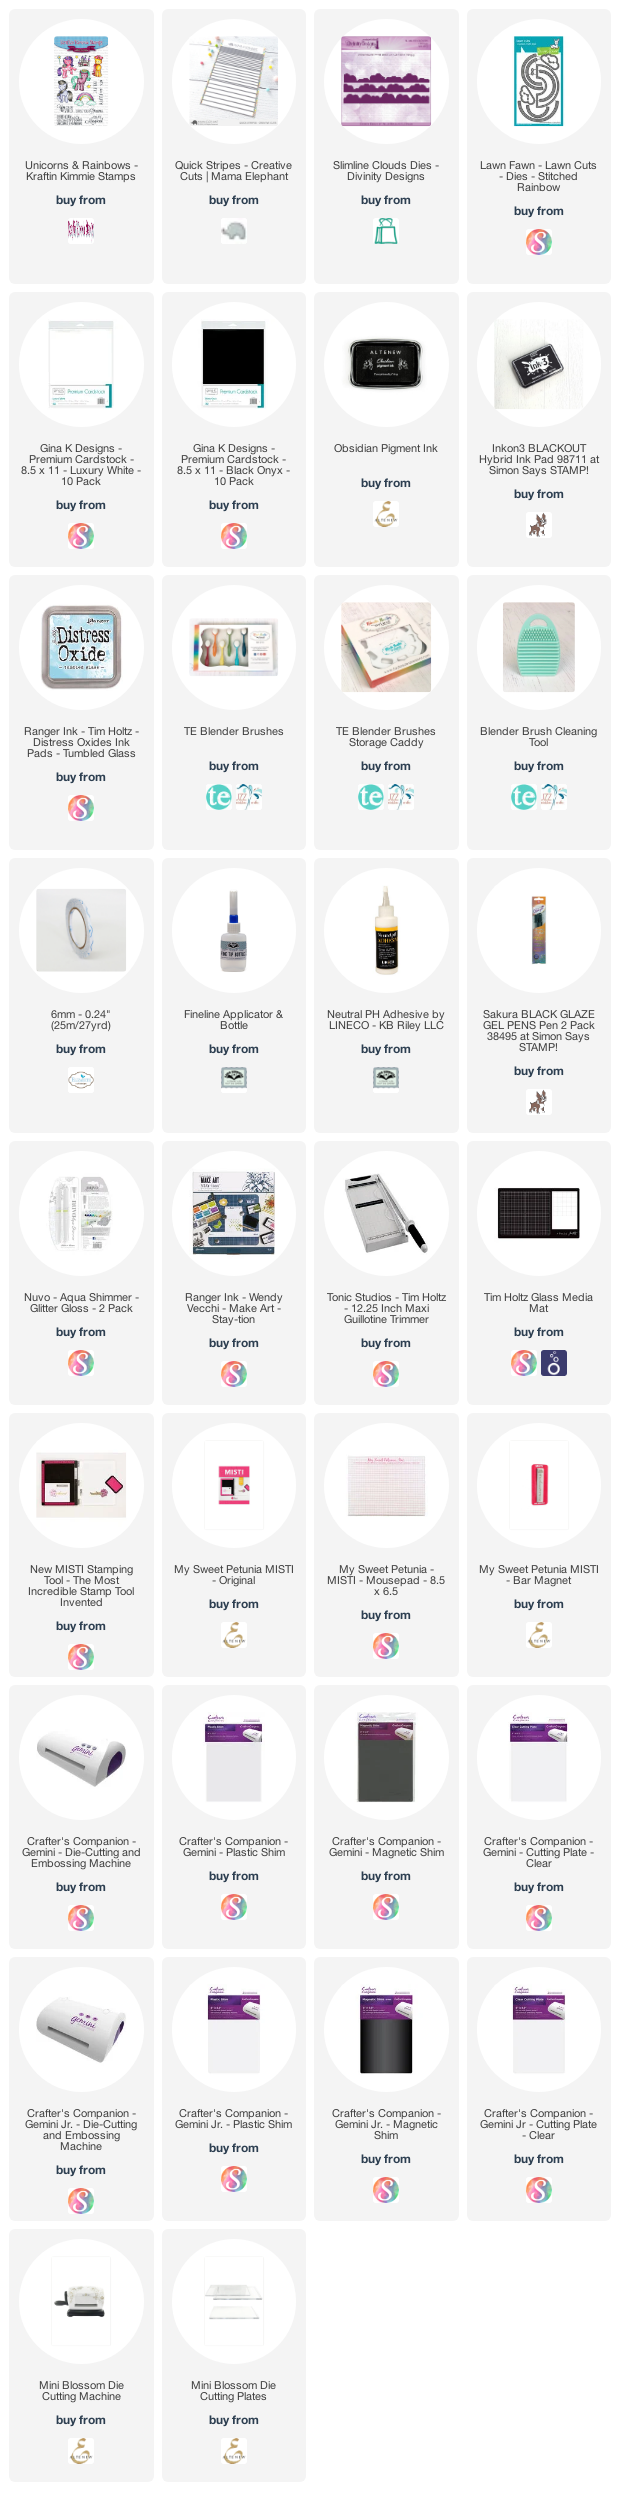
I used Mama Elephant's Quick Stripes die set to create the stripes used on the background of my card. I had previous die cut cardstock in the colors of the rainbow and I still had enough left to make my background for this card and possibly for something else in the future. After creating my rainbow background, I cut it down to the size needed for each of the layered panels.

I used Divinity Designs Slimline Clouds die set, die cutting each of the three dies included from the set from white cardstock. I blended some blue ink along the scalloped edges of all the clouds. I layered the 3 clouds together and then adhered it to the bottom of the Slimline Bridge card.


I used the clouds included in Lawn Fawn's Stitched Rainbows die set to add the single clouds to the top portion of the card.

To decorate the card I used the unicorns, castle & sentiments from Kraftin' Kimmie Stamps Unicorns & Rainbows stamp set.

It's hard to see in the photos, but once the card was all decorated I added shimmer along the edges of all the clouds and added some translucent star sequins over the clouds. In real life the stars have a hint of pink & blue all over the clouds, adding a little sparkle.


I had a small amount of rainbow background left over that I used on the front of the card, so I trimmed that down to use some on the back panel. I added a single cloud, unicorn and sentiment.

Don't forget to check out the rest of the “Crazies” cards over on the Crazy 4 Challenges blog and also their individual blogs for more details.


Supplies:
For your shopping convenience, all products are linked below. Compensated affiliate links are used where possible with no extra cost to you. This helps me to continue to share all the projects I include on my blog. For the benefit of my Australia readers, I have started to include some links to Australian stores when available. Please note I only use and share products I love.


Tuesday, August 18, 2020

Life Is Better at the Beach


Hi Crafty Friends,

Today I am sharing another Slimline card that I created yesterday. It may be hard to see  in the photo above, but this card is 3D and is a Slimline Bridge card.

A couple of days ago, Jennifer McGuire posted a video which was all about more ideas for creating Bridge Cards. I have made a fair number of Bridge Cards in the past, but I hadn't thought about making one Slimline size which is two of the ideas Jennifer shared in her video ... one landscape style and one portrait style. Of course I loved the idea so set to work to make one. You can see Jennifer's video tutorial here.

Just like making a normal slimline card, having the extra length works well when you are creating scenes, which is one of the reasons I am enjoying making slimline cards.


To create the Slimline Bridge card, I cut a piece of blue cardstock to 4 inches x 11 inches and then scored on each side at 1 1/4 inches and 2 1/4 inches. I used a cloud stencil and white pigment ink to add clouds to the background.

I use Lawn Fawn's Slimline Stitched Hillside Border to create the ocean and the sand . The ocean uses the wavy border dies which I die cut from a bright blue cardstock and sponged along the top of the waves using white ink. The sand I die cut three panels of white stock which were just over 9 inches long and used the other two border dies in the set. I then applied color to the panels using Antique Linen and Gathered Twigs Distress Oxide inks. Once I have blended the color, I then flicked on Gathered Twigs Distress Oxide ink to add texture to the panels. I used these sand panels to add one to the inside portion of the card which I trimmed to fit at the back and sides of the card. I then used the other two sand panels to bridge the front of the card.


I used Honey Bee Stamps Hello Summer stamp set to stamp the umbrella, chairs and other beach stuff which is decorating the card.

For the trees and birds I used the Beach House Add-On die set.


My Slimline Bridge card folds flat to measure 4 inches x 9 inches and will fit inside a #10 envelope.


I always like to decorate the back of my Bridge cards, it's a great place to add extra sentiments and write a hand written greeting.

I added the large "beach" sentiment from the Hello Summer stamp set and repeated a few of the elements that I used on the front of the card.

Supplies:
For your shopping convenience, all products are linked below. Compensated affiliate links are used where possible with no extra cost to you. This helps me to continue to share all the projects I include on my blog. For the benefit of my Australia readers, I have started to include some links to Australian stores when available. Please note I only use and share products I love.


Monday, May 4, 2020

Space-tacular Birthday


Hi Crafty Friends,

Today is May the 4th ... which means it is Star Wars Day and also International Space Day .... May the 4th Be With You! To celebrate the day I decided to create a space themed card.

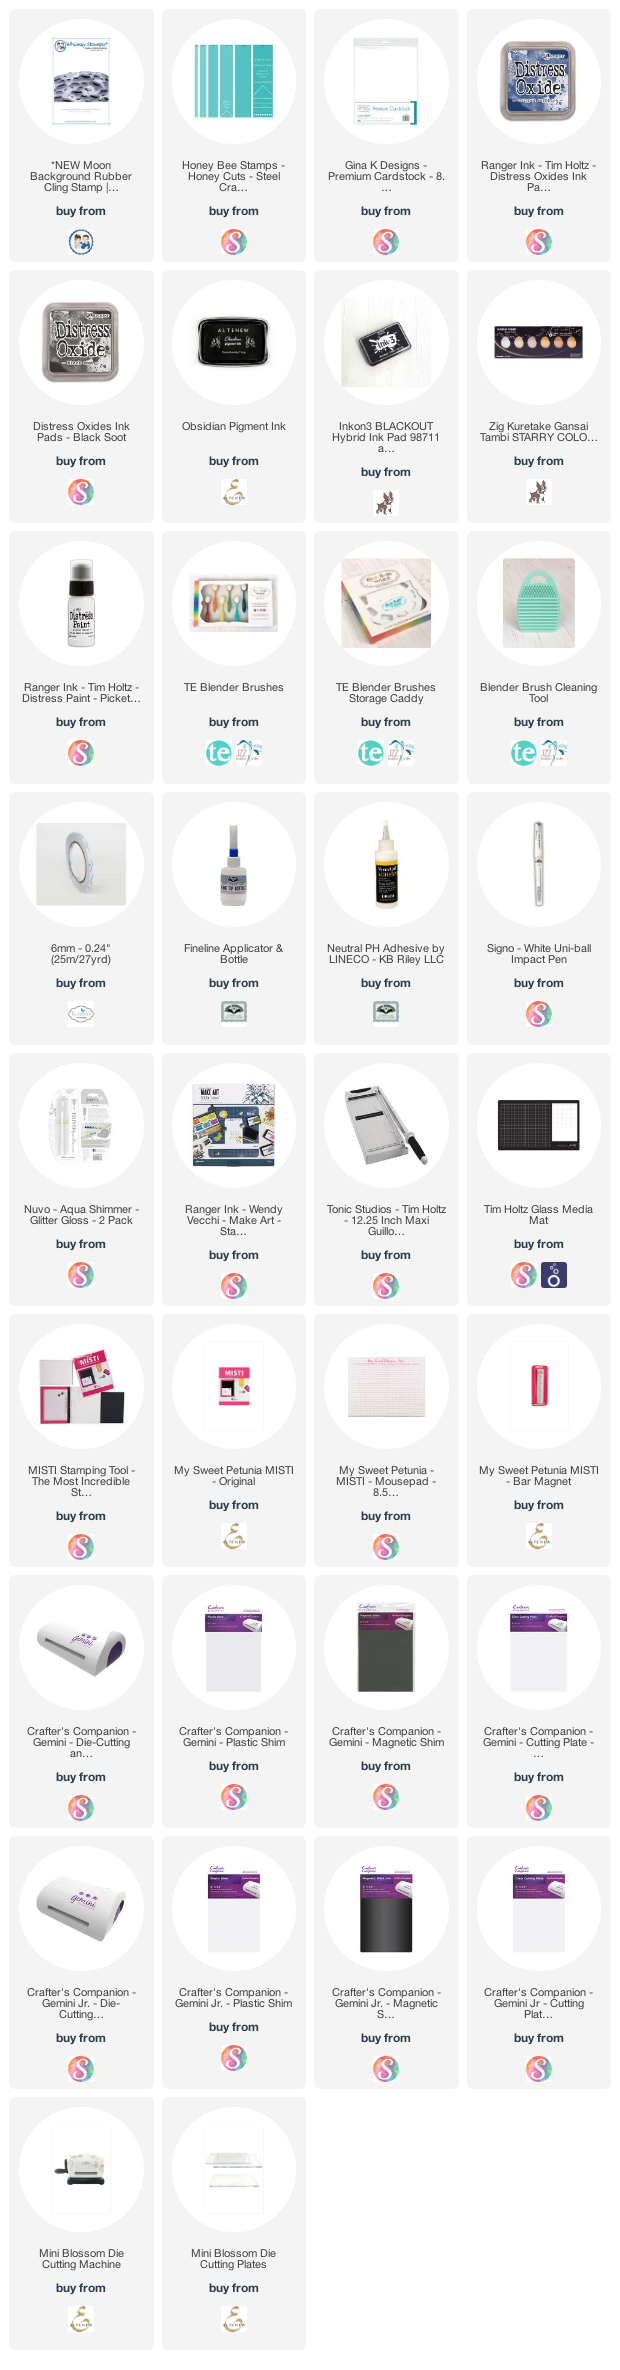
I created a U Fold or Bridge Card. For the background I used blue cardstock and then blended on Chipped Sapphire & Black Soot Distress Oxide inks. I then splattered on white & gold paints to create a starry background.


I used Whimsy Stamps Moon Background for the base of my card.


I decorated the card using Craftin Desert Divas Far Out stamp set. The sentiment is also included this this set.


I added a white panel to the back of my card for another sentiment and a couple more images from the Far Out stamp set.


Supplies:
For your shopping convenience, all products are linked below. Compensated affiliate links are used where possible with no extra cost to you. This helps me to continue to share all the projects I include on my blog. For the benefit of my Australia readers, I have started to include some links to Australian stores when available. Please note I only use and share products I love.

Far Out Stamp Set - Craftin Desert Divas (no longer in business)