Showing posts with label Fairies. Show all posts

Thursday, November 16, 2023

Fairy Wishes


Hi Crafty Friends,

For my card today, I am sharing a 5 x 7 inch Fairy themed card using an Edger die from Creative Expressions.

This edger die is called Fairy Door Edge. I die cut it from black cardstock and then layered it onto rainbow paper before adhering to a 5 x 7 white top folding card base.

For the sentiment I used a fairy themed sentiment from a Hero Arts My Monthly Hero December 2018 set.


For the inside of my card, I added another fairy themed sentiment this time from Scrappy Tails Craft.

I added two fairies to my card, which are the negative piece that comes when you did cut the edger die. The one on the right side I flipped, so that she would face the opposite direction. I. die cut the wings so I could add them to the fairies.


Monday, January 9, 2023

Wishes Come True


Hi Crafty Friends,

Thanks for dropping by my blog. Today I am sharing a fairy themed birthday card I created recently.

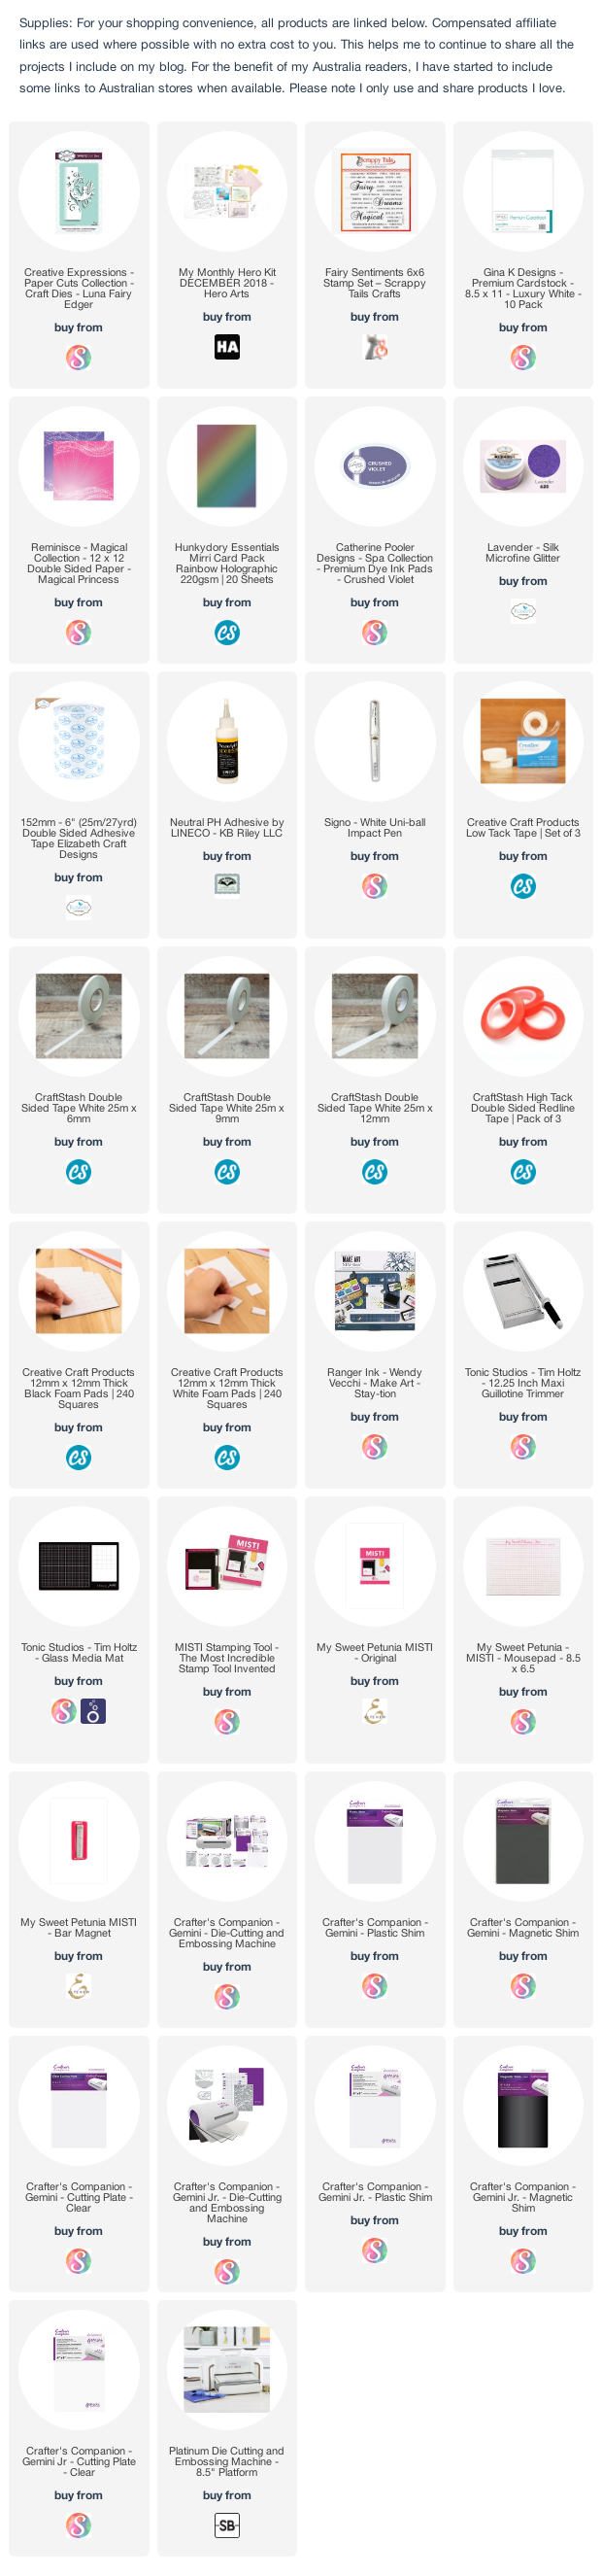
This card uses Creative Expressions Lunar Fairy Edger die set. I die cut the fairy onto the front of a side folding white card base, keeping the fairy close to the 5 inch side. I also die cut the fairy again from holographic cardstock, layering the two together so you get a slight border of holographic cardstock showing underneath the image.

I layered the image to a panel of purple patterned paper. On the left side of my card, I layered a violet strip of glittered card and holographic card. 

The sentiment is from an older Hero Arts My Monthly Hero kit from December 2018.


For the inside of the card, I added another strip of glitter/holographic cardstock panels, this time to the right hand side of the card.

I added a "fairy" themed sentiment using a stamp set from Scrappy Tails.


Monday, July 4, 2022

Fairy Birthday Wishes

Hi Crafty Friends,

I have a fairy themed birthday card to share with you today.

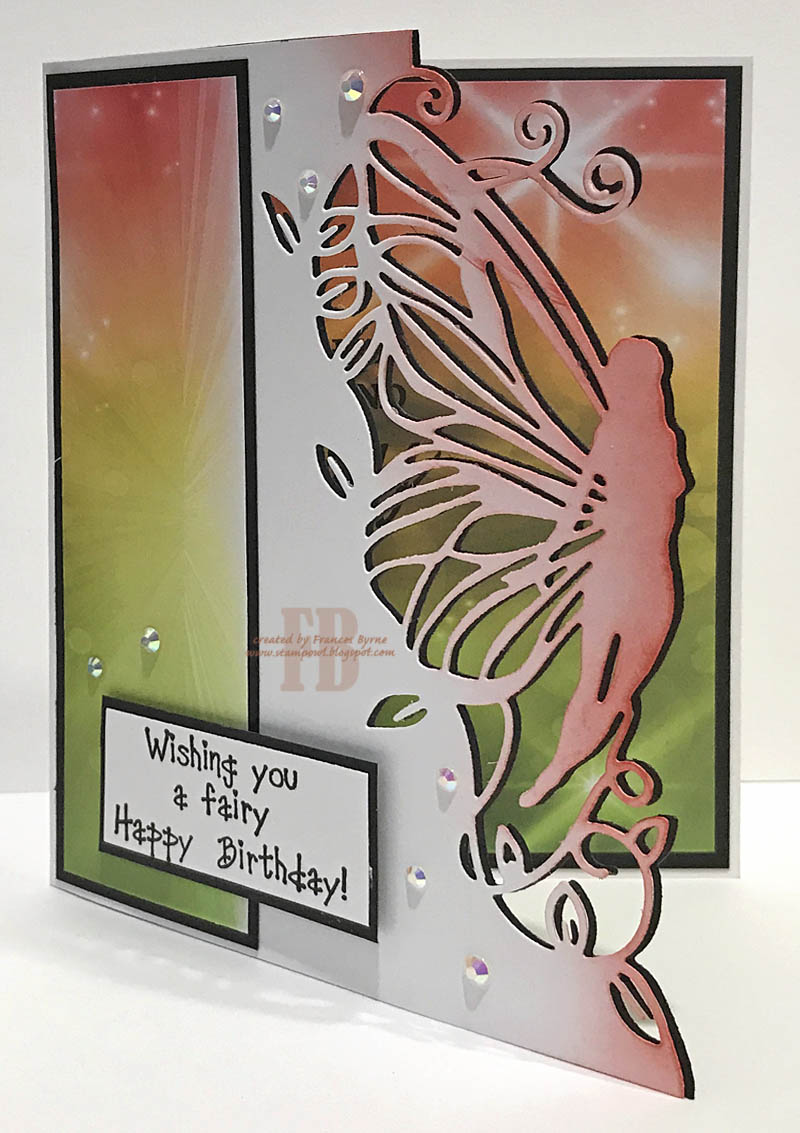
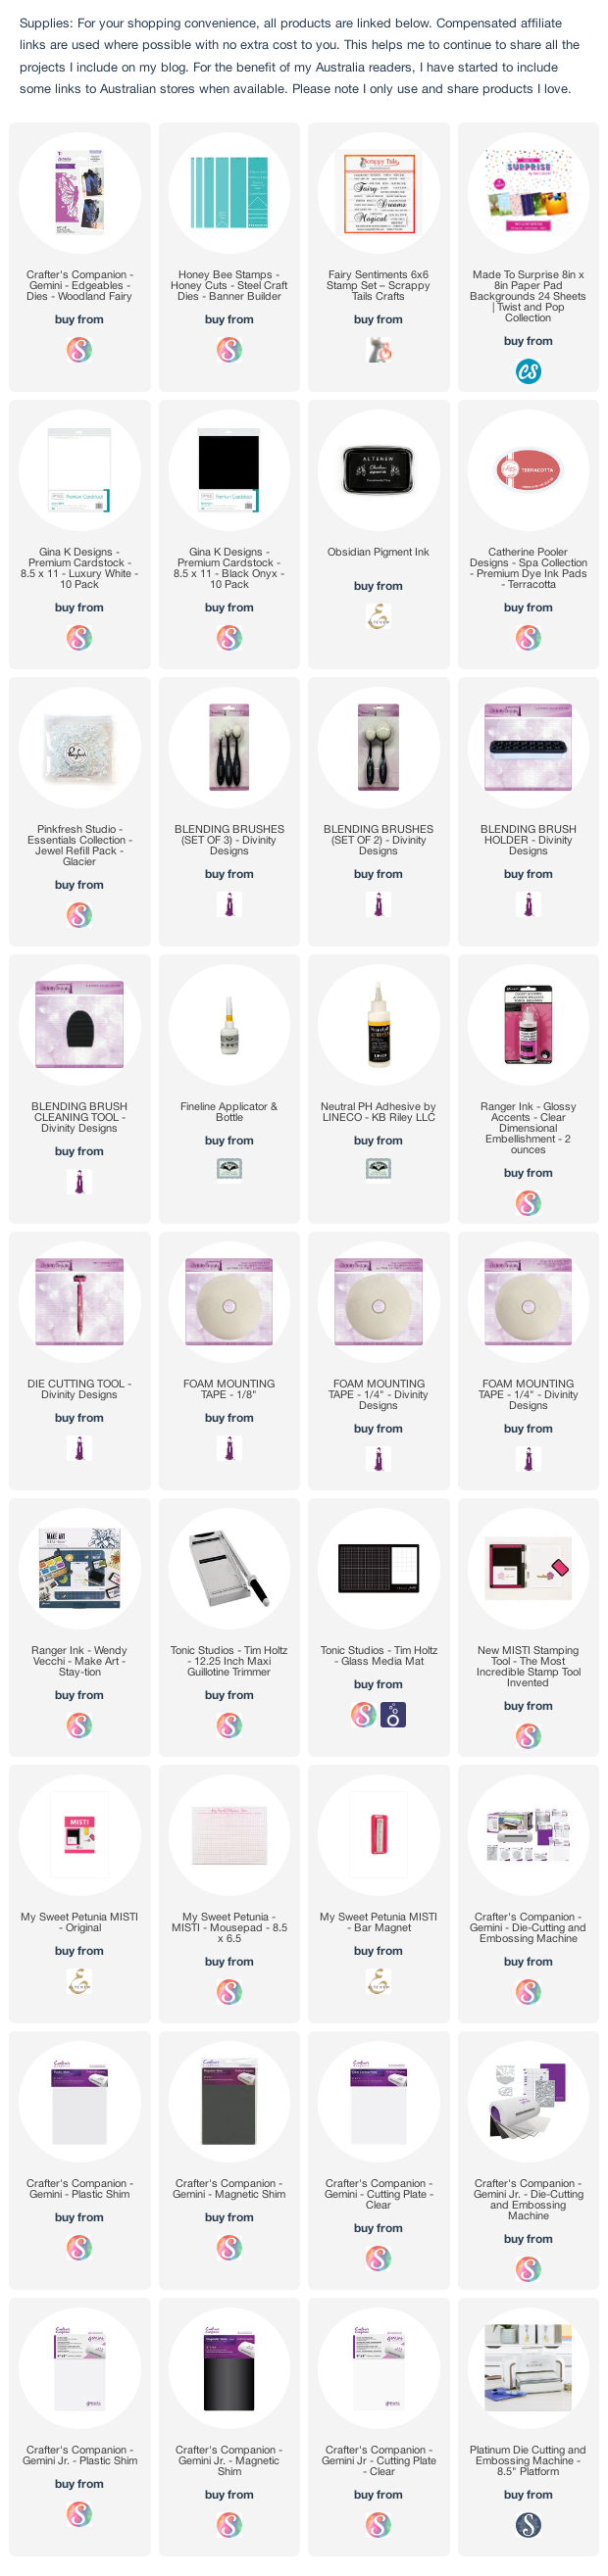
For my card I used Crafter's Companion's Woodland Fairy Edge'ables die. I die cut the fairy onto the edge of a white side folding card that measures 5 inches x 6 1/4 inches. I die cut the fairy again, this time from black cardstock and layered the black fairy panel under the white fairy, offsetting slightly to create a shadow.

I added patterned paper to the left edge of my card and also to the inside of my card.


I sponged Terracotta Catherine Pooler ink to the right edge of the fairy.

I pulled out an older Paper Pretties fairy stamp set for the birthday sentiment.

To finish off my card I added some glacier jewels around the card.


For the inside of my card, I added another fairy sentiment using stamps from Scrappy Tails Fairy Sentiments stamp set. The sentiment is stamped towards the left side of the card, so that it is hidden when the card is closed.


Other Supplies:
Fairy Special Stamp Set - Paper Pretties


Wednesday, February 9, 2022

Fairy Accordion Card


Hi Crafty Friends,

I have a fun fairy themed accordion card to share with you today.

I recently found some of the Creative Expressions Paper Cuts Collection Fairy Edger dies on sale. As I am loving this style of die, I had to add a few to my cart to include in my stash. All the recent cards I have made using the edger dies from this company, have been Slimline cards so I decided it was time to do something different this time around. While I was surfing the internet for ideas, I discovered a fun accordion fold card using this type of die. I decided upon a 2 Panel Accordion card, you can find a quick tutorial of how to create this card over on Jamie Rodgers blog

I didn't want mine to be as big as the one on his blog, so I adjusted the measurements to be 6 3/4 inches high x 8 3/4 inches, I scored the 8 3/4 inch side at 3/8 inch; 1 3/8 inch; 2 1/4 inch; 3 1/8  inch.


I used pink glitter cardstock to add the layers to each of the scored areas and also on the far right panel.

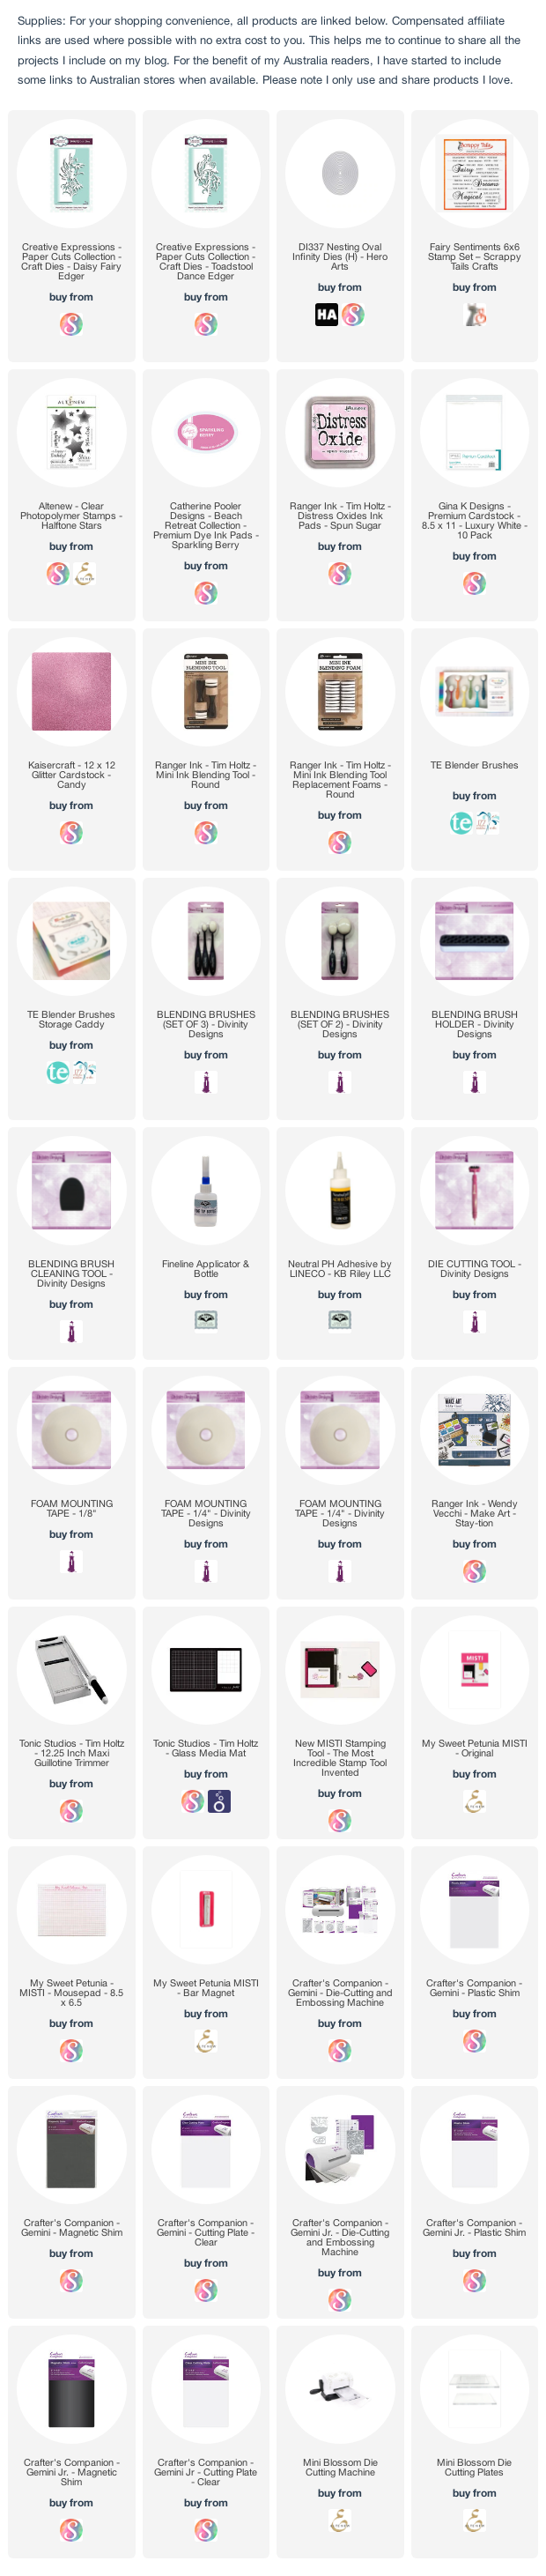
For the accordion panels I used Creative Expressions Paper Cuts Collection - Toadstool Dance Edger and Daisy Fairy Edger die sets, which I die cut from white cardstock.


For the sentiments, I pulled out Hero Arts My Monthly Hero Fairy stamp set from December 2018. I stamped each of the sentiments using Catherine Pooler Sparkling Berry.


I added stars around the sentiments using a star stamp from Altenew's Halftone Stars stamp set.


For the far right panel, I added a birthday sentiment using Scrappy Tails Crafts' Fairy Sentiments stamp set. I used oval dies from Hero Arts to create the oval layers.


Saturday, June 26, 2021

Fairy Good Friend

Hi Crafty Friends,

It’s challenge time with the “Crazies” over on the Crazy 4 Challenges blog. As challenge hostess for the month, I finish off the month with one last challenge.

Apparently Thursday 24th is Fairy Day, so for our challenge this week create a card that includes a fairy/fairies. 

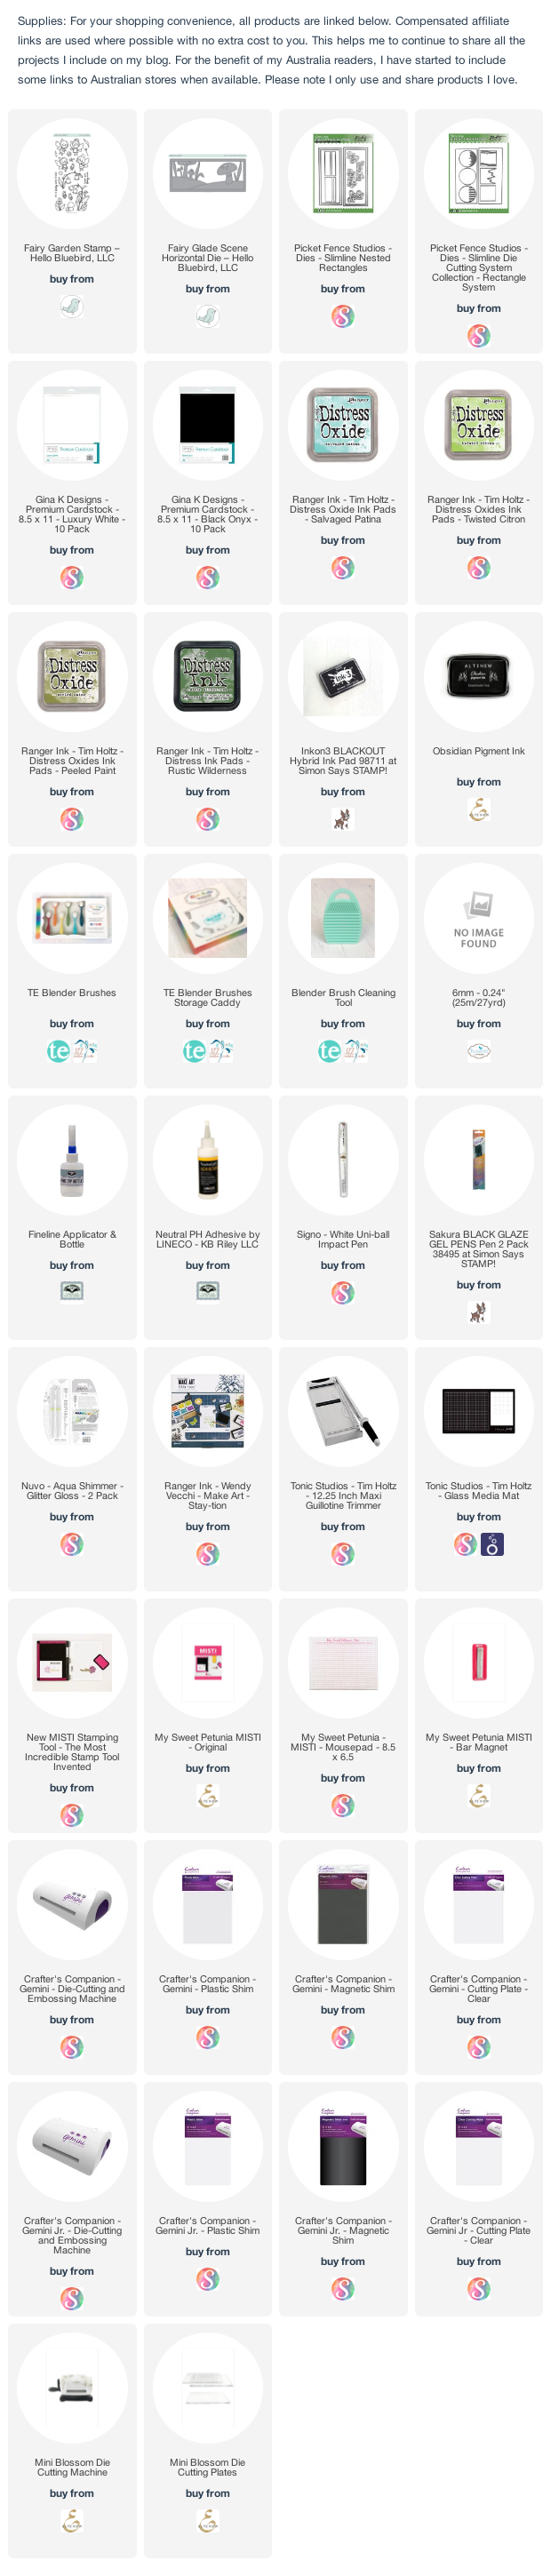
For my card today I pulled out Hello Bluebird's Fairy Glade Scene Horizontal Slimline die and the Fairy Garden Stamp set. I used the slimline die to die cut from white cardstock and then colored the various pieces using Distress Oxide inks and Copic markers.


For the inside of the card I used I used Slimline dies from Picket Fence Studios to create both the white and black layers of my card.

I used the Fairy Glade Scene Horizontal Slimline die again to die cut the grass and mushrooms, which I added to the white Slimline panel.  I also added another fairy from the Fairy Garden Stamp set.

I added a birthday sentiment using an older Paper Pretties Stamp set called "Fairy Special".

Don't forget to check out the rest of the “Crazies” cards over on the Crazy 4 Challenges blog and also their individual blogs for more details.


Thursday, October 22, 2020

Fairy Good Friend


Hi Crafty Friends,

t's challenge time with my friends over on the CCEE Stampers challenge blog.  As challenge hostess for the month I continue to issue the challenges.

Our challenge this week is ... More than 1 Fold - Create a card that has more than one fold… Gatefold, Z Fold Card, Easel card etc. 


I had thought about creating a different style of card for this challenge. However I finally received my Hello Bluebird stamps & dies that I ordered way back in August a few weeks ago. Ever since getting them, I have been busy with Design Team stuff or the challenges I had to do didn't work with my new stamps/dies. 

Fellow Design Team member Lois Bak recently shared a Portrait style Slimline Easel Card she created.  I have made a Slimline Easel Card before, but that was a landscape one, so as one of the Hello Bluebird dies I was wanting to play with was this Fairy Glade Scene Vertical die, I figured this was the perfect opportunity to use it.


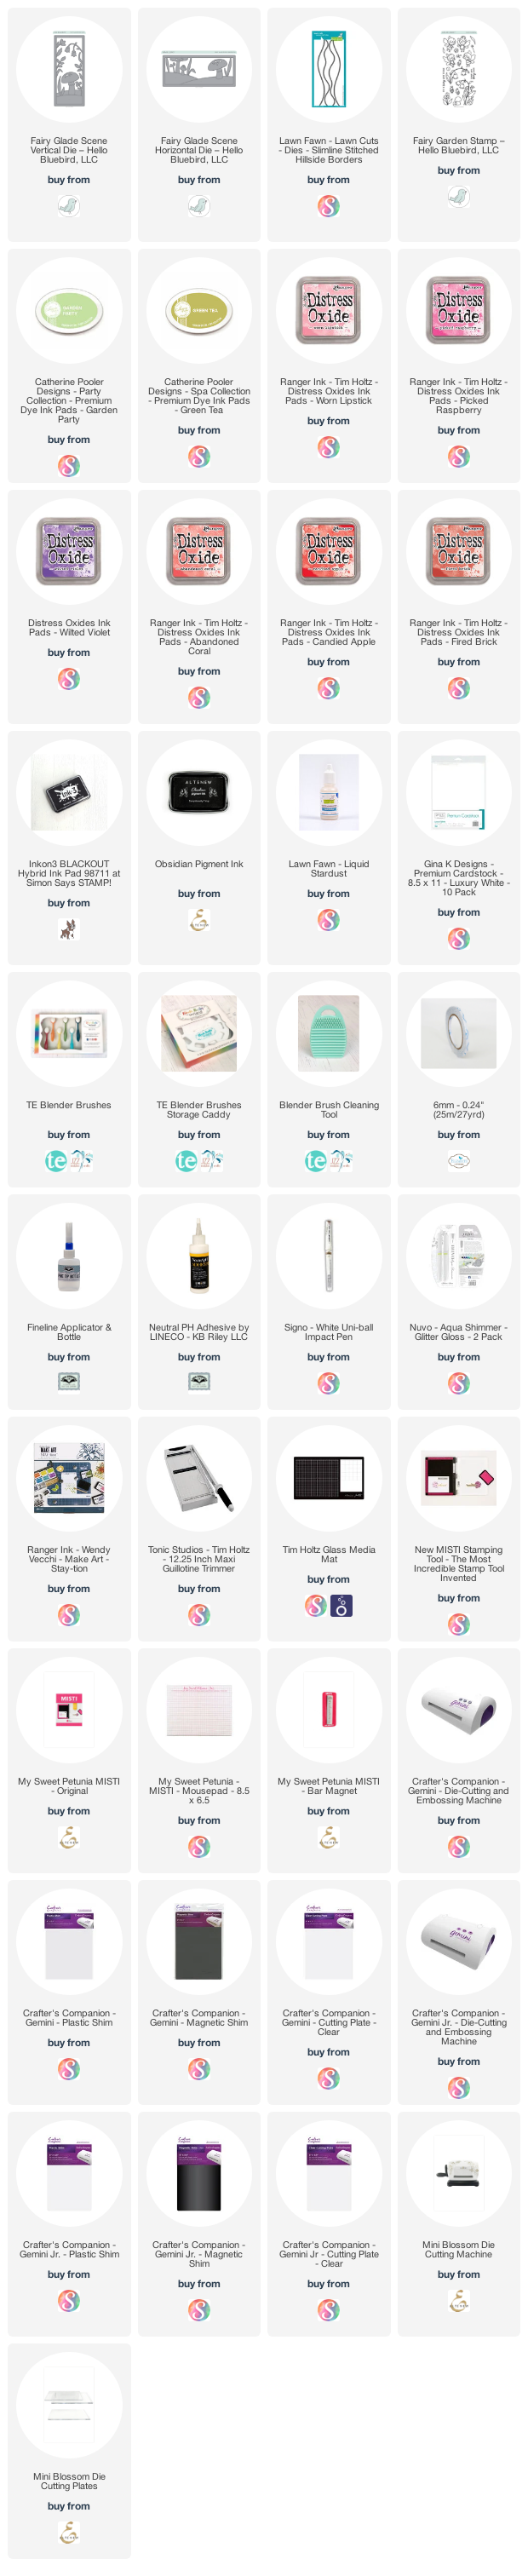
For the background of my card I created a colorful sky using Distress Oxide inks in Worn Lipstick; Picked Raspberry and Wilted Violet. I then splattered some Lawn Fawn Liquid Stardust all over the background to add a little magical shimmer.

This Slimline die is a little like a jigsaw puzzle, so it was easy enough to add color to all the pieces using a variety of inks and Copic Markers.

I decorated the card using Hello Bluebird's Fairy Garden stamp set.


I used the mushrooms from Hello Bluebird's Fairy Glade Scene Horizontal Die to add the mushrooms to the bottom panel of my card.

I added a fairy themed sentiment to the top portion of this panel.


Here is a look at my card when it is closed ready to be placed in an envelope.

Don't forget to check out the CCEE Stampers blog (goes live 12 AM EST) to see the rest of the creations the CCEE Stampers created this week. You can also see more details of their creations on their individual blogs:


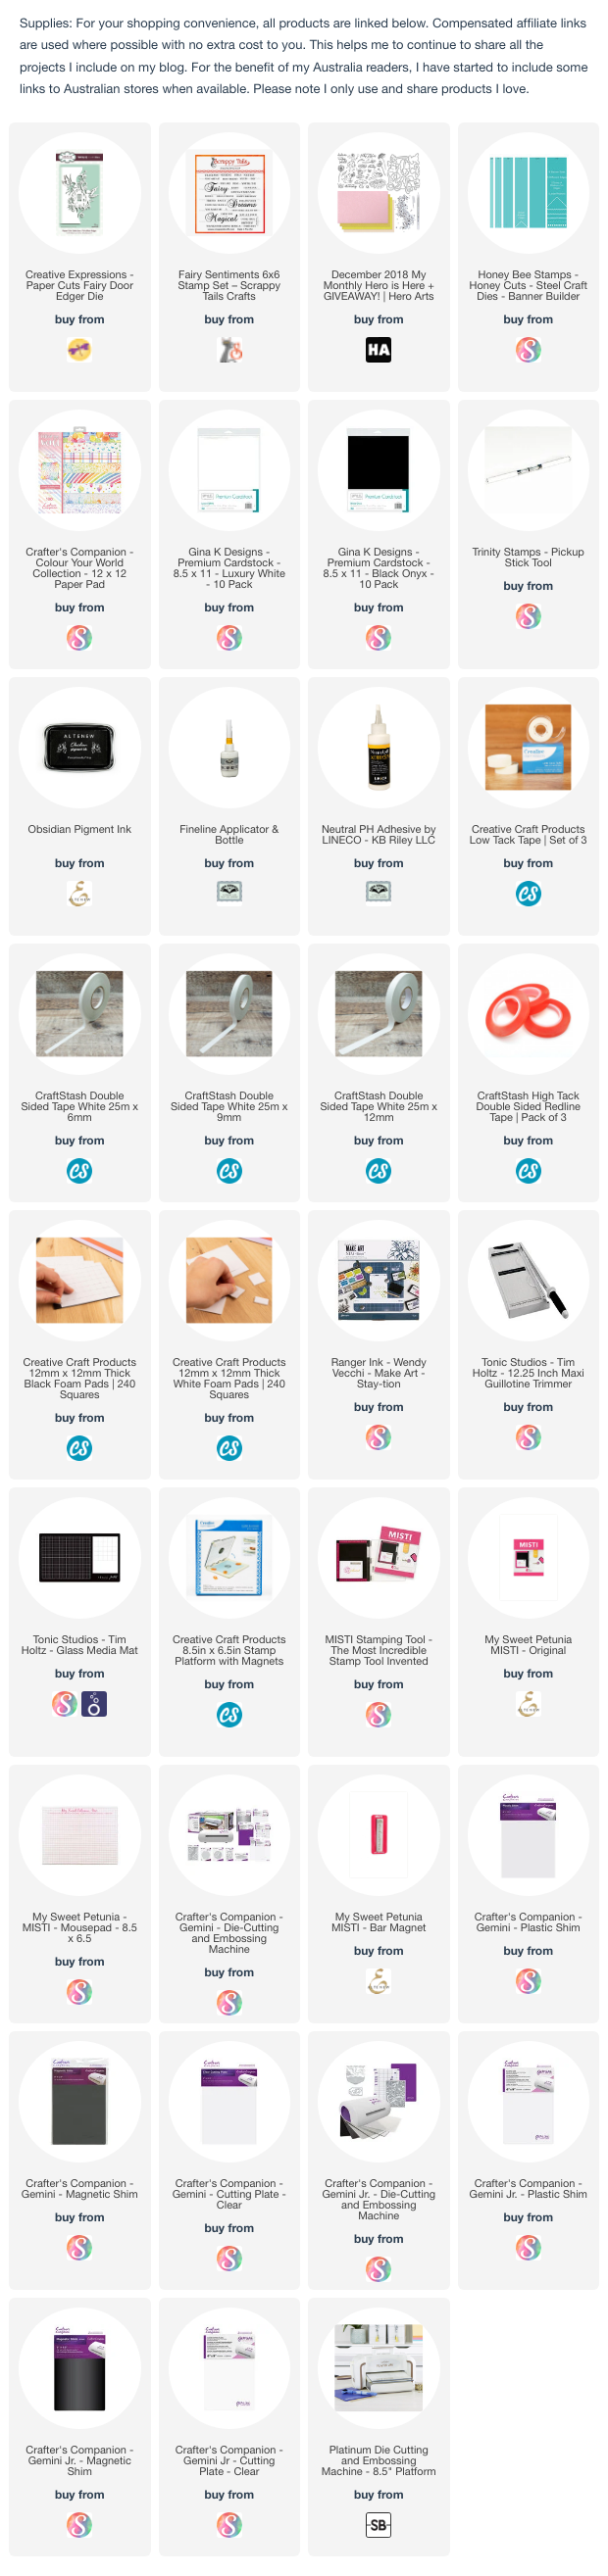
Supplies:
For your shopping convenience, all products are linked below. Compensated affiliate links are used where possible with no extra cost to you. This helps me to continue to share all the projects I include on my blog. For the benefit of my Australia readers, I have started to include some links to Australian stores when available. Please note I only use and share products I love.


Thursday, February 28, 2019

Fairy Magic Window Slide & Reveal Card


Hi Crafty Friends,

It's challenge time with my friends over on the CCEE Stampers challenge blog. Maryann Einam our challenge hostess for the month finishes off the month with one last challenge.

According to the days of the year calendar today is Tooth Fairy Day. For our challenge this week we are to create a card which includes a fairy.

Everyone who knows me knows how much I love interactive cards of any type. While wasting some time on Facebook recently I came across a die set to create a Magic Windows Slide & Reveal Card which was designed by Angela Poole in the UK. Of course I had to check it out and it landed in my cart! So that is what I have used for my card today.


Here is a quick video to see my card in action.


For this style of card by sliding the tab the picture that is showing on the card dissolves and is replaced by another picture. Here you can see my card is halfway though the changing of the photo so you can see part of both pictures.


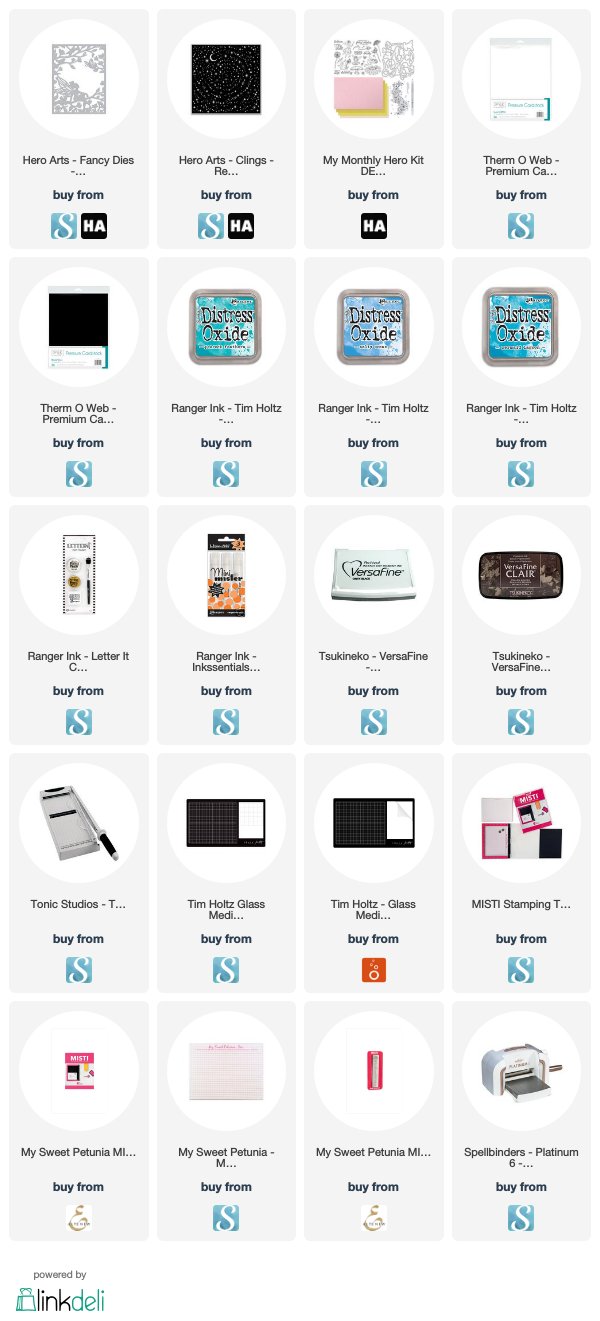
Back in December, Hero Arts monthly card kit was a fairy theme. Knowing that I had a fairy themed challenge coming up, I decided to subscribe to the kit which is what I have used here.

Each of the two fairy scenes were created on white circles and then adhered to their red card base before die cutting each of the scenes using the relevant die. The centre circle is needed in the design, so to enable me to create my scene without placing an image in the centre area, I die cut a circle from vellum and then used the small circle that also comes in the die set to draw a circle in the centre of the vellum circle. I then used my MISTI to hold each of my circles and overlay the vellum circle while working out the placement of each of the images before adding it to my scene. There is lots of masking to create both scenes.

Due to the size of the die used for the Magic Slide & Reveal Card, this card is fairy large. The finished size of my card is 17cm (6 5/8 inch) square.


For the inside of my card I added a sentiment, fairy and dandelions to the card.

Don't forget to check out the CCEE Stampers blog (goes live 12 AM EST) to see the rest of the creations the CCEE Stampers created this week. You can also see more details of their creations on their individual blogs:


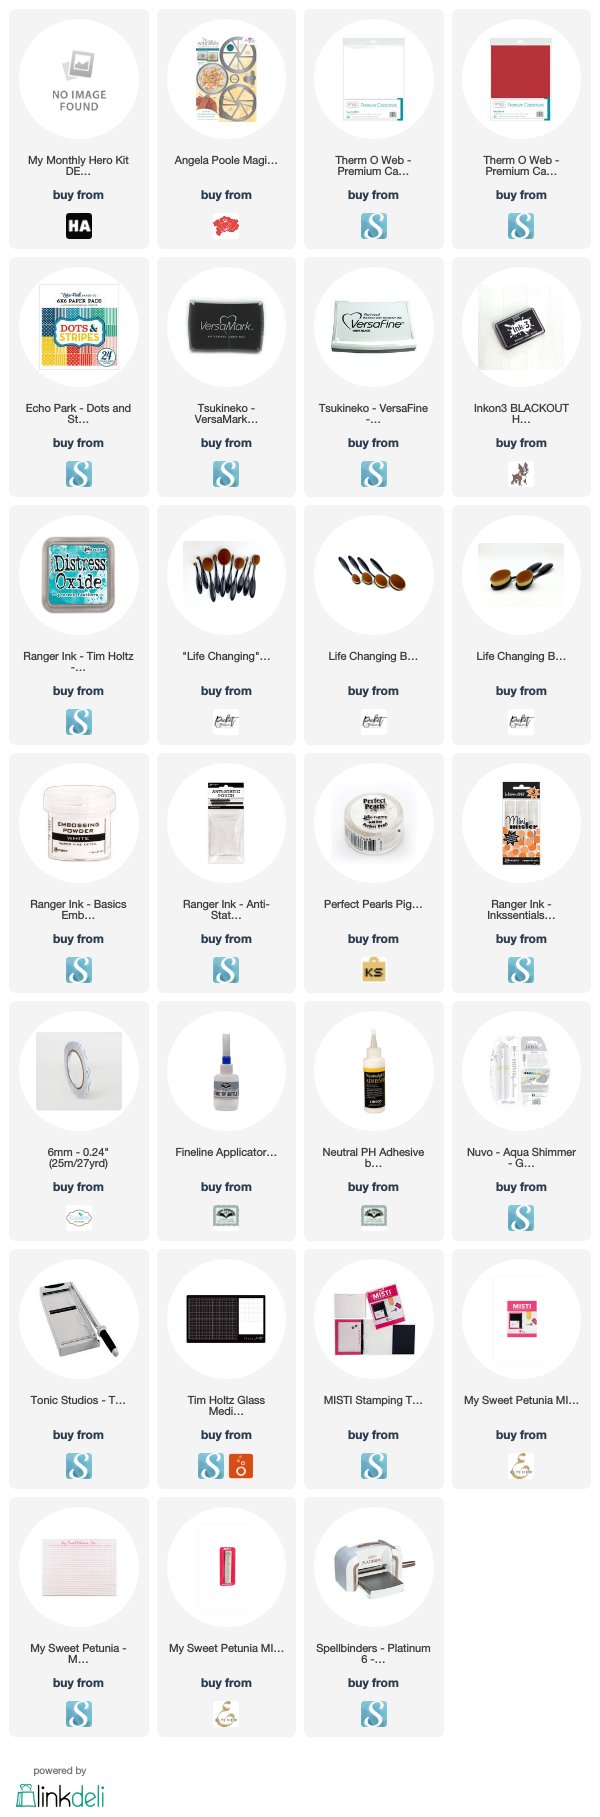
Supplies:
For your shopping convenience, all products are linked below. Compensated affiliate links are used where possible with no extra cost to you. This helps me to continue to share all the projects I include on my blog. Please note I only use and share products I love.


Wednesday, January 9, 2019

May All Your Wishes Come True


Hi Crafty Friends,

Last month Hero Art's My Monthly Hero card kit was fairy themed. Today I am sharing the first card I created using the stamps/dies I purchased ... this card uses the add on stamps/dies as well as the sentiments from the card kit.


For the background I inked up the Star Light Star Bright Bold Prints stamp with three different blues of Distress Oxide inks, inking and stamp about 2 or 3 times. I also sprayed some mist of Perfect Pearl spray over the background stamp before stamping so that the background has a beautiful shimmery look. 

I then used the Fairy Window die and die cut it from black cardstock and adhered it over the background panel. 

To finish off the front of the card, I stamped one of the sentiments from the December card kit.


For the inside of the card I used the Fairy Window die again, die cutting from black cardstock and trimming the lower section of the panel at the end of the fairies wing and the branch and adhered this to the lower section of the card.

I added another sentiment again from the December Card Kit stamp set above the fairy.

Supplies:
For your shopping convenience, all products are linked below. Compensated affiliate links are used where possible with no extra cost to you. This helps me to continue to share all the projects I include on my blog. Please note I only use and share products I love.


Saturday, June 23, 2018

Wishing You a Fairy ....


Hi Crafty Friends,

It’s challenge time with the “Crazies” over on the Crazy 4 Challenges blog. As challenge hostess for the month, I continue to issue the challenges.

Our challenge this week is .....
Ombre 
Definition - a french word meaning "shaded". Ombre is the gradual blending of one color hue to another, usually moving tints and shades from light to dark.

The ombre technique has become very popular in stamping over the past few years. Use this technique in some way when creating your card this week.

Here are a few links to YouTube videos for inspiration:
Ombre Stamping- Jennifer McGuire 
Easy Ombre Backgrounds– Jennifer McGuire
Ombre Background Stamping– Yana Smakula


Original I started making this card for tomorrow, as apparently it is "Fairy Day", however half way through I discovered this would fit for today's challenge so decided to use it for today instead.

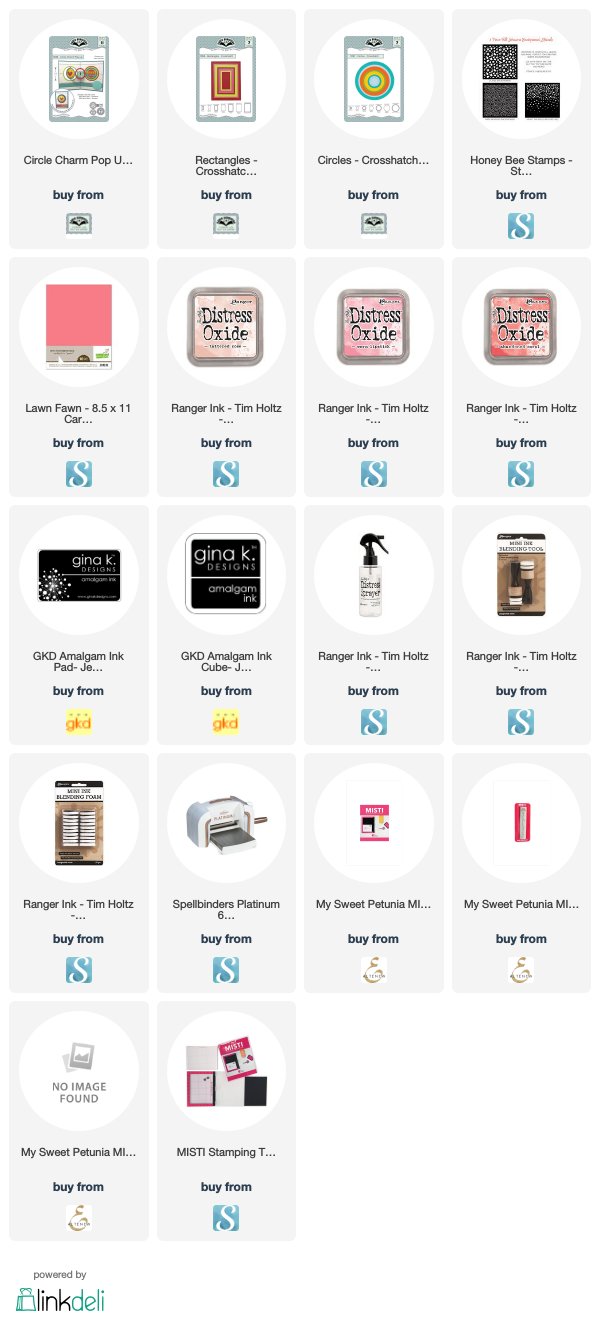
I used Karen Burniston's Circle Charm Pop-up die set. To create the ombre background, I sponged on Tattered Lace; Warm Lipstick and Abandoned Coral Distress Oxide ink in ombre fashion. And spritz with water from a Distress Sprayer. On the top half of the background I added hearts using Honey Bee Stamps Fall Showers Stencil set.

After creating the backgrounds, I die cut the panels using the Rectangles Crosshatch die set.


The circle frames around the opening and the back panel of the card are die cut using the Circles Crosshatch die set.

The fairy is an old one from my stash from The Greeting Farm.

I used Simon Says Stamp Center Cut Flowers stamp for the flowers, cutting out the flowers and adding to the bottom of each panel.

The "fairy" birthday sentiment is from on older Paper Pretties stamp set, which is no longer available.


Here is one more photo of my card taken from over head.

Don't forget to check out the rest of the “Crazies” cards over on the Crazy 4 Challenges blog and also their individual blogs for more details.


Supplies:

Stamps: Center Cut Flowers - Simon Says Stamp; Chloe - The Greeting Farm; Fairy Special - Paper Pretties


Thursday, June 29, 2017

Believe


Hi everyone,

It's challenge time with my friends over on the CCEE Stampers challenge blog. As challenge hostess for the month I am back with my final challenge for the month.

Saturday the 24th June was Fairy Day ... so for our challenge this week let's include a fairy or fairies on our card.


I recently spent three days demoing at our local Scrapbook and Papercrafts Expo here in Brisbane and of course you don't spend all that time at a show and not come home with anything right! A couple of my purchases at the show were a couple of fairies from Lavinia Stamps. My friends have been talking about these for about a year or so now and have a good collection, so I figured it was time I got a few too 😀.
For my card I decided to create a Centre Step Card using my Cheery Lynn Designs die set I have had for a few years, it makes creating this style of card super easy.

I die cut all the layers for the card in white, masked the moon on the centre panel and then used my Distress Oxide inks to create the background. I stamped a few pieces of scenery and added the fairy to the centre panel.

I also added some Moonlight Glitter Nuvo Drops randomly over the card to give it a fantasy feel.

On the bottom panel, I added the A Way with Words - Believe sentiment.


For the inside of the card I added the other fairy I purchased at the show and a sentiment.

Don't forget to check out the CCEE Stampers blog (goes live 12 AM EST) to see the rest of the creations the CCEE Stampers created this week. You can also see more details of their creations on their individual blogs:


Vicky Gould


Stamps: Tree Goddess Luna; Moments Like These - Lavinia Stamps; Fairy Wishes - Practical Publishing; Grasses - IndigoBlu
Paper: White Soft Finish Cardstock - Elizabeth Craft Designs; Black; Purple
Dies: Centre Step Card - Cheery Lynn Designs;  A Way with Words Believe - Elizabeth Craft Designs
Other: Black Ink;  Broken China Distress Oxide; Wilted Violet Distress Oxide; Fossilized Amber Distress Oxide; Wilted Violet Distress Ink; White Blizzard Glitter Nuvo Drops; Foam Tape