Showing posts with label Stampin' Up. Show all posts

Thursday, July 29, 2021

Dad's Hat


Hi Crafty Friends,

It's challenge time with my friends over on the CCEE Stampers challenge blog. Lois Bak our challenge hostess for the month, finishes off the month with one last challenge.

Apparently today is International Tiger Day. Our challenge for this week is to include a tiger (or other cat) on your card – tiger, lion, your own little tabby (you get the idea).

I recently purchased Stampin' Up's Hats Off Die and stamp set, one of the labels included in the set that can be used to decorate the cap is a tiger. As my husband loves the Richmond Tigers which is a Australian Rules Football team here in Australia, I decided to make a Father's Day card using that label.

I have created a top folding Mini Slimline Card which measures 3 1/4 inches x 6 1/4 inches, for the layers of my card I used Mini Slimline Dies from Trinity Stamps. I die cut the cap from black and yellow cardstock and  trimmed off the brim from the yellow cap and adhered this tot the black one.

I used Lil Inker Designs "Dad" die which I die cut from black and yellow cardstock and offset the yellow over the black so it creates a shadow. I added this to the top left hand corner of the card.

I added the Happy Father's Day sentiment from Lawn Fawn's Dad & Me stamp set.


For the inside of the card, I created various layers of card and patterned paper using the Trinity Stamps Mini Slimline dies. 

I added a sentiment to the rectangle panel which is from Waffle Flower Craft's Be Him Sentiments stamp set.

To finish off the inside of the card I added another of the Tiger Labels & a #1 Label to each side of the sentiment.

Don't forget to check out the CCEE Stampers blog (goes live 12 AM EST) to see the rest of the creations the CCEE Stampers created this week. You can also see more details of their creations on their individual blogs:
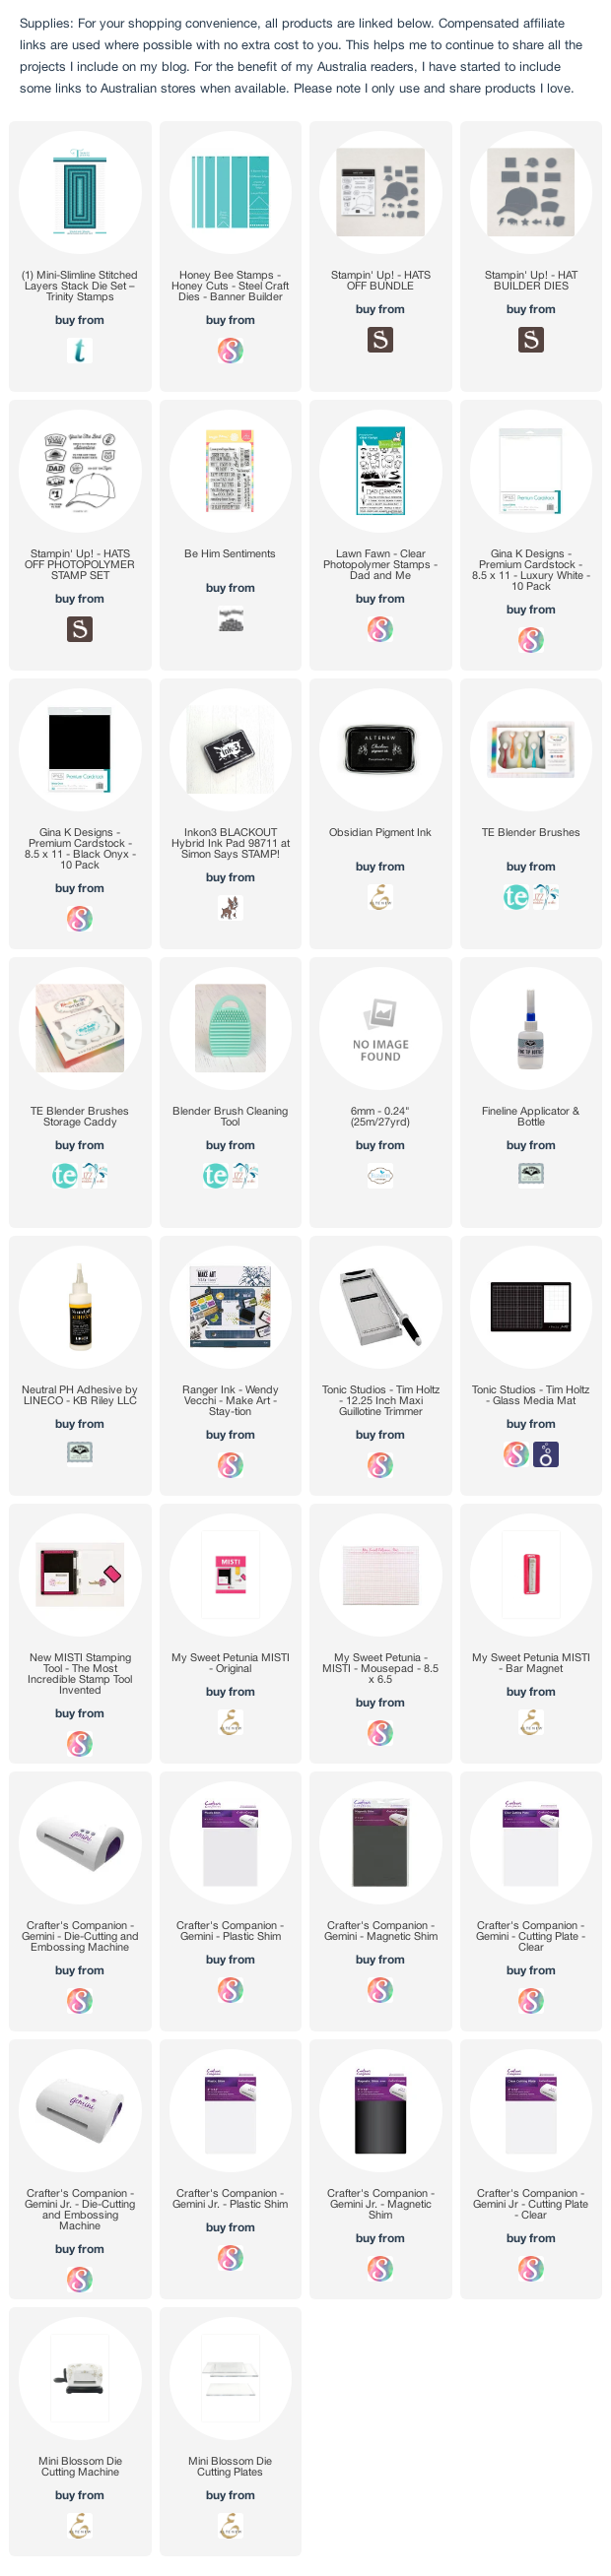
Other Supplies:

Dad Die - Lil Inker Designs (discontinued) 


Thursday, August 8, 2019

Santa Claus Is Coming To Town


Hi Crafty Friends,

It's challenge time with my friends over on the CCEE Stampers challenge blog. Anne Harmon our challenge hostess for the month continues to issue the challenges.

Our challenge for this week is ..... Embossing! Use either wet or dry embossing, and add some bling (sequins, glitter, gems, etc.)


I created a Christmas themed Triple Flip card for my challenge today. Here is a quick video to see my card in action.

For my embossing part of the challenge, I went with heat embossing using embossing powder. I stamped Simon Says Stamp's Poinsettia Background stamp onto red cardstock with VersaMark ink and then covered this with white embossing powder and heat set. I then die cut this panel using the main die from Karen Burniston's Triple Flip die set.


When you pull the tab on the top right hand side of the card, the three panels on the front of the card flip and reveal four more panels.

To decorate my card I used Stampin' Up's Signs of Santa stamp set. 

I added Tumbled Glass Distress Oxide ink to all the scalloped panels (except the one with the sentiment) and then splattered white paint over these pieces to create snow. I then die cut more scallop panels and used the snow border from the Nature Edges die set for my snow areas.

I added the large Santa sentiment to the bottom of the card, this is one of the Crafter's Companion Edge'able dies. 

I almost forgot about the bling part of the challenge, however I did add glitter to the icicle borders and the Santa sentiment and also shimmer pen to the snow and Santa's beard etc ... so it looks like I accidentally got that part covered .... phew!!!!!


For the inside of the card I added one of the two sentiments that comes with the Crafter's Companion Edge'able dies which I stamped and layered using ovals from the Crosshatch - Ovals die set. 

I also added another Santa to the oval.

Don't forget to check out the CCEE Stampers blog (goes live 12 AM EST) to see the rest of the creations the CCEE Stampers created this week. You can also see more details of their creations on their individual blogs:


Supplies:
For your shopping convenience, all products are linked below. Compensated affiliate links are used where possible with no extra cost to you. This helps me to continue to share all the projects I include on my blog. For the benefit of my Australia readers, I have started to include some links to Australian stores when available. Please note I only use and share products I love.

Signs of Santa Stamp set - Stampin' Up
Icicle Border Die - MFT Stamps (retired)


Tuesday, December 4, 2018

December 2018 Karen Burniston Designer Challenge


Hi Crafty Friends,

Welcome to our December Karen Burniston Designer Challenge.

Check out Karen Burniston's blog on Wednesday (US Time) when you will be able to see what all the designers created for the challenge this month, plus Karen will have an amazing video tutorial to share with us all.

Our challenge theme this month is ....  "INK IT!" - incorporate inks (or paints, or sprays, or pastes) into a card of any theme.


I have been having fun this year creating sky backgrounds using distress oxide inks. I love how easy they blend together and also the look of them to create daytime, nighttime or snowy backgrounds. I am not sure why I have been creating so many snowy scenes this year for Christmas seeing that it is hot where I live on Christmas day ... but I have been having fun creating them so that is what I decided to do for this months challenge.


To create my scene I had die cut the largest rectangle from the Crosshatch Rectangles die set and then used Distress Oxide inks to create the sky. I used Picket Fence Distress Paint which I watered down slightly and splattered that all over my background.

For the snow drifts, I die cut the same rectangle I used for the sky and then used the snow/dirt border from the Nature Edges die set.

For the trees I used one of the trees from the Evergreen Pivot Panels die set, using the stencil feature to add white gel pen.


For the pop up portion of the card I used the Katherine Label Pop-up die set. 

To decorate my card I used Stampin' Up's Signs of Santa Clear Stamp set. After attaching all the images to the card, I added White Blizzard Nuvo Drops to the snowy areas of the card.


For the front of the card I repeated many of the elements I used on the inside of the card. I added the "Merry Christmas" sentiment which is from the Word Set 3 - Holiday die set.

Don't forget to visit Karen Burniston's blog on Wednesday when you will be able to see what all the designers created for the challenge this month.


Supplies:
For your shopping convenience, all products are linked below. Compensated affiliate links are used where possible with no extra cost to you. This helps me to continue to share all the projects I include on my blog. Please note I only use and share products I love.

Signs of Santa Clear Stamp Set - Stampin' Up


Friday, November 9, 2018

Signs of Santa Diorama


Hi Crafty Friends,

Today I am sharing a Christmas card I created recently.

This card uses the new Diorama with Layers die set from Our Daily Bread Designs and the Signs of Santa Clear Stamp set from Stampin' Up.


The diorama die set makes it so easy to create this card, no measuring ... just use the dies provided in the die set to create all the various layers etc.

For the background panel, I created a snowy sky by blending Distress Oxide inks and then splattering white paint over the background.


For the back of the card I added some of the patterned paper I used on the front of the card and also rectangle layers. I added two sentiments and a pile of presents from the stamp set.


This card folds flat, so it is easy to pop in an envelope for mailing.


Supplies:
For your shopping convenience, all products are linked below. Compensated affiliate links are used where possible with no extra cost to you. This helps me to continue to share all the projects I include on my blog. Please note I only use and share products I love.

Signs of Santa Stamp Set - Stampin' Up
Santa's Workshop Specialty Designer Series Paper - Stampin' Up


Friday, September 30, 2016

Santa Gift Tags


Hi everyone,

Well apparently there are only 12 more Fridays until Christmas! Scary ha!!!!! So I figured I had better make a start on getting some Christmas gift tags made for the presents I will be giving to family and friends.

Other than six tags I made back in March as I was playing with a new die I received, these are the first I made. Sure hope I put those other tags in a safe place where I can find them hahahaha!


For my gift tags today, I started by die cutting cardstock and designer paper using the Stampin' Up Chalk Talk tag. To the bottom of the tag I added some white snow for Santa to stand on and for a place to write "To" and "From" on the tag.


To decorate the tags I used MFT Stamps Jingle all the Way stamp set, stamping the Santas and then using my Scan N Cut to cut out all the Santas. Sure glad I didn't have to do that all by hand!


As there were three different Santas in the stamp set and I got 8 gift cards out of a sheet of cardstock. made 3 tags each for two of the designs and 2 tags for the other.


Stamps: Jingle all the Way - MFT Stamps; Seasons of Love Tags - Waltzing Mouse Stamps
Paper: White; Red; Christmas Carol DP - Graphic 45
Dies: Chalk Talk - Stampin' Up; Outdoor Edges - Elizabeth Craft Designs
Other: Black Ink; Scan N Cut; Clear Glitter Wink of Stella Pen; Copics


Monday, August 1, 2016

Merry & Joy


Hi everyone,

Today I am sharing a card I made at a recent club I attend each month with a group of friends. Being that our club day was in July, my friend Trish Myers decided we should have a Christmas in July theme and  was also responsible for our card project and this is the card we all created.

All products used on this card are from Stampin' Up. The "Merry" is die cut into the white card and then the red glitter "Merry" is inlaid into the opening.

I guess I have finally made my first Christmas card for 2016.


Sunday, March 20, 2016

Just for You


Hi everyone,

My card today uses one of the new stamp sets from Stampin' Up which a friend of mine managed to get for me recently.

 I have used one of Elizabeth Craft Designs Stitched Rectangle dies for the sentiment and then turned it on an angle and chopped off the overhanging part of the rectangle.


For the inside of the card I used one of the sentiments from the set and also added a piece of designer paper which I adhered to the card at an angle.


Stamps: Botanicals for You - Stampin' Up
Paper: White; Project Life Playful DP - American Crafts
Dies: Stitched Rectangles - Elizabeth Craft Designs
Other: Black Ink; Picked Raspberry Distress Ink; Peel Paint Distress Ink; Pearls; Fun Foam


Saturday, March 12, 2016

Pi Day!


It’s challenge time with the “Crazies” over on the Crazy 4 Challenges blog. As the challenge hostess for the month I continue to issue the challenges.

Monday is Pi Day (Ï€) which is an annual celebration which occurs every March 14th (3/14 in month/day format) Pi (Greek letter “Ï€) is the symbol used in mathematics to represent a constant the ratio of the circumference of a circle to its diameter which is approximately 3.14159.  For our challenge this week let's create cards that feature circles and / or pies!


As you can see I decided to opt for the "Pie" theme rather than use circles on my card ... I often use circles on my cards, I don't however use pies on my card all that often :).

To create my card I used the Rectangle Pull Card and Pull Card Edges designed by Karen Burniston for Elizabeth Craft Designs.

I pulled out a few 'oldie" but goodie stamp sets to create my card. It is always good to play with something you haven't used in a while.


Here is a look at my card when you "pull" it open. I added a sentiment and a pie which is attached to the  spinner also included in the die set.

Don't forget to check out the rest of the “Crazies” cards over on the Crazy 4 Challenges blog and also their individual blogs for more details.


Stamps: What's the Scoop - Hero Arts; Voila - Stampin' Up; Stovette - Museum of Modern Rubber
Paper: White; Red; Back to School DP - Doodlebug Design Inc.
Dies: Rectangle Pull Card; Pull Card Edges - designed by Karen Burniston for Elizabeth Craft Designs
Other: Black Ink; Black Rhinestones; Foam Tape; Copics


Thursday, November 6, 2014

Merry Christmas

CCEE1445Santawm

Hi everyone,

It's challenge time with my friends over on the CCEE Stampers challenge blog. Being a brand new month, it is time to introduce Maryann Einam as our challenge hostess for the month.

Maryann has asked us to celebrate Movember by created a card that features a moustache.

I am also using this card for my FGM challenge I do with two friends (Maryann is actually the M in the FGM),  and this month it was to create a card using the Spiral Circle Pull Card designed by Karen Burniston for Elizabeth Craft Designs.

To decorate my card I used the Stampin’ Up stamp set “Santa Stache” … after all Santa’s has a moustache hehe!

CCEE1445Santa2wm

Rather than adding the spiral that comes with this die set, I kept it just as a ‘flip’ type card.
Don't forget to check out the CCEE Stampers blog (goes live 12 AM EST) to see the rest of the creations the CCEE Stampers created this week. You can also see more details of their creations on their individual blogs:
Stamps: Santa Stache – Stampin’ Up
Paper: White; Red; Upon The Housetops DP – Graphic 45
Dies: Spiral Circle Pull Card; Clocks and Gears designed by Karen Burniston for Elizabeth Craft Designs; Holiday Words Script – Sizzix
Other: Black Ink; Candy Dots; Foam Tape; Copics

#aa-owl-signature

Monday, October 20, 2014

Christmas Gift Tags

SantaStashtag1awm

Hi everyone,

Well it is almost that time of year …. and I figured I had better start making a few quick gift tags to have ready when I start wrapping Christmas presents.

I decided to play with a new stamp set I purchased recently from Stampin’ Up Santa Stache.

SantaStashtag1wm

Here is a close up of my gift tag.

SantaStashtag2awm

Of course I also had to make a few more gift tags using the Santa from the stamp set.

SantaStashtag2wm

And here is a close up of my Santa gift tags.

Stamps: Santa Stache – Stampin’ Up
Paper: White; Red; Green
Dies: Chalk Talk Framelits – Stampin’ Up
Other: Black Ink; Foam Tape


#aa-owl-signature

Wednesday, July 30, 2014

Happy Birthday Stars

SUBirthdayStars-wm

Hi everyone,

My card today is one I created last month at a stamp club I go to with a few friends. This card is a project given to us all by my friend Trish Myers (thanks Trish!)

This would make a great card for a male, but another friend needed a card for her Mum, so she changed the colors to pinks and greens and it looked fab too!

All products used on this card are Stampin’ Up … sorry not sure from which sets.

#aa-owl-signature

Friday, June 6, 2014

Mum!

MumPopUpBox-wm

Hi everyone,

Today I have a Pop Up Box Card which I created recently at a Stamp Club I attend each month. It is funny that both Stamp Clubs I attend monthly had decided to make these as projects. So this is the second I have made as a Stamp Club Project

I have made a few of these in the past and love making them!

MumPopUpBox2-wm

At the stamp club we created the Pop Up Box card and decorated it using the designer papers supplied and also adding the flowers. When I came home I added the centres to all the flowers and the sentiments on the front (Mum) which is a die and the back sentiment too.

MumPopUpBox3-wm

This Pop Up Box Card was actually made just before Mother’s Day which is why I decided to turn it into a Mother’s Day card … my daughter borrowed it to give to me on Mother’s Day haha! But as she only used a post it note to write on the back I can recycle it and add it to the Christmas Pack I give my other daughter … she needs at least three Mother’s Day cards each year.

MumPopUpBox5-wm

Here is the back of the Pop Up Box card, I was crossing my fingers when I stamped the sentiment onto the  back of this already completed card which was getting a little bulky … but luckily the sentiment stamped just fine so I didn’t need to cover it .. phew!

Stamps: Flower Sets – Stampin’ Up
Paper: White; Blue; Red; Silver Glitter Card
Other: Black Ink; Simon Says Stamp Mum Die; MFT Die-namics Fishtail Flags Stax; SU Flower Punches; ECD Silver/Gold Glitter Dots; Foam Tape

#aa-owl-signature