Monday, April 9, 2018

Whisking You a Happy Birthday


Hi Crafty Friends,

Today I am sharing a birthday card I created recently.

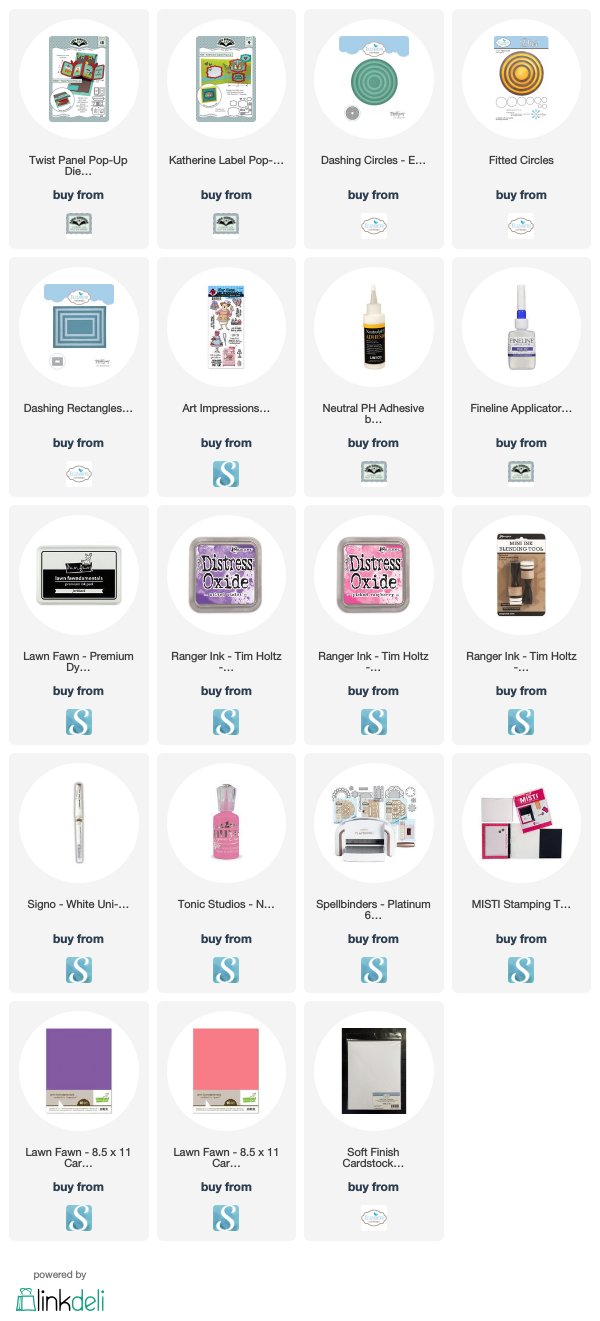
As you can see I have created a Twist Panel Pop-up Card using the Karen Burniston die set. It's been a while since I have made this style of card so it felt good to pull the die set out and play.


This card started by creating the background panels. For this I used the new Altenew Scallop Builder Stencil which I recently purchased. I just had to try it out. After I created my first panel, I made two more so I could create this pop up card.

I used the Art Impressions Whisk It clear stamp set to decorate my card. I stamped each of the images directly onto the white panels of the Twist Panel section, which is unusual for me as I normally attach them using foam tape which can make this card bulky.

I die cut the Twist Panel mechanism from the purple cardstock and then layered the stencilled background onto the purple card. The sentiment panel is die cut directly into the stencilled background and inlaid into the card, which helps prevent the twist panel section catching when opening and closing the card.


For the front of the card I stamped the lady with cupcakes from the stamp set, and adhered her to a partial die cut circle and also added a sentiment.

I added Nuvo Crystal Drops to all of the cupcakes both on the front and inside the card.


Here is a look at my card as it is closing, you can see how the 4 panel fold in the centre folds up and starts to turn to the side.


And finally a look at my card when it is closed. It may look a little thick, but it does flatten down a little more and will fit into an envelope easily.

Supplies:


Sunday, April 8, 2018

Best Birthday Ever


Hi Crafty Friends,

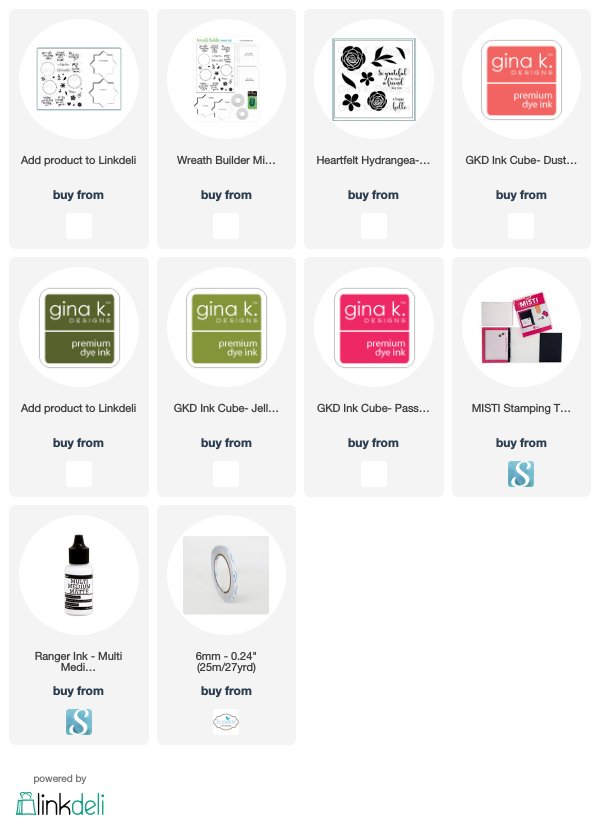
A while ago Gina K Designs released a fabulous new product called the Wreath Builder, it was sold out but as they were taking preorders for more I had to place an order for a set as what I had seen it can do was simply awesome.

My order arrived earlier in the week and of course I had to have a play. The wreath builder contains two stencils which is used in conjunction to the MISTI to create a wreath design on either a 4 inch or 3 3/4 inch square of cardstock.


To create my card I used stamps from Gina K Designs A Happy Hello and the Wreath Builder Clear Stamp set as well as the 4 inch Wreath Builder Stencil needed to create this wreath.


For the inside I used the wreath builder to stamp the rose and leaves to the top and bottom corners of the card and also added a sentiment.

Supplies:


Paper: White; Dark Pink; Pink
Ink: Black VersaFine Ink
Other: Pink Rhinestones; Foam Tape


Saturday, April 7, 2018

Gift Wrapped


Hi Crafty Friends,

It’s challenge time with the “Crazies” over on the Crazy 4 Challenges blog. Being the beginning of the month, it is time to introduce our new challenge hostess which is Maryann Einam.

Stencils and Dies - Use a die to create a stencil to use on your card.


I have been having fun playing with stencils lately, and I also enjoyed using a die to create a stencil for my card this week.

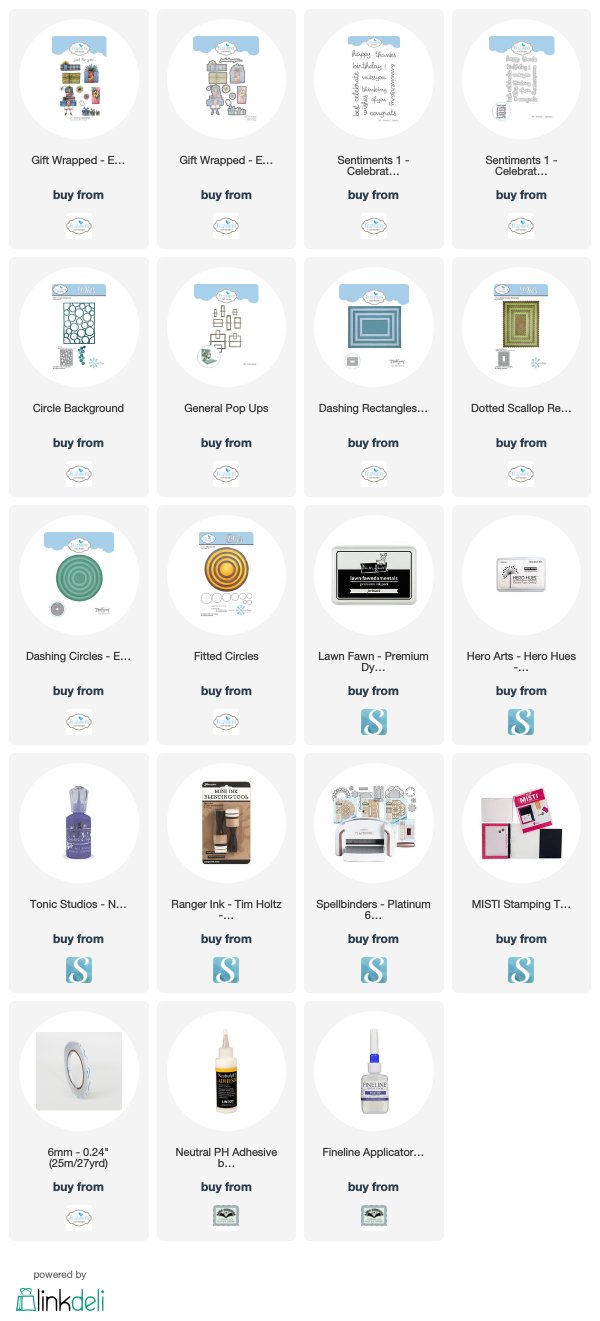
I cut a rectangle using the Dashing Rectangles die set from Elizabeth Craft Designs.

I  then used Elizabeth Craft Designs Circle Background die to create my stencil. I die cut the background die using some scrap cardstock and then removed only the circle parts of the stencil. I taped the stencil onto my card and sponged pink ink into all the open circle areas.


Once I had finished sponging the pink ink through the stencil, I lifted the stencil up off the cardstock and moved it over a fraction and adhered it back in place and this time sponge white pigment ink through the circles. You can see the slight halo of white and darker pink on either side of the stencil.


To finish the background I stamped the flower which is included in the Gift Wrapped Clear Stamp set onto the centre of the larger circles and added Nuvo Crystal Dots to the centre of the flowers.

I stamps the girl from the Gift Wrapped Clear Stamp set and die cut her using the coordinating dies. I then attached her to the lower right hand corner of the card layering her onto partial circles.

The sentiment is also from this stamp/die set.


As you can see I created a pop-up card on the inside. I used the ECD General Pop Up die set and die cut 3 pop up panels ... the centre pop up is a two tier one and the one either side is a tall skinny one.

I added presents also from the Gift Wrapped Clear Stamp / Die set to the pop up panels.

I created another stencil panel, the same way I created the front. Cut it in half and adhered it to the top and bottom edges of the card.


Finally I added a birthday sentiment which is from the Sentiments 1 - Celebrations Clear Stamp/Die set.

Don't forget to check out the rest of the “Crazies” cards over on the Crazy 4 Challenges blog and also their individual blogs for more details.


Supplies:


Other: 
Inks - Catherine Pooler It's a Girl and Pixie Dust
Foam Tape
Copics


Friday, April 6, 2018

Wishing You a Magical Birthday


Hi Crafty Friends,

I finally had a chance to play with the Hero Arts December My Monthly Hero Kit. I have had this idea in my head for a few months now so it is nice to finally be able to get it out of there and into an actual card!


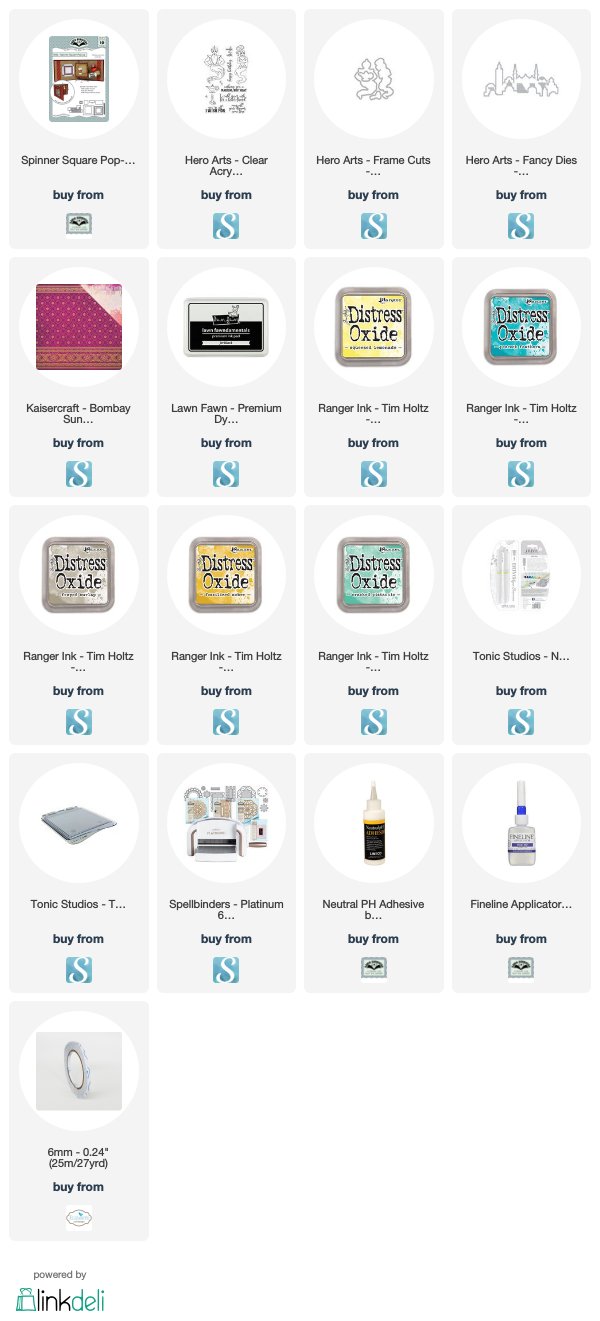
As you can see I have created a pop up card using Karen Burniston's Spinner Square Pop-up Card die set ... this is  such a fun set. When you open and close the card, it appears that the two on the magic carpet are flying in the air.

For the inside of the card I lined both sides using designer paper and then die cut two of the City Skyline Fancy die from Hero Arts using black, burgundy and gold cardstock and piecing these together to create the border. I stamped a sentiment onto each of the burgundy panels on this border.

I added another sentiment to the centre square panel using the Hero Arts Make a Wish Clear Stamp set.


Here is a quick video to show my card in action.


Here you can see how the magic carpet goes up towards the top of the card as the card is closing.


For the front of the card I used the December My Monthly Hero stamp set and the coordinating dies to create the scene through the fancy window and added a few of the images so they look like they are sitting on the floor of a castle.

I added shimmer to the girls dress using the Nuvo Aqua Shimmer pen.

To add more sparkle to the card I added Bronze Rhinestones to the centres of each of the flowers on the designer paper on both the front and inside of the card.

Supplies:


Other:
Stamps - My Month Hero December Kit - Hero Arts
Cardstock - White; Black; Burgundy; Gold
Bronze Rhinestones
Copics


Thursday, April 5, 2018

Plaid Birthday


Hi Crafty Friends,

It's challenge time with my friends over on the CCEE Stampers challenge blog. Being the beginning of the month it is time to introduce our new challenge hostess which is Lois Bak.

Apparently tomorrow (6th April) is National Tartan Day. Create a card using plaid.


I wanted to try out a new die I purchased from Crafter's Companion ... Square Twist Card which makes a Pop Up Book Card. 

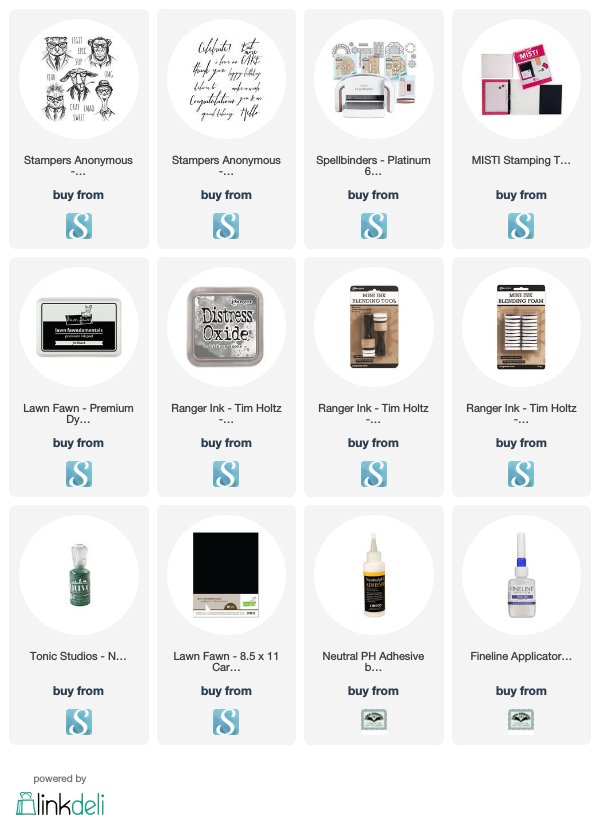
To decorate my card I used Stampers Anonymous Hipster stamp set to create a birthday card.


Here is another look at the inside of my card so you can see the folds a little better.


For the front of my card I stamped two of the Hipster images onto a rectangle panel.

Don't forget to check out the CCEE Stampers blog (goes live 12 AM EST) to see the rest of the creations the CCEE Stampers created this week. You can also see more details of their creations on their individual blogs:


Other:
Birthday Greetings - MFT Stamps
Star Border Die - MFT Stamps
Square Twist Card - Crafter's Companion
White Cardstock
Laughing Lola Blue Paper - Close to my Heart


Wednesday, April 4, 2018

Happiest Birthday


Hi Crafty Friends,

I decided to pull out an older stamp to play with for my card today. The rose block stamp is by a Aussie company I think was called Handstamped by Me which I purchased 10 to 20 years ago.

I stamped the images onto white cardstock using black ink and then colored with copic markers. I added some shimmer to the flowers and Nuvo Drops to the dots in the image.

For the background I used a Simon Says Stamp stencil, sponging the stencil with teal ink first and then moving the stencil over slightly and sponging again using white ink.


For the inside of the card I used a stamp set from Honey Bee Stamps.


Supplies:


Other:
Stamps - Rose Block - Handmade by Me; Square Sayings - Simon Says Stamp
Cardstock - White; Black; Aqua
Inks - Gina K Designs Ocean Mist Ink Cube
Foam Tape
Copics


Tuesday, April 3, 2018

April 2018 Karen Burniston Designer Challenge


Hi Crafty Friends,

Welcome to our April Karen Burniston Designer Challenge.

Check out Karen Burniston's blog on Wednesday (US Time) when you will be able to see what all the designers created for the challenge this month, plus Karen will have an amazing video tutorial to share with us all.

Our challenge theme this month is .... "HIP TO BE SQUARE" - incorporate a square (or squares) into your project of any theme.


I decided to create a card using Karen Burniston's Spinner Square Pop-up die set on a square card.

I created three panels for my card insert using white cardstock which I decorated using distress oxide inks and added the grassy hills to the base using the Nature Edges die set.

I stamped, colored and cut out images from the Winnie & Walter's Happy Dance Clear Stamp set which I have been wanting to play with for a while. I added a stamped sentiment from the stamp set to the square pop up panel and added the cat and a birthday cake to the spinner which pops up from behind the square panel.

The speech bubble is a die included in the Spinner Square Pop-up die set.

I die cut five balloons from white cardstock and colored them using colors I used on the front of my card and adhered them to the top portion of the card. 


Here is a short video which shows my card in action.


Here is a look at the front of my card ... I created my card and scene on a square panel. I added the # 6 die cut from the Numbers die set to the little bear on the left. 


One last photo showing how the cat holding the cake spinner portion of the card moves up towards the top of the card when it is closed.


Don't forget to visit Karen Burniston's blog on Wednesday when you will be able to see what all the designers created for the challenge this month.


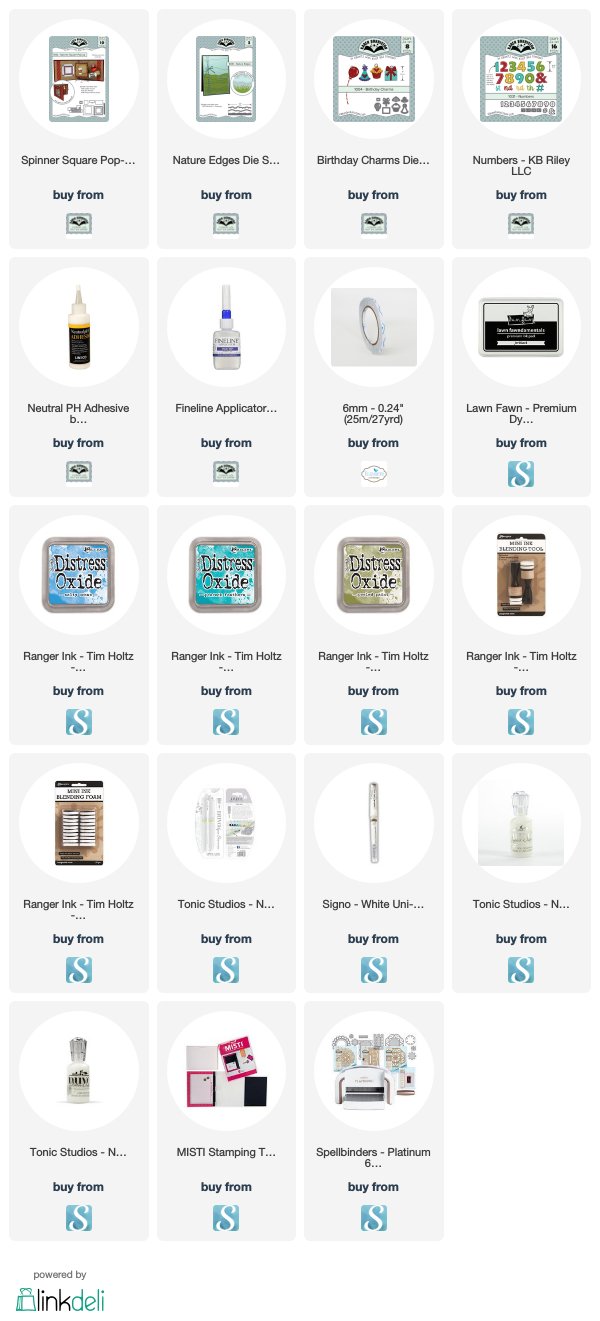
Supplies:


Other:
Stamps - Happy Dance by Winnie & Walter
Cardstock - White
Copic Opaque White
Copics
Foam Tape


Monday, April 2, 2018

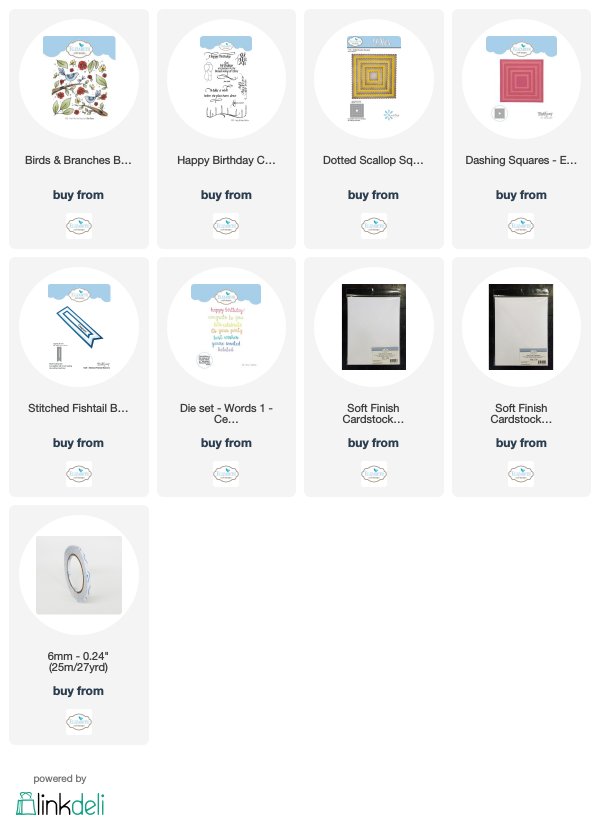
Celebrate Birds and Branches


Hi Crafty Friends,

Today I have another card using the Distress Oxide Water Painting Technique shared by Jennifer McGuire recently. 

This time around I used the Krista Schneider Birds & Branches Background Clear Stamp which was released by Elizabeth Craft Designers earlier in the year. 


After stamping the image onto white cardstock using VersaMark Ink and embossing using white embossing powder, I applied Distress Oxide inks in Evergreen Bough; Mermaid Lagoon and Blueprint Sketch over the entire image. I then applied water using a water brush to remove ink from the images and came back into the images using various colors of distress oxide inks.

I added White Nuvo Crystal Drops to all the small embossed circles/dots on the image. 

I added the "Celebrate" sentiment to the lower right hand corner of the card which is adhere to a Stitched Fishtail Banner.


On the inside of the card I used one of the sentiments from A Way With Words Happy Birthday Collection Clear Stamp set. I thought this sentiment worked well with the birds on the front of the card.


Supplies:

Elizabeth Craft Designs:


Other:

Cardstock - White; Black
Distress Oxide - Evergreen Bough; Mermaid Lagoon; Blueprint Sketch; Lucky Clover; Forest Moss;  Gathered Twigs; Candied Apple; Wild Honey; Carved Pumpkin
Inks - Black Ink; VersaMark Ink
White Embossing Powder
White Nuvo Crystal Drops

Sunday, April 1, 2018

Thinking of You


Hi Crafty Friends and Happy Easter!

Today I am sharing two cards I created recently using the Distress Oxide Water Painting technique that Jennifer McGuire shared on her blog last month. You can see her blog post here


For my cards, I used W Plus 9's Beautiful Bouquet Clear Stamp set which I stamped onto my white cardstock using VersaMark ink and then embossed using white embossing powder.

I covered the entire piece of cardstock using Candied Apple & Abandoned Coral Distress Oxide inks. I then used a water brush pen to remove the ink from the flower petals and leaves, dabbing the area after applying the water.

Once I had removed the color from the flowers I using the water brush pen to apply color in a watercolor fashion using Squeezed Lemonade Distress Oxide ink to the flower areas and Twisted Citron Distress Oxide ink to the leaves.


For the sentiment I used the "Thinking of You" sentiment from Concord & 9th's Fabulous Phrases die set.

To finish off the front of the card I added White Nuvo Crystal Drops.


For the inside of the card I added one of the sentiments from the Dahlia Turnabout stamp set also by Concord and 9th and stamped a portion of the flower that was stamped on the front of the card in one corner using red ink.


Supplies:


Stamps: Beautiful Bouquets - W Plus 9; Dahlia Turnabout - Concord & 9th
Paper: White; Black
Dies: Fabulous Phrases - Concord & 9th
Other: VersaMark Ink; Abandoned Coral Distress Oxide; Candied Apple Distress Oxide; Squeezed Lemonade Distress Oxide; Twisted Citron Distress Oxide; White Embossing Powder; Nuvo White Crystal Drops