It's challenge time with my friends over on the CCEE Stampers challenge blog. As challenge hostess for the month, I continue to issue the challenges.
Today is my birthday, so for our challenge this week create a card using one or more of my favourite things … Slimline cards; Interactive or Pop-up cards; owls; blue.
Here is a quick video to see my card in action.
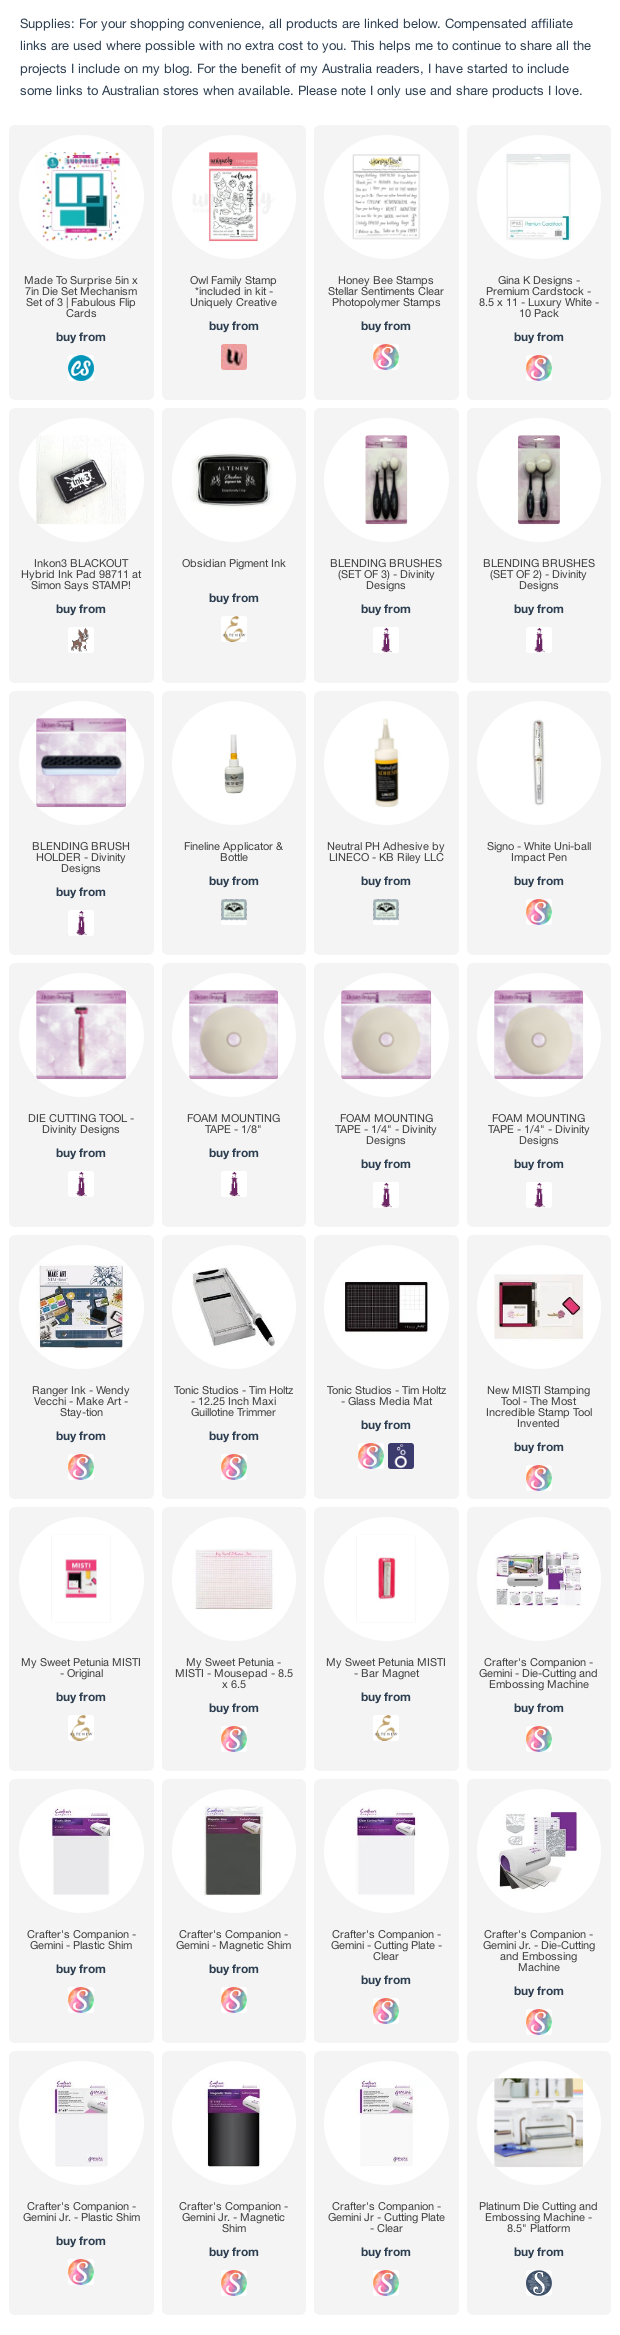
Some people may be surprised that I didn't make a Slimline card seeing how much I love them. I decided to make an Interactive Card, ever since I made the baby themed Flip Card for my friend Maryann to celebrate her becoming a Nanna I have wanted to make an owl themed one for myself. I used Made To Surprise's 5 inch x 7 inch Fabulous Flip Card Mechanism die set to create the base of my card.
I adhered the flip card onto a top folding white card that measures 5 inches x 7 inches. I cut a strip of cardstock that measures 3 inches x 7 inches. I scored along the 3 inch side at 1/2 inch; 1 1/2 inches and 2 1/2 inches and then folded to create an "M" shape.I adhered this piece to the bottom of the inside of the card to turn it into a tent style card. This makes it easier to display.
I pulled out a mixture of old and new owl stamp sets to decorate my card.
On the front of my card I used the owl from Art Impression's Birthday Whoot Stamp set.
The sentiment is a mixture of the "Owlsome" Sentiment from Uniquely Creative's Owl Family stamp set and Honey Bee Stamps Stellar Sentiments stamp set.
When you pull the arrow, the front of the card flips to reveal the other side of each panel and a sentiment on the inside.
The sentiment on the right panel and the owl are both from the Art Impression's Chatting Whoot stamp set.
On the white panel underneath the frame, I added two sentiments ... the bottom one is from the Birthday Whoot stamp set and the "Hoot Hoot Hoo-ray" is from JustRite's Owl Be There stamp set.
Seeing the card doesn't open, because I turned it into a tent card, I added a few panels to the back so that I could add a sentiment and hand written greeting.
I added another of the owls and the sentiments from the Chatting Whoot stamp set.
The party hat on two of the owls are from the owl on the front, which I stamped separately and cut and then added onto the other owls, to give them all a birthday feel.
Don't forget to check out the CCEE Stampers blog (goes live 12 AM EST) to see the rest of the creations the CCEE Stampers created this week. You can also see more details of their creations on their individual blogs:
It's challenge time with my friends over on the CCEE Stampers challenge blog. As challenge hostess for the month, I finish off the month with one last challenge.
Today is Dog Day! For our challenge today, include an image of a dog on your card.
Recently I have seen a lot of Pinwheel Tower Cards around the internet, so I decided to give it a try. It's hard to tell by the photo above, my card measures 4 1/4 inches high and when flattened is 5 1/2 inches so will fit into a normal sized envelope.
To decorate the front of my card, I used Art Impressions Dog Mouthful stamp set for the dog and sentiment on the side panel. The Bark is from Lawn Fawn's Critter Chatter stamp set, which is die cut using one of the speech bubbles from the Comic Speech Bubbles die set from Whimsy Stamps.
For the next section of my card, I used three of the sentiments from Lawn Fawn's Critter Chatter stamp set which I layered using oval dies.
The "woof" and bones are from Whimsy Stamps Puppy Paws die set.
Next up I stamped another sentiment which is from the Art Impressions stamp set I used for the front of my card. I used a larger oval for this section, so that there is a space for a hand written greeting.
I added the dog bowl which is from Whimsy Stamps Slimline Dog Bone die set.
I stamped a few of the sentiments from the Critter Chatter stamp set onto one of the die cut bones for the side panel.
For the last section, I used an older Rubbernecker Stamps sentiment. I added a couple of die cut paws from an older MFT Stamps die set.
I layered the "Pawtay" die cut sentiment onto a bone for the side panel. Both these dies are from the Whimsy Stamps Puppy Paws die set.
Here is a look at my card when it is flattened ready to be placed in an envelope. Mine is a tiny bit bulky, but I think it will still work for normal postage.
Don't forget to check out the CCEE Stampers blog (goes live 12 AM EST) to see the rest of the creations the CCEE Stampers created this week. You can also see more details of their creations on their individual blogs:
It’s challenge time with the “Crazies” over on the Crazy 4 Challenges blog. As challenge hostess for the month, I continue to issue the challenges.
Apparently Monday 14th June is Cupcake Day, so for our challenge this week we are adding cupcakes to our cards.
I have created a Slimline card using Trinity Stamps Room Builder die set. Ever since I received this die last year I have been wanting to create a kitchen scene using the Art Impressions Whisk It stamp set. I finally found the perfect opportunity to make it.
I die cut the main die from the Room Builder die set from white cardstock. I then used a black marker to turn the floor boards from a wood floor to a checkerboard floor. I added patterned paper to the top portion of the card.
The fridge, oven, bench and many of the other accessories on this card are from Trinity Stamps Cottage Kitchen Stamp set. To fill in the kitchen scene with cupboards, I just used a strip of white cardstock and a sliver of black cardstock on the top and then added rectangles for the doors. I used the inner rectangles from the window die included in the Room Builder die set to add the doors.
I added the "Happy Cake Day" sentiment to the front of the island bench which is from Honey Bee Stamps You Bake Me Happy stamp set. I added the "cup" sentiment seeing this card is for Cupcake Day.
For this inside of the card I added the patterned paper I used on the front for the top and bottom edges. I used Whimsy Stamps Slimline Zig Zag Edger die set to create the zig zag border on both panels.
The cupcakes are from Karen Burniston's Cupcake Pop-up die set which I popped up using the larger of the angled pop up mechanisms from the Mini Pops Pop-up die set.
The pop up in the centre of the card is from the Explosion Pop-up die set. I added the birthday sentiment to the pop-up panel which is from Honey Bee Stamps Baked with Love stamp set.
Don't forget to check out the rest of the “Crazies” cards over on the Crazy 4 Challenges blog and also their individual blogs for more details.
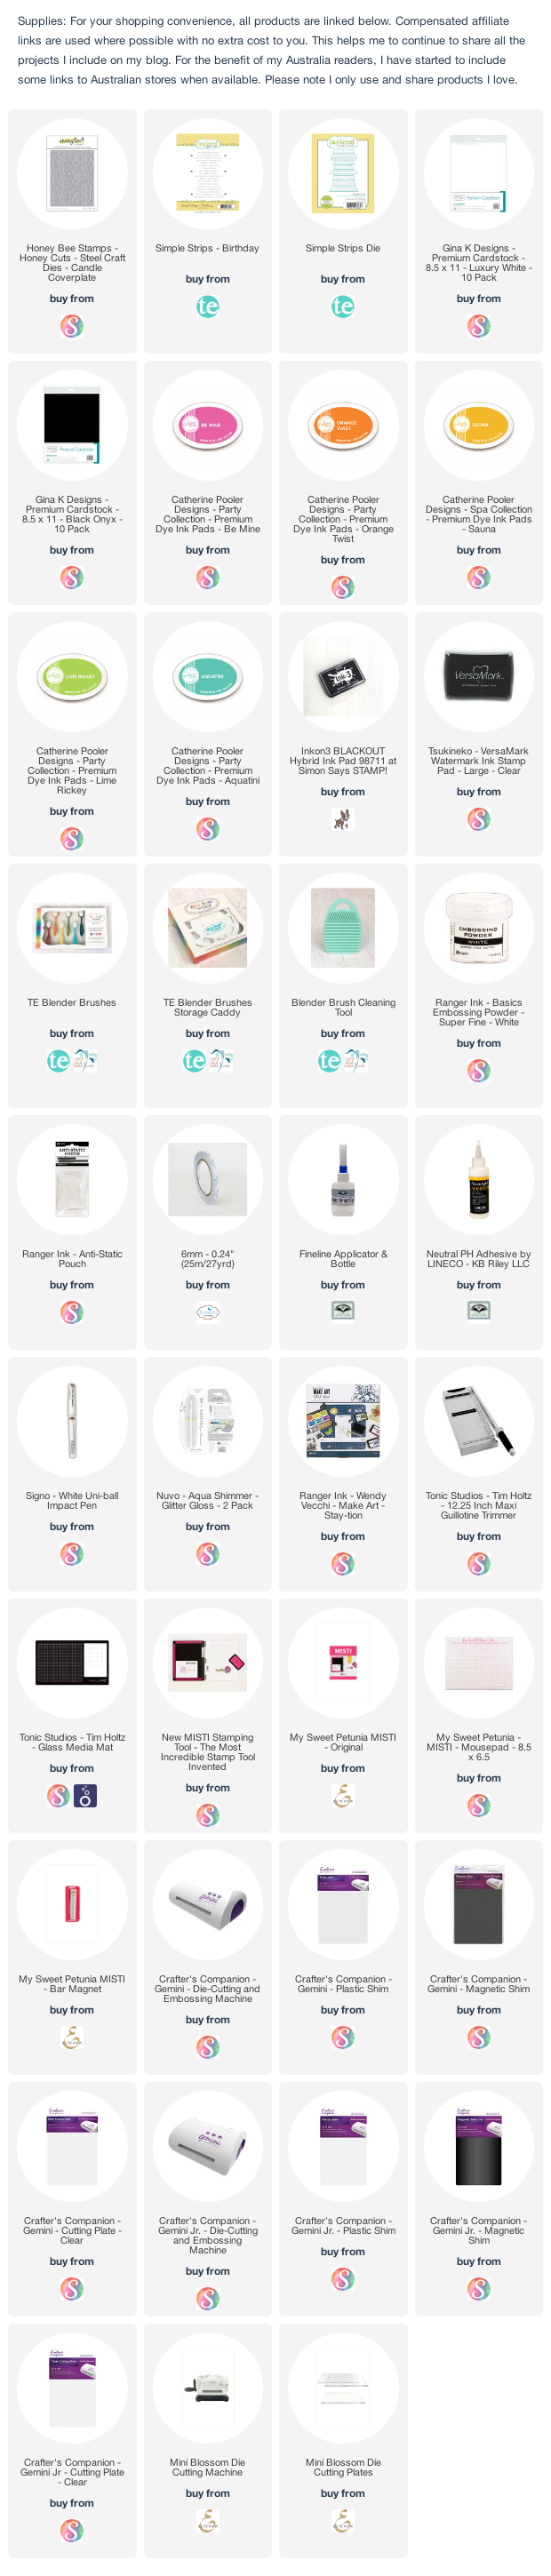
Today I am sharing a birthday card I created recently. For the background of my card I used Honey Bee Stamps Candle Coverplate die. I applied Catherine Pooler Designs inks to a piece of white cardstock in rainbow order, prior to die cutting the panel.
I added the Art Impressions Stamps turtle/cake image which was a freebie stamp that I received last year from Scrapbook.com.
I added two sentiments to the top of my card which are both from Taylored Expressions Simple Strips Birthday stamp and coordinating die set.
For the inside of my card I die cut another panel which I cut down to about 1 1/2 inches. I layered this onto a black panel.
I added the Catherine Pooler Designs Celebrate die to the white side of the card. Adding the "Happy Birthday" underneath the sentiment which is also from Taylored Expressions Simple Strips - Birthday stamp/die set.
It's challenge time with my friends over on the CCEE Stampers challenge blog. Lynn McAuley our challenge hostess for the month continues to issue the challenges.
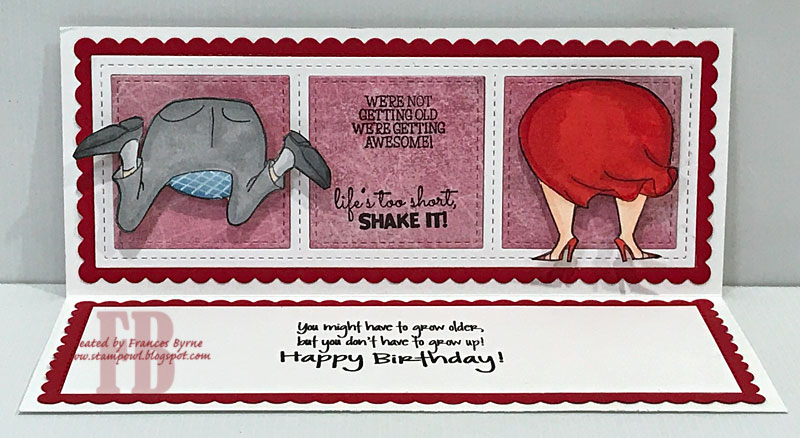
Here it is the day after Liz’s BIG birthday, the Big 7-0, so in honor of National Senior Citizens Day on Aug. 21st, let’s use some adorable old women still having fun and enjoying life on your cards today.
When I was looking through my Art Impressions stamps which has the majority of the "older women" stamps that I own, I came across my Shake Your Booty stamp sets which I haven't used for a few years. I thought it would be fun to use a couple of those stamps for my card today.
As you can see I created a Slimline card for my card today using two of the new Slimline dies from Newton's Nook Designs. I attached the images to my card using action wobbles.
As the Shake your Booty Stamps comes with a front and back view, I couldn't let those go to waste, so I added the frame to the upper inside panel and then attached the back view to the card with action wobbles also. The centre panel has a couple of sentiments from older Art Impressions Stamp sets.
I added two birthday sentiments to the other inside panel which are both from a The Stamps of Life Stamp set Greetings4Birthdays.
Don't forget to check out the CCEE Stampers blog (goes live 12 AM EST) to see the rest of the creations the CCEE Stampers created this week. You can also see more details of their creations on their individual blogs:
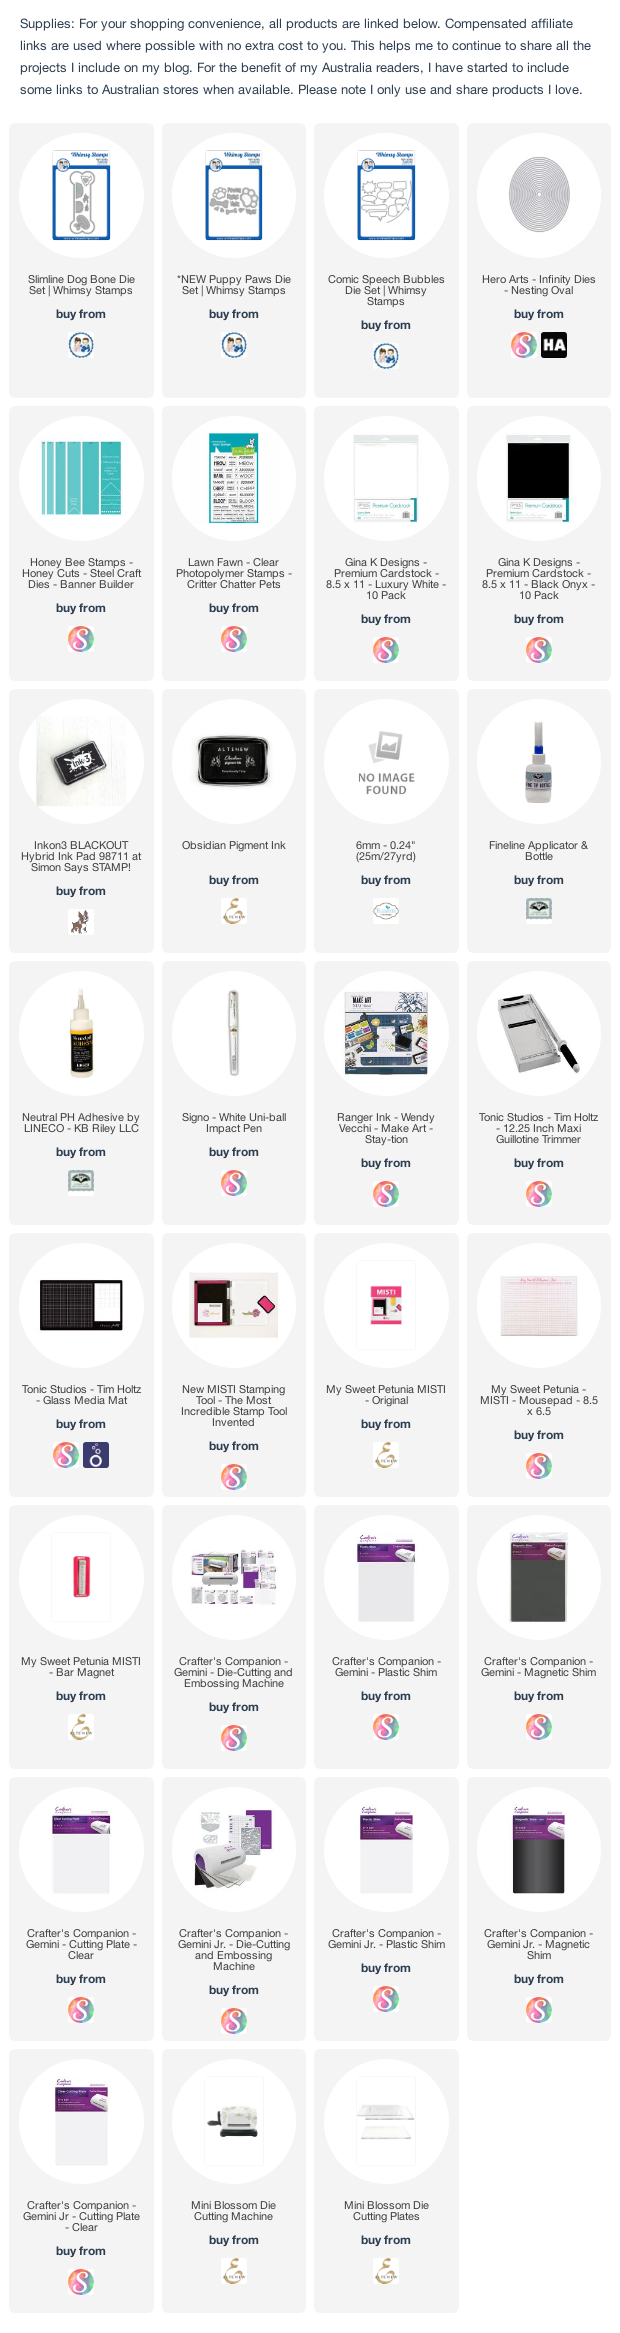
For your shopping convenience, all products are linked below. Compensated affiliate links are used where possible with no extra cost to you. This helps me to continue to share all the projects I include on my blog. For the benefit of my Australia readers, I have started to include some links to Australian stores when available. Please note I only use and share products I love. Shake Your Booty Dancer Set - Art Impressions (retired) Shake Your Booty Bummer Set - Art Impressions (retired) Aged To Perfection - Art Impressions Dance It Out - Art Impressions
I decided to create a Slimline card for my coffee themed card this time around.
For the Slimline portion of the card I used Trinity Stamps Stitched Card Panels and Windows die set and the Scalloped Card Panels and Banners die set.
Last week I received this cute Waffle Flower Be A Panda die which I so wanted to play with, so I decided to incorporate it into my coffee themed card. The coffee mug and sentiments used on the front of the card are from Hero Arts July 2018 Card Kit.
MFT Stamps re-released their Say Hello Die-namics from their vault last week, so as I had the original version of this die I decided to pull it out to use on this card.
For the inside of the card I created a pop-up card using Karen Burniston's Katherine Label Pop-up die set, if you turn the label onto it's side it fits perfectly inside the card when it is closed. I used the "Pand-tastic" sentiment from Art Impressions Pand-tastic stamp set along with another of the sentiments from the Hero Arts stamp set.
Along the bottom of the card I added two of the pandas included in the Art Impressions Pand-tastic stamp set. I added a stamped sentiment to the mug the panda is hiding in, also from the Hero Arts stamp set.
The coffee mug next to the panda on the right hand panel and the Coffee Word along the top border of the designer paper are all from La La Land Crafts July 2019 Product Kit.
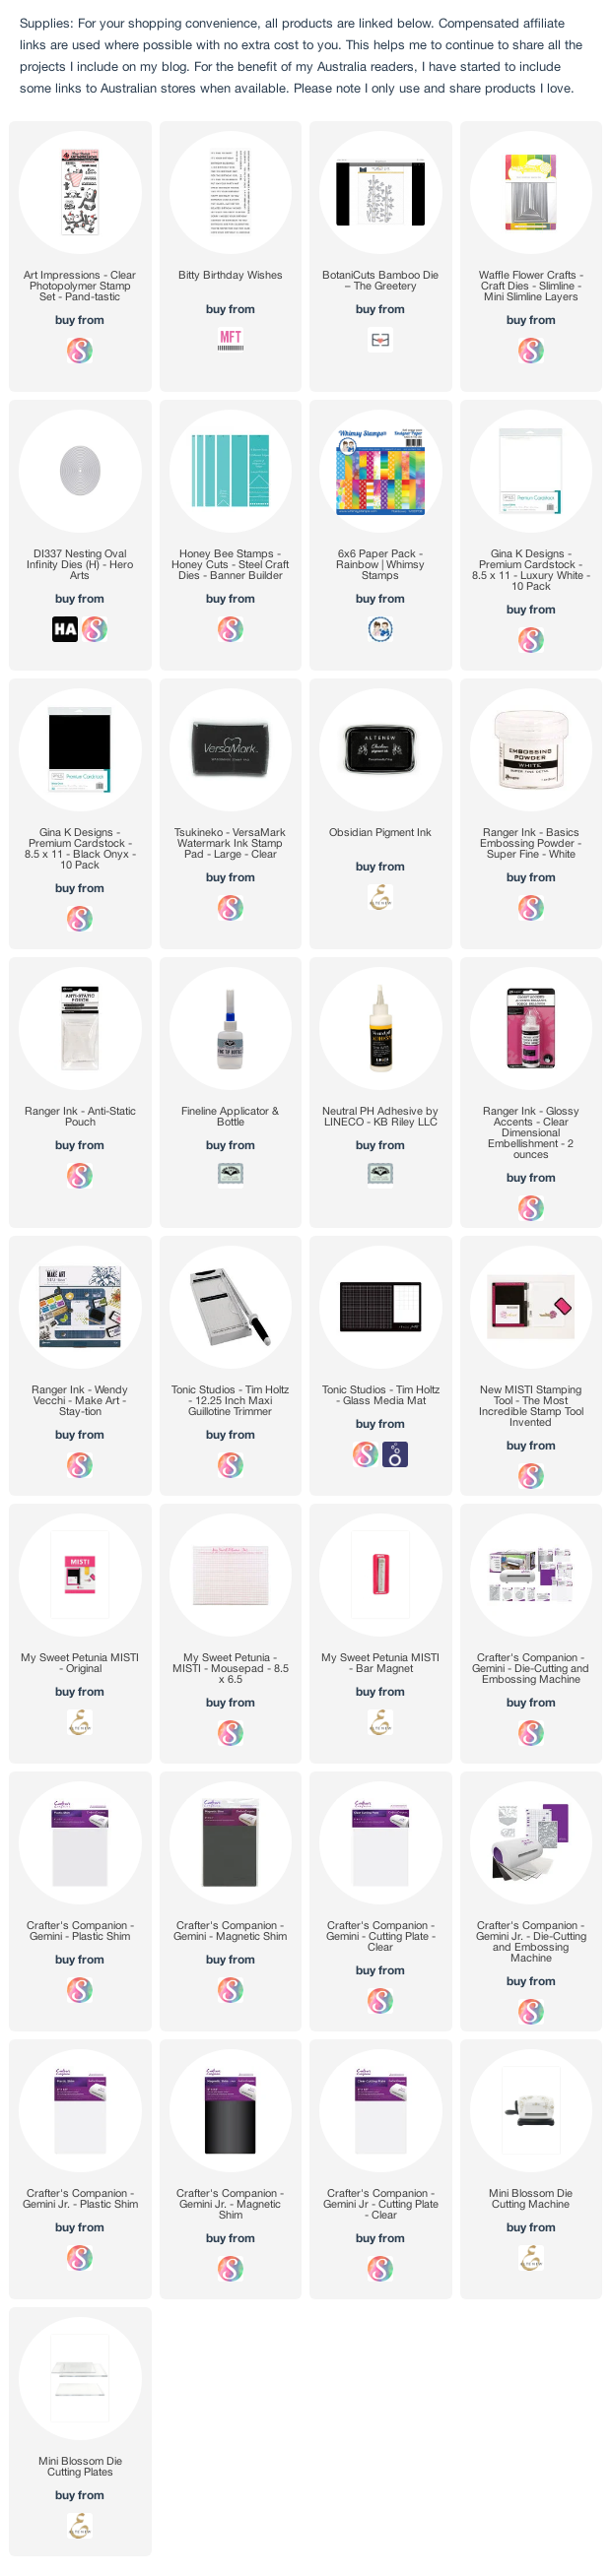
Supplies:
For your shopping convenience, all products are linked below. Compensated affiliate links are used where possible with no extra cost to you. This helps me to continue to share all the projects I include on my blog. For the benefit of my Australia readers, I have started to include some links to Australian stores when available. Please note I only use and share products I love.
Coffee Word & Coffee Mug - La La Land Crafts July 2019 Product Kit
It's challenge time with my friends over on the CCEE Stampers challenge blog. Anne Harmon our challenge hostess for the month, finishes off the month with one last challenge.
Anne tells us that pocket cards are fun, so for our challenge this week we were to make a pocket card of some sort.
Earlier in the month I made a Penguin & Panda Surprise Ball Pop-up animals. I also made pockets for the animals to be put in, so that I could use this to present the animals to the recipient. Since then I have also been wanting to make an owl, so I thought this was the perfect opportunity to make it.
The owl is sitting on a branch of a tree that is attached to a circle using the Crosshatch -Ovals die set. I also added a sentiment to the front of the circle.
Here is a quick video to see my Owl Surprise Ball Pop-up in action.
To create the owl I used Karen Burniston's Surprise Ball Pop-up die set to create two balls which were both die cut from tan cardstock. I then die cut another one die from beige speckled paper and added this to the front of the bottom all for the owls belly.
I added the owls tail by using folding a piece of tan cardstock in half. I then used a segment that was left over from a previous surprise ball to cut out the shape of the segment, so that the wider side of the segment was placed on the fold. I then used a scalloped border die to die cut the bottom panel to give it a fancy edge. I die this twice so I could have a wide tail. I die cut another scalloped border from tan cardstock and patched this on either side of the tail piece cut previously to fill in the gap.
I die cut two ovals from the Crosshatch - Ovals die set to use for the owl wings which I placed on either side of the owl.
The ears were created using a kite shaped die and then altered slightly to get the look I wanted.
I die cut another circle using the Crosshatch - Circles die set and stamped an owl themed sentiment from Art Impressions. This was then attached underneath the circle the owl is attached to.
Of course I needed a pocket for my owl which is what the challenge is about! I created a simple rectangle pocket and added some owl patterned paper on the front. I added the sentiments over the paper for some extra interest.
I added the "Pull Here" to the centre of the right hand side of the card so the recipient knows to use the tail to pull out the owl.
Don't forget to check out the CCEE Stampers blog (goes live 12 AM EST) to see the rest of the creations the CCEE Stampers created this week. You can also see more details of their creations on their individual blogs:
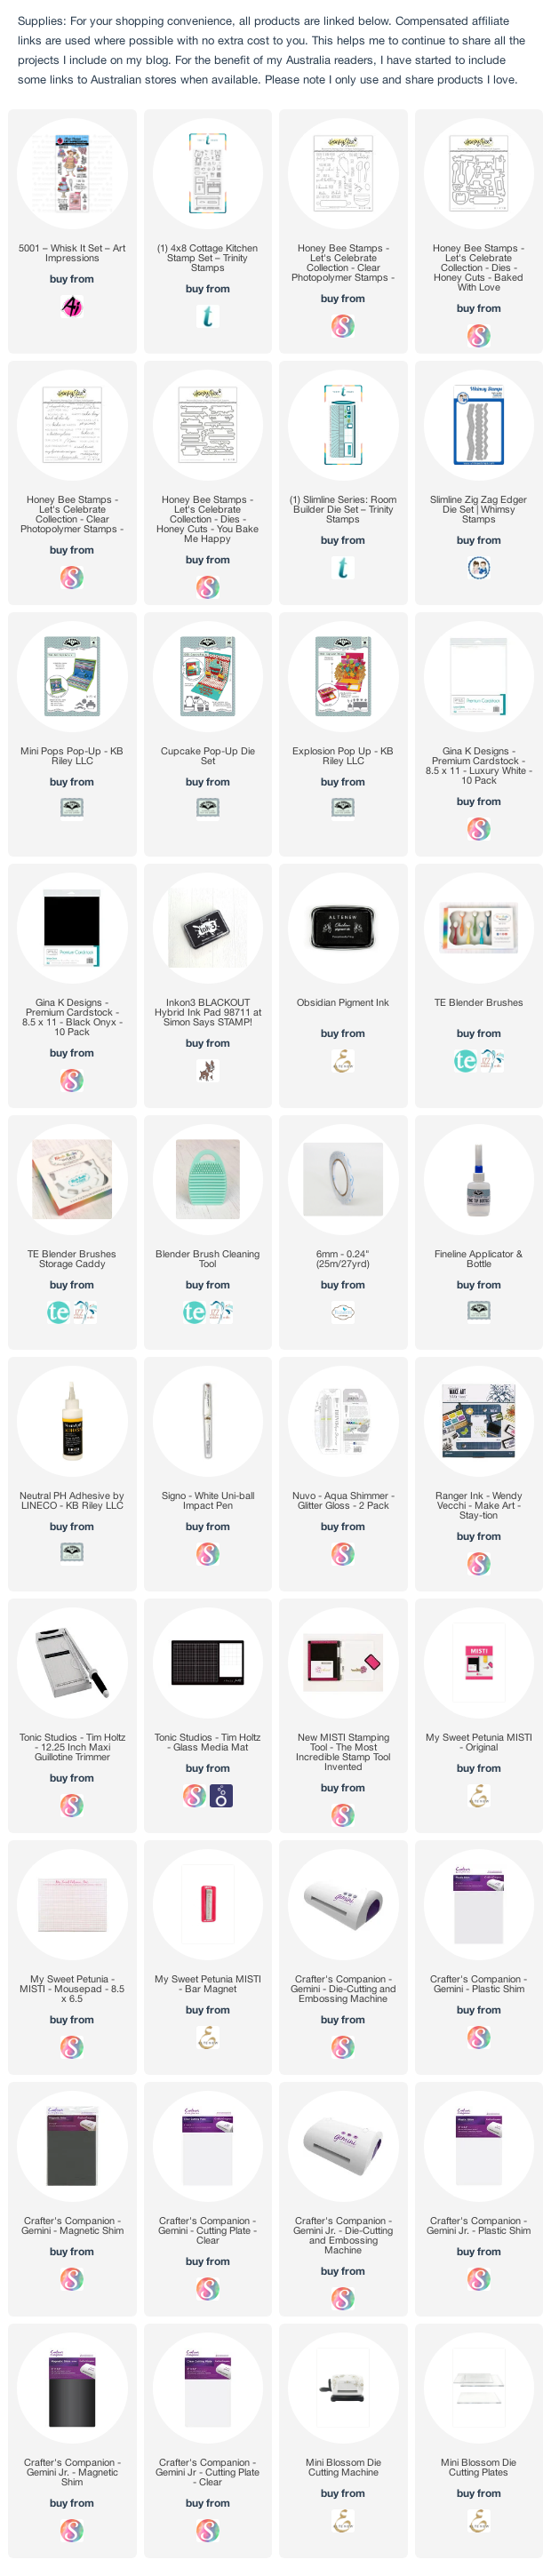
For your shopping convenience, all products are linked below. Compensated affiliate links are used where possible with no extra cost to you. This helps me to continue to share all the projects I include on my blog. For the benefit of my Australia readers, I have started to include some links to Australian stores when available. Please note I only use and share products I love. Chatting Whoots Stamp set - Art Impressions (retired) Birthday Owl Stamp Set - Lil' Inker Designs (retired)