Showing posts with label Stampers Anonymous. Show all posts

Monday, October 5, 2020

Poinsettia Slimline


Hi Crafty Friends,

Last week I shared a Christmas card using Pinkfresh Studio's Ornate Florals die. As I have become addicted with making Slimline cards recently, of course I had to see if I could make this die work in that format too. Here is the card I created.

This time around I die cut the Ornate Florals die from white and gold cardstock. I cut the gold panel down to just under 3 3/4 inches wide and adhered it to a cream pearlescent card that was 3 3/4 inches x 5 1/2 inches.

I trimmed the gold border off the leftover piece of the gold panel and adhered to to the right hand side of the panel created above.

I then colored all the flowers & leaves on the white panel and paper pieced these pieces to the gold frame.

I used Sunny Studio Stamps Slimline Basic Borders to the top and bottom of the Ornate Florals panel and then added this to a dark blue Slimline card.

I added another of the sentiments from The Ton's Easy Expressions Holiday stamp & coordinating die set to the bottom of the card.


For the inside of the card I added a white panel which also had the same border I used on the front of the card.

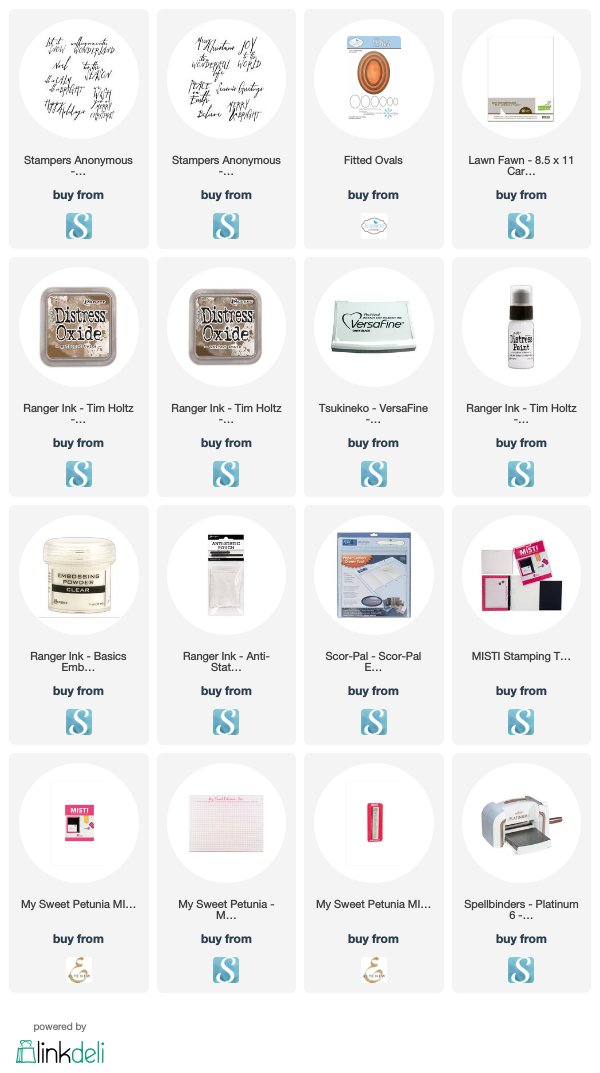
I added a Christmas sentiment from Tim Holtz / Stampers Anonymous Handwritten Greetings 2 stamp set.


Supplies:
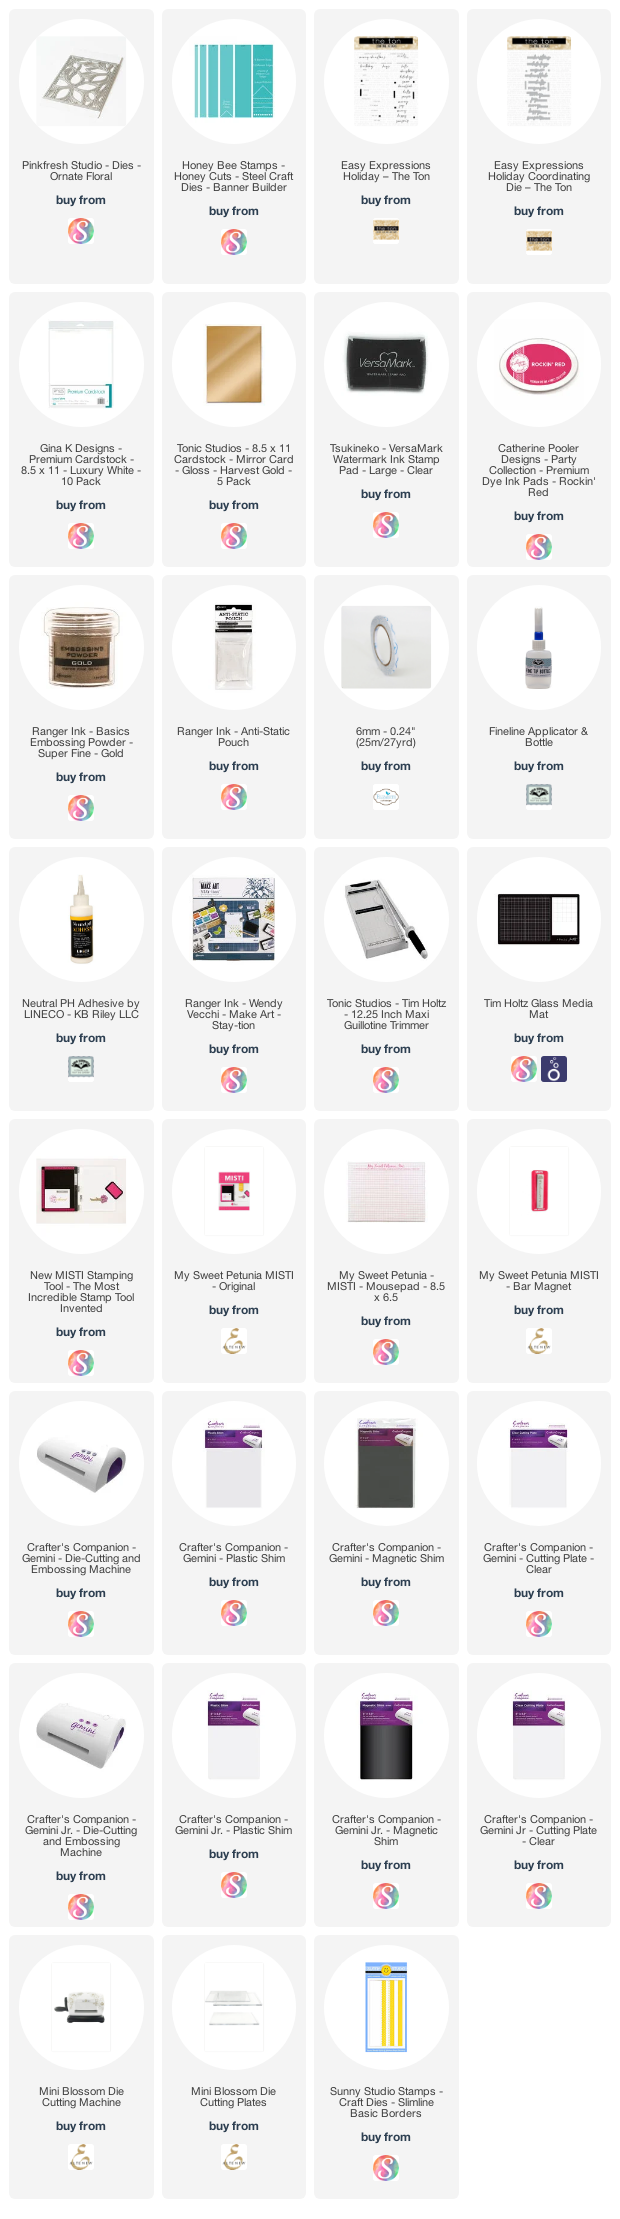
For your shopping convenience, all products are linked below. Compensated affiliate links are used where possible with no extra cost to you. This helps me to continue to share all the projects I include on my blog. For the benefit of my Australia readers, I have started to include some links to Australian stores when available. Please note I only use and share products I love.

Handwritten Greetings 2 Stamp Set - Stampers Anonymous / Tim Holtz


Thursday, December 20, 2018

Stencilled Christmas


Hi Crafty Friends,

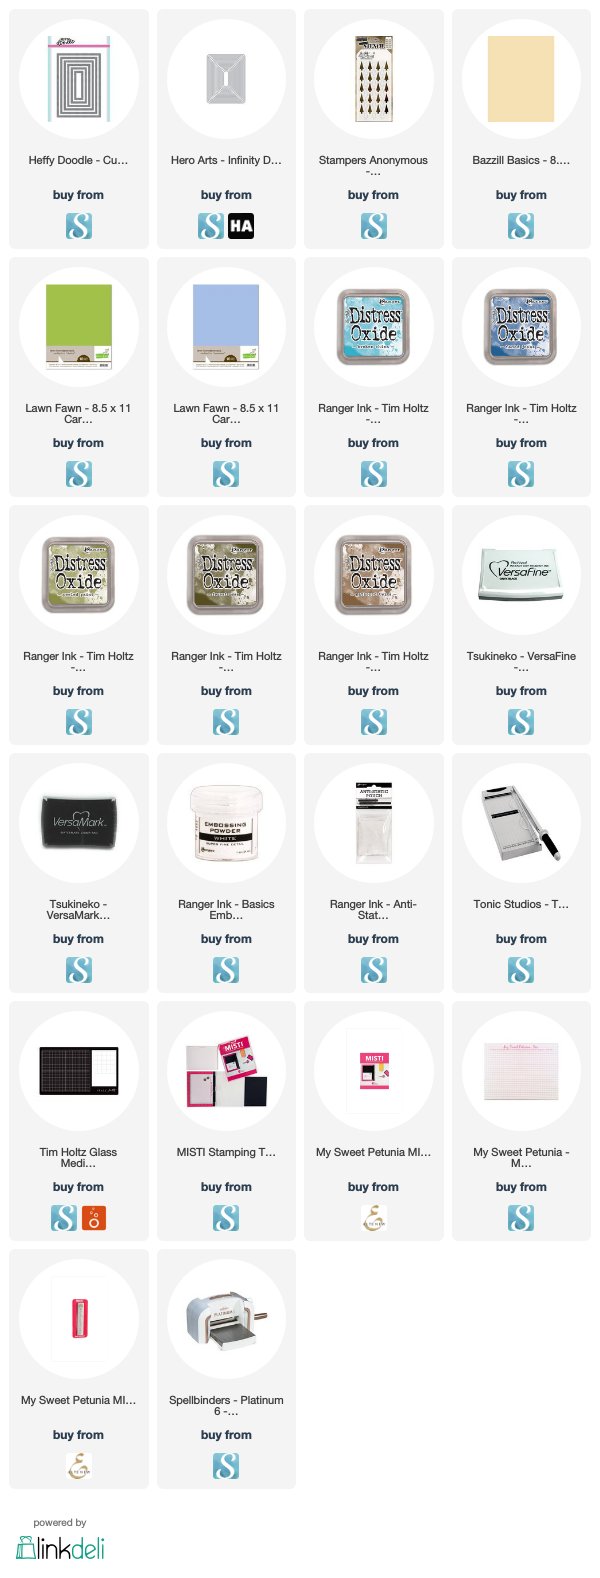
Today I am sharing a Christmas card I created recently using a stencils. Earlier this year Stampers Anonymous/Tim Holtz released some new "Shifter" stencils, these stencils give you the ability to easily use two or more colors in your stencilled project. For my card today I used the Trees stencil, after positioning the stencil onto my card I applied green Distress Oxide inks onto the trees and then added brown to the trunks. I then removed the stencil, repositioned the stencil so I could add the blue trees. 

I die cut the panel using Heffy Doodle's new Metric Stitched Rectangle die set, I love that a company has finally come up with a rectangle die set that caters for the countries that work in metric rather than inches.


I wanted the background to be the main focus of the card, so I kept the decoration fairly simple, using a rectangle from Hero Arts Infinity Rounded Rectangles die set and then added the die cut "Merry" sentiment from Papertrey Ink.

To finish off the card I added a few gems randomly around the card.


For the inside of the card I added a Christmas sentiment from Verses Rubber Stamps, I then used the tree stencil I used on the front of the card to add a few trees around the sentiment using the same colors I used on the front of the card.

Supplies:

For your shopping convenience, all products are linked below. Compensated affiliate links are used where possible with no extra cost to you. This helps me to continue to share all the projects I include on my blog. Please note I only use and share products I love.

Wonderful Words Holiday Die Set - Papertrey Ink
Joy, Love, Laughter - Verses Rubber Stamps


Monday, November 5, 2018

Penguin Flip Slider Card


Hi Crafty Friends,

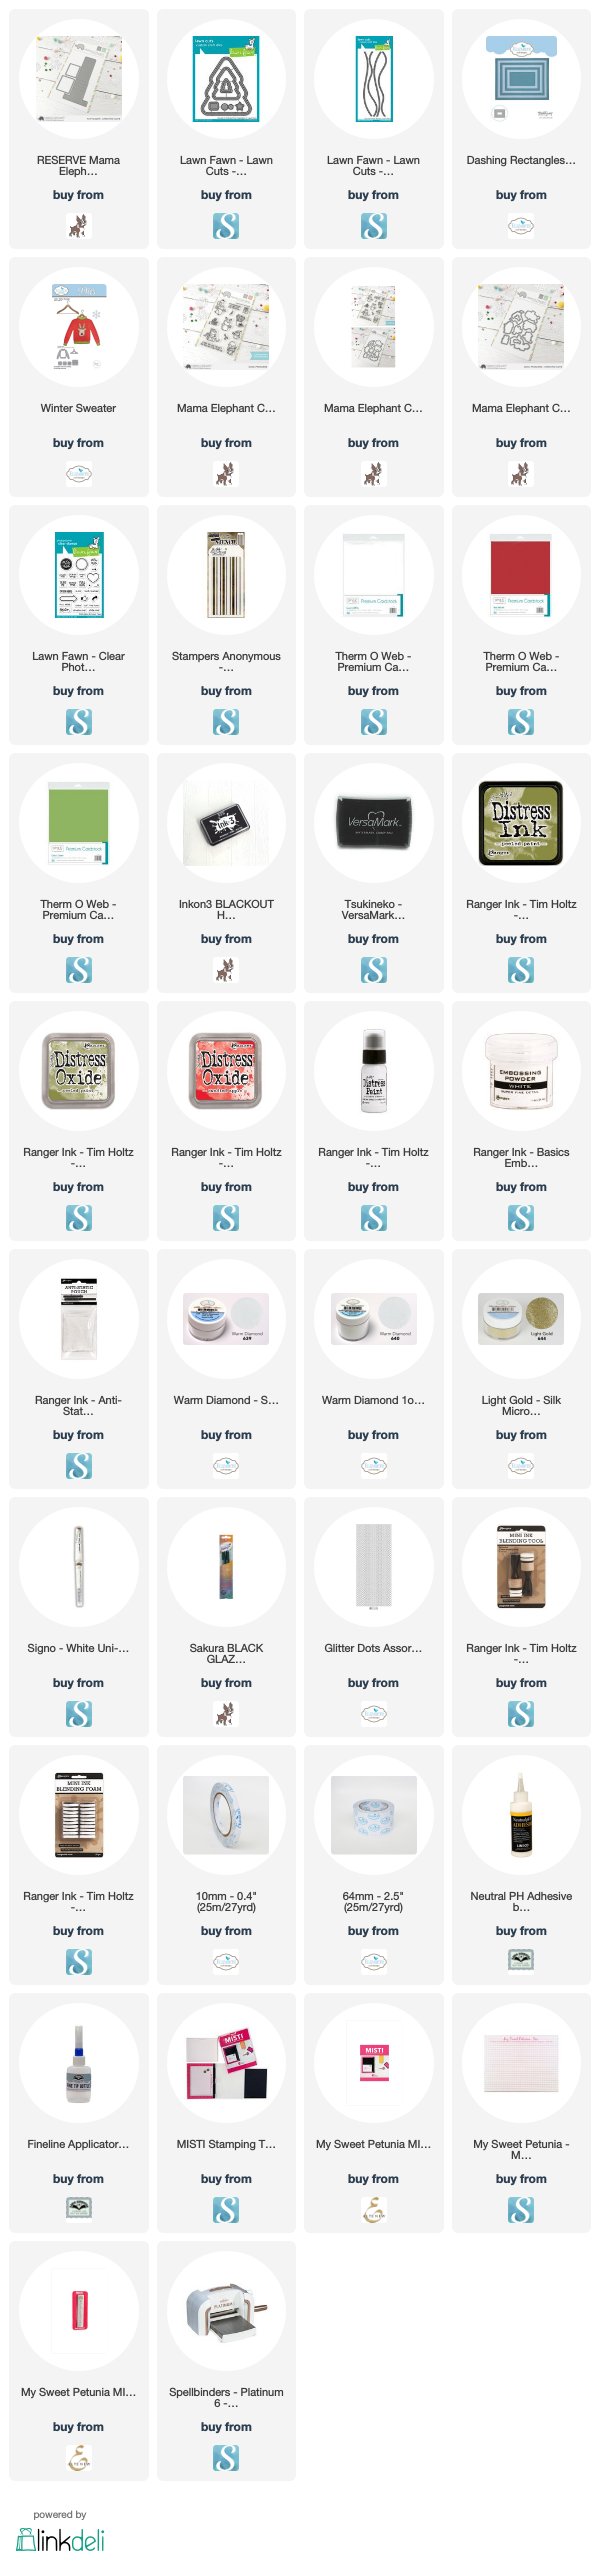
Today I have a Christmas card to share with you today using Mama Elephant's Flip Slider die set which creates a waterfall type card. 

I already have two dies of this type from Tonic however they are fairly large so you need a larger than a standard size card. I was excited when I saw Mama Elephant had something smaller, although it was a lot smaller than I was expecting, but it is still fun and I am sure I will find lots of uses for it in the future.


Here is a quick video showing my card in action.


For the striped background of my card I used the Stampers Anonymous / Tim Holtz Christmas Shifter Stencil. I used Distress Oxide inks to add the two different colored stripes.

The large Christmas Tree is Lawn Fawn's Outside In Stitched Christmas Tree die set.


The penguins are from Mama Elephant's Cool Penguins Clear Stamp set. I added the sentiment to the long green panel of the flip slider die cut.


The red panels on the flip slider have been splattered with white paint to resemble snow and then added some glittery snow to the bottom of each panel using Warm Diamond Silk Microfine Glitter.

I added a couple of snowflakes randomly around the top part of the card and also added a few Glitter Dots Peel Off Stickers to the snowflakes and around the tree.


Here is a look at each of the four different panels as the waterfall/flip part of the card is opening.


For the inside of the card I added a striped background to the bottom edge of the card using the same stencil I used on the front. I also added a couple of images and sentiment from the Cool Penguins stamp set.

Supplies:
For your shopping convenience, all products are linked below. Compensated affiliate links are used where possible with no extra cost to you. This helps me to continue to share all the projects I include on my blog. Please note I only use and share products I love.


Thursday, October 25, 2018

Wooded Christmas Gift Card Holder


Hi Crafty Friends,

It's challenge time with my friends over on the CCEE Stampers challenge blog. Joanne Grzelak our challenge hostess for the month finished off her month with one last challenge.

Our challenge this week is ...... 
True One Layer Only - Joanne says Many of you do fabulously wonderful fancy fold cards, which is not her thing. So today she is challenging use to make a true one layer card ... no layers, no pop-ups, no embellishments. All your work must be on the base layer. Embossing is fine of course.


Anyone who knows me knows I dislike one layer cards ... at least making them myself. So as you can probably tell I cheated! It was either that or throw the card out after making it which I didn't want to do.

The front of the card is a true one layer card! No cheating there! And seeing everyone else normally only creates a card front for any of our challenges ... I am not feeling too guilty!!!

Last year during Simon Says Stamp's Stamptember celebrations, I was able to snag the Stampers Anonymous/Tim Holtz stamp set. I loved the stamps in the set, especially the wood slice included in the stamp set. I have been meaning to use this on a background all year and finally decided to use it for this week's challenge.

I stamped the wood ring all over the front of my card using Walnut Stain Distress Oxide ink and then I used Gathered Twigs Distress Oxide ink to add color all over the card front.

I stamps the sentiment, the deer and trees onto the card using VersaFine Black ink and embossed using clear embossing powder. I then added splatters of Picket Fence Distress Paint all over the card. 

To finish off the front of the card, I created a thick line of black at the top of the card using VersaFine Black ink and again heat embossed.


Ok so this is where I cheated .... I love making pop-up cards and any card I make for my challenges have something interactive in there somewhere. Last week when I was checking out social media, I came across this fun Pop Up Gift Card Holder Tutorial on the Hero Arts blog. This Pop Up Gift Card Holder is made from one sheet of cardstock ... so technically I didn't cheat! 

You can see the tutorial on how to create this here


As you can see I have again stamped the wood slice etc, as I had on the front of the card. 


Here is an overhead view of my card, so you can see the whole inside of the card. I added a sentiment to both sides of the card.

Don't forget to check out the CCEE Stampers blog (goes live 12 AM EST) to see the rest of the creations the CCEE Stampers created this week. You can also see more details of their creations on their individual blogs:

For your shopping convenience, all products are linked below. Compensated affiliate links are used where possible with no extra cost to you. This helps me to continue to share all the projects I include on my blog. Please note I only use and share products I love.

Stamptember 2017 Stamp set - Stamper's Anonymous/Tim Holtz


Thursday, April 5, 2018

Plaid Birthday


Hi Crafty Friends,

It's challenge time with my friends over on the CCEE Stampers challenge blog. Being the beginning of the month it is time to introduce our new challenge hostess which is Lois Bak.

Apparently tomorrow (6th April) is National Tartan Day. Create a card using plaid.


I wanted to try out a new die I purchased from Crafter's Companion ... Square Twist Card which makes a Pop Up Book Card. 

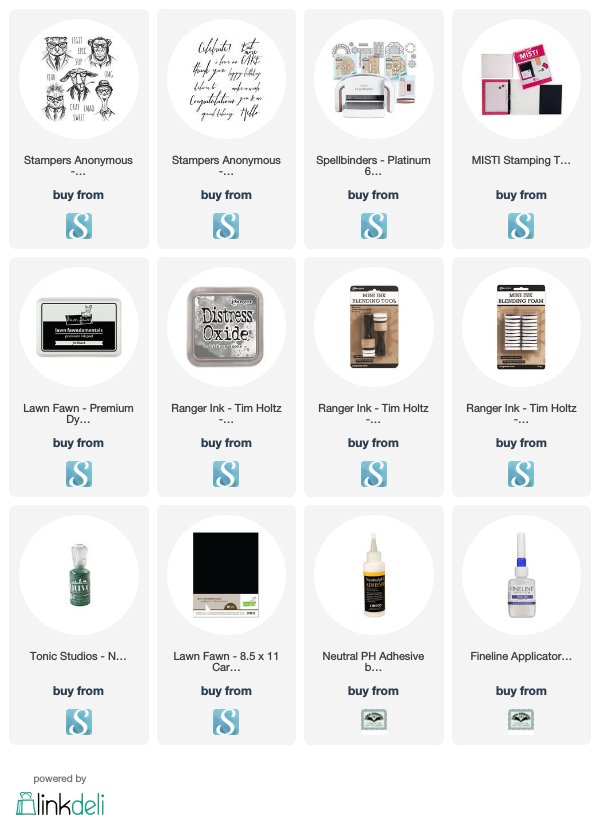
To decorate my card I used Stampers Anonymous Hipster stamp set to create a birthday card.


Here is another look at the inside of my card so you can see the folds a little better.


For the front of my card I stamped two of the Hipster images onto a rectangle panel.

Don't forget to check out the CCEE Stampers blog (goes live 12 AM EST) to see the rest of the creations the CCEE Stampers created this week. You can also see more details of their creations on their individual blogs:


Other:
Birthday Greetings - MFT Stamps
Star Border Die - MFT Stamps
Square Twist Card - Crafter's Companion
White Cardstock
Laughing Lola Blue Paper - Close to my Heart


Sunday, October 29, 2017

A Very Merry Christmas For You


Hi Crafty Friends,

I recently managed to purchase a couple of the exclusion stamp sets that Simon Says Stamp offered for their Stamptember celebration ... one of the sets I really was hoping I would be able to get was this Stampers Anonymous Stamptember stamp set. I really loved the diamond background and the tree rings stamps which I thought would make awesome backgrounds for any time of the new.

Of course since I had the stamp set, I figured I might as well make a Christmas card with it.

I first created the diamond background, this is a stamp which has about three rows of diamonds, so with the help of my stamping platform I was able to stamp this over the background and white emboss it. Next I used three different colors of Distress Oxides to create an ombre effect.

For the white panel, I started by die cutting a Stitched Rectangle. I then stamped the snowman and stars using Broken China Distress Oxide, which I again embossed. 

I placed the white panel onto my card at an angle and trimmed down the top and left hand sides.

I also wanted to use the candy stripe part of the stencil which was also included in this stamp set which I added to the left side of the card using Candied Apple Distress Oxide. 

I stamped one of the sentiments which came in the stamp set onto white cardstock and embossed this in white. This was then colored using the Candied Apple Distress Oxide and then cut it down to create a fishtail banner. I added this banner to the lower right hand side of the card.

To finish off my the front of my card I added three red dots using Nuvo Red Berries Gloss Crystal Drops.


For the inside of my card I added the red candy stripe down the left hand side of my card and then added a sentiment which is stamped in two different colored blue distress oxide inks.

Stamps: Stamptember 2017; Handwritten Holidays - Stampers Anonymous
Paper: White
Dies: Stitched Rectangles - Elizaberh Craft Designs
Other: Broken China Distress Oxide; Salty Ocean Distress Oxide; Faded Jeans Distress Oxide; Candied Apple Distress Oxide; VersaMark Ink; White Embossing Powder; Heat Gun, Stamping Platform; Nuvo Red Berry Gloss Crystal Drops; Fun Foam


Wednesday, April 26, 2017

Birthday Dude


Hi everyone,

Today I am sharing my third and final (for now) card using the new Stampers Anonymous Hipster stamp set. I have again used the Distress Oxides to create my background also adding some stencil effects to the background.

For the card base I used Elizabeth Craft Designs Fishtail Borders to create a fishtail shaped card. 

Along the left hand sided of the card I added the word "birthday" plus the tail and head of an arrow from the Joset Designs Arrows die set.


For the inside of my card I added another of the arrows to the left hand side of the card and added a birthday sentiment.

Stamps: Hipster; Handwritten Sentiments - Stampers Anonymous; Fantastic Collection - Couture Creations
Paper: White; Black
Dies: Fishtail Borders; Stitched Ovals; Dotted Scallop Ovals - Elizabeth Craft Designs; Wonderful Words Birthday - Papertrey Ink
Other: Black Ink; Fired Brick Distress Oxide; Fossilized Amber Distress Oxide; Spiced Marmalade Distress Oxide; Walnut Stain Distress Oxide; Concentric Circle Stencil - MFT Stamps;  Foam Tape; Copics


Tuesday, April 25, 2017

Happy Birthday

Hi everyone,

Today I am sharing another card I created recently using the new Stampers Anonymous Hipster stamp set. This time round I have used the cat from the stamp set.

I have again used Distress Oxides to create the background of my card adding various colors of inks to my cardstock. To finish off the background I used a brick stencil.


For the sentiment I used a Grunge Birthday sentiment I have had in my stash for a while which I die cut using the ModaScrap Stitched Fishtail Banners. I also added a couple of stencilled  paw prints to the panel.


For the inside of my card I added a sentiment and some stencilled paw prints using the A Way with Stencils Hearts/Paw Print Stencil.

Stamps: Hipster - Stampers Anonymous; Birthday Grunge - Stamp It; Hip Hip - Kaisercraft
Paper: White; Black; Kraft
Dies: Stitched Rectangles; Fitted Rectangles; ModaScrap Stitched Fishtail Banners - Elizabeth Craft Designs
Other: Black Ink; Fired Brick Distress Oxide; Fossilized Amber Distress Oxide; Wilted Violet Distress Oxide; Walnut Stain Distress Oxide; Small Brick Wall Stencil - MFT Stamps;  A Way with Stencils Hearts/Paws - Elizabeth Craft Designs; Foam Tape; Copics


Monday, April 24, 2017

Epic


Hi everyone,

Today I am sharing a card I created with my recent purchase of the Stampers Anonymous Hipster stamp set. I was a little on the fence as to whether I needed this set or not ... but as you can see I climbed that fence and got it hehe! I will be sharing cards I made using this stamp set over the next few days.


I thought most of the stamps in this stamp set would be great for male cards which I never have enough of, so I have created some male birthday cards using them.

For the background of my card I used Distress Oxide inks by smooching the inks on my craft mat. I then used a few different stencils to the background.

I used the Stitched Fishtails and Fitted Fishtails die sets to layer the image from the set and the sentiment.

Finally I added some Multi Medium Matte adhesive to add some brown prills over the background.


For the inside of my card, I created another background panel for the left hand side of the card so it was similar to that on the front of the card. On the right hand panel I added a birthday sentiment.


Stamps: Hipster - Stampers Anonymous; Gift Card Greetings - MFT Stamps
Paper: White; Black; Kraft
Dies: Stitched Squares; Fitted Squares; Stitched Fishtails; Fitted Fishtails - Elizabeth Craft Designs
Stencils: Stripes Layering Stencil; Bubble Layering Stencil - Stampers Anonymous; Numbers - Unknown
Other: Black Ink; Peel Paint Distress Oxide; Fossilized Amber Distress Oxide; Faded Jeans Distress Oxide; Vintage Photo Distress Oxide; Secret Garden Prills - Elizabeth Craft Designs; Multi Medium Matte; Foam Tape; Copics

Tuesday, October 11, 2016

Wish You a Merry Christmas


Hi everyone,

Today I am sharing a Christmas card I created using the penguin from the Stampendous Winter Friends stamp set.

For the base of my card I used the Rectangle Pull Card designed by Karen Burniston for Elizabeth Craft Designs. I added snow to the bottom side panels of my card using the snow border from the Outdoor Edges die set and Warm Diamond Silk Microfine Glitter.


When you "pull" the card open it reveals a Christmas sentiment and a present which is attached to a spinner which is also included in the Rectangle Pull Card die set.


Stamps: Winter Friends - Stampendous; Handwritten Holiday 2 - Stampers Anonymous
Paper: White; Teal; Christmas Wishes DP - Kaisercraft
Dies: Rectangle Pull Card; Outdoor Edges - designed by Karen Burniston for Elizabeth Craft Designs
Other ECD Products: Clear Double Sided Adhesive Tape 64mm; Warm Diamond Silk Microfine Glitter
Other: Black Ink; Scan N Cut; Foam Tape; Copics


Sunday, September 25, 2016

Coffee Crazy


Hi everyone,

Today I am playing along with the Fall Coffee Lovers Bloghop which is being held from Friday 23rd September to Friday 30th September. The theme is Fall!


This time round I am playing with the Stampers Anonymous Fresh Brewed Blueprints which I purchased a few months ago when my paper craft store closed down and had them on special.

For the front of my card I used the MFT Stamps Horizontal Stitched Stripes in fall colors and then used the Splatters Stencil to add splatters all over the background. I added two of the images from the Fresh Brewed Blueprints stamp set and then added one of the birds from the Mini Bird Crazy and Things stamp set.


For the inside of my card I used the Anita Frames Pop Up die set designed by Karen Burniston for Elizabeth Craft Designs. I also used the Coffee Stage It Stencil to sponge the coffee beans on either side of the card. The sentiments are from the Coffee & Tea Clear Stamp set.


I finished decorating the card using the Coffee and Crazy Birds again on either side of the card.


Stamps: Fresh Brewed Blueprint; Mini Bird Crazy & Things - Stampers Anonymous; Coffee & Tea Clear Stamps - Elizabeth Craft Designs
Paper: White; Kraft; Brown; Rust; Green; Yellow
Dies: Anita Frames Pop Up - designed by Karen Burniston for Elizabeth Craft Designs; Horizontal Stitched Stripes - MFT Stamps
Other ECD Products: Coffee Stage It Stencil;
Other: Black Ink; Ground Espresso Distress Ink; Brushed Corduroy Distress Ink; Splatter Stencil - Tim Holtz; Foam Tape; Copics