Friday, January 24, 2025

Just Popping Up To Say


Hi Crafty Friends,

Welcome to my blog. Today I am sharing a 5 x 7 Pop up card using some of the new die & stamp sets from Karen Burniston’s January release. All new products will be available on Monday 27th January.


Who doesn’t like popcorn! This fun & yummy card uses Karen Burniston’s Flower Pot Pop-up die set along with two new die sets that were designed to work with this die …Flower Pot Add-ons & Popcorn die set. The Flower Pot Add-ons die set includes a decorative base with built in tabs to fit the Flower Pot Pop-up as well as a few new flowers that can be used to decorate it. The Popcorn die set includes dies to create a bix of popcorn which can be used as a stand alone die or as I have here to create a 3D popcorn box from the Flower Pot Pop-up.


I cut strips of red and white cardstock to create the end panels of my card, I die cut the end using the Long Nature Edges die set.

The sentiments used on the card are from the new Popcorn Phrases stamp set. I used the labels from the Rectangles & Labels Crosshatch die set for the sentiment panels.


I kept the front of the card fairly simple seeing the focus is on the inside of the card. I had a small piece of the red & white card over, so I made use of that. I added the Happy Birthday & Happy Birthday Shadow die sets to add the large sentiment. I also used one of the sentiments from the Popcorn Phrases stamp set.








Wednesday, January 22, 2025

Double Triple Slimline Birthday


Hi Crafty Friends, 

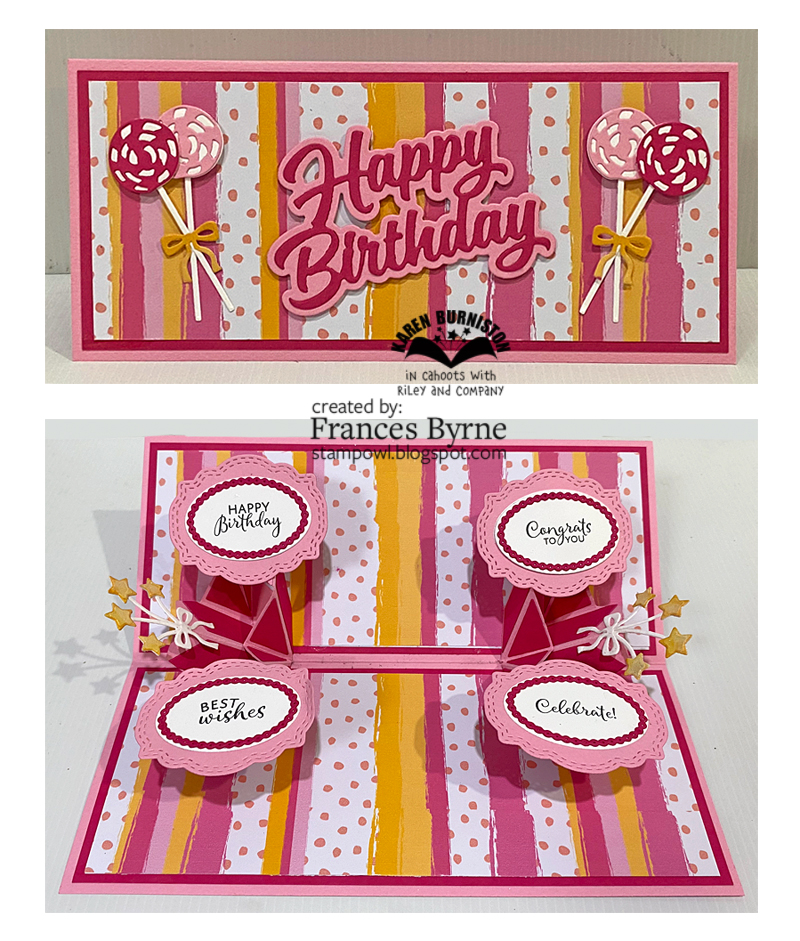
Today I am sharing a Slimline Pop-up card, using stamps and dies from Karen Burniston’s January release which happens on Monday 28th January. There are 8 new dies and 4 new stamp sets that will be released.


Here is a quick video to see my card in action.


As you can see I have created a double pop-up card using the new Triple Platform Pop-up die set. This die fits nicely, and as you can see when you create a slimline card there is room for 2. I decided to created a landscape style card and as I wanted to use some of the new sentiments from the Bouquet Sayings stamp set, I turned the labels the opposite way then they were designed to be. You can normally get 3 labels on the pop up (hence triple platform), but I decided to just use 2 each pop up and then added the stars to the top (or side in the case of my card). Because I changed the orientation of the labels and added two pop ups, I did need to be careful where I posted the labels so they they didn’t cause problems when the card closed with the labels overlapping.


For the front of my card I added the Happy Birthday and Happy Birthday Shadow die. I added the lollipops to each side of the sentiment which are from the new Bouquet Bits die set.


Monday, January 20, 2025

Swinging By


Hi Crafty Friends, 

Today I am sharing a Slimline card using a fun die from Spellbinders. I have admired this girl swinging for a while and I recently had the opportunity to purchase it at a reduced price, which as you can see I did.

After putting all the pieces together to create the image, I decided to add it to a Slimline card. I pulled out some patterned paper of the garden scene which worked well with the swing, so I used it. The flowers are also included in the die set, so I added some to the scene.

To finish off the front of the card I added a sentiment from Neat & Tangled.


For the inside of my card I added the Big Hi sentiment from Stamp Market, I then stamped the birthday sentiment underneath. Finally I added some of the flowers randomly around the sentiment. 


Friday, January 17, 2025

80th Birthday


Hi Crafty Friends,


A friend recently had her 80th birthday, so of course I wanted to make a special birthday card for her.

To create her card I pulled out one of the Double Concertina Gatefold die set from the Made To Surprise by Sam Calcott's Showstoppers 3 Collection.

For the "H B 2 U" in the concertina portion of the card, I used the letters from the Chunky Alphabet die set. I added hearts on either side of the letters, using a heart die from Creative Craft Products, before attaching to the card I dry embossed the smaller heart using Spellbinders Rosette Burst 3D Embossing Folder.

For the sentiment on the left side of the card, I added one of the birthday sentiments included in the Moving Along stamp set. This was stamped using Catherine Pooler's Gold ink pad.

On the right hand panel, I added the "80th" using dies from Creative Craft Products Small Numbers Galore - 80th stamp & die set.


I kept the front of the card fairly simple as the focus is on the inside. I added the circle and filigree circle for my layers. I stamped the "birthday wishes" using gold ink to the lower section of the circle. I then added the "happy" which is from the All The Sentiments die & stamp set.

To finish off the front of the card, I added the presents using one of the stamps included in the Surprise Party stamp & die set.

On the back of the card, I added a white panel and added another birthday sentiment.  I also added another present, this time from the Bringing Gifts stamp & die set from Made To Surprise. This also gives us a place to add a handwritten sentiment.


Wednesday, January 15, 2025

Arched Happy Birthday


Hi Crafty Friends,

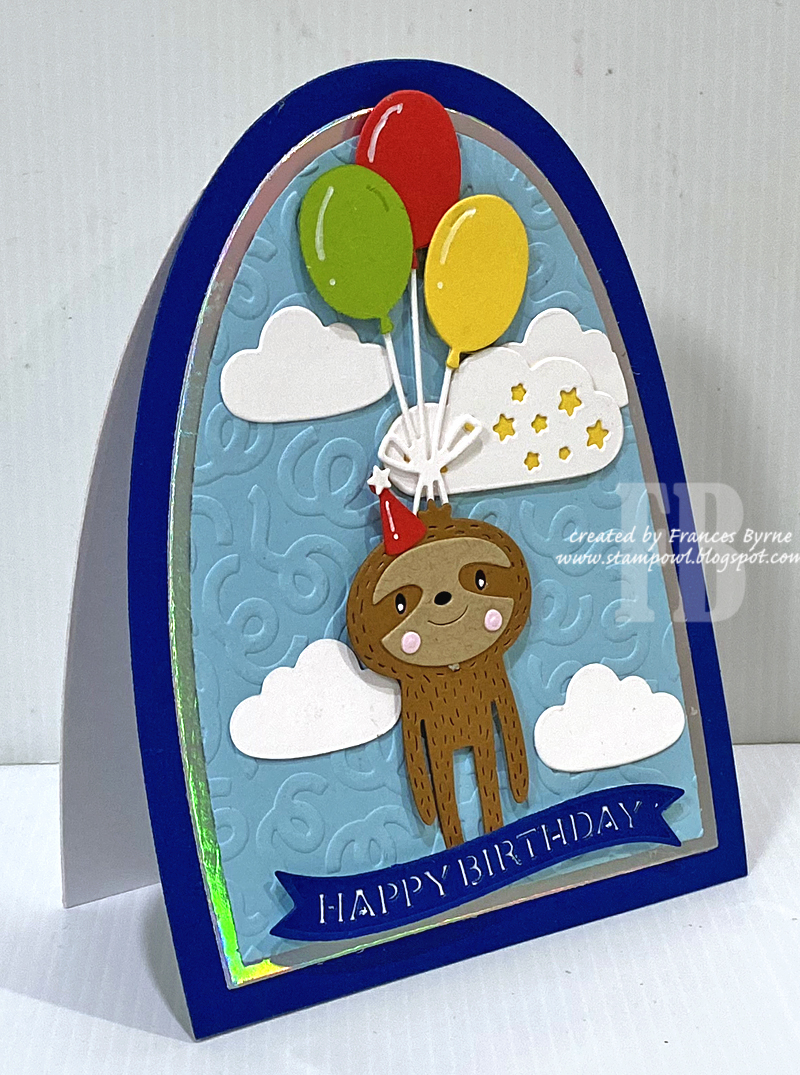
Today I am sharing a fun shaped birthday card with you using dies from Spellbinders Paper Crafts.

For the Arch shaped card base & layers, I used the Arch Labels & Tag die set. I cut the larger arch from dark blue cardstock and also one from white. And then counting down from the large arch as "1" I took the 3rd and 4th arch die for the layers, so I could have a larger border between the silver and dark blue base.

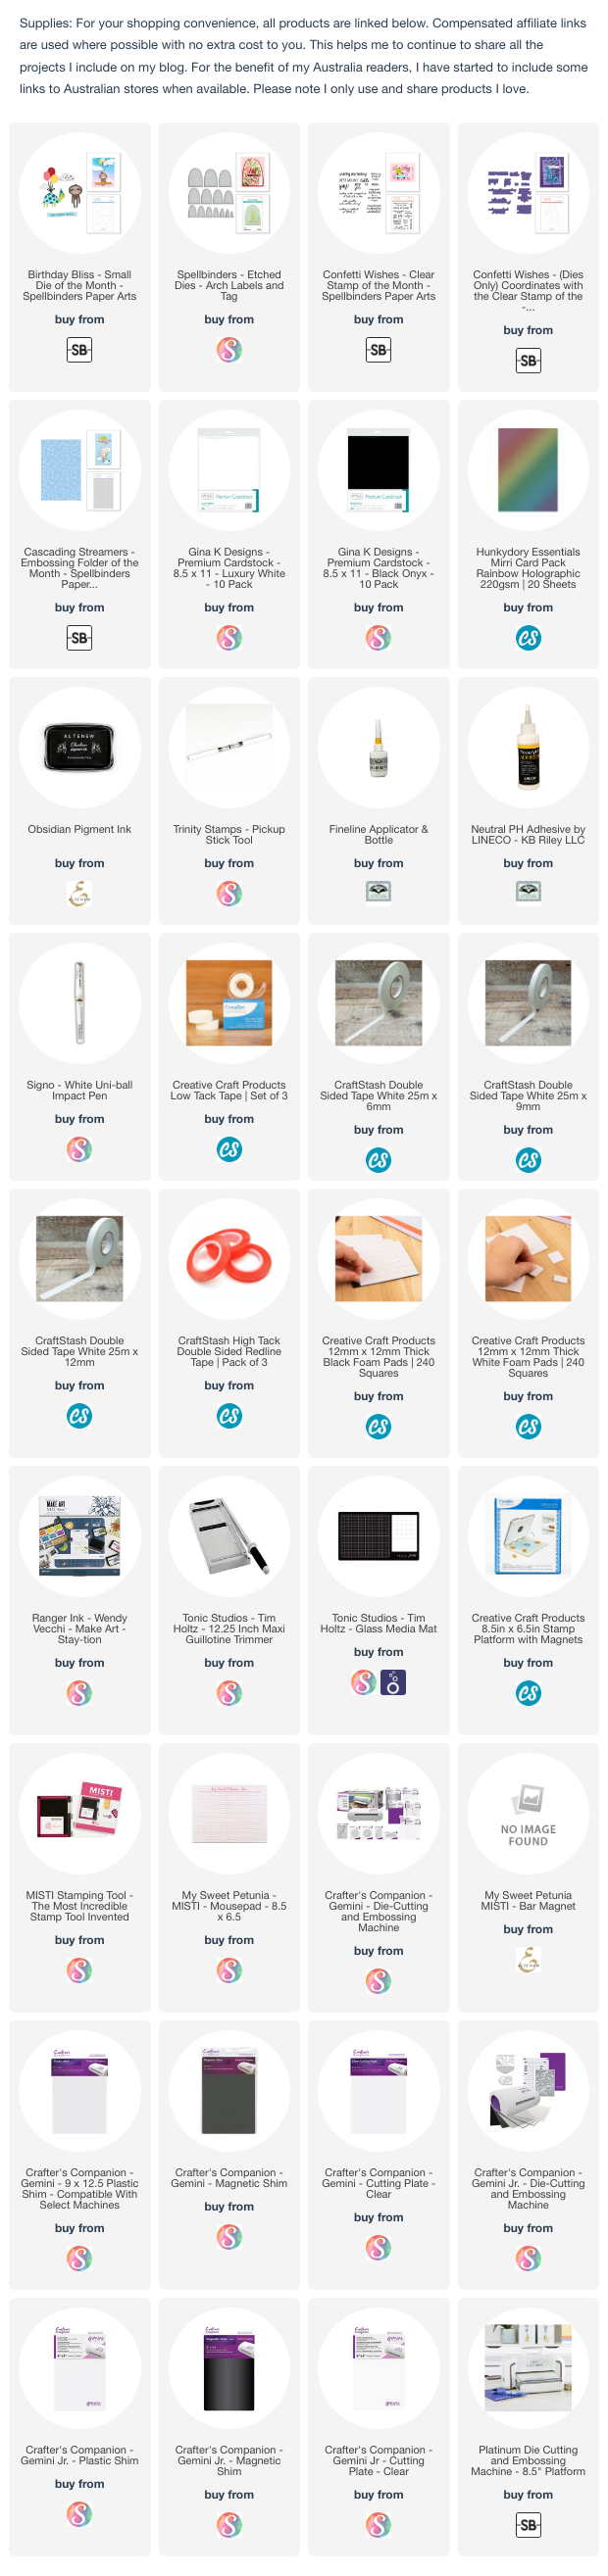
For the blue arch that acts as the sky I Spellbinders Cascading Streamers Embossing folder to add texture, this was the Embossing Folder the Month for November 24. The Sloth, balloons. clouds etc are all from the Birthday Bliss die set which was the Small Die of the Month for November 24. I ended up ordering the caboodle meaning I got all the products for November at a cheaper price which I received for a Christmas present.


The sentiment along the bottom of the card is one using a banner die set included in Spellbinders Advent Calendar for 2024 ... there is a banner die included in the die set I used for the rest of the card but it said Birthday Blessings and I preferred Happy Birthday for this one.


For the inside of the card I added a birthday sentiment from the Confetti Wishes which was the Clear stamp of the month for November 24. I also added a bunch of balloons to the right hand side of the panel.


Monday, January 13, 2025

Deepest Sympathy


Hi Crafty Friends,

Today I am sharing another sympathy card that I created recently with you. Last year when I pulled out my Betterpress supplies in readiness to make some Christmas cards, I discovered to card panels which had been either gold foiled or Betterpressed,  one was already coloured, the other diecut using a fancy rectangle die. Of course I pulled these both out and turned them both into sympathy cards which is what I need most to add to my stash of cards right now.

This card uses the Betterpress plate that came with the Betterpress System when I purchsed it some time ago. I had gold foiled it rather than put it through the Betterpress, which is one of the things I love about Betterpress plates ... you have option! It was already die cut using the largest die in Pinkfresh Studios Rounded & Braided Rectangles die set. After colouring the image, I layered it onto some gold cardstock, rounding two of the corners to match the white panel.

I created a 5 x 7 inch side folding card, and added a panel to the front which I embossed using Spellbinders Rosette Burst 3D Embossing Folder. I then added the floral panel to the card.

To finish off the card I added the sympathy senitment which is also gold foiled and is from Spellbinders Mini Everyday Messages Hot Glimmer Plate.


For the inside of the card, I added a panel the same as I used on the front of my card. I gold embossed a sentiment using Honey Bee Stamps Rainbow Bridge stamp set. 


Friday, January 10, 2025

Slimline Sympathy


Hi Crafty Friends,

I received a Spellbinders Scout Die Cutting Machine for Christmas, I love that it is slimline size having a Slimline length cutting plate. With the machine came a slimline embossing folder exclusive to the Blue Misty Scout that I received. Of course I wanted to play with it so I created these 5 Slimline Sympathy cards.

I needed to a few sympathy cards to my stash, they are not cards we like to make and hopefully won't need to use for a long time, but I like to have a few on hand so I have one when needed.


For my cards today I inked the debossed side of the embossing folder using Tumbled Glass, Chipped Sapphire and Wilted Violet Distress Oxide inks before running the panel though my Scout Die Cutting Machine. This machine even comes with plates for 3D embossing folders which by the way this plate is.

I layered the panel onto a piece of purple cardstock and then onto a side folding Slimline card.

I used Spellbinders Mini Everyday Sentiments Glimmer Hot Foil Plate to gold foil my sentiment, which I adhered to the lower portion of the card.

To finish the card I added some Pinkfresh Studios Glacier Jewels to the lower portion of the card.


For the inside of my card, I pulled out my Paper Inspirations Sympathy wood mounted stamp and stamped it using Catherine Pooler Gold Ink. This is my favourite sympathy sentiment I have and works perfectly on a slimline card being so long.


Tuesday, January 7, 2025

January 2025 Karen Burniston Designer Challenge


Hi Crafty Friends,

Welcome to our January Karen Burniston Designer Challenge.

Check out Karen Burniston's blog on Wednesday (US Time) when you will be able to see what all the designers created for the challenge this month, plus Karen will have an amazing video tutorial to share with us all.


Our challenge theme this month is ... "THE FIRST 100 DIES" - Make a card using any of our die sets with item numbers between 1001 and 1100.


My first thought when deciding what to create for this challenge was to make a card using the Katherine Label Pop-up, as this would have to be my most used die. But it was for this reason I decided not to use it and looked in another direction.

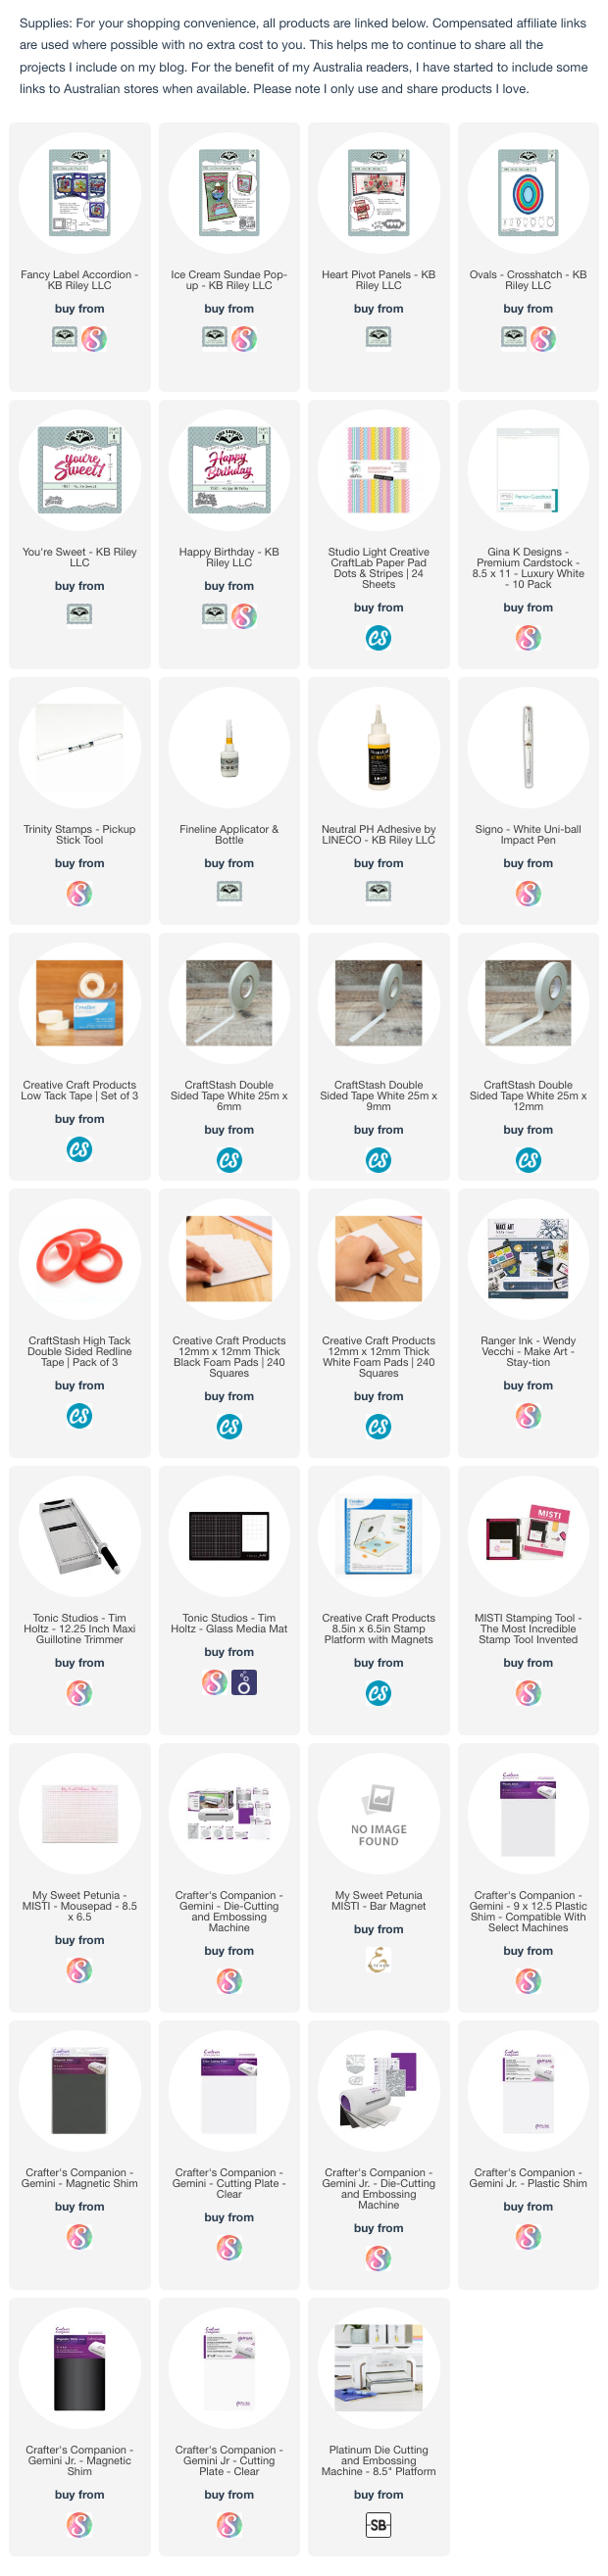
Instead I decided to pull out my Fancy Label Accordion die set as this would have been one of the very first Karen Burniston dies I purchased back in 2013 when Karen was designing for Sizzix. Of course there are many improvements on the newer dies from the thick steel rule dies of the past. 

I wanted a colourful card, so I selected the four striped colours included in a pattern paper pad I have and used a differed colour for each of the 4 panels.


To decorate my card I used the Ice Cream Sundae Pop-up die set, using the elements that make up the Ice Cream Sundae for the first and third panels of my card.

On the centre panel I added the "You're Sweet" Sentiment, layering it up to give it some dimension.


For something different, I decided to add a square panel at the end of the accordion card. I have done this before but it was a number of years ago. Besides being able to add another sentiment, it gives a place on the back to be able to write a personal greeting to the recipient.

I used the Ovals Crosshatch for the layers of my card and then added the "Happy Birthday" sentiment. This sentiment does now have a layering die which you can purchase separately, but as it didn't fit into the theme "The First 100 dies" I didn't use it. Everything I used on my card today are from the first 100 dies.

The hearts which I added to the last panel are from the Heart Pivot Panels die set.


Here is a look at my card when it is closed ready to be placed in an envelope.

Don't forget to visit Karen Burniston's blog on Wednesday (US Time) when you will be able to see what all the designers created for the challenge this month.


Monday, January 6, 2025

Another Year Older

Hi Crafty Friends,

Today I am sharing a birthday card I created recently.


This card uses Made To Surprise by Sam Calcott's 5 x 7 Secret Messages die set. Rather than using the die to create a Secret Message Card, I added a few score lines to the centre portion of the card as per a video by Sam to create the Faceted Diamond Pop-up. 

I added the birthday sentiment to the centre of the card which is also one of Made To Surprise stamp sets.


For the front of the card, I added a yellow panel to my 5 x 7 card which I embossed using Spellbinders Rosette Burst 3D Embossing Folder. 

I used the "Happy" word from Made To Surprise's All the Sentiments die set to add the happy and the birthday is a stamp also included in this set.

To finish the card, I added some balloons using dies included in Spellbinders Birthday Bliss die set, which was the November small die of the month.


Friday, January 3, 2025

Let's Celebrate You

Hi Crafty Friends!

Happy New Year to you all, I hope 2025 is good for us all! 

For my card today I am sharing a Triple Tier Slider card, I have made a few of these over the years, but I love having a die set that cuts everything out for you. This is a 5 x 7 inch card and uses Made To Surprise by Sam Calcott’s Triple Tier Slider die set which was released a while back by Craft Stash. 


To decorate the main panel of my card, I used the cute mouse & boot which are two die sets from Elizabeth Craft Designs. 

When you pull the tab that is showing at the top of the card it reveals a sentiment. This is also from Made To Surprise.


Pulling the tab at the top once more reveals another panel that contains a birthday sentiment which is from the same stamp set.

To finish the card, I added the ‘eek’ word three times randomly around the mouse.