Showing posts with label Snow Globe Card. Show all posts

Friday, October 29, 2021

Santa Snow Globe


Hi Crafty Friends,

Today I am sharing a Christmas card I created using stamps and dies from Elizabeth Craft Designs, all dies used were designed by Joset Designs.

To create my card I used the Snow Globe die. I die cut the snow globe frame once from silver cardstock and 4 times from white cardstock, I layered the frames together with the silver frame on the top. For the centre portion of the snowglobe I die cut from navy cardstock and used white paint to spatter over the panel. I used a snow/dirt border included in the Adventure Edges 2 die set to add the snow at the bottom of the snow globe. I die cut the snow globe stand from green 7 white cardstock, layering them so they were the same height as the frame. 

I white embossed the Christmas sentiment to the green stand using a sentiment from the Holiday Sparkle stamp set which is included in the Classic Christmas Special Kit.

In the centre of the snow globe I added Santa, using the Santa Claus die set.

I adhered the snow globe and Santa to a 5 inch x 7 inch top folding card. I then added the snowflakes around the snow globe which are also included in the Snow Globe die set.

For the inside of the card I added a strip of patterned paper to the left side of my card. I then added another of the sentiments from the Holiday Sparkle stamp set.

I added the snowflakes around the sentiment which have been glittered using Warm Diamond Silk Microfine Glitter and Clear Double Sided Adhesive Tape.


Tuesday, December 22, 2020

Candy Cane Wishes & Gingerbread Hugs


Hi Crafty Friends, 

Today I am sharing a Christmas themed Gatefold Shutter Card using stamps and dies from Lawn Fawn.

I have been wanting to create this style of card for some time now using the new Lawn Fawn Christmas themed stamps and dies I purchased back in August, but with everything else I have been doing this year it kept getting put on the back burner. So I am so happy to finally get something made using a number of the different stamp & die sets.

To create the background on my card, I started with a blue card base. I then used Broken China & Faded Jeans Distress Oxide inks to blend color around all the various panels of this card. Next I splattered white paint and Liquid Stardust over each of the panels.


For the front of the card I used the Build A House and Build A House Gingerbread Add On die sets to create the gingerbread house and gingerbread men. The house was layered onto an oval which had been colored the same as the other panels on the card. 

I added white glitter cardstock to the bottom of the card and bottom of the oval using the Stitched Hillside Borders die set to die cut the hills.


The oval was attached to a blue belly band which helps keep the card closed.


Here you can see the front of my card with the belly band removed, ready to start opening the card.


Here the card is partially opened, starting to reveal the image which is hidden behind the shutter.


Finally the full reveal ... I used the Shutter Card Snow Globe Add On to add the snow glove to the centre portion of the card. I used MFT Stamps Shutter Card Components to create the shutter card, I didn't think I needed another shutter card die set in my stash so I didn't buy the Lawn Fawn one. The opening in MFT's die set is slightly larger than the snow globe opening, so I just used a circle die about the same size to die cut the opening.

I added snow to the bottom of the card again, using Lawn Fawn's Stitched Hillside Borders die set. I added the stamped images using three different Lawn Fawn Stamp sets ... Snow Globe Scenes; Tiny Gingerbread & A Creature was Stirring stamp sets.

To  finish off the card I added an older Penny Black sentiment which worked with the theme of the card.


Friday, November 20, 2020

Gnome Express Snow Globe Slimline


Hi Crafty Friends

Today we are taking a look back at Divinity Designs November Release. For more inspiration using products from this release and to see the other designers projects, be sure to visit the Divinity Designs Blog .

I have created another Slimline Christmas card. I used The Gnome Express Stamp/Die Duos set to add the cute gnomes & train to the Snow Globe. The train actually comprises of the engine and two carriages, but I cut the last carriage off  so it would fit into the Snow Globe.

I used the Snow Globe die to die cut a snow globe from gold and white cardstock. I used the white for the inner portion of the snowglobe, blending blue ink around the edge of the panel.I also added two snowflakes using the Christmas Dove die set to decorate the snow globe.

To create the Slimline Card, I used the Slimline Card Base and Slimline Layering Rectangles die set. I also used papers from Shine Bright Slimline and Holly Jolly Paper pads.

To finish off the front of the card I added the "Joy To The World" die cut sentiment.


For the inside of my card, I added a white panel using the Slimline Layering Rectangles die set. I also added some snow along the bottom of the panel using the Slimline Curvy Slopes die set.

I adhered the carriage that I cut from the image I used on the front to the lower right side of the card.

I added the sentiment included in The Gnome Express Stamp/Die Duos set to the centre of the card.


Tuesday, September 15, 2020

Ho Ho Ho Snow Globe Magic Iris Card


Hi Crafty Friends,

Today I am sharing a Christmas card I created using the new Magic Iris - Snow Globe Add on die set released by Lawn Fawn early in September.  I love now Lawn Fawn come out with add ons to existing die sets to get more options with what you already have. 

Here is a quick video to see my card in action.


To create the snow globe portion of the card, I first stamped Whimsy Stamps Snow Flurry Background stamp onto white cardstock using VersaMark ink and embossed using white embossing powder. I then used Distress Oxide ink in Speckled Egg and Tumbled Glass to create an embossed resist technique. I also added the embossed resist technique to the "sausage" used for the Magic Iris portion of the card.

I die cut the snowglobe from this embossed resist panel.

I die cut the lower portion of the snow globe again this time from white glitter cardstock and adhered it to the snow glove.

Finally I die cut the stand portion of the snow globe and the two trims for the stand from gold cardstock and then add some shading to the sides using Vintage Photo and Walnut Stain Distress Oxide ink.

I assembled the Snow Globe & Magic Iris and then set this aside.


To decorate my snow globe I used Lawn Fawn's Ho-Ho-Holidays stamp set.

I white embossed the sentiment onto red cardstock and then used the label die included in the Snow Globe Magic Iris Add On to die cut the sentiment.

I added the snow globe to a top folding white card that had red checked pattern paper to the front.

I added the "Merry Christmas" sentiment using The Ton's Easy Expressions - Holiday stamp set and coordinating dies.


Here you can see the snow globe side by side as the iris in the lens is opening.


For the inside of the card I used Lawn Fawn's Slimline Stitched Hillside Borders and Slimline Forest Builder to add the snowy hillside. 

I stamped the reindeer & sleigh to the bottom of the hill, as well as the sentiment  which are both also from Lawn Fawn's Ho-Ho-Holidays stamp set.

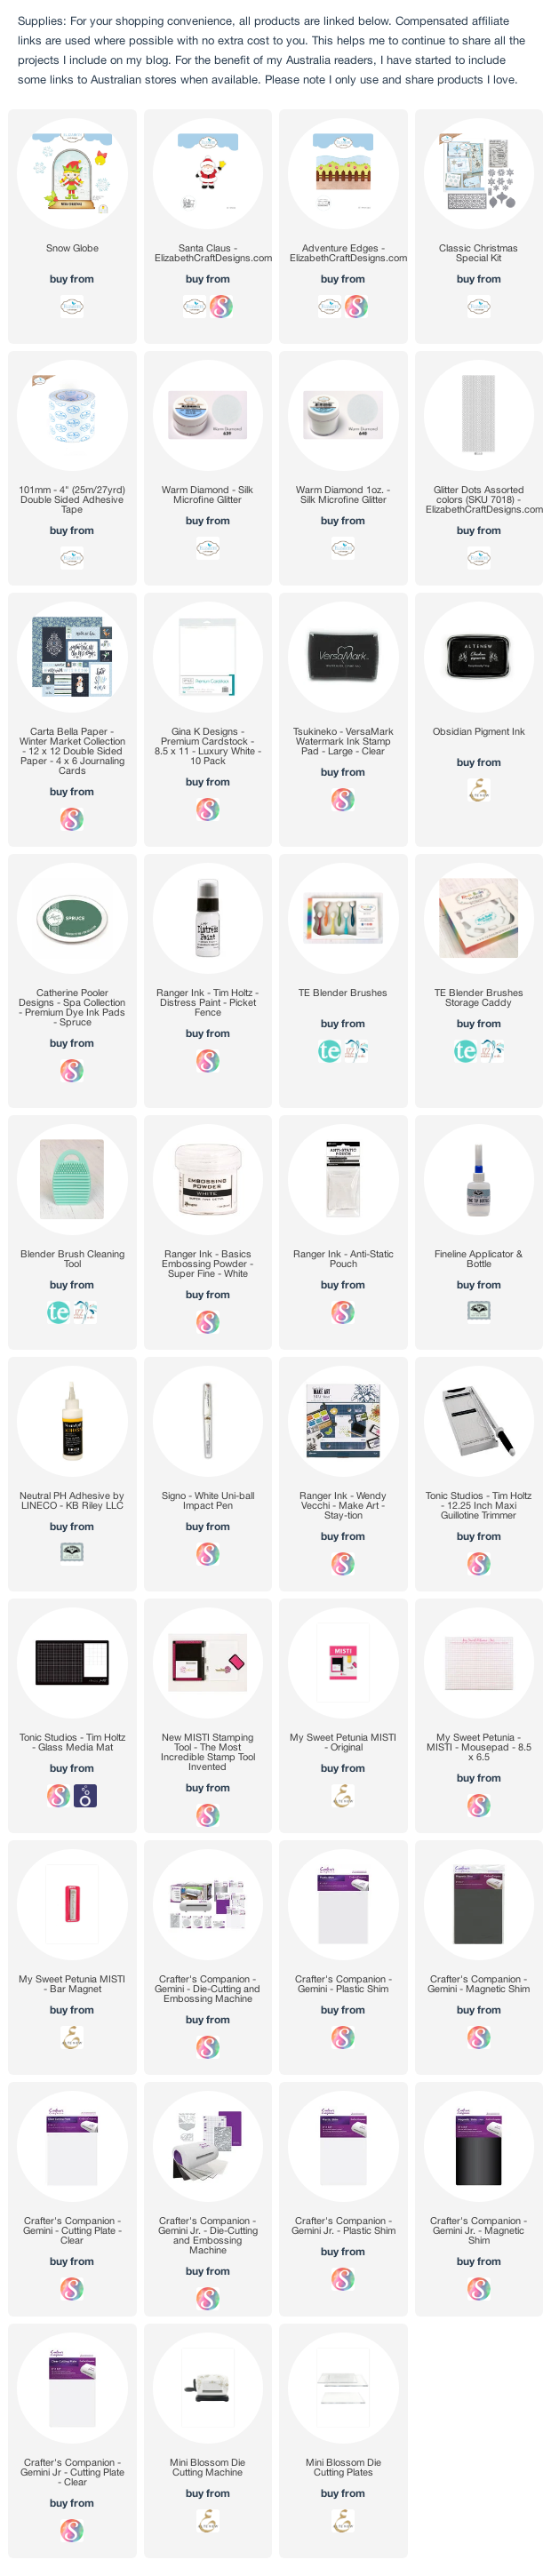
Supplies:

For your shopping convenience, all products are linked below. Compensated affiliate links are used where possible with no extra cost to you. This helps me to continue to share all the projects I include on my blog. For the benefit of my Australia readers, I have started to include some links to Australian stores when available. Please note I only use and share products I love.


Wednesday, November 27, 2019

Walking In A Winter Wonderland


Hi Crafty Friends,

My card today is for a challenge I do with a couple of friends of mine. Each month we challenge each other to create something using supplies we all own.

This month the theme for our challenge is .... Christmas.

For my card today, I decided to create a Shaker Card using MFT Stamps Classic Snow Globe Die-namics and their coordinating Snow Globe Shaker Pouches.

For the background of my card I used Concord & 9th's Holly Berry Turnabout Stamp set, stamping it on white cardstock using Catherine Pooler inks in Mint To Be; It's A Boy; Sage; Aquatini; Polished and Rouge. I used Elizabeth Craft Designs Dashing Squares to die cut my panel.

For the snow globe scene, I applied Tumbled Glass Distress Oxide ink onto a white panel. I then splattered white paint over the background.  I die cut  the snow hills from white cardstock that had Clear Double Sided Adhesive Tape on the front. I then covered the adhesive with Warm Diamond Silk Microfine Glitter. I added three trees to the background which are from Karen Burniston's Evergreen Trees Pivot Panels die set. Finally I added the snowman to the scene which also comes with the Snow Globe die set. 

I die cut the snowglobe shape from the Holly Berry background and then added one of the shaker pouches. I then adhered the holly berry background to the panel with the blue sky, snowbanks and trees.

I added three of the sentiment using Taylored Expressions Simple Strips - Christmas and coordinating die set to my card.


For the inside of my card, I added another panel I created using the Holly Berry Turnabout stamp set along the bottom of the card.

The sentiment is also from the Holly Berry Turnabout stamp set.


Here is one last look at my card, this time when it is laying flat and the chunky glitter has been shaken up over the while shaker window.

Supplies:
For your shopping convenience, all products are linked below. Compensated affiliate links are used where possible with no extra cost to you. This helps me to continue to share all the projects I include on my blog. For the benefit of my Australia readers, I have started to include some links to Australian stores when available. Please note I only use and share products I love.


Saturday, September 9, 2017

Polar Bear in Snowglobe

Hi everyone,

It’s challenge time with the “Crazies” over on the Crazy 4 Challenges blog. Rebecca Ednie our challenge hostess for the month continues to issue the challenges.


Summer water + sunshine always makes me think of  glitter. Let's use lots of glitter on our projects this week. You get brownie points if you use more than one colour or use it in more than one way!

Winter has just ended where I live, so we have summer to look forward to in about three months, so I decided to go with a winter theme for my card today. But it does use two colors of glitter ... Lavender Ice and Cool Diamond Silk Microfine Glitters from Elizabeth Craft Designs.

For my card today I am playing with the new Becky Seddon Snowglobe Scene die set from Elizabeth Craft Designs. I was inspired by one of Becky's cards she made last month on Hochanda TV where she had glittered the front of her snow globe. After making my first snow globe a few weeks ago, I wanted to see if any of the images from any of the new stamp sets would fit into the snowglobe .... as you can see the polar bear from the Krista Schneider Winter Bears Clear Stamp set and coordinating dies does. As will a few other stamp sets.


Before die cutting the snowglobe I added Clear Double Sided Adhesive Tape to the front of the cardstock and after die cutting I covered the adhesive with Lavender Ice Silk Microfine Glitter. I added snowflakes and glitter dots to decorate the outside of the snowglobe.


On the inside of the card I added a "snowy" sentiment and added a snowflake to the top left hand corner of the sentiment.


To turn the snowglobe into a stand alone card. I die cut another snowglobe from white cardstock. Scored about 1 1/2 inches down from the top and adhere this part to the back of the snowglobe.


Don't forget to check out the rest of the “Crazies” cards over on the Crazy 4 Challenges blog and also their individual blogs for more details.


Supplies:

Elizabeth Craft Designs:


Other: 
Inks - Black Ink; Wilted Violet Distress Oxide
Foam Tape
Copics


Monday, August 28, 2017

Noel Snowglobe

Hi Crafty Friends!

Today I am sharing a card I created using Becky Seddon's Snowglobe Scene die set available from Elizabeth Craft Designs.

I love shaped cards and this die set is perfect to use on its own to create a shaped card or you could add it to a card if you wanted.


As you can see I have kept in traditional Christmas colors.


For the inside of the card I added a sentiment from the new Holiday Cheer Clear Stamp set.


To turn the snowglobe into a stand alone card. I die cut another snowglobe in red. Scored about 1 inch down from the top and adhere this part to the back of the snowglobe.

Supplies:

Elizabeth Craft Designs:


Other:

Paper: White; Red; Green
Other: VersaMark Ink; Broken China Distress Oxide; White Embossing Powder; Foam Tape; Copics


Tuesday, July 10, 2012

Riley Christmas In July

Riley1412 ChristmasJuly wm

Hi everyone!

It’s challenge time again over on the Riley and Company blog. This week our challenge hostess is Joy Stagg.

Joy has challenged us to create a card/project with a Christmas in July theme.

I decided to pull out my Sizzix Flip It – Circle die to create my card this time round … I love these dies!!!!!!! I used Snowball Riley for the front. I also recently purchased the Snowflake Border which I have been dying to play with and this was the perfect opportunity, I cut the snowflake borders using glittery paper and the one on the left is cut so that the snowflake border on the back of the card was able to be adhered to the back of the front one so you couldn’t tell there were two.

Riley1412 ChristmasJuly2 wm

Here is my card this showing Snowglobe Riley which appears on the back when the card is closed. The card is decorated exactly the same on the back and front.

Riley Challenge Winner copy

Want to play along????

If you would like to play along with us of course we would love to have you! AND - if you do, you could be in the running to win free rubber ... One lucky person per challenge will win our Logo Riley image which isn't available for purchase. You will also get the chance to display a winner's button on your blog. So get stamping Riley fans :).

To play create a card using Riley and Company images. Once you have created your card/project come back here and place a comment with a link to your card/project to this post so that we can see what you created. If you upload your card/project to SCS don't forget to include the keyword RILEY1412. We can't wait to see what you create!

Don’t forget to check out the rest of the Design Teams blogs today so see what they created for this challenge.

  • Cindy Haffner
  • Jovita Torres
  • Joy Stagg
  • Kelly Santi
  • Laurie Clout
  • Michele L
    Stamps: Snowball Riley; Snowglobe Riley – Riley and Company
    Paper: White; Pale Blue; Navy Blue; Glitter Card
    Other: Black Ink; Blue Ink; Sizzix Flip It – Circle Die; MFT Die-namics Circle Stax 1 & 2; Memory Box Frostyville Border; Copics

    #aa-owl-signature

  • Saturday, December 3, 2011

    It’s A Christmas Movie!

    C4C116-GrinchSnowglobe-wm

    Hi everyone,
    It’s Saturday which means it’s time for another challenge with the “Crazies” over on the Crazy 4 Challenges blog. Being a brand new month we have a new challenge hostess which is Jessie Rone.

    This week for our challenge we are going to the Movies ….. make a card, or project inspired by your favorite Christmas movie.  

    It was a no brainer what I would use for this challenge seeing that Riley and Company had just released these stamps at the end of last month. This movie is probably not my favorite Christmas movie, but it is a Christmas movie … I love the new Riley as the Grinch, Percy as Max  and the sentiment which is from the Christmas Words 2 set.

    C4C116-GrinchSnowglobe2-wm

    For my card this week I decided to create a Snow Globe card, you can find instructions on how to make these over on the resource section of Splitcoast Stampers.

    C4C116-GrinchSnowglobe3-wm

    Here is the inside of my snow globe card. The I stamped the sentiment in two parts so I could use the top part on the outside of my card and the bottom part on the inside.

    Don't forget to check out the rest of the “Crazies” cards over on the Crazy 4 Challenges blog and also their individual blogs for more details.

    Stamps: Riley as the Grinch, Percy as Max; Christmas Words 2 – Riley and Company
    Paper: White; Red; DP
    Other: Black Ink; Circle Nestabilities; Acetate; MFT Die-namics Let It Snowflake Die; MFT Die-namics Icicles Border; Glitter; Foam Tape; Copics

    aa-owl-signature


