Showing posts with label Memory Box. Show all posts

Monday, February 6, 2023

Just Ducky


Hi Crafty Friends,

Today I am sharing a Mini Slimline card I created using a couple of the new dies from Spellbinders Showered with Love Collection designed byVicky Papaioannou. I just love this cute little duck and the fun outfits you can give it. The duck is from the Duck with Umbrella die set. 

When I was thinking about making my card, I remembered about a Memory Box die called Splashing Puddles which I have in my stash, so I pulled it out to use for the background of my card. This die is designed for an A2 sized card, but it was easy to cut down for a Mini Slimline size. I die cut the background using cloud paper from Made To Surprise's Reveal Wheel Background Paper Pad.

I added the sun and cloud to the top left corner of the card, using another of the die sets from the Showered with Love Collection ... Rain or Shine.

I added some Cattails to the bottom of the card, using the Cattails Border die set from Lawn Fawn.

To finish off the front of the card, I added the "Just Ducky" sentiment from an older CC Designs stamp set.


For the inside of the card, I again used the Splashing Puddles die set to create my panel. I added a sentiment from MFT Stamps Rain or Shine Stamp set.
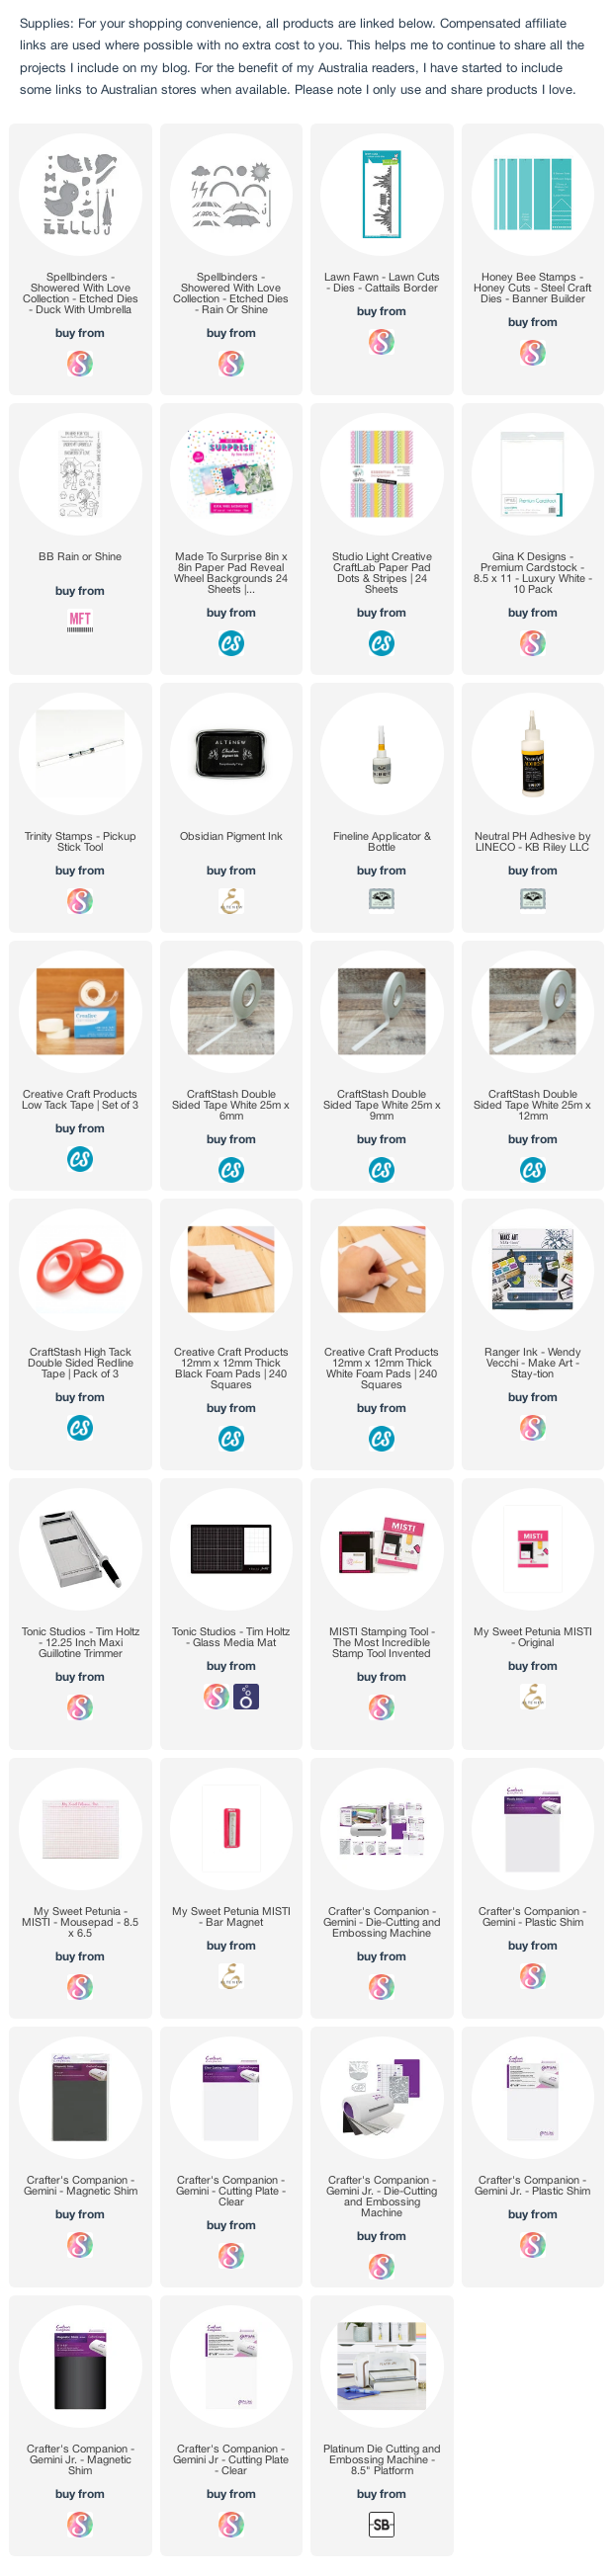


Other Supplies:
  • Rainy Day Sentiments Stamp Set - CC Designs (discontinued)
  • Splashing Puddles Die - Memory Box (discontinued)


Wednesday, October 26, 2022

Flowering Cactus


Hi Crafty Friends,

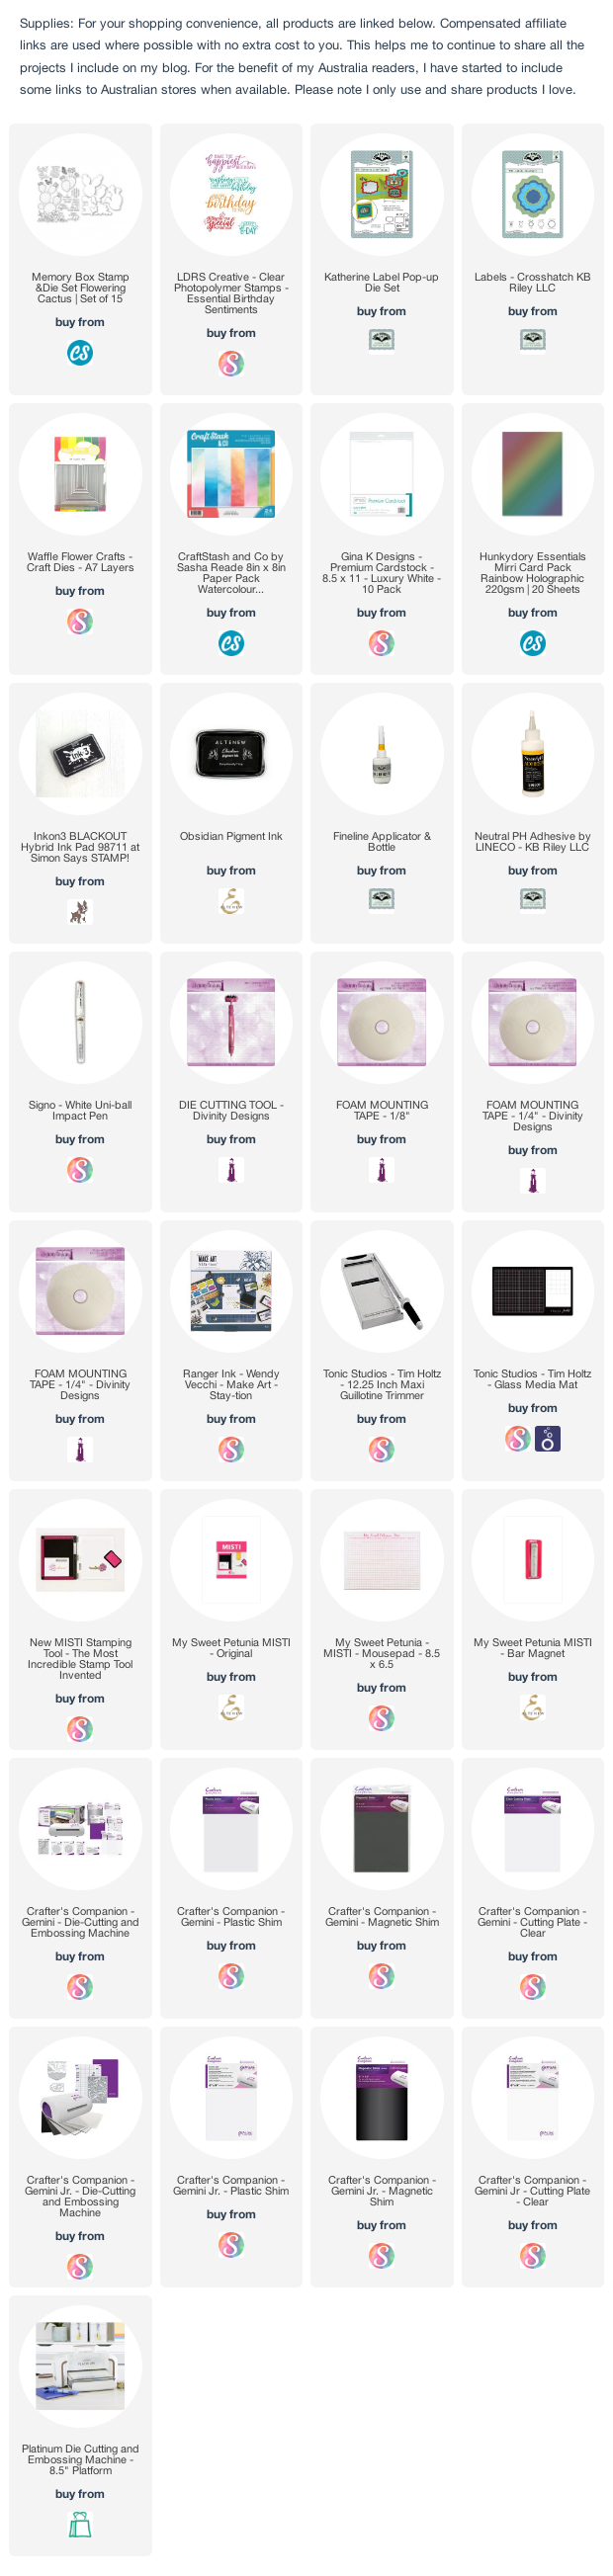
I have a 5 x 7 birthday card to share with you today. For some reason, I am attracted to cacti themed stamps and dies and a few months ago I spied this beautiful stamp set. I was lucky that I found it on the Craft Stash website and as I was placing an order, I added this to my cart.


This cactus stamp set is from Memory Box and includes the two cacti images, two butterflies and seven beautiful sentiments. As you can see the main image is a fairly large image and fits a 5 x 7 card well. I stamped the cacti onto white cardstock and cut it out so I could layer it onto my card.

I have a few new birthday sentiment stamp sets that I just love so I used one for my card today. This uses the Essential Birthday Sentiments from LDRS Creative.


As you can see, I created a pop-up on the inside of my card using my favourite Katherine Label Pop-up die set. I only used the mechanism from this set as I decided there was so much space inside the 5 x 7 card, that I could add a larger label. I used the two large labels from the Labels - Crosshatch die set. 

I added another birthday sentiment from the LDRS Creative stamp set and added the smaller cacti and another butterfly to the label.


Monday, June 15, 2020

Guitar Birthday


Hi Crafty Friends,

Today I am sharing a Center Step Easel Card I created recently. This is a card I made for a friends son who is turning 50 this year and apparently likes guitars.

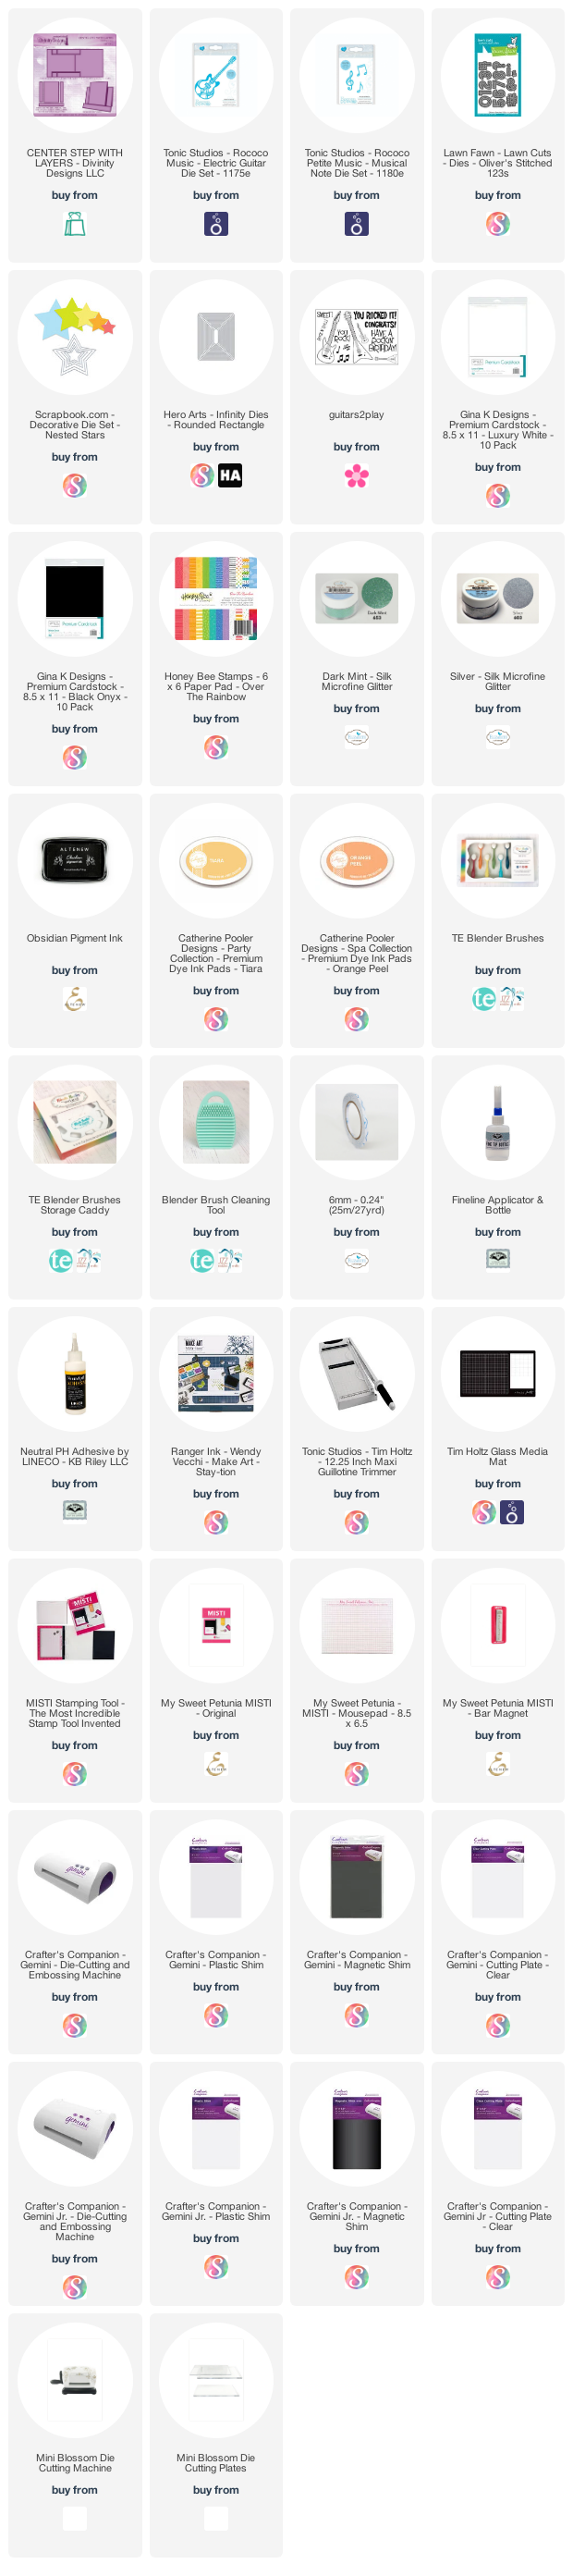
For the base of my card I used Divinity Designs Center Step Card with Layers die set. To create the easel portion of the card at the bottom of the card, I cut another piece of black cardstock that measured 5 1/2 inches x 6 inches. I scored along the 6 inch side at 1/2 inch and adhered this to the back of the centre step card.


To decorate my card I used Tonic Studios Electric Guitar die set. I die cut the guitar from black cardstock and then layered this onto a piece of white cardstock that has double sided adhesive on the front. I then covered the exposed adhesive with Dark Mint Silk Microfine Glitter.

I added silver glitter stars around the card before attaching the guitar. I added black music notes to three of the larger stars.

I used Lawn Fawn's Oliver's 123s to add the "50" to the top left hand corner of the card.


Here is a look at my card when it is folded flat ready to be placed in an envelope.

I added some flames to the two sides of the card which are from an older MFT Stamps die set called Rock and Roll.


Another photo showing the back of the card when the card has been folded flat.

I added the Happy Birthday Melody die from Memory Box for the sentiment. I also added a tab above the sentiment using the smallest rounded rectangle from the Hero Arts Rounded Rectangles die set. This tab helps keep the card open when it is on display.


I cut a white panel for inside my card and added the same paper I used on the front along the bottom of the card.

I added the "Have a Rockin' Birthday!" sentiment to the white panel which is from The Stamps of Life Guitars2Play stamp set.

Supplies:
For your shopping convenience, all products are linked below. Compensated affiliate links are used where possible with no extra cost to you. This helps me to continue to share all the projects I include on my blog. For the benefit of my Australia readers, I have started to include some links to Australian stores when available. Please note I only use and share products I love.

Happy Birthday Melody die set - Memory Box
Rock and Roll Die-namics - MFT Stamps


Monday, December 9, 2019

Fa-La-La-La-La


Hi Crafty Friends,

Today I am sharing a Christmas themed pop-up card using some stamps and dies from La-La Land Crafts Holiday Kit which was available for purchase in November. 

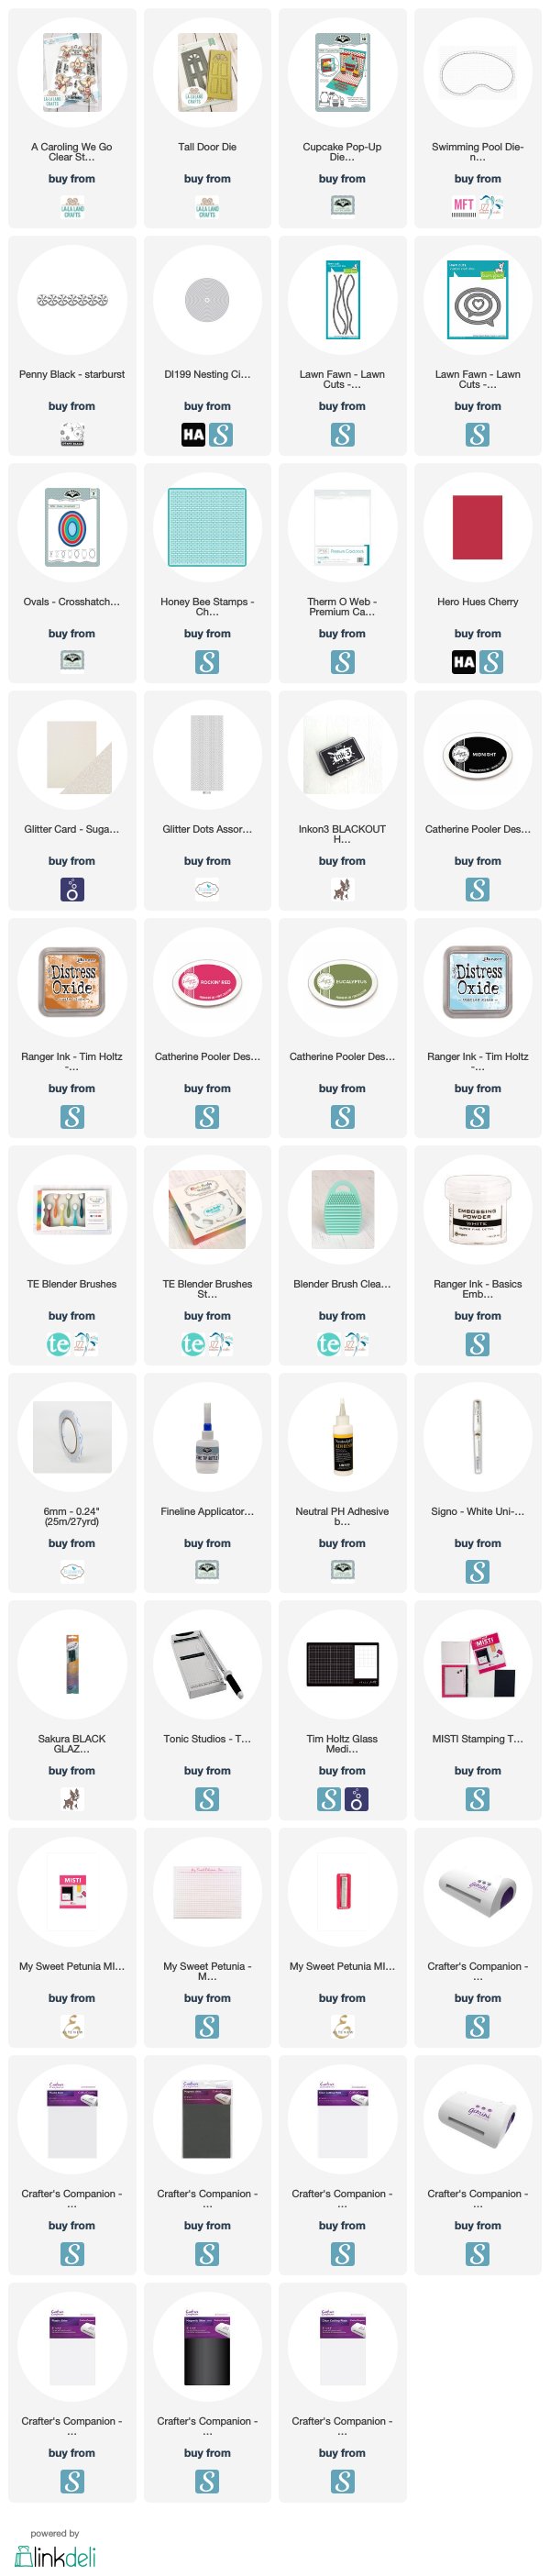
I used the Tall Door die and the A Caroling We Go stamp set which were both included in the kit.


I created a pop-up card using Karen Burniston's Cupcake Pop-up for the base. It's been a while since I have used this pop-up die set as a generic pop-up, but it is a great set to be able to disguise the cupcake with something else (the door in the case of this card) and there is also a step which can come in handy.

To create the base of my card, I joined a piece of white cardstock for the top portion, and white glittered cardstock for the base. I then used the Cupcake Pop-up die to die cut the pop-up portion of the card.

I used Honey Bee Stamps Perfect Brick Stencil to create the brick background onto another piece of white cardstock using Rusty Hinge Distress Oxide ink. Once I had created the brick background, I carefully marked and cut parts of the background so I could get it to fit around the cupcake.

I stamped a few music note randomly on the brick background. I also added the Pine Needles Border from Memory Box to the top of the card.

I used a speech bubble to stamp the "Fa-La-La-La" sentiment which I added to the door above the singing mouse.


For the base of the card, I added another sentiment from the stamp set which I stamped and layered using the Crosshatch - Ovals die set.

I also added two candy borders using the Penny Black Starburst Border.


As I wanted to use the other two mice included in the stamp set on my card, and one of the mice was skating. I decided to create a snowy out side scene with a iced pond for the mouse to skate on.

I used MFT Stamps Pool Die-namics to create the pond shape.  

I added one more sentiment which I stamped onto red cardstock and used a circle die to die cut the sentiment.

Supplies:
For your shopping convenience, all products are linked below. Compensated affiliate links are used where possible with no extra cost to you. This helps me to continue to share all the projects I include on my blog. For the benefit of my Australia readers, I have started to include some links to Australian stores when available. Please note I only use and share products I love.

Pine Needle Border - Memory Box (retired)


Monday, October 7, 2019

Santa Ho Ho Ho


Hi Crafty Friends.

A couple of months ago, I managed to snag a few Christmas themed stamps and dies when Simon Says Stamp had one of their Steals & Deals sales. Today I am sharing a Christmas card I created using three of the products from that sale.

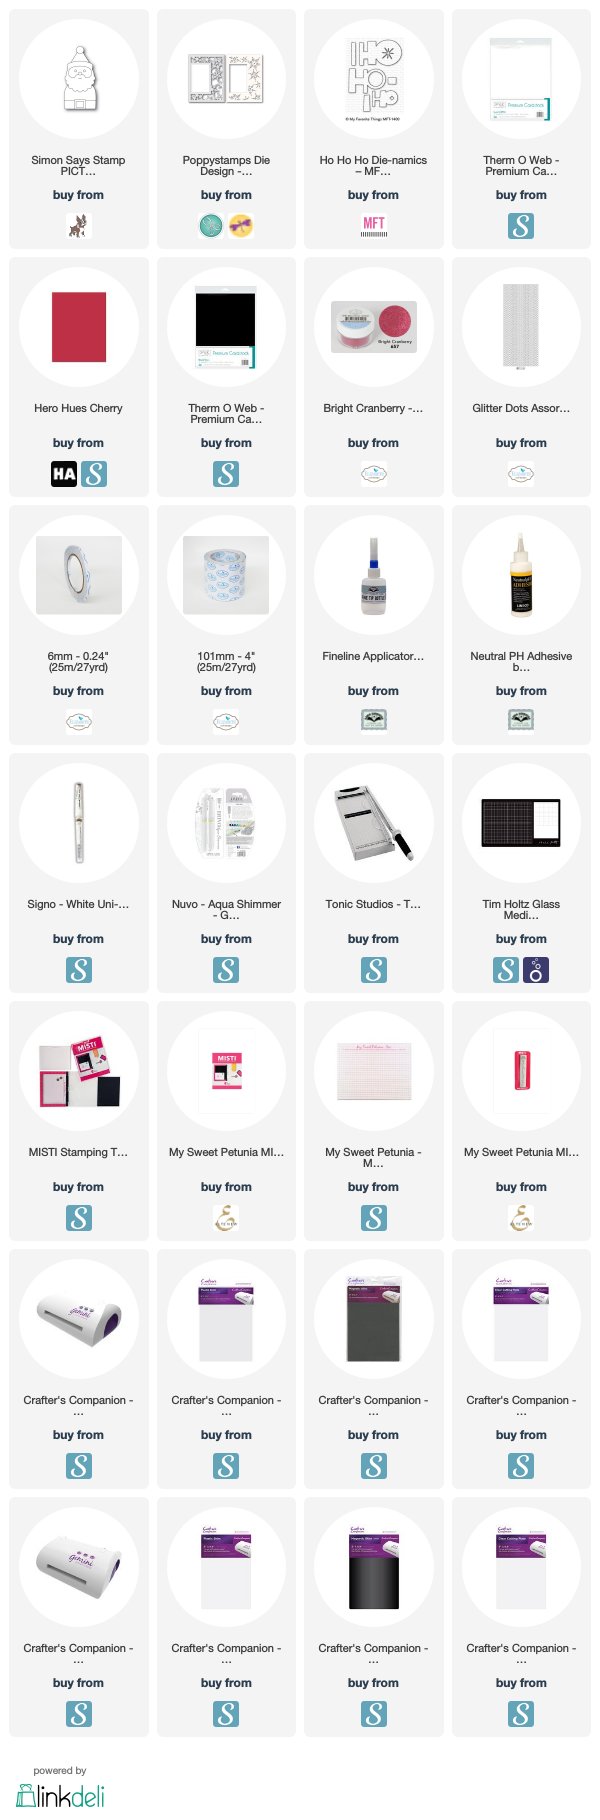
First up the Santa was made using Simon Says Stamp Picture Book Santa die set. I die cut the image using various colored cardstocks and then paper pieced it all together.

The background panel uses Poppy Stamps Pinpoint Snowflake Sidekick Frame & Sidekick. I had been eyeing this style of die set for sometime so when it was on sale for about 1/2 price I couldn't pass it up. I die cut the panel from white cardstock and then added Glitter Dots Peel Off Stickers to the centre of the snowflakes.

I layered this panel to a panel which had been covered using Elizabeth Craft Designs Bright Cranberry Silk Microfine Glitter. I added a Merry Christmas sentiment to the top left corner of the card.


For the inside of the card I added the sentiment "Ho Ho Ho" using MFT Stamps Ho Ho Ho Die-namics. I added another snowflake die cut using the frame I used on the front to the centre "Ho" and added some red snowflakes which come out of the centre "Ho" 

Supplies:
For your shopping convenience, all products are linked below. Compensated affiliate links are used where possible with no extra cost to you. This helps me to continue to share all the projects I include on my blog. For the benefit of my Australia readers, I have started to include some links to Australian stores when available. Please note I only use and share products I love.


Saturday, October 5, 2019

Joy, Merry and Bright


Hi Crafty Friends,

It’s challenge time with the “Crazies” over on the Crazy 4 Challenges blog. Being a brand new month it is time to introduce our challenge hostess for October which is Tracey Farr.

For our challenge this week we are to .... Focus on the Sentiment - make your sentiment the star of your card, the bigger the better! 


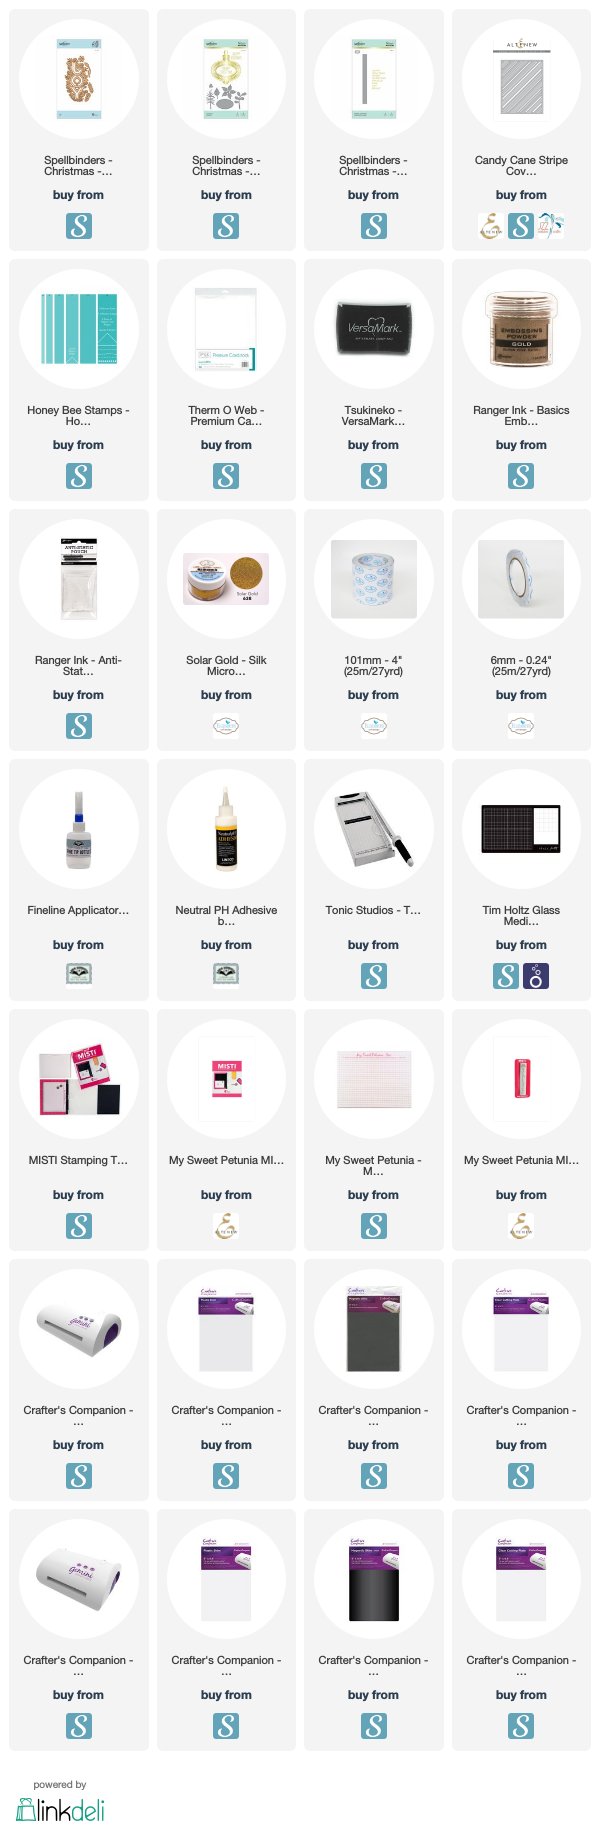
I figured this was a good opportunity to play with my Spellbinders Joy die set I purchased a few weeks ago. I die cut the base of the sentiment from green cardstock and then cut the letters out using Elizabeth Craft Designs Solar Gold Silk Microfine Glitter. I then added the flowers and berries using colored cardstocks.

I used Altenew's Candy Cane Stripe Cover Plate for the background of my card, layering this onto red cardstock.

To finish off the front of my card I added the "Merry and Bright" sentiment which is from Holiday Sentiments Glimmer Plate and gold foil.


For the inside of my card I created a pop-up card using Karen Burniston's Katherine Label Pop-up die set. I gold embossed the sentiment which is a Penny Black stamp set.

I added the poinsettia to the upper left corner of the label which was created using the poinsettia dies included in Spellbinders Ornament die set.


Along the edges of my card I added the Candy Cane Stripes Cover Plate which I die cut from white cardstock and cut in half, adhering half on each edge. I then added the Pine Needles Border die which is an older die from Memory Box.


Don't forget to check out the rest of the “Crazies” cards over on the Crazy 4 Challenges blog and also their individual blogs for more details.


Supplies:
For your shopping convenience, all products are linked below. Compensated affiliate links are used where possible with no extra cost to you. This helps me to continue to share all the projects I include on my blog. For the benefit of my Australia readers, I have started to include some links to Australian stores when available. Please note I only use and share products I love.

Pine Needle Border - Memory Box
Season's Gifts Clear Stamp Set - Penny Black


Wednesday, August 7, 2019

Sending You A Smile


Hi Crafty Friends,

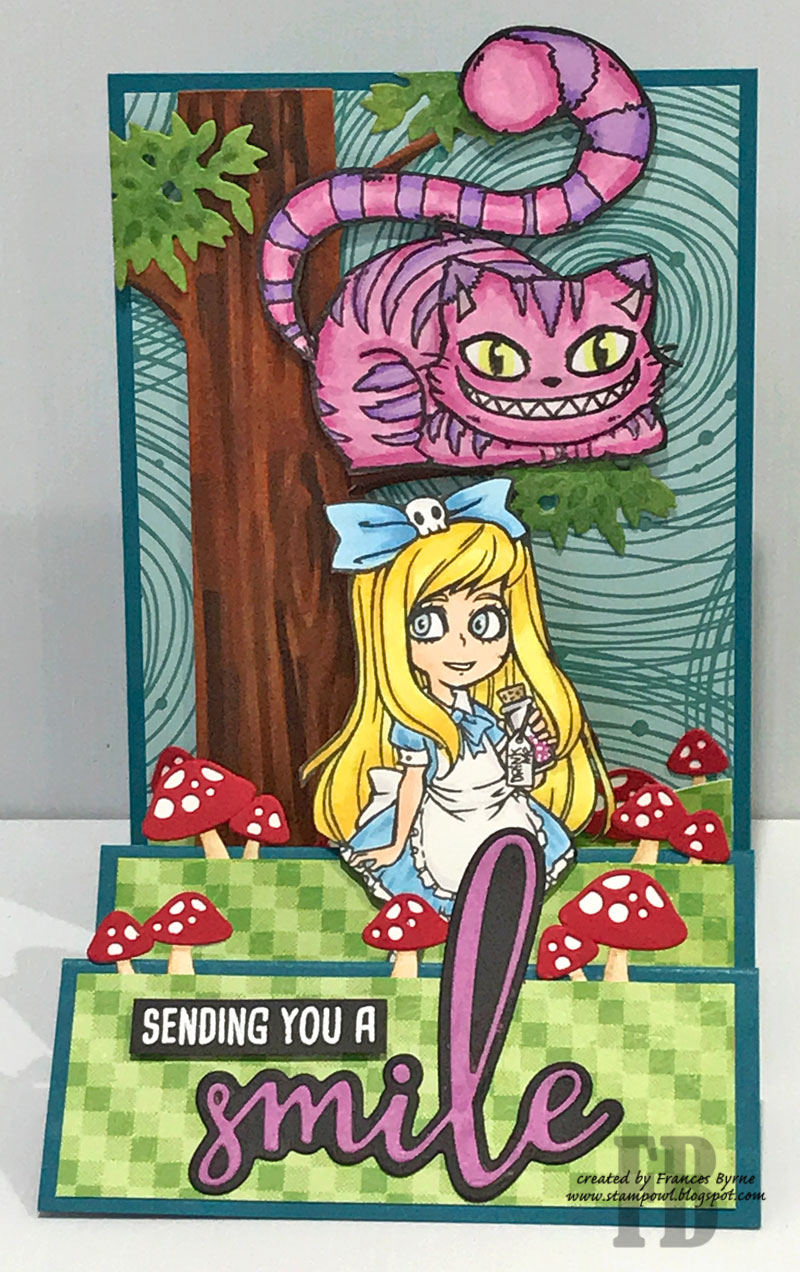
Today I am sharing a Stairstep Card I created recently, it's been a while since I have made this style of card and have had it on my to do list for some time.

As this was an Alice in Wonderland themed card I decided to use papers with a fun design on them. 

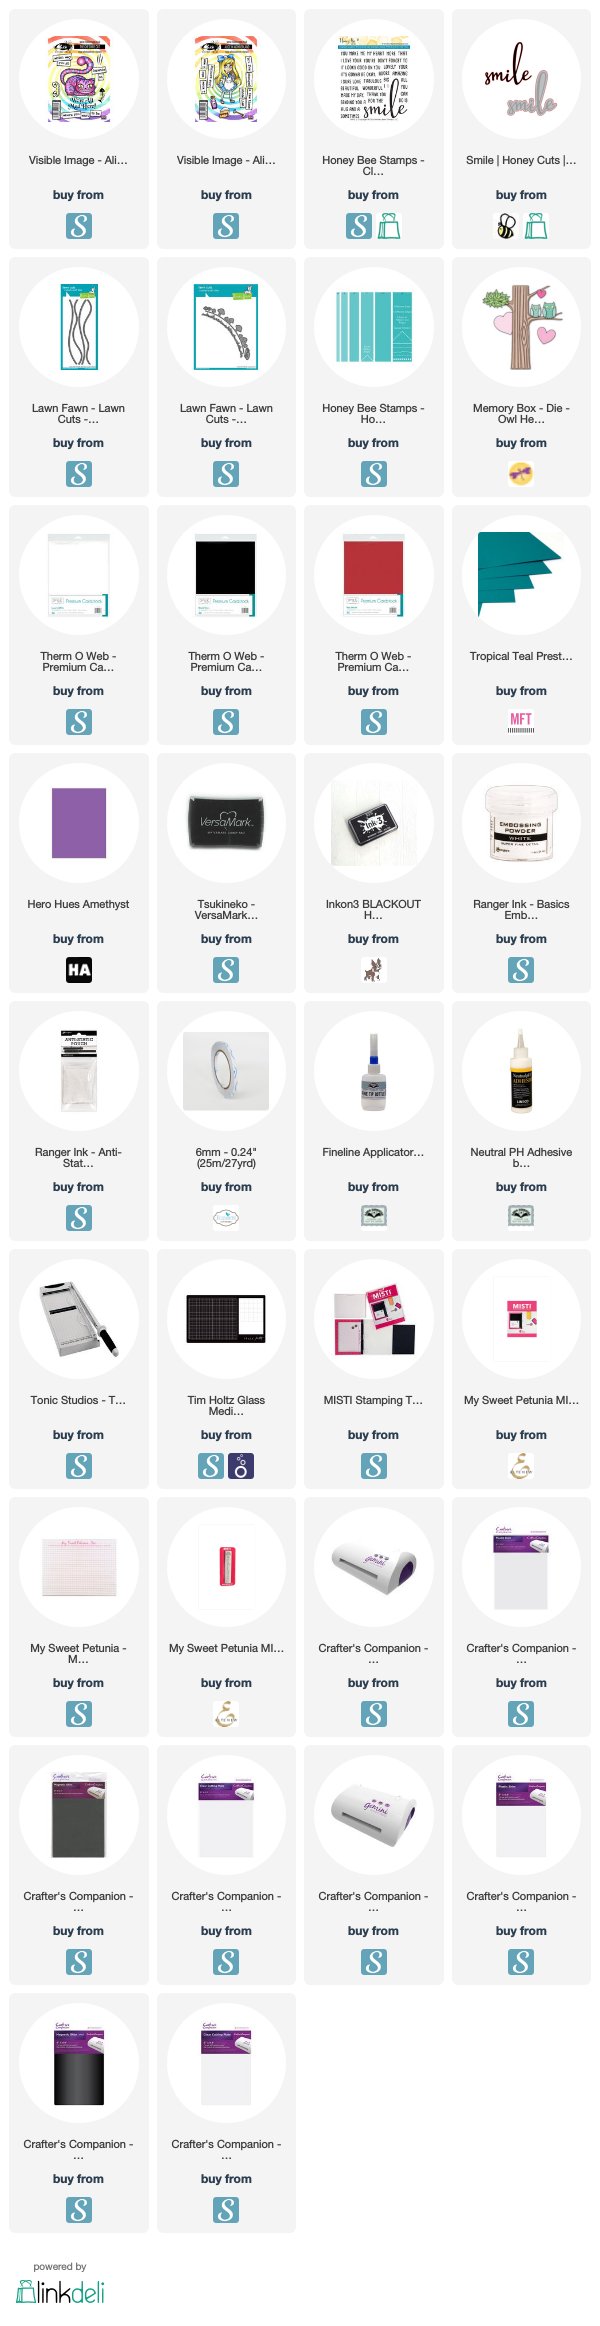
For the back panel I used the tree from Memory Box Owl Heart Tree die set, coloring the tree with Copic markers. Sitting in the tree I added the Cheshire Cat from Visible Image.

On the middle panel I added Alice also from Visible Image.


I added mushrooms using the Lawn Fawn Mushroom Border die set which I added randomly on each of the three panels.

For the front panel I used the Smile stamp and die set from Honey Bee Stamps for the sentiment.


For the inside of the card I added some grass and mushrooms from the Lawn Fawn Mushroom Border die set. 

The sentiment is an older Riley & Company stamp which I think is no longer available. 

Supplies:
For your shopping convenience, all products are linked below. Compensated affiliate links are used where possible with no extra cost to you. This helps me to continue to share all the projects I include on my blog. For the benefit of my Australia readers, I have started to include some links to Australian stores when available. Please note I only use and share products I love.

You Always Seem To Make Me Grin Sentiment Stamp - Riley and Company (retired)


Tuesday, December 11, 2018

I Love Chillin With You


Hi Crafty Friends,

Welcome to our November Paper Pros challenge. This month our challenge is hosted by Sandy Diller who has given us the theme  "Winter or New Years". 

As I wanted to play with a new stencil I purchased recently, I went with the winter part of the challenge to create a Winter themed Christmas card.


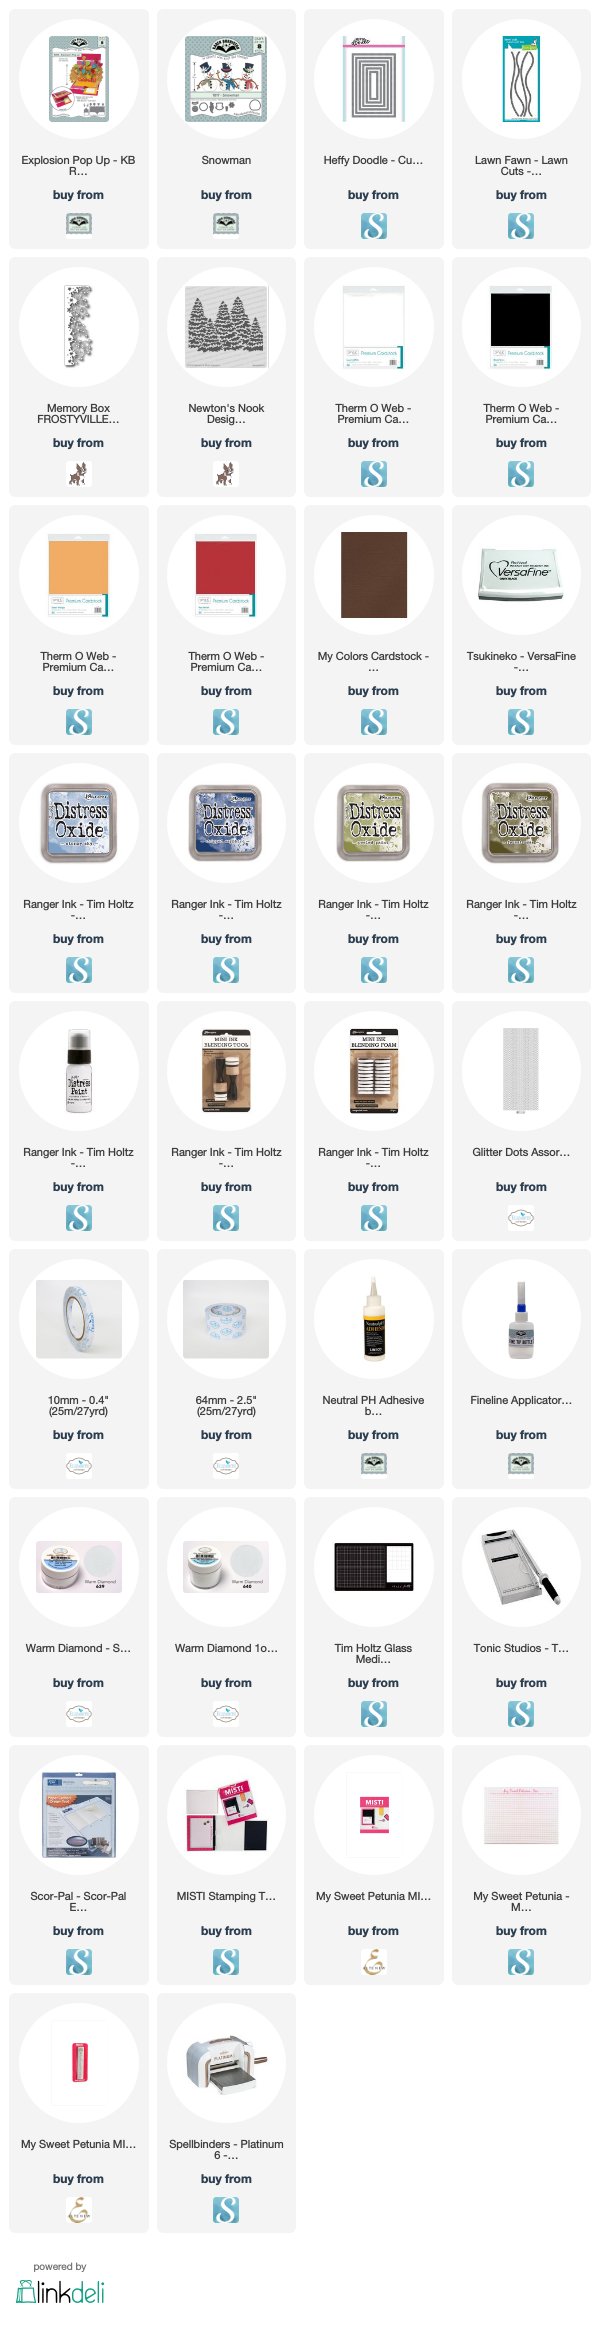
To create my card I started by using the Newton's Nook Designs Evergreens stencil to create the trees in the background of the inside of my card. I then masked the trees and blended Distress Inks to the area above the trees. I then splattered white paint over the trees and sky to resemble snow falling. 

Just above the trees I stamped Santa flying in his sleigh in black ink.

To create the pop-up I used Karen Burniston's Explosion Pop-up die set to the centre of the card base. 

I then die cut two snowmen and added them to the pop-up panel.


Along the bottom edge of the card, I added a border using the Memory Box Frostyville Border die which was die cut using white cardstock that had Clear Double Sided Tape on the front and then covered in Warm Diamond Silk Microfine Glitter.

I stamped a sentiment which is stamped onto a Crosshatch oval sponging the edge in the same colors used on the sky.


For the front of the card I replicated the trees, snowman, santa and snowbanks that I had used on the inside of the card.

You can see what the other "Paper Pros" created for this challenge on their blogs:


Supplies:
For your shopping convenience, all products are linked below. Compensated affiliate links are used where possible with no extra cost to you. This helps me to continue to share all the projects I include on my blog. Please note I only use and share products I love.


Friday, October 26, 2018

Peek A Boo Bear Birthday


Hi Crafty Friends,

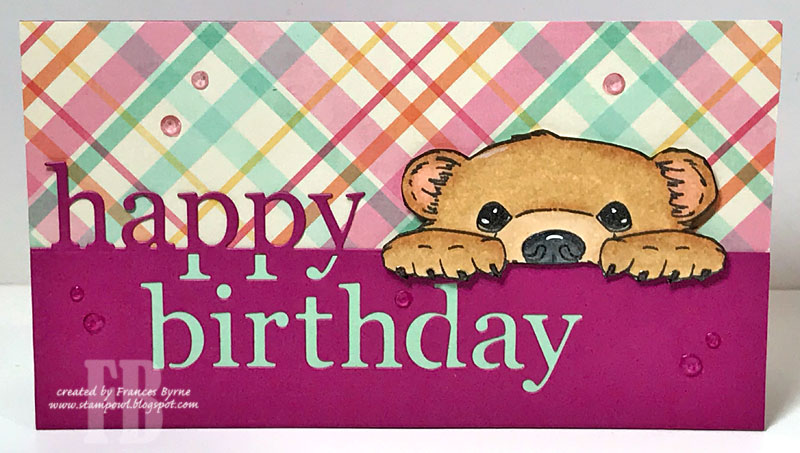
Earlier in the week I shared a Christmas card using the penguin from the Impressions Obsessions Warm Wishes Clear Stamp set and the Memory Box Grand Merry Christmas die set.

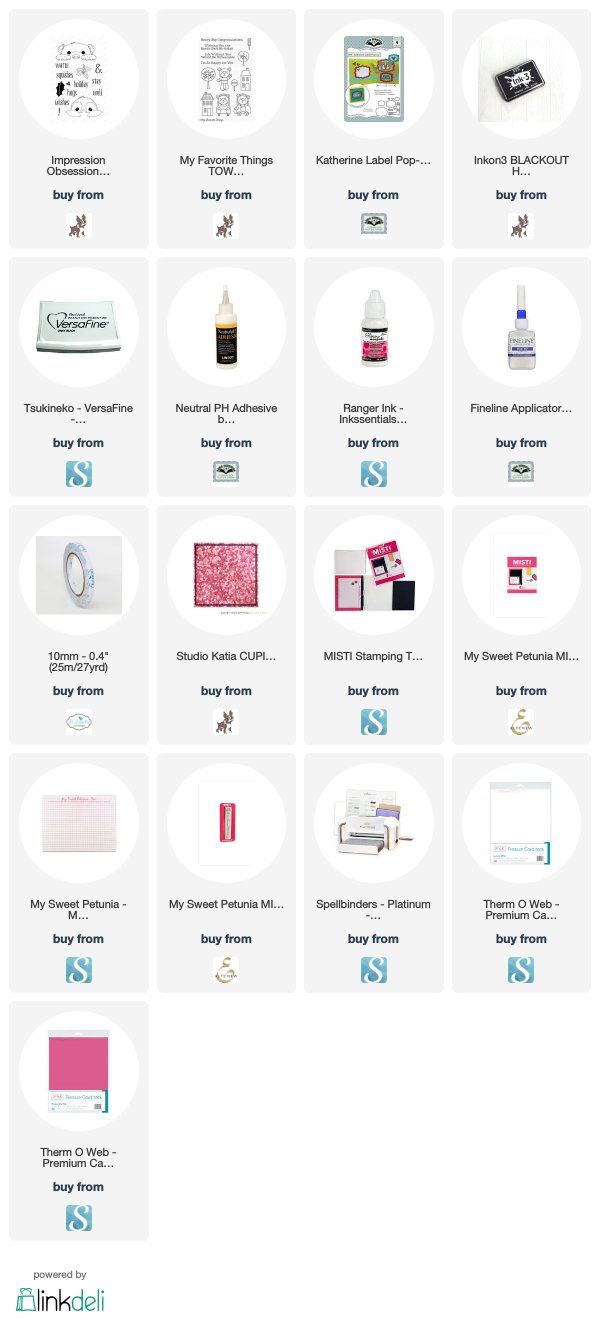
While I had the stamps out, I grabbed the Memory Box Grand Happy Birthday die set to create a birthday card using the bear from the stamp set.


I added some Studio Katia crystals randomly around the card to finish it off.


For the inside of the card I used Karen Burniston's Katherine Label Pop-up die set for the labels for the sentiment. The sentiment is from a MFT Stamps stamp set.

Supplies:
For your shopping convenience, all products are linked below. Compensated affiliate links are used where possible with no extra cost to you. This helps me to continue to share all the projects I include on my blog. Please note I only use and share products I love.


Monday, October 22, 2018

Penguin-ing Peek A Boo


Hi Crafty Friends,

I have a Christmas card to share with you all today.


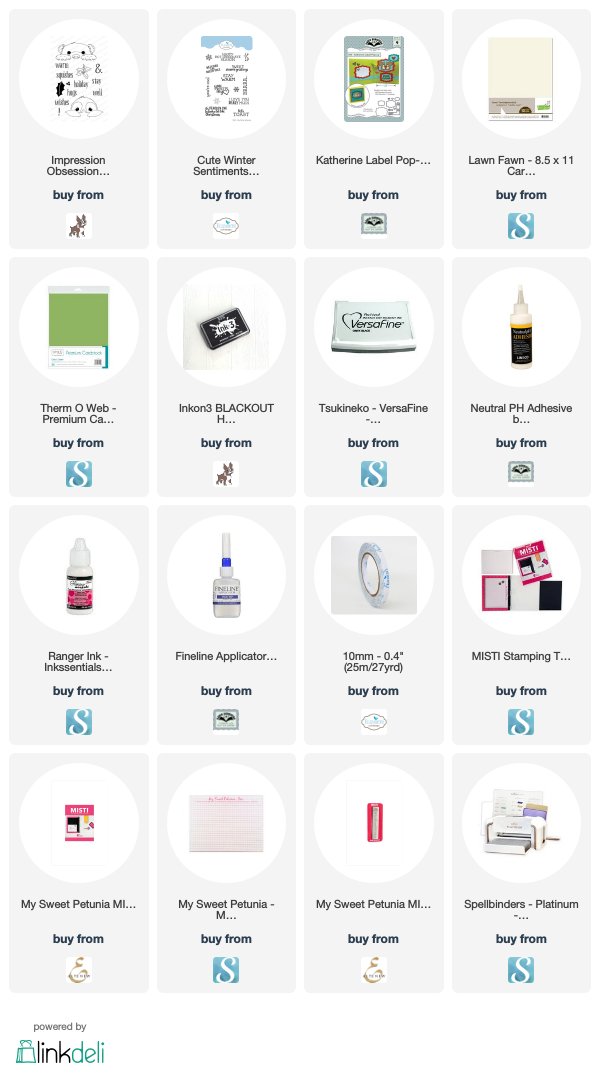
For my card today I am playing with a new Impressions Obsessions stamp set I purchased recently which includes a peeking penguin and peeking bear. I thought these would work perfectly with the Memory Box Grand Merry Christmas die set which I have had for some time.


For the inside of my card I used the Katherine Label Pop-up card to create the pop-up portion of the card. I added a sentiment from Elizabeth Craft Designs Cute Winter Sentiments stamp set.


Supplies:
For your shopping convenience, all products are linked below. Compensated affiliate links are used where possible with no extra cost to you. This helps me to continue to share all the projects I include on my blog. Please note I only use and share products I love.

Grand Merry Christmas die set - Memory Box
Patterned Paper - Stampin' Up