Thursday, February 6, 2020

Hello Friend


Hi Crafty Friends,

It's challenge time with my friends over on the CCEE Stampers challenge blog. Being a brand new month it's time to introduce a new challenge hostess which is Anne Harmon.

White embossing is beautiful on neutral colors. For our challenge this week, use white embossing on a card using kraft, or any other shade of brown.


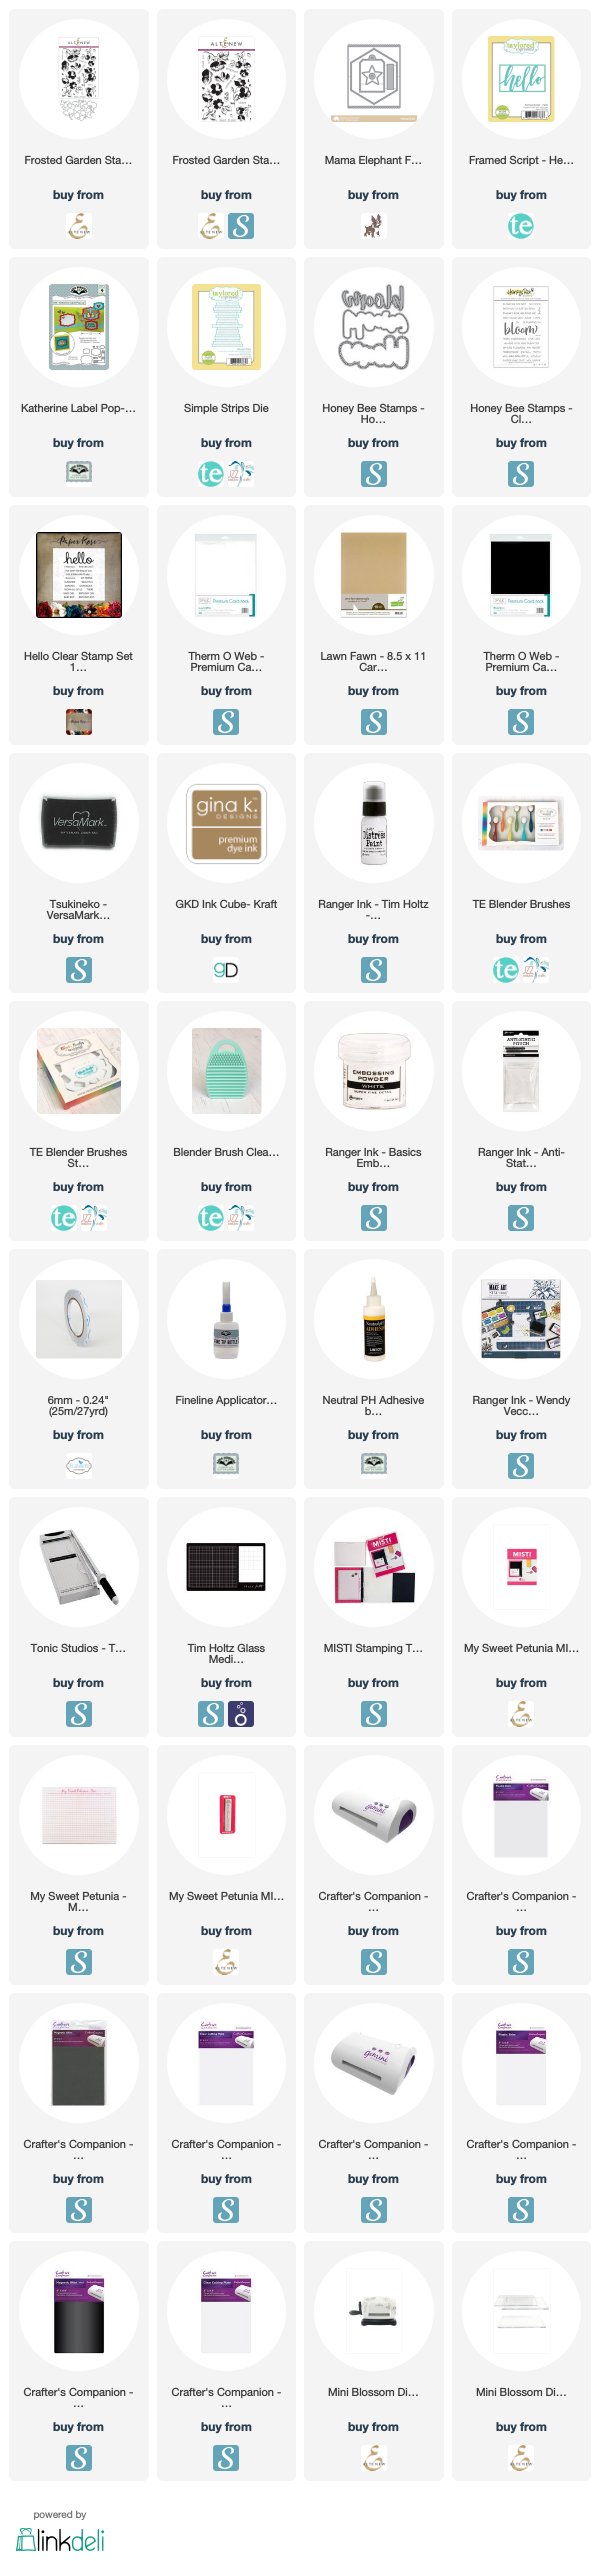
For my card today I used Altenew's Frosted Gardens stamp set,  to white emboss the flower images over my Kraft cardstock panel which had been die cut using a die from Mama Elephant's Framed Tags - Hexastar die set. After embossing the images, I masked off the scalloped border at both ends and used white paint to splatter over the panel. This panel was then adhered to a white top folding card.

I used Taylored Expressions Framed Script - Hello sentiment which I did cut from white cardstock three times and layered together. I adhered this sentiment to a Kraft panel, sponging around the edges of the panel using Kraft ink.

To finish off the front of the card I added the "My Friend" sentiment from a Paper Roses stamp set to the bottom right hand corner of the sentiment panel.


For the inside of the card I die cut and stamped two more panels exactly the same as the front of the card. I trimmed these two panels off so only about 3/4's of the panel remained and adhered these to the top and bottom panels on the inside.

I used Karen Burniston's Katherine Label Pop-up die set to create the pop up portion of the card.


For the sentiments on the pop-up label I used Honey Bee Stamps Bloom stamp set and coordinating die set.

Don't forget to check out the CCEE Stampers blog (goes live 12 AM EST) to see the rest of the creations the CCEE Stampers created this week. You can also see more details of their creations on their individual blogs:

Supplies:
For your shopping convenience, all products are linked below. Compensated affiliate links are used where possible with no extra cost to you. This helps me to continue to share all the projects I include on my blog. For the benefit of my Australia readers, I have started to include some links to Australian stores when available. Please note I only use and share products I love.


Wednesday, February 5, 2020

Pand-Tastic


Hi Crafty Friends,

I am back today with my 2nd project for the February Karen Burniston Designer Challenge.

Check out Karen Burniston's blog on Wednesday (US Time) when you will be able to see what all the designers created for the challenge this month, plus Karen will have an amazing video tutorial to share with us all.

Our challenge theme this month is .... "DOUBLE" - make a card of any theme using a doubling technique. This could be a double Pivot Panel, a double Katherine, a double Surprise Ball, or any fun combination of two different pop-up dies. 


When I was making my penguin card using the Surprise Ball Pop-up die set, I had the idea to create a Panda as well. I am loving creating these Double Surprise Ball Pop-ups as stand alone characters, rather than securing to a card. Cards normally get put away a week or so after a birthday, while these characters can be placed on a shelf in a child's room or whatever and they can play with it whenever they wish ... I love flattening the characters and seeing it bounce up.


Here is a quick video to see my Penguin Surprise Ball Pop-up in action.


This time around I created both of the surprise balls using white cardstock. I had planned on coloring the black portion with a marker, but when I started doing this I wasn't happy with the result, so I die cut another half ball from black cardstock and then used the panels from the ball to add the black portion around the top of the panda's body. 

For the panda's arms and legs I used the arms from the Adirondack chair, rounding off the sharp portion of the die cut. The die cuts a right and a left arm, so I adhered these back to back to get an cleaner finish and then adhered the arms and legs to the panda's body using foam tape.

I used a small circle from the Coffee Pop-up die set for the ears. I folded a 1/4 of the circle back to adhere to the side of the head. To hide the black on the head, I die cut another circle from white and added this to the 1/4 circle that is adhered to the head.


When I researched the color of a panda's tail, some were white and other's black, so as black would stand out a little better I went with black.. I used the flower hole reinforcing die from the Circle Tag Book Pop-up for this, cutting the flower in half seeing it had to be adhered over two panels which separate when the card is flattened.


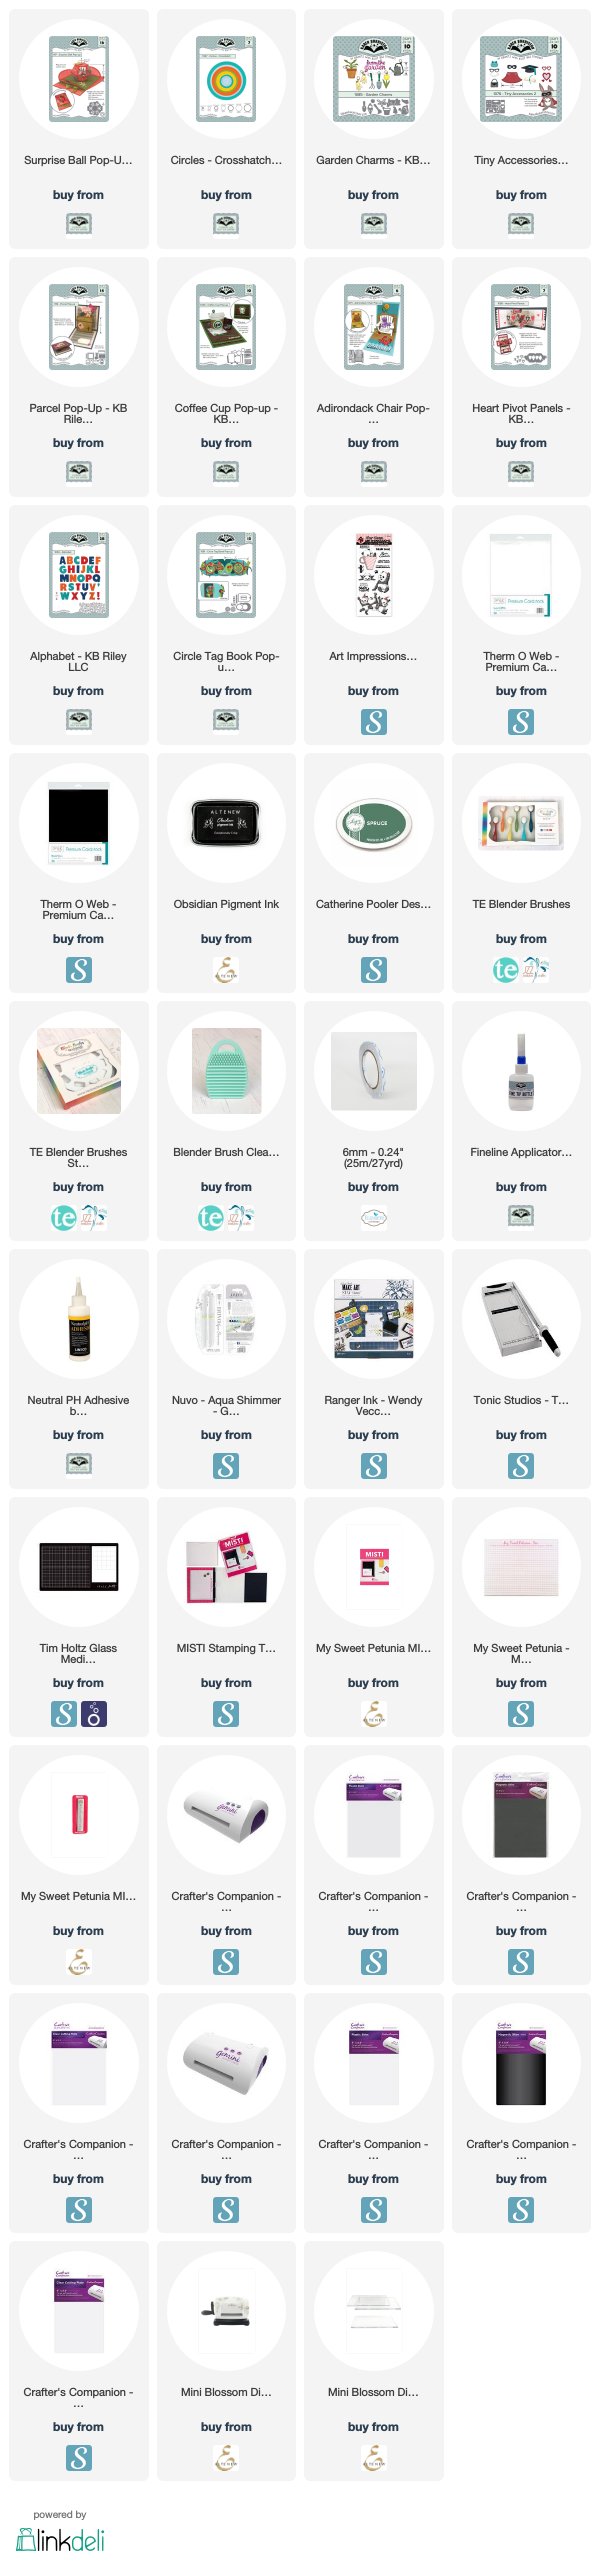
I felt the panda needed some bamboo, so to make this I used the diploma from the Tiny Accessories 2 die set and a plant from the Garden charms die set. I used three diplomas for each bamboo, adhering it to a piece of cardstock for extra strength and then adding the leaves to it.

As I have panda themed sentiment stamps in my stash it seemed a shame not to make use of them. I stamped onto onto a sign the panda is holding. The sign was created using dies from the Parcel Pop-up die set. The sentiments are from Art Impressions Pand-tastic stamp set.


The base of the panda is attached to a green circle using the largest circle from the Crosshatch Circles die set. To cover the brad that attaches the circle, I adhered another circle over it. This is a good place to add a stamped sentiment and to write a personal greeting to the recipient.


I needed something for the panda to go into for when the card is presented to whoever it is going to. So I decided to create another pocket card as I did for my penguin yesterday. As the focus is on what comes out of the pocket, I kept the front of the pocket simple, using the Alphabet die set to create the word "PAND+TASTIC" 

I also added an arrow to the top right corner of the pocket, so it points to the bamboo that sticks out so they know to pull on this to pull out the panda.  I ended up stamping "Pull Me" onto the arrow after I had taken all the photos,  so there was no doubt as to what to do.


Don't forget to visit Karen Burniston's blog on Wednesday when you will be able to see what all the designers created for the challenge this month.

Supplies:
For your shopping convenience, all products are linked below. Compensated affiliate links are used where possible with no extra cost to you. This helps me to continue to share all the projects I include on my blog. For the benefit of my Australia readers, I have started to include some links to Australian stores when available. Please note I only use and share products I love.
Interactively Yours - Heffy Doodle 


Tuesday, February 4, 2020

February 2020 Karen Burniston Designer Challenge


Welcome to our February Karen Burniston Designer Challenge.

Check out Karen Burniston's blog on Wednesday (US Time) when you will be able to see what all the designers created for the challenge this month, plus Karen will have an amazing video tutorial to share with us all.

Our challenge theme this month is .... "DOUBLE" - make a card of any theme using a doubling technique. This could be a double Pivot Panel, a double Katherine, a double Surprise Ball, or any fun combination of two different pop-up dies. 


After seeing a few cards made recently using a double Surprise Ball Pop-up, I wanted to make something along those lines. After a little thought I decided to see if I could make a penguin using this technique. I created both of the Surprise Balls from black cardstock and then die cut another surprise ball from white and with a little trimming I  adhered the white over the black to create the penguin.


Here is a quick video to see my Penguin Surprise Ball Pop-up in action.


The penguin's beak was created using one of the hearts included in the Surprise Ball Pop-up. I adhered it between the two layers when I was assembling the top surprise ball. For the feet I die cut two stars also included in the die set and adhered it to the bottom Surprise Ball, so only 3 points could be seen.

I added the bow to the front of the penguin which is from the Parcel Pop-up die set.

For the penguin's flippers I die cut two ovals from black cardstock and adhered them to the sides of the penguin.


I used a piece that was leftover from the white surprise ball piece to cut out a piece to match one of the segments of the surprise ball, but so that it was folded in the centre portion. I then used one of the borders from the Border Blends - Party to cut a shape at one end. I then adhered the full portion of this panel to the back of the penguin to create the penguin's tail.

I die cut a circle from glitter cardstock using the largest circle in the Crosshatch - Circles die set and attached this to the base of the penguin using a brad.


I wanted a place to be able to write a greeting, so I die cut another large circle, this time from red cardstock and added a stamped sentiment which is from an older Whimsy Stamps stamp set. and adhered this to the back of the glitter circle. This also hid the brad ends.


Here is a look at the penguin, when it is flattened, ready to be placed in an envelope.


I had intended to add the penguin to the inside of a folded card, but after I had created the penguin, when it is flattened the card would have had to have been at least 6 1/4 inches to allow for the penguin's flippers and tail. I had been wanting to create a pocket card using the Surprise Ball Pop-up after seeing a card Sandy Diller had created recently. So I  created a pocket and the penguin can be pull out of the pocket using the tail.

I added two circles using the Crosshatch - Circles die set to the centre of the front of the pocket and then added the birthday sentiment and three stars. The stars are from the Surprise Ball Pop-up die set.

Don't forget to visit Karen Burniston's blog on Wednesday when you will be able to see what all the designers created for the challenge this month.

Supplies:
For your shopping convenience, all products are linked below. Compensated affiliate links are used where possible with no extra cost to you. This helps me to continue to share all the projects I include on my blog. For the benefit of my Australia readers, I have started to include some links to Australian stores when available. Please note I only use and share products I love.

Penguin Fun Stamp Set - Whimsy Stamps (retired)


Monday, February 3, 2020

Heart Shaker Card


Hi Crafty Friends,

Today I am sharing another love themed Shaker Card using some of the products from Divinity Designs Blessings Box, which is there new subscription box released last month. This set contains stamps, dies, papers and shaker elements with a love theme which can be used for Valentine's Day or any other time of the year when you need a love themed card.

I used the Shaker Heart Frame die set to create the shaker portion of the card. The frame was die cut using pink glitter card which is also included in the kit. I added tiny clay hearts, clear sequins and clear stars which are also in the Blessing Box kit.

The two red rectangles and patterned paper are from the Sweet Hearts Collection Paper Pad. I added texture to the two red rectangles, using the Flourishes Embossing Folder. These rectangles were die cut using the Double Stitched Rectangles die set.

The sentiment on the heart is from the Fill My Heart stamp set and was die cut using one of the rectangle dies from the Sentiment Strips die set.


For the inside of my card I added a white panel from the Double Stitched Rectangles die set.

I added the inner glitter heart which was left over from die cutting the frame for the shaker card.

Finally I used another sentiment from the Fill My Heart stamp set which I stamped and die cut using the Double Stitched Circles die set.

Divinity Designs has a Shaker Card instructional video using the Shaker Heart Frame die set which you can view here. This video shows many different ways to use this die set.


Supplies:
For your shopping convenience, all products are linked below. Compensated affiliate links are used where possible with no extra cost to you. This helps me to continue to share all the projects I include on my blog. For the benefit of my Australia readers, I have started to include some links to Australian stores when available. Please note I only use and share products I love.


Sunday, February 2, 2020

Divinity Designs - February 2020 Release


Hi Crafty Friends,

Today I am sharing two projects I created using new stamps and dies from Divinity Designs February Release.  For more inspiration using the February Release, and to see the other designers projects, be sure to visit the Divinity Designs Blog.

This month Divinity Designs are releasing one new stamp/dies duos set, an embossing folder/die duo set and four die sets. 

Two of the die sets being released this month are A2 Card Bases with Layers die sets. There is an A2 Landscape Card Base with Layer and an A2 Portrait  Card Base with Layer. These dies make cards that are US A2 size which is 5 1/2" x 4 1/4" and come with the layer die which is 4" x 5 1/4". Another new die this month is a matting rectangle which die cuts a rectangle 4 1/8" x 5 3/8".


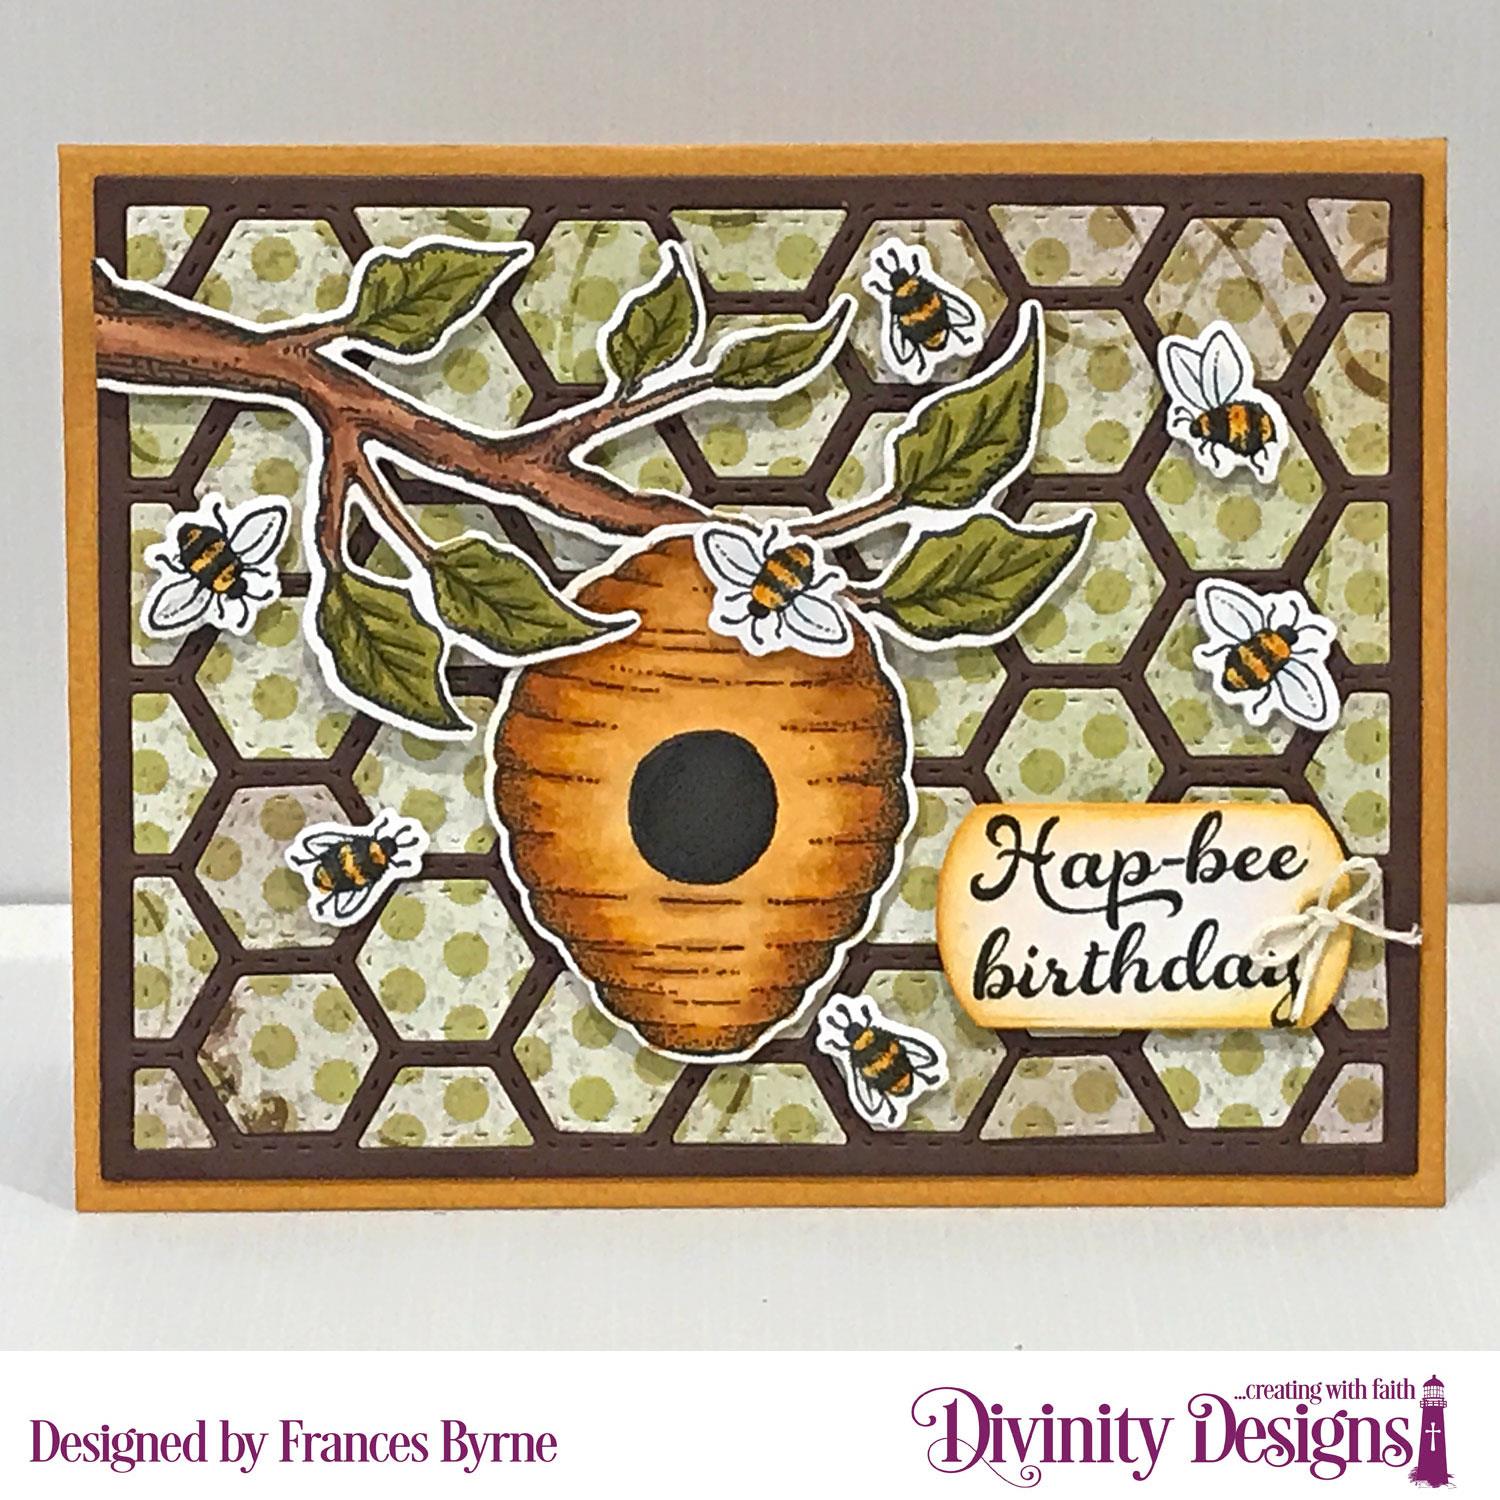
For my first card today I created a birthday card using the new Bee-Lieve Stamp/Die Duos set. I created an A2 Landscape Card using the new A2 Landscape Card Base with Layers. 

I also used the new Quilted Honeycomb Background die set for my background. I die cut this from brown cardstock and also some patterned paper from the Rustic Beauty Collection Paper Pad and paper pieced all the pieces into the background.

I used one of the tags from the Mini Tags die set to add my sentiment.


For the inside of my card I used the left over patterned paper background that I had used on the front of the card. I used another of the sentiments from the Bee-Lieve Stamp/Die Duos set which is layered using the Circles die set.

To finish off the inside of the card, I added three bees to the card.


For my second card today I used the A2 Portrait Card Base with Layers die set to create my A2 card. I decorated the background layer of my card using the embossing folder from the new Quatrefoil Embossing Folder/Die Duo set. After embossing my background I used a sanding block to carefully distress the embossed panel.

I layered the embossed panel onto a rectangle die cut using the Matting Rectangle die set.

I die cut the accompanying Quatrefoil dies using red and white cardstock. I embossed the white panel and then used ink to add detail through the die. I added a rhinestone to the centre of the panel.

For the sentiment I used the "For You" sentiment from the Festive Favors die set and layered it using one of the rectangles from the Sentiment Strips die set.


For the inside of my card, I added another embossed panel using the Quatrefoil Embossing Folder. I also die cut the solid die from this set, sponged around the outside edge and added it to my card for a sentiment to be added later.

Supplies:
For your shopping convenience, all products are linked below. Compensated affiliate links are used where possible with no extra cost to you. This helps me to continue to share all the projects I include on my blog. For the benefit of my Australia readers, I have started to include some links to Australian stores when available. Please note I only use and share products I love.


Saturday, February 1, 2020

Sending Sweet Wishes Your Way!


Hi Crafty Friends,

It’s challenge time with the “Crazies” over on the Crazy 4 Challenges blog.  Being a brand new month it's time to introduce a new challenge hostess which is Kathleen Adams.

Apparently today is “Eat Ice Cream for Breakfast” day! So put a dessert on your card today.  It doesn’t have to be ice cream.


About a month before Christmas one of the local stores had a 40% off sale of everything in store. My hubby took me up and while I was there I found three Colorado Craft Company Big & Bold stamps on the shelf. As these are normally expensive down here in Australia, with 40% off they were a must buy .... so I added these to my basket and sent them off to Santa!

This stamp set is Colorado Craft Company's Sweetest Birthday Cone stamp set. This is a large stamp set, the ice cream itself is approximately 7 inches tall, so my card is 7 1/2 inches.

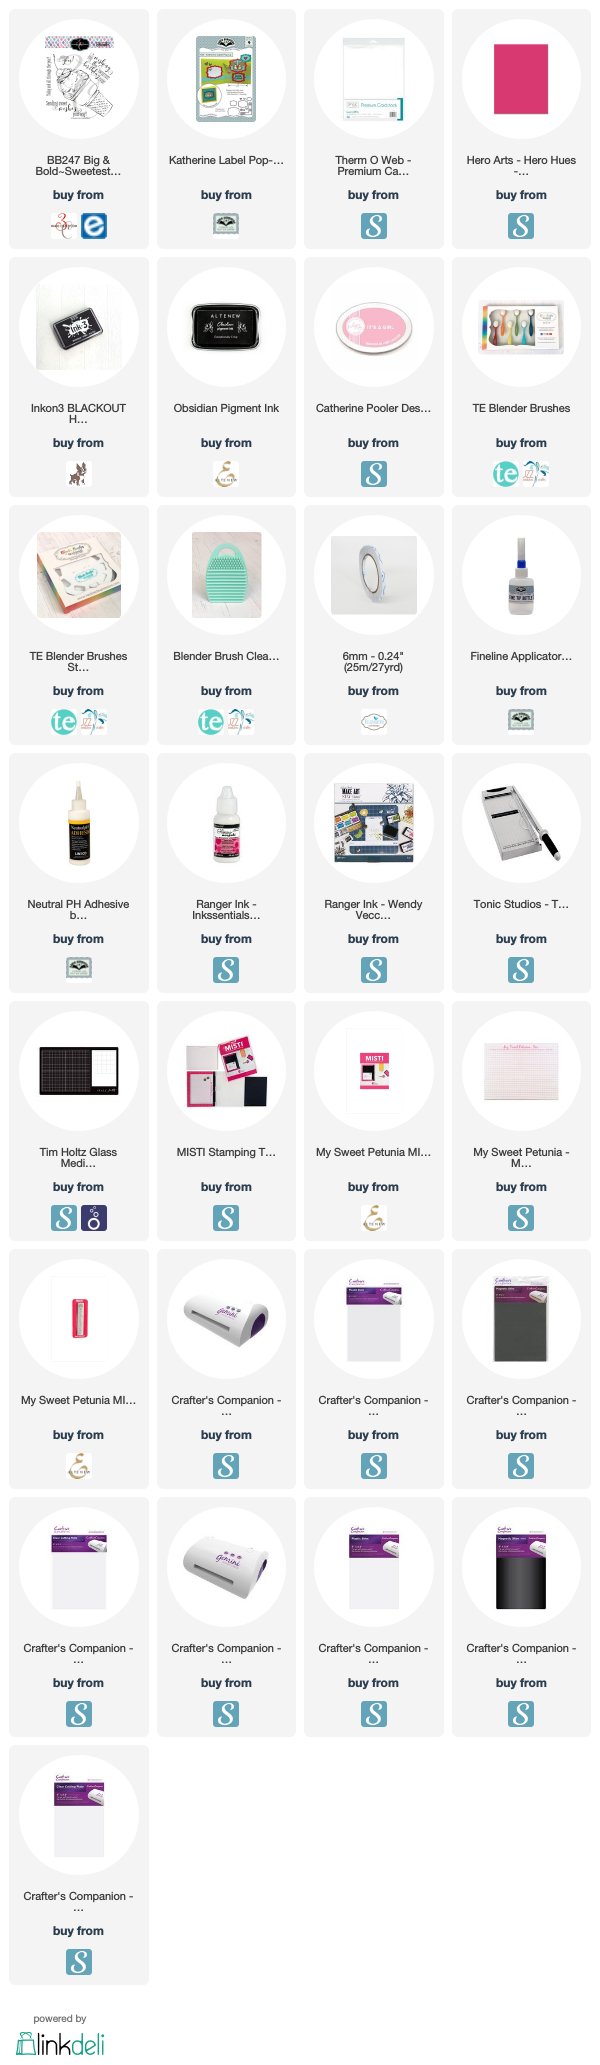
I used the birthday sentiment included in the set for the left hand side of the card. I stamped this onto white cardstock using black ink and then used the largest label die from the Katherine Label Pop-up die set. I die cut another two labels from pink cardstock and cut them in the middle vertically and horizontally and adhered this behind the white label.


As you can see I created a pop-up card using Karen Burniston's Katherine Label Pop-up die set. I stamped the "Celebrate You!" sentiment directly onto the ice cream cone.


I kept the front of the card simple, seeing the focus is on the inside of the card. I stamped another of the sentiments from the stamp set onto white cardstock strip and layered some pink cardstock behind it and adhered it to the lower portion of the front of the card.


Don't forget to check out the rest of the “Crazies” cards over on the Crazy 4 Challenges blog and also their individual blogs for more details.


Supplies:
For your shopping convenience, all products are linked below. Compensated affiliate links are used where possible with no extra cost to you. This helps me to continue to share all the projects I include on my blog. For the benefit of my Australia readers, I have started to include some links to Australian stores when available. Please note I only use and share products I love.


Friday, January 31, 2020

Will You Be My Valentine


Hi Crafty Friends,

Today I am sharing two more Valentine themed projects using some of the new stamps, dies and papers from Divinity Designs January Release.


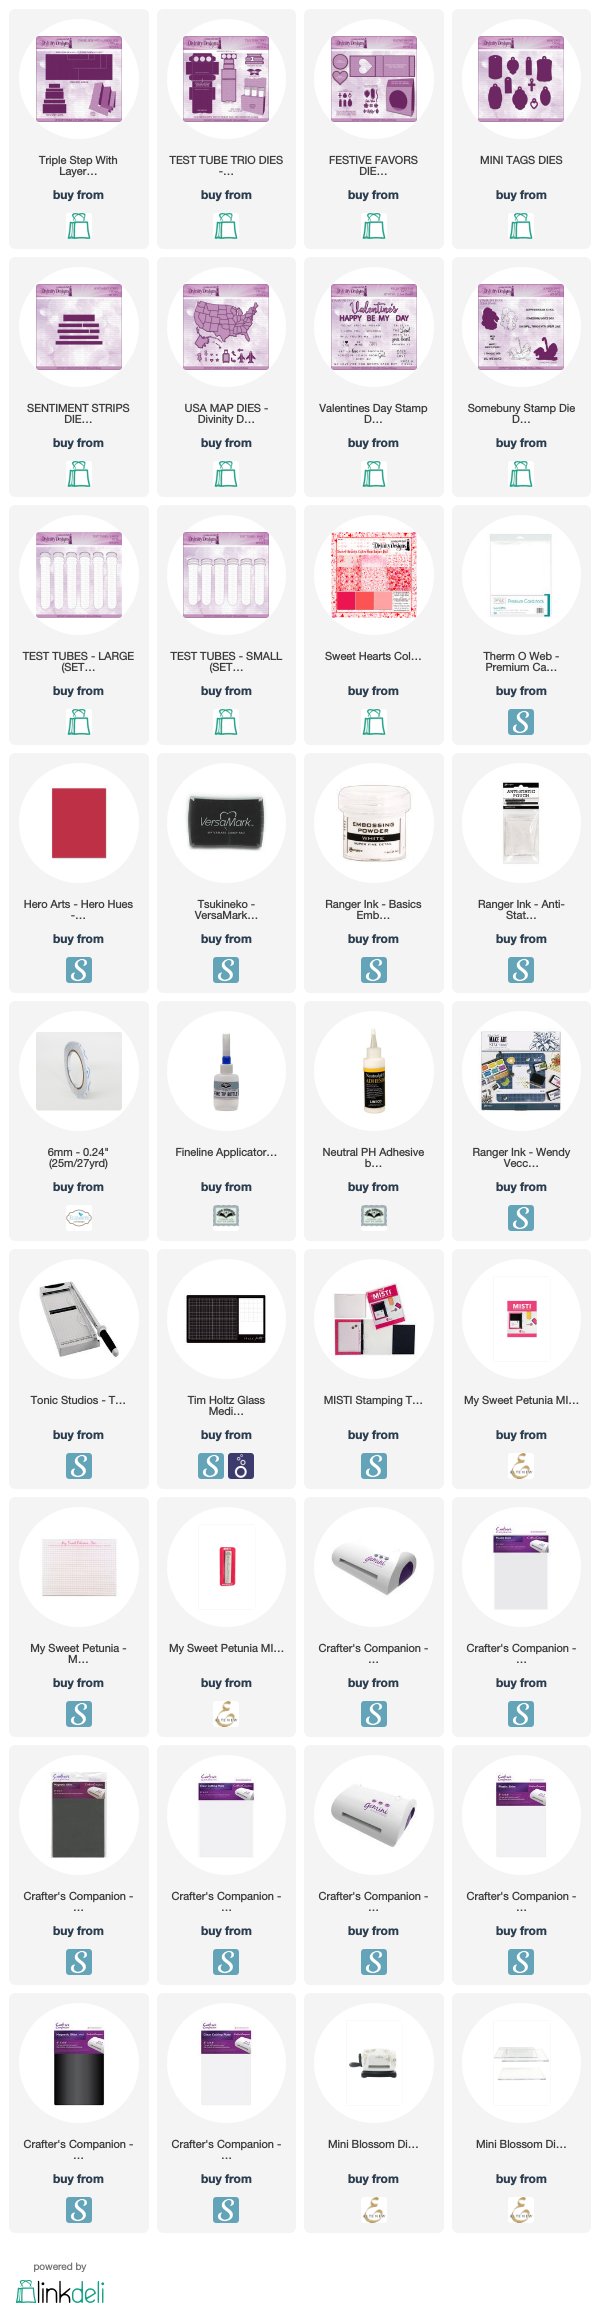
First up, I have a card I created using the new Triple Step Card with Layers die set, I have had lots of fun playing with this die set this month and know it will be used a lot more in the future.

I used papers from the Sweet Hearts Collection Paper Pad for all the layers of the card.


The large hearts were die cut using the heart die included in the Festive Favors die set, die cutting the heart using one of the solid red papers for the Sweet Hearts Collection Paper Pad.

The images and sentiments are from the Somebunny Stamps/Die Duos set. I die cut the sentiments using the dies from the Sentiment Strips die set.


I added another large heart to the centre of the inside of the card and added two more of the sentiments included in the Somebunny Stamp/Die Duos set. The largest sentiment was die cut using a die from the Sentiment Strips die set.

I added three small hearts which were die cut using a heart die from the USA Map die set.


For my second project I created a treat box using Divinity Designs Test Tube Trios die set. 

I used the same papers from the Sweet Hearts Collection Paper Pad that I used on the card above.

I die cut the large heart from the Festive Favors die set. I white embossed the "Will You Be My" sentiment from the Valentine's Day Stamp/Die Duos set and then die cut the "Valentine" sentiment also included in this set, die cutting it three times and layering it.


The sentiments around the lids of the test tubes are also from the Valentine's Day Stamp/Die Duos set. I die cut each of the sentiments using one of the tags from the Mini Tags die set. The Heart charms are also die cut using a die from the Mini Tags die set.

Supplies:
For your shopping convenience, all products are linked below. Compensated affiliate links are used where possible with no extra cost to you. This helps me to continue to share all the projects I include on my blog. For the benefit of my Australia readers, I have started to include some links to Australian stores when available. Please note I only use and share products I love.