Showing posts with label Oriental. Show all posts

Friday, June 20, 2025

Springtime in Kyoto


Hi Crafty Friends

 I have a fun fold card to share today that I created recently. I used the Honeycomb Card die set from Creative Craft Products to make this fun fold card. 


To decorate my card I used products from the Spellbinders Spring in Kyoto Collection designed by Alex Siberia. For this card I used the Kokeshi Doll die set and Parasols Betterpress Plate & stencils.

I betterpressed the Parasol plate four times so I could decorate all the panels on my card.


Here is a look at the back of my card, I added a vertical happy birthday Sentiment which is an older stamp from my stash.


Here is a view of the back of my card when it is closed.


Thursday, February 23, 2023

Oriental Screen


Hi Crafty Friends,

Today I am sharing a fun fold card I created recently.

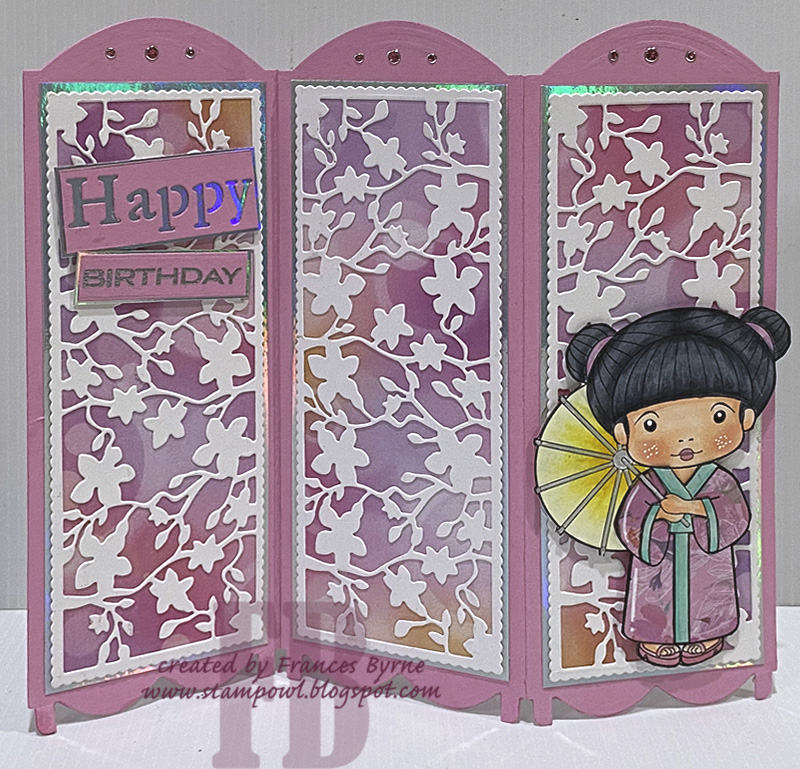
This card uses Paper Discovery's Room Divider die set to create the tri-fold screen card base. The set came with two different style base dies, two different decorative panels and two rectangle shaped panels. I cut the silver layer by hand as I wanted something between the decorative panel and the base panel. I used papers Divinity Designs Rainbow Sherbet Slimline Paper Pad as the panel behind the decorative panel.

On the left hand panel, I used Creative Craft Products' Modern Sentiments die set to die cut the word "Happy" from pink cardstock and layered onto the silver holographic card. The "Birthday" word is silver embossed onto pink cardstock. I used a sentiment from Altenew's Birthday Builder stamp set for the word "Birthday"

Along the top edge of the screen/card, I added pink/silver Glitter Dot Peel Off Stickers. I used the stickers as I didn't want and bulk when the card was folded.


The card is folded so that the right hand panel when the card is opened, becomes the front of the card when it is closed. I added La-La Land Craft's Kimono Marci to the lower portion of the card.


Here is a look at the back of the card. The decorative panel on the right hand side is the back of the card when it is closed, so both the front and back of the card in the closed position is pretty. 

For the other two panels I added white panels layered to the holographic cardstock and a sentiment to each of the panels which I silver embossed to match the card. Both sentiments are from Made To Surprise's Showstopper Sentiments stamp set.


Other Supplies:

Room Divider Die Set - Paper Discovery/Craft Stash.


Monday, January 23, 2023

Fortune Cookies


Hi Crafty Friends,

Apparently yesterday (22nd January), was Chinese New Year so for my card today I decided to create a card which had a Chinese/Oriental theme.


For my card, I created a Double Gatefold Card using Creative Craft Products Double Gatefold Card die set which is available from Craft Stash. I love the look of the diamond shape that is formed when the card is closed and I thought it would work well with an Oriental theme. 


I used gold mirror cardstock for my matting layer and oriental themed papers for the background paper.

I added gold metallic pearls to the diamond section on the front of my card.


Here is a look at my card when it is partially open.


As there isn't any room on my card when it is closed, I added the fortune cookies to the inside of my card. I thought this sentiment would work for either a New Year for Chinese New Year or a birthday which is what I ended up making my card for as I didn't have a need for the former.

The fortune cookies and sentiment are both older sets from MFT Stamps.


I added a panel to the back of the card as the place to add a birthday sentiment and also a place to write a personal message to the recipient of the card.

Other Supplies:
Chinese Take Out Die-namics - MFT Stamps (retired)
Good Fortune Stamp Set - MFT Stamps (retired)


Sunday, September 20, 2020

Wishing You Good Fortune


Hi Crafty Friends,

All year I have been collecting Mama Elephant's Zodiac animal stamp sets. I have finally completed the collection of 12 stamp sets when I created the Zodiac Dragons stamp set from a friend for a belated birthday present.

As you can see I have created a Slimline Card using Whimsy Stamps Slimline Five Frames die set.

Before die cutting the slimline die, I blended yellow/orange/red Catherine Pooler inks to a white cardstock panel. I then splattered the panel with Lawn Fawn's Liquid Stardust and gold paint. I then used the Slimline die to die cut the inked panel and a black panel of cardstock.

On the background panel I used MFT Stamps Rolling Clouds Stencil to create clouds all over a white panel of cardstock. 

I used Trinity Stamps Slimline The Great Outdoor Borders and Builders die set to add grass along the bottom of each of the black frames

I added the Slimline Five Frames die cut panel to a side folded white card. I then added the dragons and accessory images to the card.


For the inside of the card I used a spare Slimline Five Frames die cut to position the leftover rectangle panels that came from the die cut frame from the front of the card. I also added a strip of decorated cardstock to the inside left panel.

I added three sentiments from The Greetery's Sentiment Suite - Birthday stamp set to the three centre rectangles and two more dragons to the top and bottom rectangle.

Supplies:
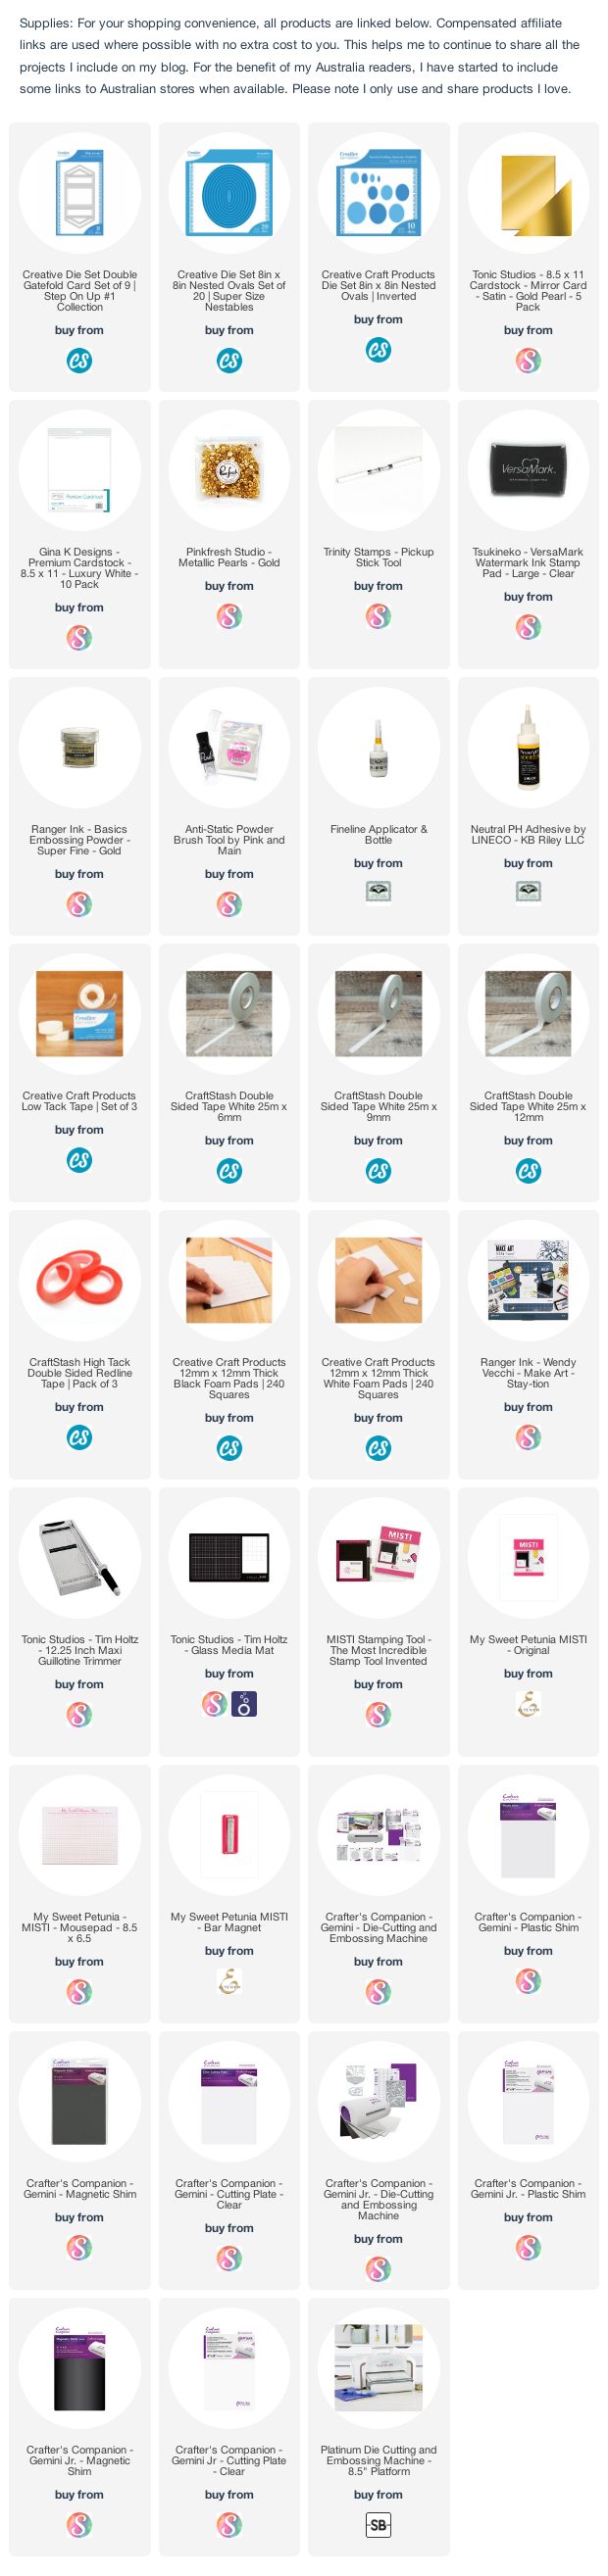
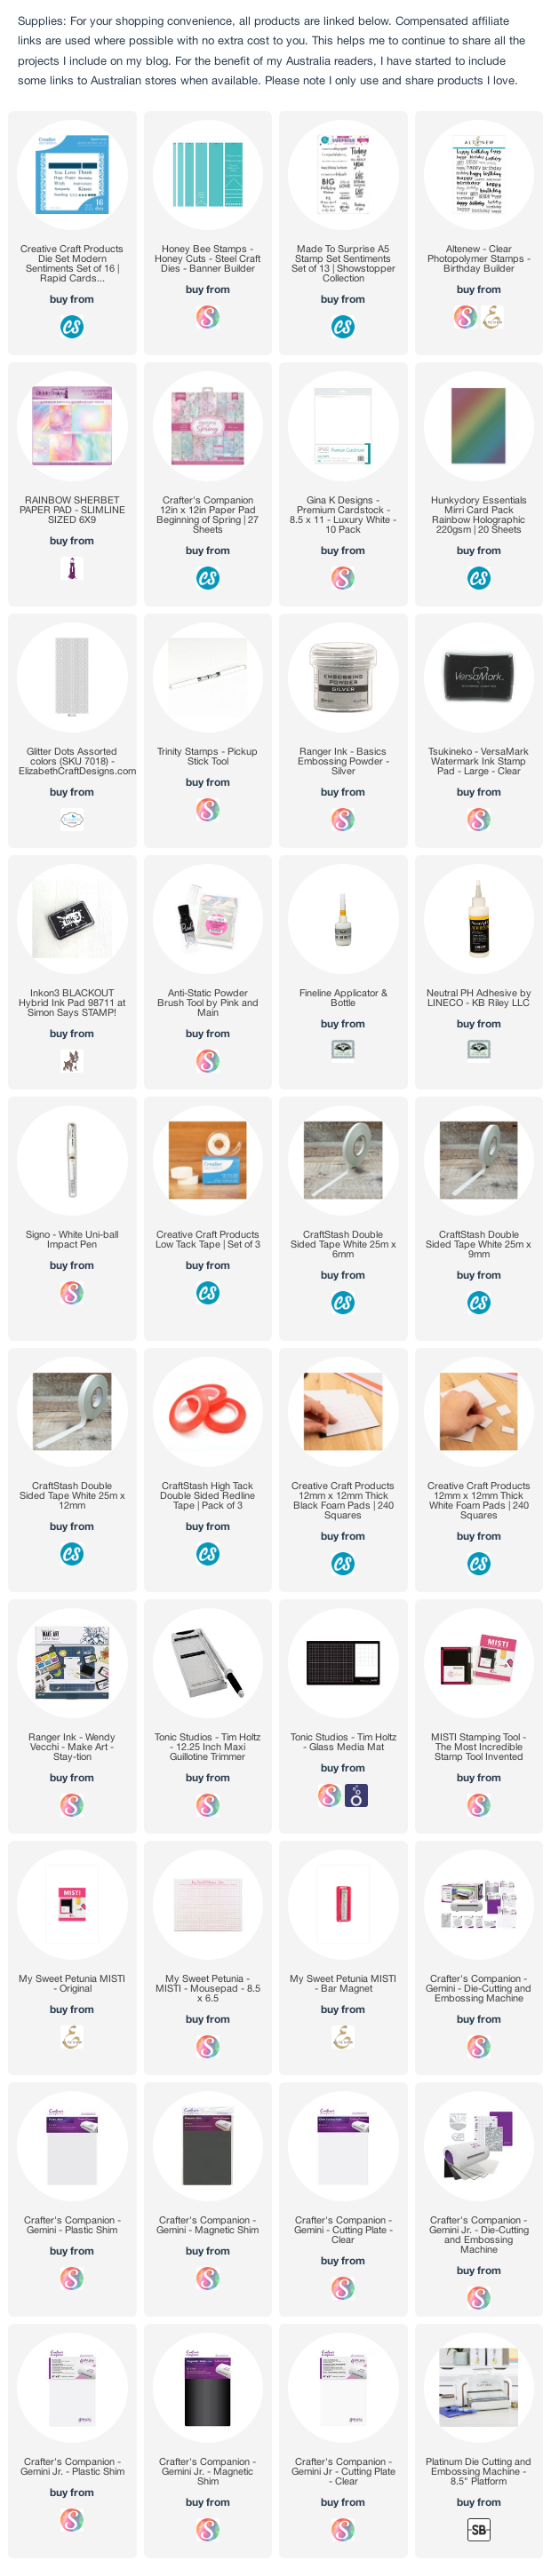
For your shopping convenience, all products are linked below. Compensated affiliate links are used where possible with no extra cost to you. This helps me to continue to share all the projects I include on my blog. For the benefit of my Australia readers, I have started to include some links to Australian stores when available. Please note I only use and share products I love.




Saturday, August 22, 2020

Hello


Hi Crafty Friends,

It’s challenge time with the “Crazies” over on the Crazy 4 Challenges blog. Tracey Farr our challenge hostess for the month continues to issue the challenge.

Asian Style Card – Let’s use some of our stash that are ‘Asian Style’ and make an ‘Asian Style’ card. You could use a kimono, cheery blossom, pagoda, lanterns, fans, birds, koi etc.

As I had a few Asian themed dies I purchased earlier in the year from Spellbinders I decided to pull one of those out for my card today, the Pagoda die. 

As the pagoda is a tallish die, I created a Slimline Card. I used Pinkfresh Studio's Slim Diagonal Stitched Rectangles die which I die cut from gold pearlescent cardstock, I then used the Herringbone insert from the Sunny Studio's Herringbone Frilly Frames die set to die cut the centre of the rectangle panel. This die fits perfectly the width of the rectangle, but needs to be die cut twice.  For the second die cut, I only partially die cut the panel which left a piece in the middle a little messy. Fortunately the widest section of the pagoda's roof hid that part.

I layered the gold panel onto a piece of cardstock that had double sided adhesive tape on the front and then covered this panel with Warm Diamond Silk Microfine Glitter. 

The pagoda was die cut from black cardstock and then from red for the red panels of the roof, which I paper pieced into the design. I also added glitter dots peel off stickers to areas around the pagoda.

I added the pagoda towards the upper portion of the card, leaving a space at the bottom of the card for the sentiment which is from The Stamp Market.


For the inside of the card I created a pop-up card using a pop up technique I saw recently on my friend Karen Aicken's blog. The black panel is scored evenly into four panels and then concertina folded, starting with a valley fold. The centre panel I cut two slits about 1 inch in from the fold and then back folded this panel.

I decorated the inside of the card using some older oriental themed stamps I had in my stash. I also found a sentiment for the top left sentiment panel.

Don't forget to check out the rest of the “Crazies” cards over on the Crazy 4 Challenges blog and also their individual blogs for more details.


Supplies:
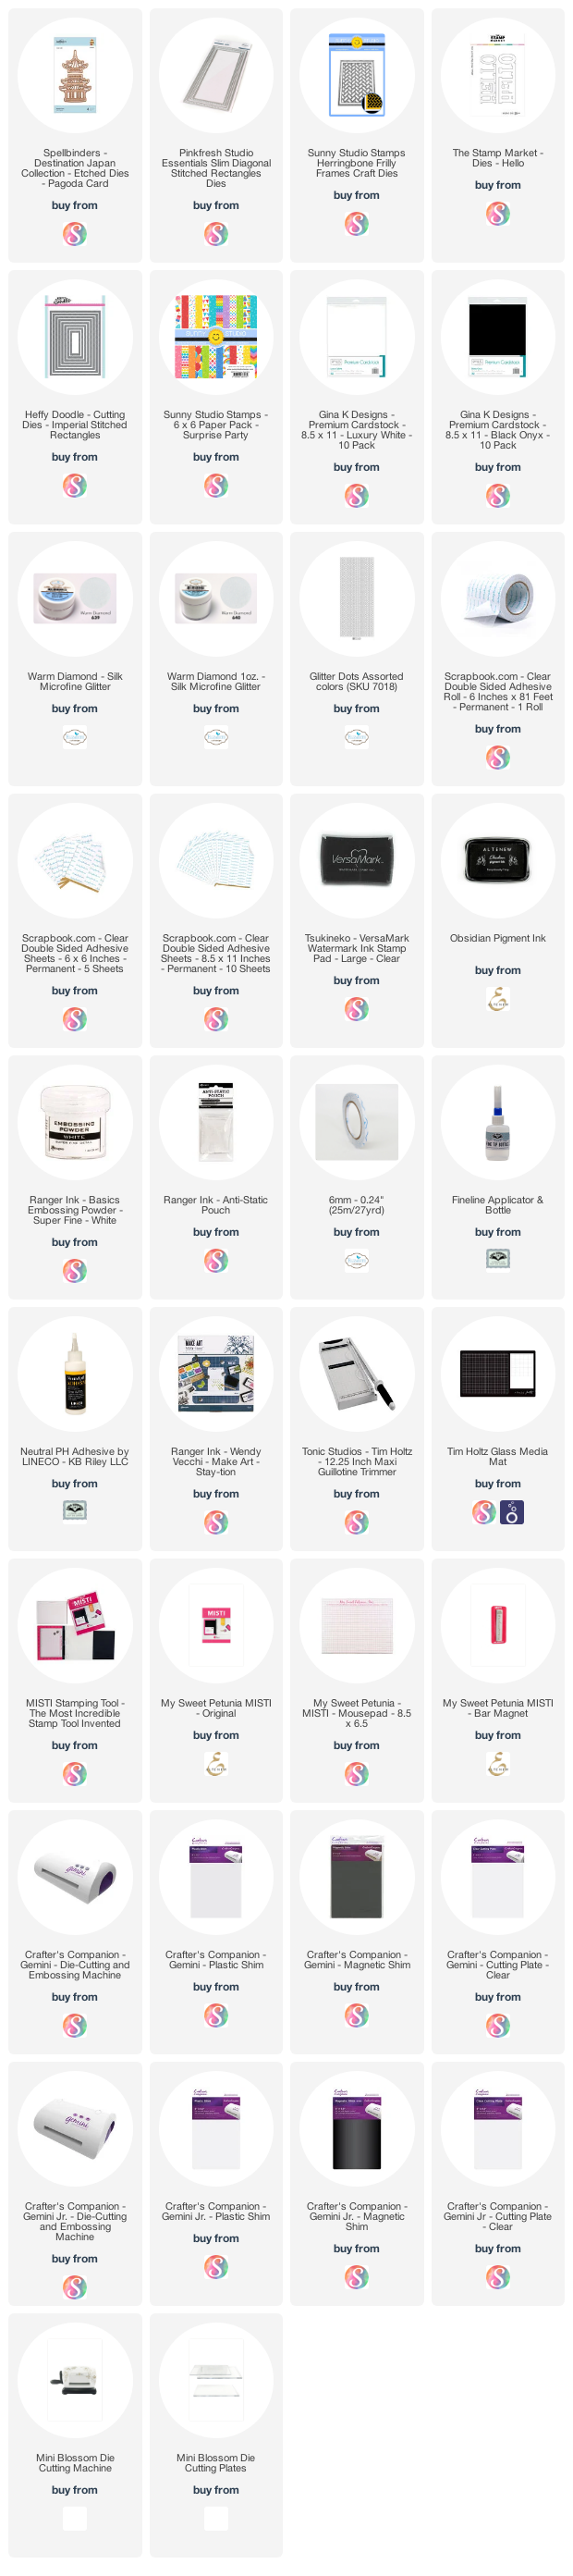
For your shopping convenience, all products are linked below. Compensated affiliate links are used where possible with no extra cost to you. This helps me to continue to share all the projects I include on my blog. For the benefit of my Australia readers, I have started to include some links to Australian stores when available. Please note I only use and share products I love.


Saturday, July 25, 2020

Soy Happy For You


Hi Crafty Friends,

It’s challenge time with the “Crazies” over on the Crazy 4 Challenges blog. Rebecca Ednie our challenge hostess for the month finishes off the month with one last challenge.

Collages are fun to make. Make a background from various different paper elements or use a paper that already looks like a collage.


All month I have been making Slimline cards for my Crazy 4 Challenges challenge cards, so of course I wanted to continue that for this week's challenge. I thought the Whimsy Stamps Slimline Windows die would be perfect to use to create a collage.

I die cut the frame from black cardstock and then die cut the inner portion of the frames with different patterned papers in red.

To decorate my card I used Lawn Fawn's Let's Roll and Year 8 stamp sets.


I normally like to create some sort of interactive, pop-up or fancy fold card for challenges. So for my card today I decided to create a pop-up card. I used Lawn Fawn's Pop-Up Wish Big and Oliver's ABCs for the pop-up portion of the card.

Along the edges of the inside of the card, I added a frame using the Whimsy Stamps Slimline Windows die. I then added images from Lawn Fawn's Let's Roll stamp set.


Here is another photo of the inside of my card, taken at a different angle so you can see the folds of the pop-up a little better.

Don't forget to check out the rest of the “Crazies” cards over on the Crazy 4 Challenges blog and also their individual blogs for more details.


Supplies:
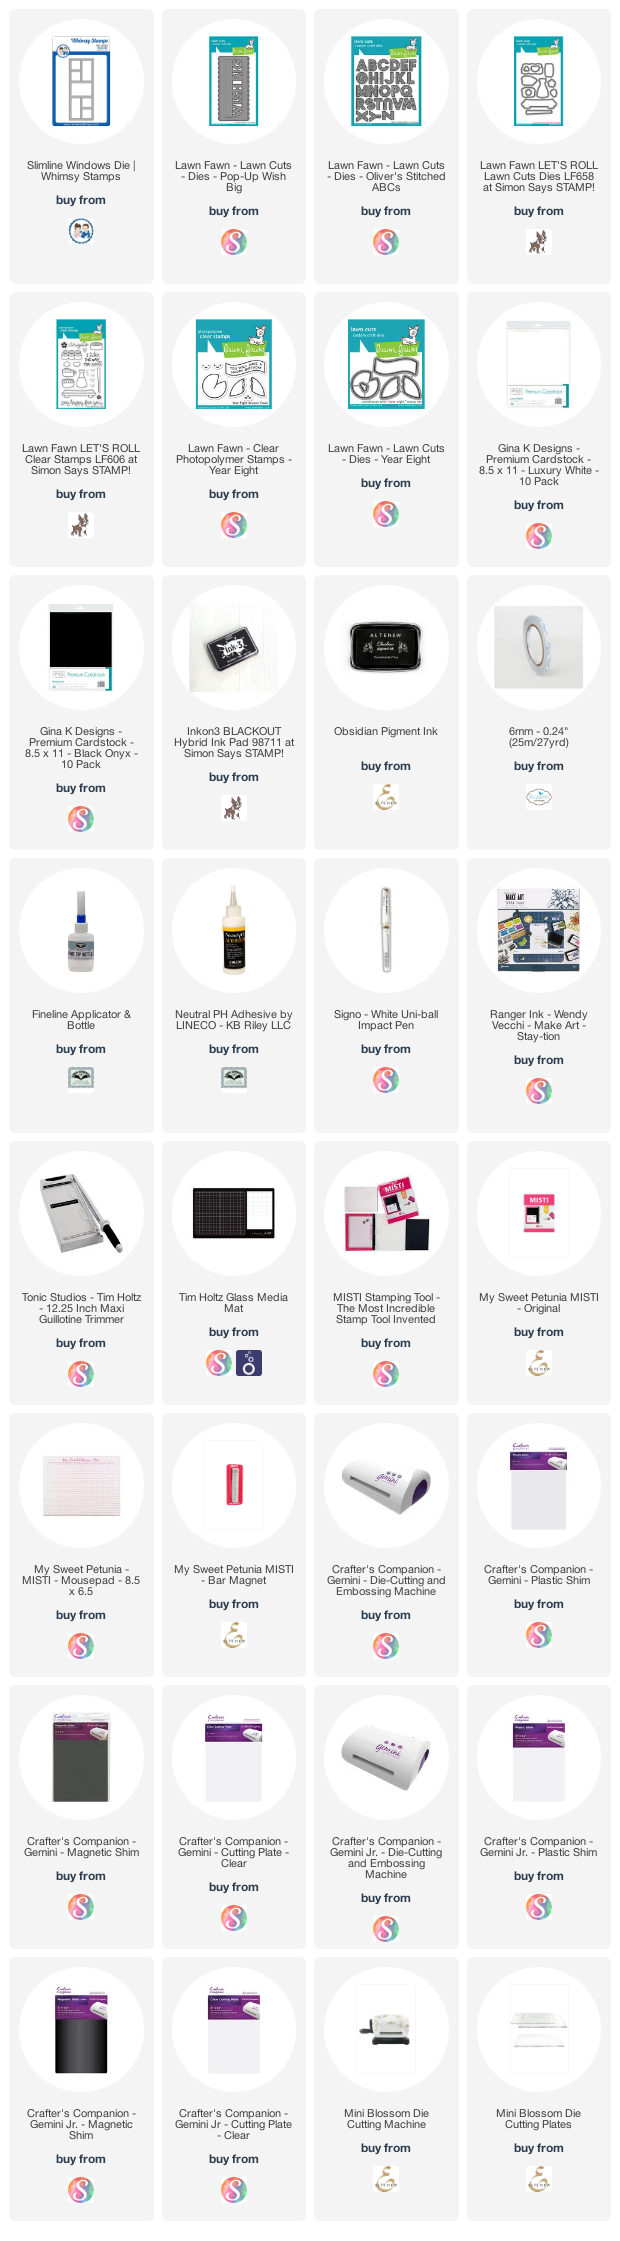
For your shopping convenience, all products are linked below. Compensated affiliate links are used where possible with no extra cost to you. This helps me to continue to share all the projects I include on my blog. For the benefit of my Australia readers, I have started to include some links to Australian stores when available. Please note I only use and share products I love.


Friday, June 26, 2020

Wishing You An Abundance Of Happiness


Hi Crafty Friends,

I was super excited to finally get my March 2020 My Monthly Hero card kit from Hero Arts a couple of weeks ago. Unfortunately Hero Arts went into lockdown due to COVID 19, just before they were able to send my kit. Happily things are starting to improve so my order could finally be sent.

For my card today I used a couple of add ons from the kit, the Parasol Bold Prints and the Kimono Kitties stamp sets.

I created a Slimline Card using Pinkfresh Studio's Essentials Slim Braided Circles  die. I die cut the panel from red cardstock and then used the Parasol Bold Prints to stamp onto the panel using Catherine Pooler Samba ink. I layered the panel onto gold cardstock and then onto black cardstock.

I stamped out the three kittens and parasols to add along the bottom of the card. I added the sentiment to the centre circle.


For the inside of the card I die cut and stamped another red panel like I did on the front of the card. I white embossed a sentiment onto black cardstock and added that to the centre circle.


Supplies:
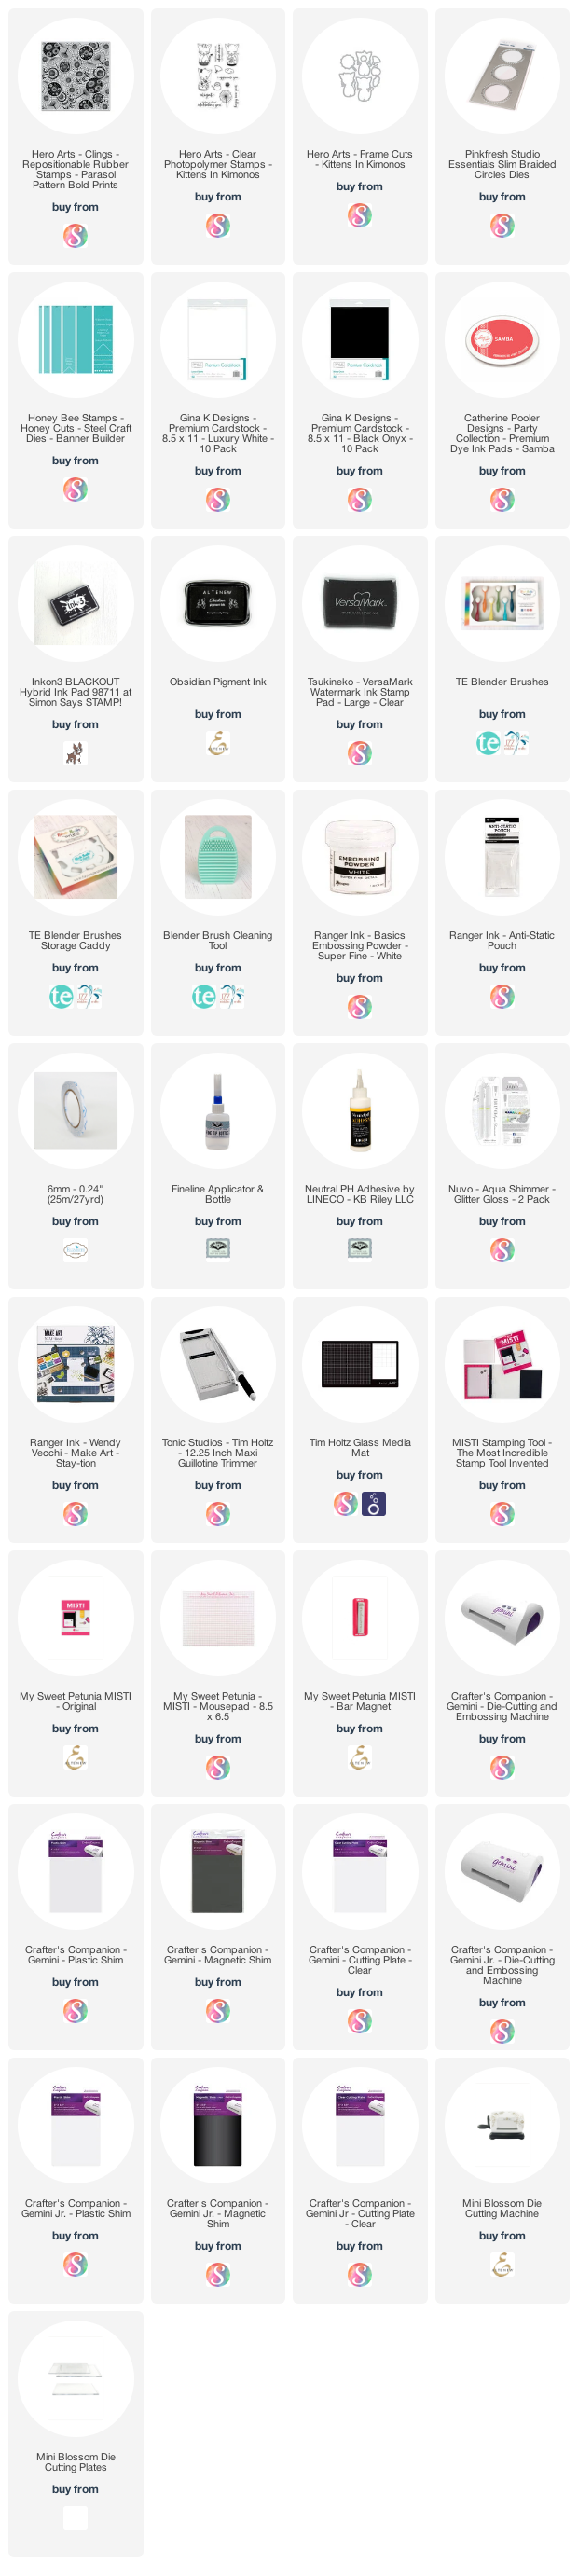
For your shopping convenience, all products are linked below. Compensated affiliate links are used where possible with no extra cost to you. This helps me to continue to share all the projects I include on my blog. For the benefit of my Australia readers, I have started to include some links to Australian stores when available. Please note I only use and share products I love.


Monday, March 23, 2020

It's Your Day Kimono


Hi Crafty Friends,

Today I am sharing a birthday card I created recently. This card uses lots of gold foil using both gold mirror cardstock and gold hot foil.

I used Spellbinders new Kimono die set. I die cut the kimono using black, gold mirror foil and burgundy cardstock. I paper pieced all the various panels to create my kimono. I used a black glaze pen to color the centre portion of all the flowers.

For the background of my card I used Sunny Studio Stamps Blooming Frames die set, I have been wanting to use this die for a while. I die cut the frame from white cardstock and then layered this onto  another panel of gold mirror cardstock. I adhered all the layers onto a top folding burgundy card. This card measures 4 1/2 inches x 5 3/4 inches.

To finish off my card I used Spellbinders Everyday Sentiments II Glimmer Hot Foil Plates with gold hot foil to add my sentiments to white cardstock. I then used one of the sentiment banners from Honey Bee Stamps Banner Builder die set.


For the inside of my card I die cut a rectangle using the largest rectangle die from Heffy Doodles Imperial Stitched Rectangles die set. 

I die cut the kimono decorative panel two more times from gold mirror foil cardstock and adhered them to the top and bottom of the card.

Finally I added a birthday sentiment which is an older one I have in my stash.

Supplies:
For your shopping convenience, all products are linked below. Compensated affiliate links are used where possible with no extra cost to you. This helps me to continue to share all the projects I include on my blog. For the benefit of my Australia readers, I have started to include some links to Australian stores when available. Please note I only use and share products I love.

HB#5 Wood Mounted Stamp - Eccentricks. 


Wednesday, February 5, 2020

Pand-Tastic


Hi Crafty Friends,

I am back today with my 2nd project for the February Karen Burniston Designer Challenge.

Check out Karen Burniston's blog on Wednesday (US Time) when you will be able to see what all the designers created for the challenge this month, plus Karen will have an amazing video tutorial to share with us all.

Our challenge theme this month is .... "DOUBLE" - make a card of any theme using a doubling technique. This could be a double Pivot Panel, a double Katherine, a double Surprise Ball, or any fun combination of two different pop-up dies. 


When I was making my penguin card using the Surprise Ball Pop-up die set, I had the idea to create a Panda as well. I am loving creating these Double Surprise Ball Pop-ups as stand alone characters, rather than securing to a card. Cards normally get put away a week or so after a birthday, while these characters can be placed on a shelf in a child's room or whatever and they can play with it whenever they wish ... I love flattening the characters and seeing it bounce up.


Here is a quick video to see my Penguin Surprise Ball Pop-up in action.


This time around I created both of the surprise balls using white cardstock. I had planned on coloring the black portion with a marker, but when I started doing this I wasn't happy with the result, so I die cut another half ball from black cardstock and then used the panels from the ball to add the black portion around the top of the panda's body. 

For the panda's arms and legs I used the arms from the Adirondack chair, rounding off the sharp portion of the die cut. The die cuts a right and a left arm, so I adhered these back to back to get an cleaner finish and then adhered the arms and legs to the panda's body using foam tape.

I used a small circle from the Coffee Pop-up die set for the ears. I folded a 1/4 of the circle back to adhere to the side of the head. To hide the black on the head, I die cut another circle from white and added this to the 1/4 circle that is adhered to the head.


When I researched the color of a panda's tail, some were white and other's black, so as black would stand out a little better I went with black.. I used the flower hole reinforcing die from the Circle Tag Book Pop-up for this, cutting the flower in half seeing it had to be adhered over two panels which separate when the card is flattened.


I felt the panda needed some bamboo, so to make this I used the diploma from the Tiny Accessories 2 die set and a plant from the Garden charms die set. I used three diplomas for each bamboo, adhering it to a piece of cardstock for extra strength and then adding the leaves to it.

As I have panda themed sentiment stamps in my stash it seemed a shame not to make use of them. I stamped onto onto a sign the panda is holding. The sign was created using dies from the Parcel Pop-up die set. The sentiments are from Art Impressions Pand-tastic stamp set.


The base of the panda is attached to a green circle using the largest circle from the Crosshatch Circles die set. To cover the brad that attaches the circle, I adhered another circle over it. This is a good place to add a stamped sentiment and to write a personal greeting to the recipient.


I needed something for the panda to go into for when the card is presented to whoever it is going to. So I decided to create another pocket card as I did for my penguin yesterday. As the focus is on what comes out of the pocket, I kept the front of the pocket simple, using the Alphabet die set to create the word "PAND+TASTIC" 

I also added an arrow to the top right corner of the pocket, so it points to the bamboo that sticks out so they know to pull on this to pull out the panda.  I ended up stamping "Pull Me" onto the arrow after I had taken all the photos,  so there was no doubt as to what to do.


Don't forget to visit Karen Burniston's blog on Wednesday when you will be able to see what all the designers created for the challenge this month.

Supplies:
For your shopping convenience, all products are linked below. Compensated affiliate links are used where possible with no extra cost to you. This helps me to continue to share all the projects I include on my blog. For the benefit of my Australia readers, I have started to include some links to Australian stores when available. Please note I only use and share products I love.

Interactively Yours - Heffy Doodle