Showing posts with label Colorado Craft Company. Show all posts

Thursday, January 18, 2024

Sweetest Birthday


Hi Crafty Friends,

Today I am sharing a cupcake themed birthday card, using a cupcake stamp set from Creative Expressions.

I used Made To Surprise by Sam Calcott's Double Interlocking Concertina die set from the  Showstoppers 2 Collection. Most of my other cards using this die set, I have placed the large square portion of the card to the right side. Today I decided to have it on the left.

I also used a sentiment from Colorado Craft Company for the birthday sentiment.


This card can be closed two different ways, the first is by concertinaing the right side to the front as you can see above.


This is the other option of my card being closed, so either way taking it out of the envelope looks good. 

I added another Colorado Craft Company sentiment to this side of the card.


Wednesday, May 10, 2023

Cactus Makes Perfect


Hi Crafty Friends,

Today I am sharing a Centre Stepper Easel Card using a die set from Creative Craft Products available from Craft Stash. 

This card turned out to be a lot smaller than I was expecting, especially after using most of the Creative Craft Products Stepper dies. This one when folded to go into an envelope would measure approximately 5 inches x 4 inches. It's also very different to what I think an Centre Step Easel Card would look like, as most easel cards would have a portion of the easel base showing in front of the design. I have made a few Centre Step Easel Cards and this is definitely different to those. It took me a while to work out how to assemble it as there was no picture to see what it was supposed to look like, but I finally found a video done by Craft Stash that helped. 


To decorate my card I used one of the cacti images from Colorado Craft Company's Stay Sharp Stamp set, the cacti in this set are very small so they were perfect for this card.


For the inside of the card, I used all the layering dies included in the die set. I also added two sentiments from the Grow Girl Stamp set. The small cacti in the top section is another of the cacti included in the Stay Sharp stamp set.


Tuesday, March 28, 2023

Have A Fancactus Birthday


Hi Crafty Friends.

Thanks for visiting my blog. 

Colorado Craft Company recently released four cacti/succulent themed stamp sets, as I enjoy creating cards of this theme I purchased the sets. Three of the sets have an enormous image of a cacti/succulent, and some of the sentiments were very different to what I already have in my stash, so they were a must have.

Being so large, the image often won't fit on a complete card, unless you were making something large. I probably could fit one on a 5 x 7 card, but I wanted to make something different and the Magic Colour Slider card came to mind. As I liked the look of the partial image showing through the window I decided to make one of those.


To make the Magic Colour Slider portion of the card I used Made To Surprise by Sam Calcott's 5 x 7 Magic Colour Slider die set. I was originally going to make the colour slider where the colour reveal is revealed on the top pull out panel however that didn't turn out properly so I went with plan b.

When you start to pull the tab at the top of the card, the black and white image starts to disappear with a coloured image


Here is a look at my card when the tab is completely pulled, you can see the fully coloured cacti and also a sentiment. 

I used the layering die included in the die set to create the layer for my 5 x 7 top folding card base.

I added the "fan cactus birthday" sentiment to the lower section of my card. This is one of the sentiments included in the Can't Touch This stamp set from Colorado Craft Company, which is the stamp set I used for the cacti also.


I used the cacti that I was originally going to use on my card, but ended up not being able to be used on the magic colour slider portion of the card. I added it to the lower left hand corner of my card.

I added another of the cacti themed sentiments, this time from the Grow Girl stamp set. I also added a "Happy Birthday" sentiment underneath the main sentiment.


Other Supplies:

Hedgehog Stamp Set (Lookin' Sharp Sentiment) - Art Impressions (discontinued) 


Saturday, December 4, 2021

Merry Christmas To You and Yours


Hi Crafty Friends,

It’s challenge time with the “Crazies” over on the Crazy 4 Challenges blog. It's a brand new month and this month's challenge hostess is ME!

Christmas Flowers/Foliage - One of the ways people decorate for Christmas is with flowers and/or foliage … the most popular being Poinsettias; Holly; Ivy and Mistletoe. For our challenge this week create a card using something flower or foliage related. 

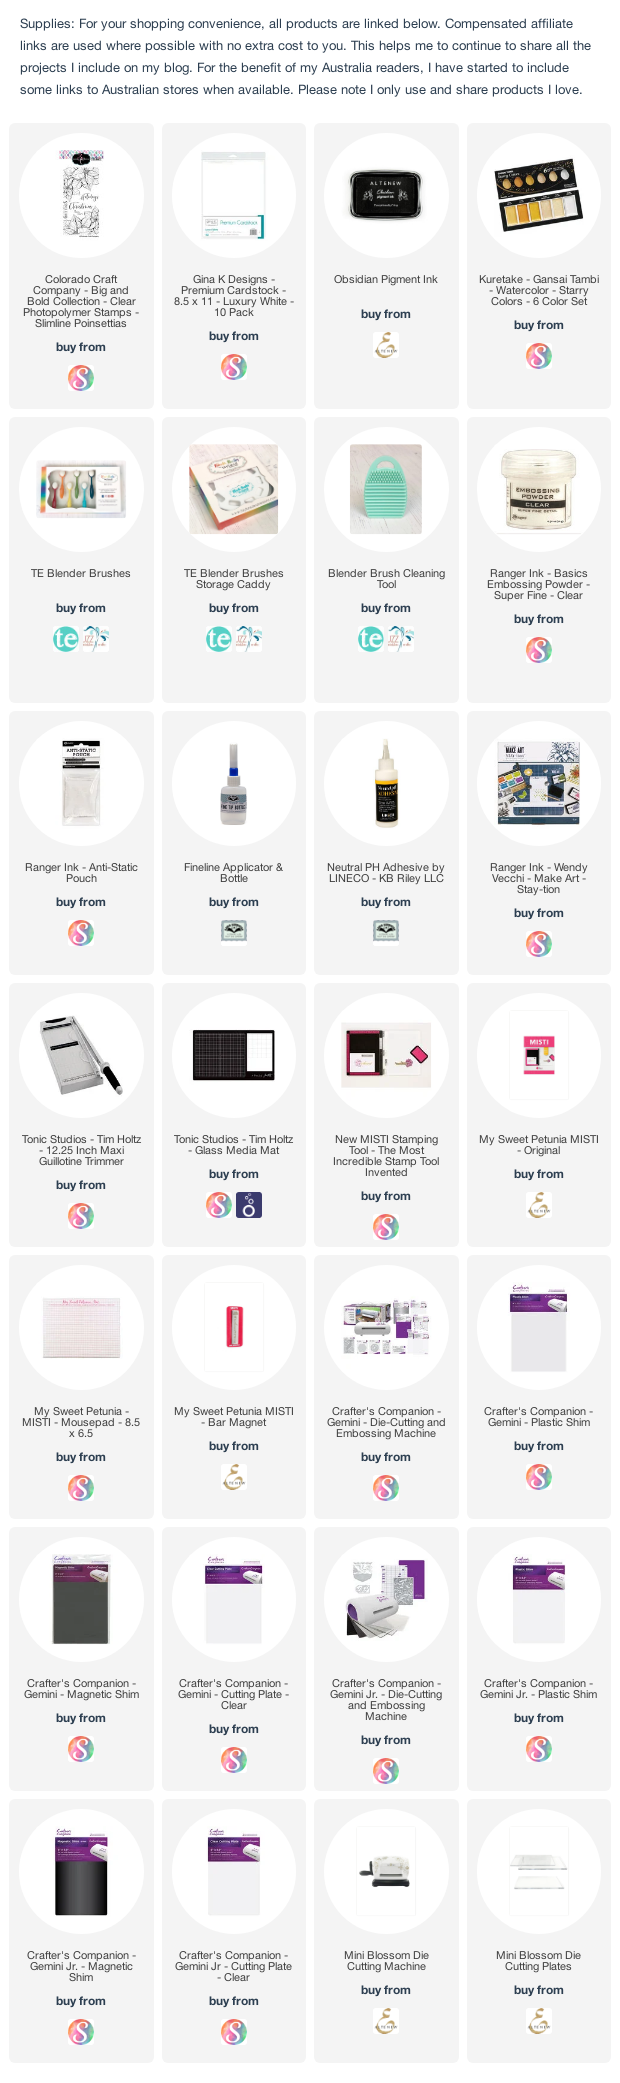
I purchased this Colorado Craft Company's Slimline Poinsettias stamp set early in the year and put it away to use for Christmas ... so this challenge seemed to be the best opportunity to pull it out to create my card this week. I stamped each of the poinsettia images, cut them out and colored using Copic markers so I could add them to my card using foam tape.

For the white panel I splattered some gold paint from my Gansai Tambi Starry Colors paint set. 

The sentiments I stamped on the lower section of the card are both also from the stamp set.

I added a couple of pine sprigs to the flowers using The Greetery's Pine Wisp die set.


For the inside of the card I stamped another of the poinsettia images to the right side of my white panel, stamping directly to the panel.

I added a sentiment from Couture Creation's Every Day Be Christmas Collection.

Don't forget to check out the rest of the “Crazies” cards over on the Crazy 4 Challenges blog and also their individual blogs for more details.


Other Supplies:
Let Every Day Be Christmas Collection Stamp Set - Couture Creations (discontinued)


Sunday, November 21, 2021

Not a Creature was Stirring


Hi Crafty Friends,

Today I am sharing a Christmas Slimline Card I created recently.

For the slimline portion of the card, I used Trinity Stamps Slimline Striped Frame die set to create the striped frame around the card. I used the smallest rectangle die included in the Lawn Fawn Large Slimline with Sliders die set to add to the centre panel.

The cute mouse carrying the presents is from Colorado Craft Company's Big Love stamp set. This stamp set is perfect all year round, but as Christmas is less then 2 months away I decided to use it for a Christmas theme.

I added a Pine Bough die from Impression Obsession to add some foliage to the top of the card.

For the sentiment I used a the "Merry Christmas" sentiment from Lawn Fawn's Say What? Christmas Critters stamp set. The rest of the sentiment is from Hero Art's Christmas Mice stamp set.


For the inside of the card I added a Christmas sentiment using Divinity Designs Silent Night stamp set. I used the cheese from Hero Arts Christmas Mice stamp set. 

I also added a Pine Needle Border from Memory Box.

Other Supplies:
Pine Bough Die - Impression Obsession (discontinued)
Pine Needle Border - Memory Box (discontinued)


Friday, September 3, 2021

Magnolia Slimline Shutter Card

Hi Crafty Friends,

I have made lots of Shutter Cards in the past in both A5 (Australian Size) and A2 (USA Size}. I have been wanting to make a Slimline version, so when Kendra Morgan posted a tutorial for this style of card on her YouTube channel, I knew the time had come to make one. You can find Kendra's tutorial here.


My finished Slimline Shutter Gatefold Card measures 4 inches x 9 inches when closed and will fit in a #10 envelope.


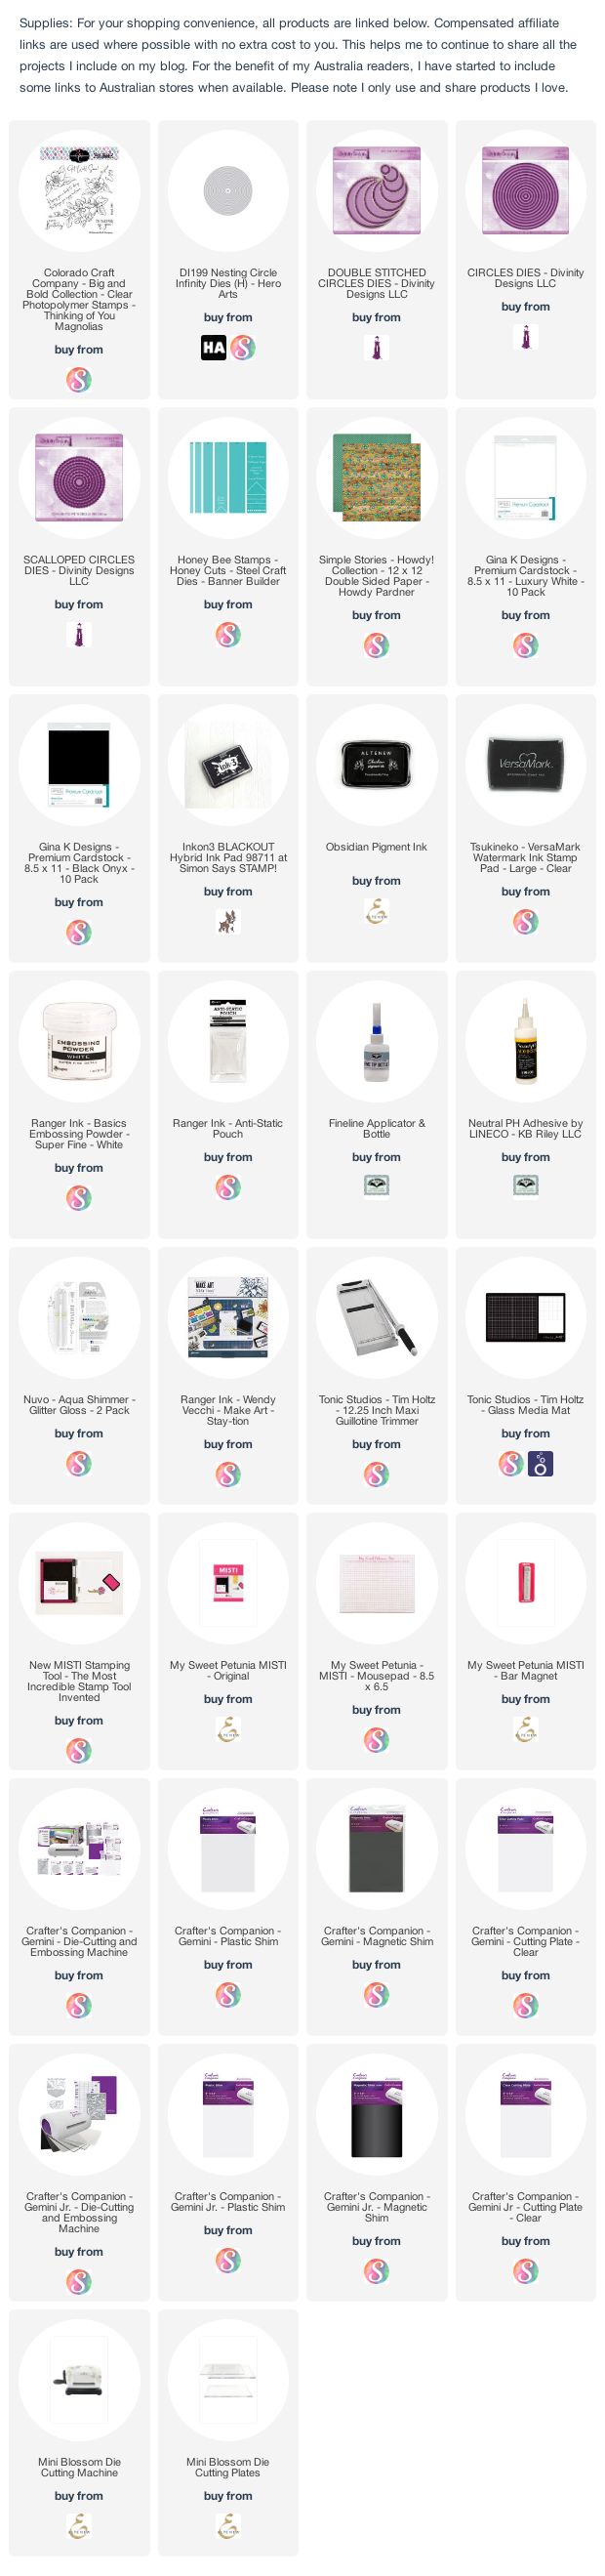
To decorate my card I used a magnolia from Colorado Craft Company's Thinking of You Magnolias stamp set. I created a belly band to help keep the card shut and layered the magnolia onto circles using Divinity Designs Double Stitched Circles; Circles and Scalloped Circles die sets. The sentiment is also included in the stamp set.


When you open the card, the shutter portion of the card starts to open to reveal the sentiment or image.


I used the Happy Birthday sentiment from the Colorado Craft Company's Thinking of You Magnolia stamp set.


I also decorated the sides of the inside of my card using the opposite side of the patterned paper I used for the front and centre of my card. I added another of the magnolia's included in the stamp set to the top left and bottom right of my card.


Thursday, July 1, 2021

Sweetest Birthday Ever

Hi Crafty Friends,

It's challenge time with my friends over on the CCEE Stampers challenge blog. Being a brand new month, it's time to introduce our new challenge hostess which is Lois Bak. 

According to that wacky holiday chart, July is National Ice Cream Month and July 1st is Creative Ice Cream Flavors Day. My challenge to you is to include some ice cream on your card. 


Who doesn't love ice cream! For my card today I pulled out Colorado Craft Company's Sweetest Birthday Cone stamp set. The ice cream is around 7 inches high, so this is perfect to use with a Slimline card.

I wanted a colorful background, so I used Pinkfresh Studio's Slimline Layered Starburst Stencil. This stencil set consists of three stencils to create a starburst effect. I created a rainbow pattern using ink pads from Catherine Pooler Designs, you can see the colors I used in the supply list below.

I used a Slimline Stitched Rectangle die from Picket Fence Studios' Slimline Nested Rectangles die set.  

The sentiment above the ice cream is also from the Sweetest Birthday Cone stamp set. I trimmed the stem of the cherry slightly, so that it wouldn't cover the sentiment.


I created a second starburst stencil background using the same colors as I used on the front of the card. I trimmed the background panel into two strips that slightly smaller than 1 1/2 inches wide to adhered to both edges of the card.

I created a pop-up card using Katherine Burniston's Katherine Label Pop-up die set. 

The top sentiment is from Spellbinders Essential Sentiments stamp set.

The smaller ice creams and second sentiment are both from Sunny Studio Stamps Two Scoops stamp set.


Don't forget to check out the CCEE Stampers blog (goes live 12 AM EST) to see the rest of the creations the CCEE Stampers created this week. You can also see more details of their creations on their individual blogs:


Wednesday, March 17, 2021

Get Well Soon

Hi Crafty Friends,

I was recently asked to be a Guest Designer for There's a Stamp For That's Challenge #18 over on Facebook. Each fortnight there is another challenge and you have the choice of three challenge options. This week the challenge options are ... a sketch; hedgehogs or Miss You cards (has to say Miss You).

I opted for the sketch challenge which is an older Paper Pay Sketch from 2017. The sketch is for an A2 sized card, but as I wanted to create a Slimline card, I made all the layers longer.


My Slimline card measures 3 3/4 inches x 8 3/4 inches. I used Catherine Pooler Designs Best Friend Slimline Patterned Paper for all the layers of the card. The floral image is Colorado Craft Company's Thinking of You Magnolias stamp set. As I am trying to build up my Get Well Card stash, I used the get well sentiments included in the stamp set.

I used Slimline dies from Trinity Stamps Slimline Stitched Card Panels and Windows die set for the main layer of the card.


On the inside of the card I again die cut the white Slimline panel. I used two of the magnolias included in the stamp set which I added to the top and bottom of the card. I added another of the get well sentiments to the centre of the panel.


Sunday, January 3, 2021

Let's Celebrate Something Today


Hi Crafty Friends,

Today I am sharing a birthday themed Slimline card with you all. I don't know about you, but that cake on the card is definitely making we want to eat chocolate cake right now, however I will be good LOL!

To create my card I used Slimline dies from Pinkfresh Studio. I die cut the rectangle panel from pink patterned paper and also plain pink cardstock. I cut the pink cardstock panel down diagonally and adhered it over the patterned paper to give the cake something to sit on.

To decorate the card I used the cake and sentiment from Colorado Craft Company's Birthday Cake stamp set, I have had this stamp set sitting on my desk for a year now waiting to be used, so it is good to finally get it inky.

As I wanted to make a slimline card with the image, I ended up have to trim down the bottom layer of cake and cream from the cake to make it fit. Fortunately it didn't effect the look of the cake.

To finish off the card, I added a few gems randomly over the card.


I kept the inside of the card simple. I used the remaining panel of pink cardstock to add to the bottom of the card. 

I stamped the "So We Can Have Cake" to the bottom right side of the card. This finishes off the sentiment from the front of the card.

I also added a birthday sentiment to the top part of the card using some older Mega oval die sets from Spellbinders, which are no longer available.

Other:

Mega Ovals Die Set - Spellbinders (discontinued)

Mega Scalloped Ovals Die Set - Spellbinders (discontinued)


Thursday, February 20, 2020

You're The Sweetest


Hi Crafty Friends,

It's challenge time with my friends over on the CCEE Stampers challenge blog. Anne Harmon our challenge hostess for the month, continues to issue the challenges.

For our challenge this week, Anne has requested that we make a card for a friend using paper piecing.

It's probably been a while since I have using the paper piecing technique on a card, but it is a fun technique and can be used on all sorts of images. Just before I made my card, Jennifer McGuire posted a video on how to do Stamped Paper Piecing using Patterned Paper. While paper piecing isn't new to me, this video inspired me to look at my stamps a little closer to see which image would work to be totally paper pieced.

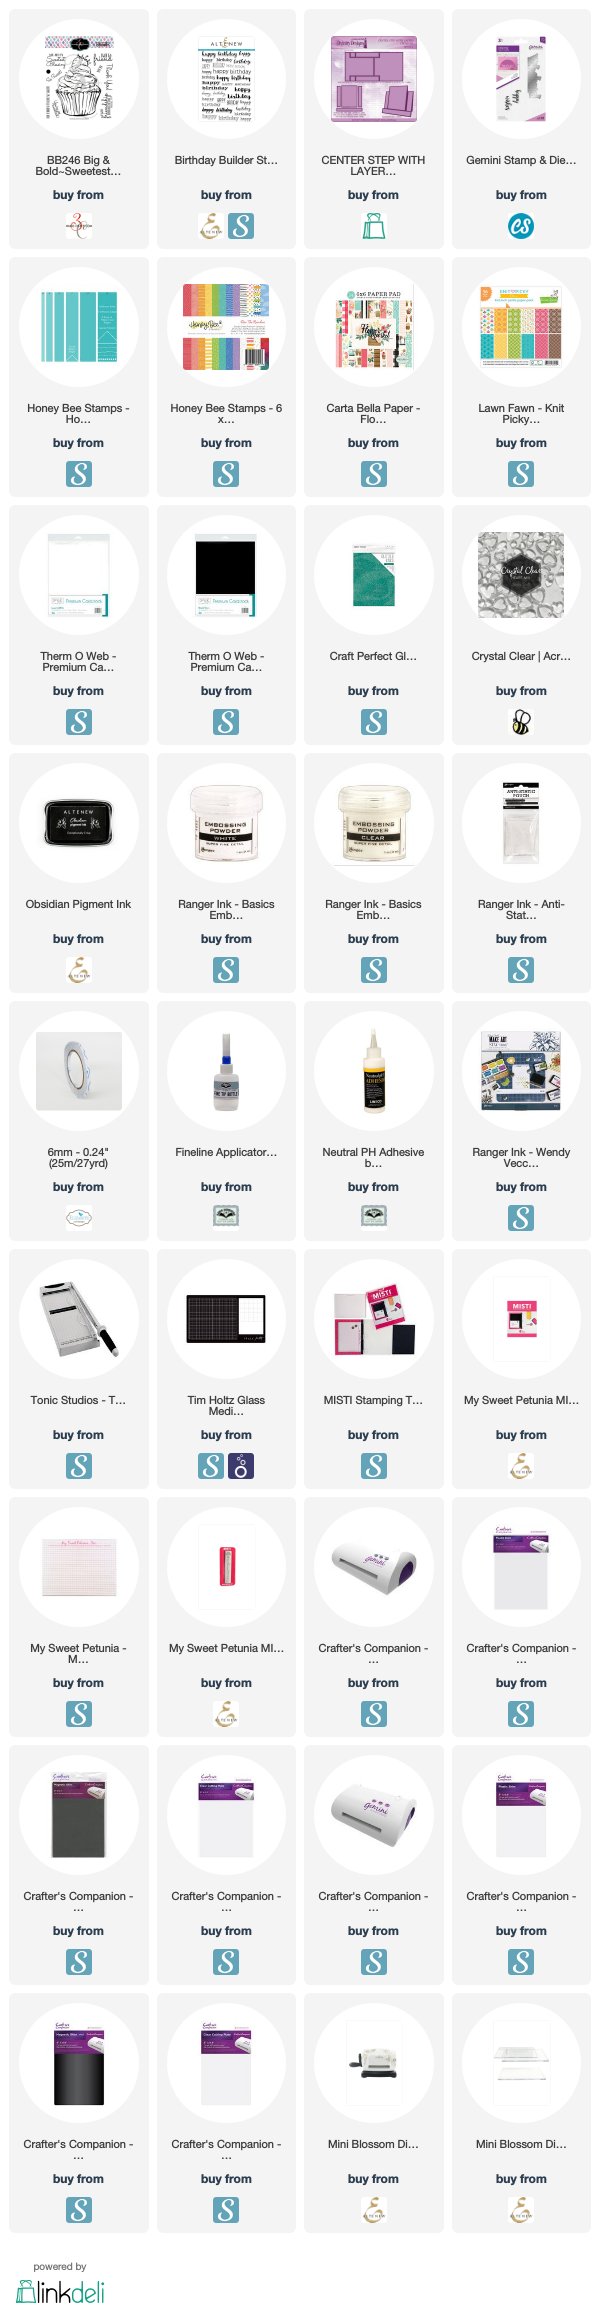
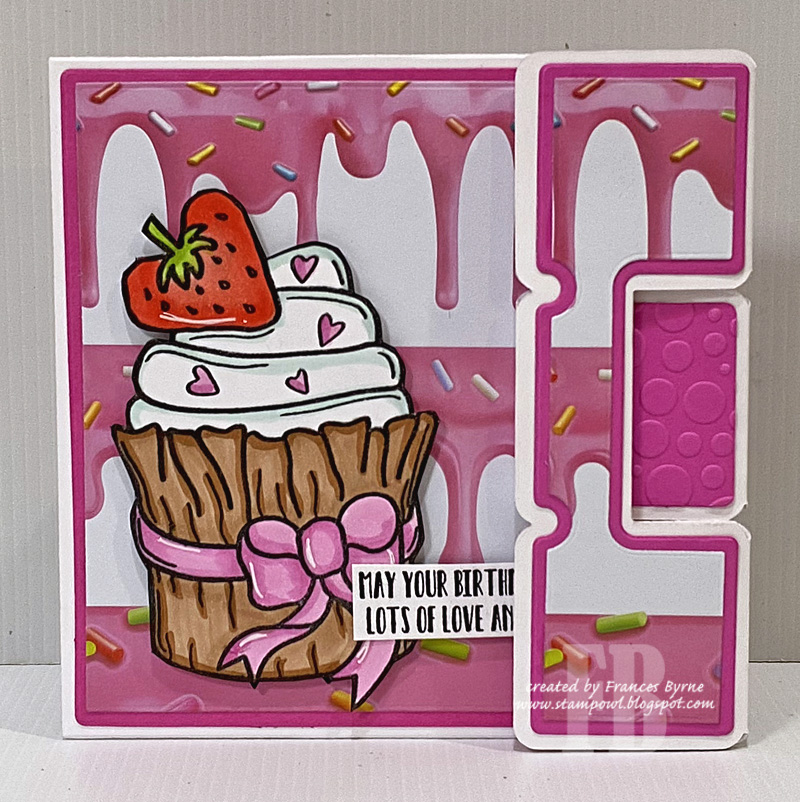
For my paper piecing, I selected Colorado Craft Company's Big & Bold Sweetest Friend Stamp set, this cupcake is massive and is another of the stamps I got last year when a stamp shop was have a 40% off sale. I used papers from various companies to paper piece the cupcake line, cupcake, icing, strawberry and the calyx of the strawberry. I have included links to the papers where possible in my supply list below.


I had my card all made, photos taken and all blogged. Then I watched a video on how to create a Center Step Easel Card, which is only a matter of adding a piece of cardstock to the bottom of the back of the card and decorating however you wish. I hadn't planned on changing my card, but rather make a card using that technique in a few days, but then I looked at my card and thought .... why not! 

To create the Center Step portion of my card for my cupcake, I used Divinity Designs Center Step Card with Layers die set, this die makes easy work of creating this style of card. 

To turn it into an Center Step Easel Card, I just cut a piece of cardstock that measure 5 1/2 inches (the width of my card) x 6 inches (the height of my card at it's tallest point plus 1/2 inch. I then scored 1/2 inch in along the 6 inch side and adhered the tab to the back of my Centre Step card. 


Here is a look at my card when it is folded flat ready to be placed in an envelope.

Along the sides of the card, I added Crafter's Companion's Birthday Edge'ables die which I die cut from teal glitter cardstock. I die cut the sentiment about 3 times and layered them on top of each other for extra dimension.

I added the "You're The Sweetest" sentiment which is also included in the stamp set on top of the cupcake which I white embossed on black cardstock and then die cut using Honey Bee Stamps Banner Builder die set.


Another photo showing the back of the card when the card has been folded flat.

The two sentiments used on the Easel portion of the card are from Colorado Craft Company's Birthday Cake stamp set. 


I cut a white panel for inside my card and added the same paper I used on the front along the bottom of the card.

I added the "Happy Birthday" sentiment which is from Altenew's Birthday Builder stamp set and also the "Sweet Friend" which is from the Big & Bold Sweetest Friend stamp set.

Don't forget to check out the CCEE Stampers blog (goes live 12 AM EST) to see the rest of the creations the CCEE Stampers created this week. You can also see more details of their creations on their individual blogs:

Supplies:
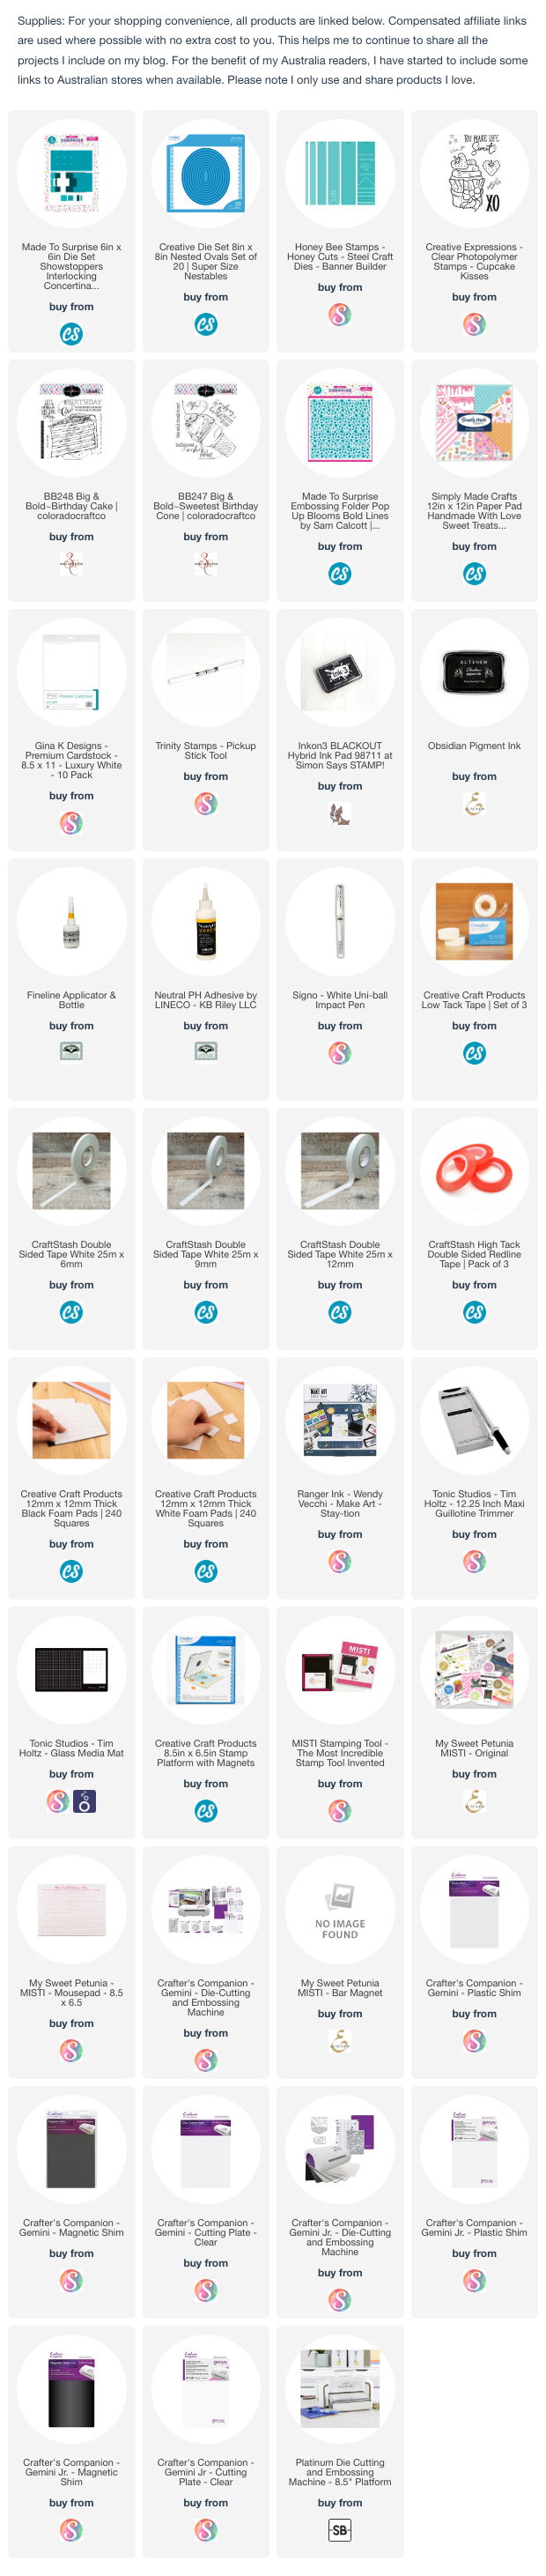
For your shopping convenience, all products are linked below. Compensated affiliate links are used where possible with no extra cost to you. This helps me to continue to share all the projects I include on my blog. For the benefit of my Australia readers, I have started to include some links to Australian stores when available. Please note I only use and share products I love.

Mega Ovals Nested Dies - Spellbinders
Mega Scalloped Ovals Nested Dies - Spellbinders