Tuesday, April 30, 2019

Rebus - Books Written by Agatha Christie


Hi Crafty Friends,

It's time to share another rebus puzzle swap with you. This month the theme is Books Written by Agatha Christie.

If you would like to solve my rebus puzzle, why not post a comment on my blog post with your answers. I will let you know what the correct answers are next time I post a rebus card here.

How did you go solving my March Rebus which was"Names Starting by the Letter P".
 Here are the correct answers so you can check how you did.

  1. Prudence
  2. Patterson
  3. Pace
  4. Petunia
  5. Philip
  6. Pamela
  7. Pat
  8. Packard
  9. Pippa
  10. Powell
  11. Pomeroy


You can find all my past Rebus Cards here.


Monday, April 29, 2019

It's Your Birth-Yay


Hi Crafty Friends,

Apparently today (29th April) is Zipper Day, so of course I had to make a card. I used Mama Elephant's Zipper die to create a Zipper Card. When you pull the tab at the bottom right hand side of the card it reveals a secret message.

To decorate my card I used the MFT Stamps BB Birth-yay Clear Stamp set. 


I die cut the zipper onto the green grass panel and then stamped a sentiment between the lines on the zipper. I also stamped another sentiment on the white panel so it lines up  with the zipper when the grass panel is attached to the white panel.


For the inside of the card I added a sentiment and some more of the animals from the Birth-yay stamp set.


Supplies:
For your shopping convenience, all products are linked below. Compensated affiliate links are used where possible with no extra cost to you. This helps me to continue to share all the projects I include on my blog. Please note I only use and share products I love.


Sunday, April 28, 2019

Just Curious


Hi Crafty Friends,

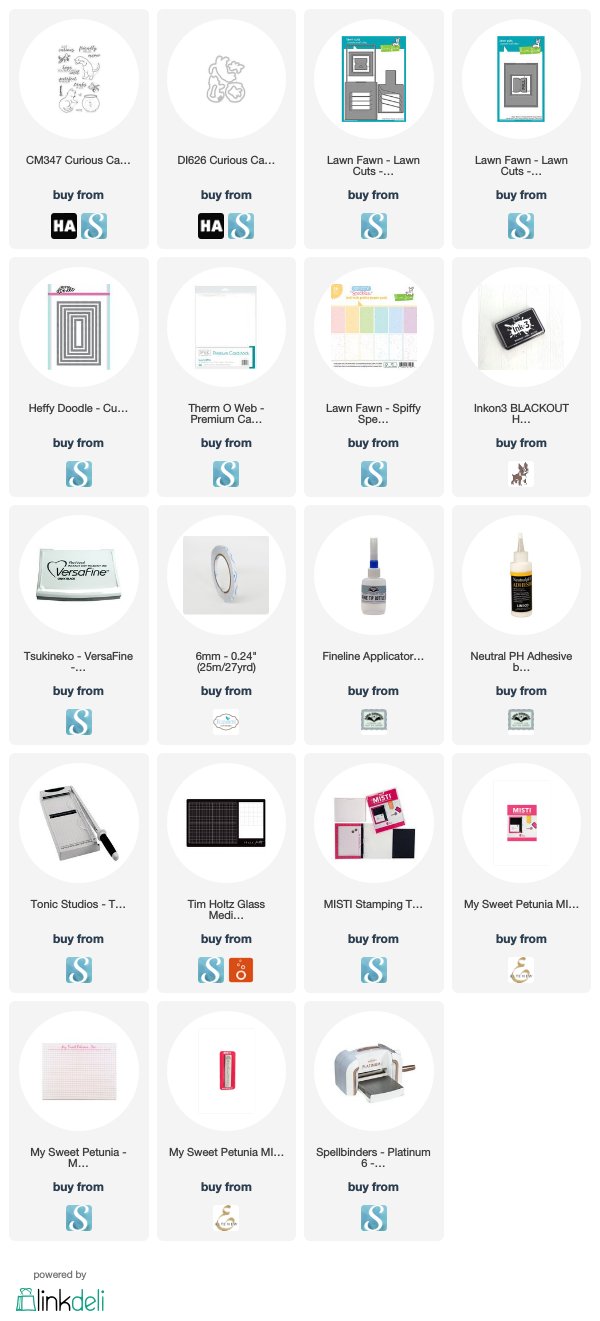
Today I am sharing a Magic Picture Changer Card I created with the Lawn Fawn Magic Picture Changer and Magic Picture Changer Add On die sets.


To create my card today I used Hero Arts Curious Cat Clear Stamp set which was an add-on set for the March My Monthly Hero Card Kit. For the first view of my card the cats are both looking at a fish bowl which is empty.


Here you can see the card as the image on the front starts to change to reveal the image which is underneath.


When you pull the tab, it reveals the fish swimming in the fish bowl. I colored the surrounding area around the fish bowl and the frame to match so it looks like a floor/table and wall.

I added two sentiments to the card from the stamp set, one on the top of the card and the other on the bottom.


For the inside of the card I kept it fairly simple by adding a strip of the patterned paper I used on the front of the card. I also stamped a sentiment and fish.


Supplies:
For your shopping convenience, all products are linked below. Compensated affiliate links are used where possible with no extra cost to you. This helps me to continue to share all the projects I include on my blog. Please note I only use and share products I love.



Saturday, April 27, 2019

Best Wishes


Hi Crafty Friends,

t’s challenge time with the “Crazies” over on the Crazy 4 Challenges blog. Rebecca Ednie our challenge hostess for the month, finishes off the month with one last challenge.

Back to metallics for the end of the month. Use foiling on your project. If you don’t do your own foil, look for foiled patterned or mirror papers or embellishments like chipboard or stickers in your stash.


I had planned on buying one or two of the new Spellbinders Hot Glimmer Stamps for this challenge, but never got around to it as I couldn't decided which I wanted. When I finally sat down and look through my Hot Foil Stamps I already own, I discovered a few I purchased about 12 months or so ago and hadn't used, so of course I pulled those out to play for my card today.

I have the Couture Creations Go Press & Foil Machine which I have had for a couple of years, but with one thing or another I have been ignoring it recently ... so challenges like this are great.

For this card I used three hot foil stamps for the front of the card .... the swiss dots, the flourish frame and the sentiment. Each of these were foiled using gold foil.

I used an older embossing folder for the base of my card and layered all the foiled pieces using gold mirror card. 

To finish off the front of my card, I added two roses from Altenew's Rinnie Roses stamp set.


For the inside of my card I created a pop-up card using Karen Burniston's Katherine Label Pop-up die set. I added two panels of gold foiled swiss dots to the top and bottom of the card.

The sentiment is another hot foil stamp that I have had for some time, it's a large sentiment so I used Hero Arts Infinity Rounded Rectangles die set to die cut and layer it before adding to the pop-up arm.


Here is another view of the inside of my card, so you can see the pop up part of the card a little better.

Don't forget to check out the rest of the “Crazies” cards over on the Crazy 4 Challenges blog and also their individual blogs for more details.


Supplies:
For your shopping convenience, all products are linked below. Compensated affiliate links are used where possible with no extra cost to you. This helps me to continue to share all the projects I include on my blog. Please note I only use and share products I love.

Special Birthday Hot Foil Stamp - Poppy Craft
Anna Griffin Best Wishes Hot Foil Stamp - Couture Creations


Friday, April 26, 2019

Mother's Love


Hi Crafty Friends, 

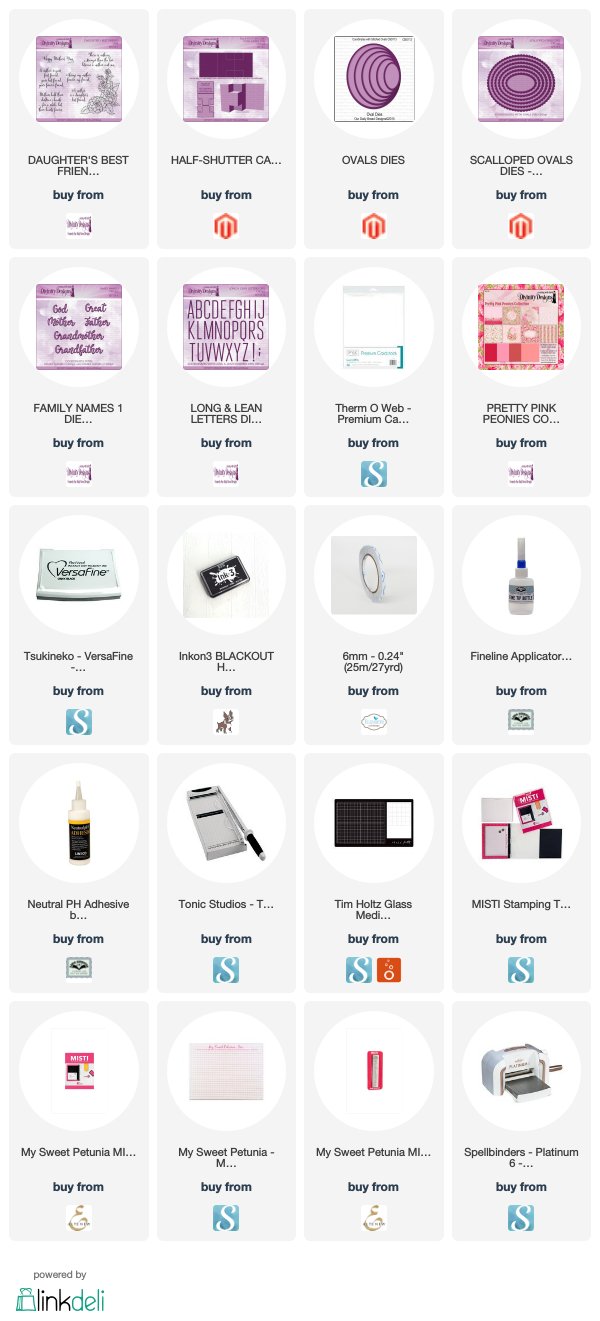
Today I am sharing another Mother's Day card using some of the new Divinity Designs products from the April Release.

For my card today I used the Half Shutter Card with Layers die set to create a Half Shutter Card. I used papers from the new Pretty Pink Peonies Paper Collection for all the layers on the card.

For the centre panel I used the letters LOVE from the Long and Lean Letters die set.


For the front of the card I used the peonies from the Daughter's Best Friend stamp set which I stamped onto white cardstock. I used one of the ovals from the Ovals die set to die cut the image. I then layered this card onto a Scalloped Oval from the Scalloped Ovals die set.

I used the "Mother" sentiment from the Family Names 1 die set to add that sentiment to my card.


For the back panel I added two sentiments from the Daughter's Best Friend stamp set and again used the Ovals & Scalloped Ovals die sets to layer the sentiment.

To finish off the card I added some glittered circle embellish to the top right and bottom left corners of the card.

Supplies:
For your shopping convenience, all products are linked below. Compensated affiliate links are used where possible with no extra cost to you. This helps me to continue to share all the projects I include on my blog. Please note I only use and share products I love.


Thursday, April 25, 2019

Yippee


Hi Crafty Friends,

It's challenge time with my friends over on the CCEE Stampers challenge blog. Lynn McAuley our challenge hostess for the month, finishes off the month with one last challenge.

Tomorrow is Arbor Day. Let a tree or trees be the star of your CCEE design this week.


I had a couple of ideas to use for this challenge, but in the end I decided to pull out my Lawn Fawn Double Slider Surprise die set and the Shadow Box Card Park Add On die set.


Here is a quick video to see my card in action.


To decorate my card I used these cute little kids from Waffle Flower Craft and also added a few sentiments. The "Friends" sentiment is from a Papertrey Ink stamp set from my stash.


For the inside of my card I added a Honey Bee Stamps sentiment die.


Don't forget to check out the CCEE Stampers blog (goes live 12 AM EST) to see the rest of the creations the CCEE Stampers created this week. You can also see more details of their creations on their individual blogs:


Supplies:
For your shopping convenience, all products are linked below. Compensated affiliate links are used where possible with no extra cost to you. This helps me to continue to share all the projects I include on my blog. Please note I only use and share products I love.

Mighty Oak Clear Stamp set - Papertrey Ink.


Wednesday, April 24, 2019

Happiness is .....


Hi Crafty Friends,

My card today is for a challenge I do with a couple of friends of mine. Each month we challenge each other to create something using supplies we all own.

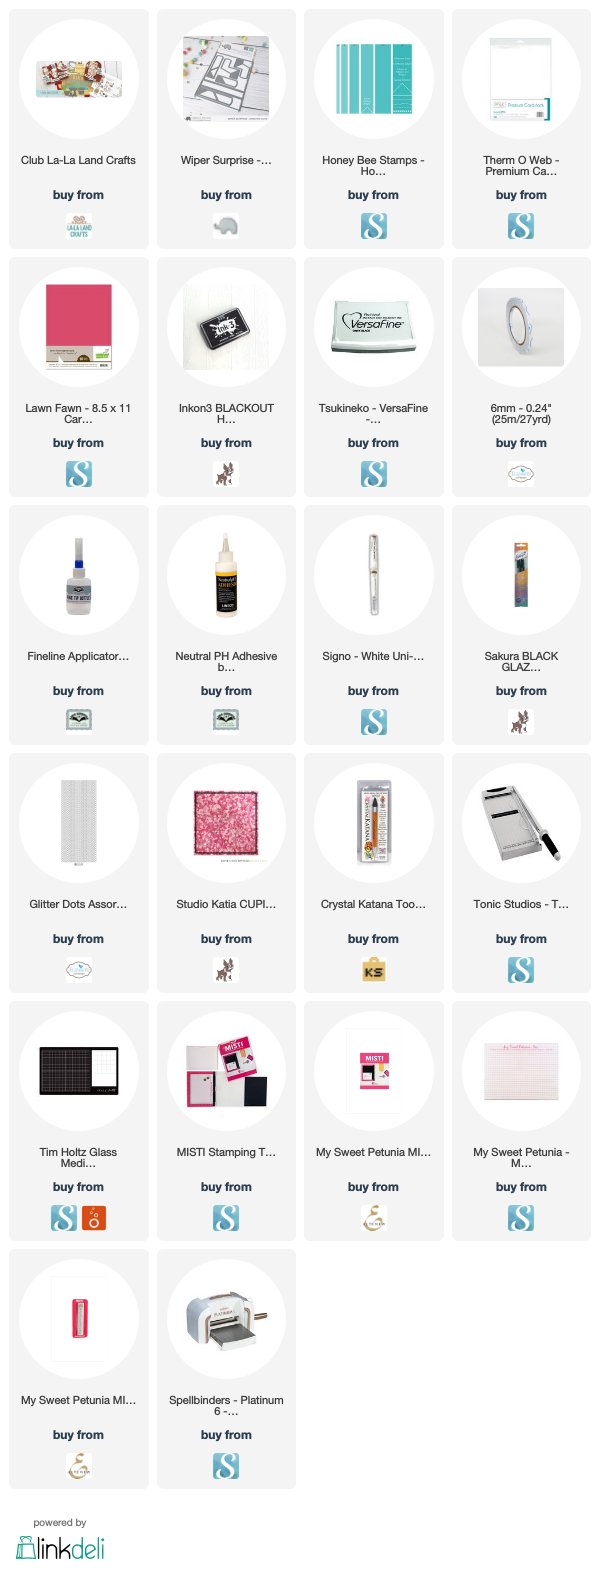
This month our challenge is to create a Wiper Card.


As I had just received my La La Land Crafts March 2019 Product Kit, I decided to use that for my card today.

I adhered floral patterned paper to the back section of the Wiper card to resemble wallpaper, and woodgrain paper to the front section to resemble a table or counter top.

I combined the cute hamsters included in the product kit with the die cut images to create my scene.


When you pull the card open, it reveals the cute hamster and slice of cake that pops up from behind the mixer.


I added a panel to the back of the card to add another sentiment and a place to write a personal greeting. I also added a couple of images that I had remaining.

Supplies:
For your shopping convenience, all products are linked below. Compensated affiliate links are used where possible with no extra cost to you. This helps me to continue to share all the projects I include on my blog. Please note I only use and share products I love.


Tuesday, April 23, 2019

Unicorn Flipbook


Hi Crafty Friends,

Today I am sharing a flip book I created using Motion Crafts new Unicorn Flipbook Stamp set which was released recently.

For the cover of my flip book I decorated it using Pink Fresh Studio's Magical Unicorn stamp & coordinating stamp set. The sentiment is from Your Next Stamp's Unicorn Rock stamp set.


Here is a quick video to see my flipbook in action.


The Unicorn Flipbook stamp set, contains 8 different unicorns in various poses to stamp onto your pages. By stamping the images in certain sequins you get the look of the unicorn jumping and running. Here are the first four of the unicorns that are included in my flipbook.


Here are the final four images that were stamped into my flipbook. Each of the unicorns were stamped at least twice into the book, with some 3 or 4 times to give the illusion of the unicorn moving.


Supplies:
For your shopping convenience, all products are linked below. Compensated affiliate links are used where possible with no extra cost to you. This helps me to continue to share all the projects I include on my blog. Please note I only use and share products I love.


Monday, April 22, 2019

Life Is Beautiful


Hi Crafty Friends,

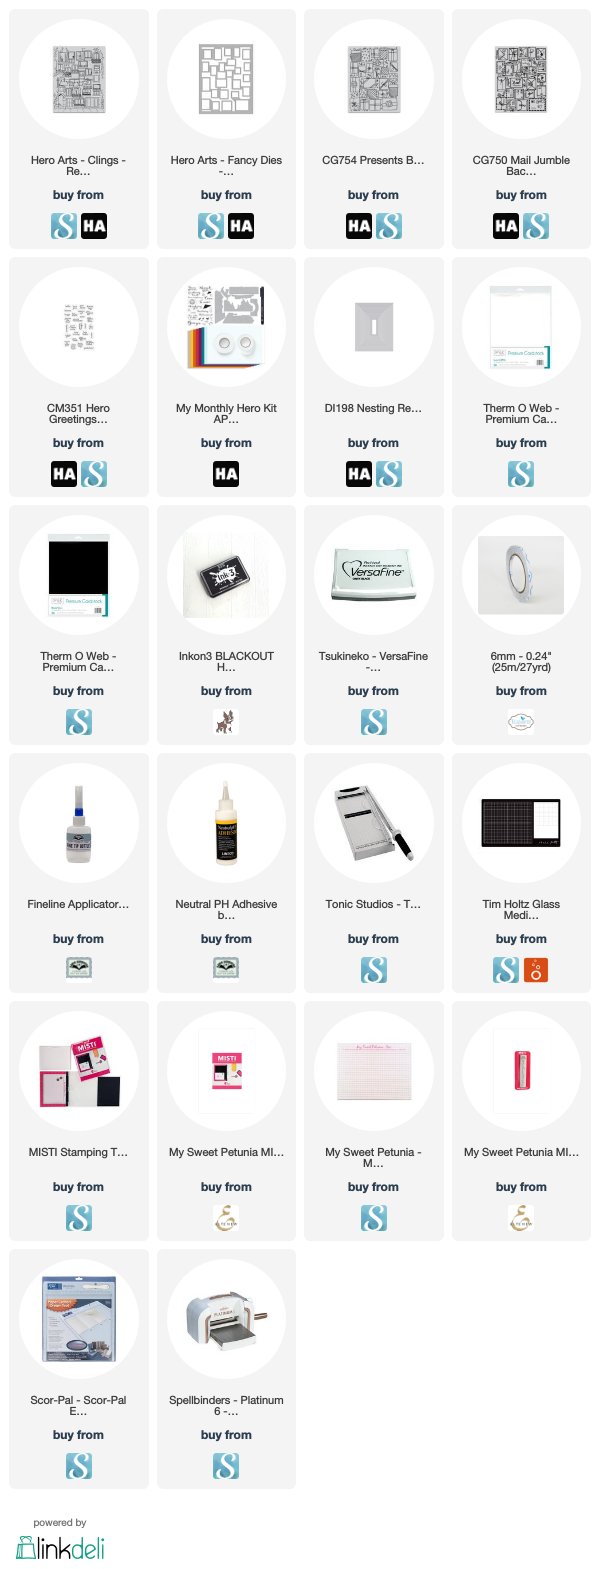
Today I am sharing a card I created using one of the add on stamps from Hero Arts April My Monthly Hero Card Kit. When the kit came out earlier this month, I debated as to whether I really needed it. But I was drawn to the dies in the card kit and also a couple of the add on stamps/dies, so as you can see, I put my order in!

The card this month had an Italian theme, and other than maybe a couple of pizza stamps or die, I don't have much in that line, so I am happy to include this in my stash.


The stamp I have used for my card today is the Venetian Neighbourhood. Just before Christmas last year one of the add on stamps for one of the card kits Presents Background stamp which also had an optional coordinating Peek-A-Boo Doors die. This allowed for windows to open on the card something like an Advent Calendar. Of course I had to have that stamp/die and since then Hero Arts have released two more stamps to coordinate with the Peek-A-Boo Doors die, including this Venetian Neighbourhood die. I have linked to all three and the die in my supply list in case you are interested.

The sentiments you can see in the window openings are from the Hero Greetings Mini Messages Clear Stamp set, which is another of the add on stamp sets. I thought these may also work in the Reveal Wheel Cards I make a lot.


Once die cut using the coordinating die, this piece measures 4 1/4 inches x 5 1/2 inches. I knew I didn't want to just turn it into a normal card, so after a bit of thought I decided to create a Mini Double Tower Card. I have to adapted the centre section so it would fit the width of the Venetian Neighbourhood panel, but that was easy enough to do.


If you want to know how to make this style of card you can find directions from Sam from Mixed Up Crafts.


Here is another view of the card, this time when it is lying on the desk. Hopefully you can see the side panels a little better.


For the back of the card I added a panel the same size as the one on the front. This is a place to add a sentiment and hand write a personal greeting. I stamped just part of the building to the right hand side of the card and then added the sentiments to the left hand side. The sentiments both come from the Hero Arts April My Monthly Hero Card Kit.

Supplies:
For your shopping convenience, all products are linked below. Compensated affiliate links are used where possible with no extra cost to you. This helps me to continue to share all the projects I include on my blog. Please note I only use and share products I love.