Showing posts with label Impression Obsession. Show all posts

Monday, February 21, 2022

Congrats Nana


Hi Crafty Friends,

Today I am sharing a baby card I created for a friend who became a Grandma (or Nana) for the first time recently. Being a Grandmother is the best thing in the world!

I created a 5 inch x 7 inch Fabulous Flip Card using Made To Surprise by Sam Calcott's Fabulous Flip Card die set.


To decorate the front of my card I added the baby using a die set from Marianne Design. The "Congrats" sentiment uses an older Alphabet die set from Elizabeth Craft Designs which I don't think is available anymore.

I adhered the flip card onto a top folding white card that measures 5 inches x 7 inches. I cut a strip of cardstock that measures 3 inches x 7 inches. I scored along the 3 inch side at 1/2 inch; 1 1/2 inches and 2 1/2 inches and then folded to create an "M" shape.I adhered this piece to the bottom of the inside of the card to turn it into a tent style card. This makes it easier to display.


I die cut a pink arrow using Karen Burniston's Waterfall Card die set and adhered it to the centre of the right edge. This tells the recipient to pull in that direction. When you pull the arrow, the front of the card flips to reveal the other side of each panel and a sentiment on the inside.


The "It's a Girl" sentiment is from Dress My Craft. It's a new one for me so I had to include it on this card.

I added the stork to the first flip panel which is an older die from Impression Obsession. I paper pieced the baby bundle the stork is holding in it's beak.

My friend told me to call her "Nana", so I added that to the next panel rather than "Grandma". I also added a pair of baby feet to the bottom of the panel.


Seeing the card doesn't open, because I turned it into a tent card, I added a few panels to the back so that I could add a sentiment and hand written greeting to the new Nana.

I found a sentiment online which was suitable for this occasion which I created using my computer & printer.

I added two baby bottles using a die included in Karen Burniston's Baby Charms die set.

Some of the products used to make this card are fairly old and may no longer be available anymore. Those that are fairly new I have included in the supply list below, those that may no longer be available are listed at the end of the supply graphic.


Other Supplies:
Stork Die - Impression Obsession (discontinued)
Baby Die - Marianne Design
Feet Die - Marianne Design
Alphabet Caps 1 Die Set - Elizabeth Craft Designs (discontinued)


Tuesday, July 13, 2021

A Little Bird Told Me

Hi Crafty Friends,

Today I am sharing a fun Bird House Pop up Slimline Card that I created recently.

To create my card I used Scrappy Tails Bird House Pop Up Card die set along with their Slimline Woodgrain Background die set to give the bird house a woodgrain look.

Of course bird houses need birds, so I used an Impression Obsession bird die to add the bird to the lower left hand corner of the card.

I added two flowers to the card using flowers from Karen Burniston's Flower Pot Pop-up die set.


To create the pop up portion of the card I adhered the concertina panel to each side of the front panel which attaches to the back panel.

I added a sentiment from Stampendous' Tweet Chirps stamp set to the inside panel, so it can be seen through the window in the front of the card.

I added a panel to the back of the card using Waffle Flower's Mini Slimline Layering die set to add a birthday sentiment.


Other Supplies:

Tweet Chirps Stamp Set - Stampendous (discontinued)


Thursday, December 24, 2020

Ho Ho Ho Santa Claus is Coming


Hi Crafty Friends,

It's Christmas Eve and Santa will be busy flying all over the world tonight delivering all those Christmas presents to all the girls and boys.

For my card today I have created a Christmas theme Slimline card. For the background I used The Ton's Slimline Dot Coverplate die. I blended Broken China, Faded Jeans, Chipped Sapphire, Blueprint Sketch and Black Soot inks onto white cardstock and then used the coverplate die to die cut the panel. The holes can either be snow or stars whichever you want. As I wanted my Slimline card to be a 3 1/2 inch x 8 1/2 inch card I trimmed the background panel down to 3 1/4 inch x 8 1/4 inches so I could add the panel to a scalloped panel.

I used Trinity Stamps Slimline Rooftops Border Die die cut from black cardstock to add the houses to the bottom of the card.

I used a circle die from Hero Arts Infinity Circles die set to create the moon and then adhered the Santa from Impression Obsession to the scene.

I added the "Ho Ho Ho" to a speech bubble which was cut down using the Whimsy Stamps Comic Speech Bubbles die set.

I layered this panel to a white scallop rectangle die cut using Trinity Stamps Slimline Scalloped Card Panels and Banners die set.


For the tree border along the bottom of the inside of the card I used two of the tree border dies from Hero Arts Tri-Fold Edge Winter Pine die set.

I added the sentiment which is from Honey Bee Stamps Santa's Village stamp set.


Tuesday, December 10, 2019

Deck The Halls


Hi Crafty Friends,

Yes, you guessed it ... I have another Christmas themed card to share with you today.

For the background of my card I used Altenew's Candy Cane Stripe Cover die. I die cut this from red cardstock and then used gold paint to splatter spots all over it. I layered this panel onto a sheet of gold glittered cardstock and then onto a top folding white card.

To decorate my card I used the Spellbinders Deck The Halls die set. I die cut the decorative piece of the ornament from gold cardstock and the solid part from white and layered these together.

I used Impression Obsession's Pine Branch at the top of the card, so my ornament had somewhere to hang.

To finish up the card, I added a few white snowflakes adding Glitter Dot Peel Off Stickers to the centre of each snowflake.


For the inside of the card I used the solid ornament die to die cut two ornaments from red and green cardstock. I shaded the edges of each ornament using Catherine Pooler inks in Eucalyptus and Rockin' Red. 

I added another snowflake to the top of each ornament.

For the greeting, I used Spellbinders Holiday Sentiments Glimmer Plate with my Go Press & Foil machine to gold foil the sentiments. I die cut the sentiments using the narrowest banner from Honey Bee Stamps Banner Builder die set and then adhered the sentiments to the ornaments.

Supplies:
For your shopping convenience, all products are linked below. Compensated affiliate links are used where possible with no extra cost to you. This helps me to continue to share all the projects I include on my blog. For the benefit of my Australia readers, I have started to include some links to Australian stores when available. Please note I only use and share products I love.


Friday, October 26, 2018

Peek A Boo Bear Birthday


Hi Crafty Friends,

Earlier in the week I shared a Christmas card using the penguin from the Impressions Obsessions Warm Wishes Clear Stamp set and the Memory Box Grand Merry Christmas die set.

While I had the stamps out, I grabbed the Memory Box Grand Happy Birthday die set to create a birthday card using the bear from the stamp set.


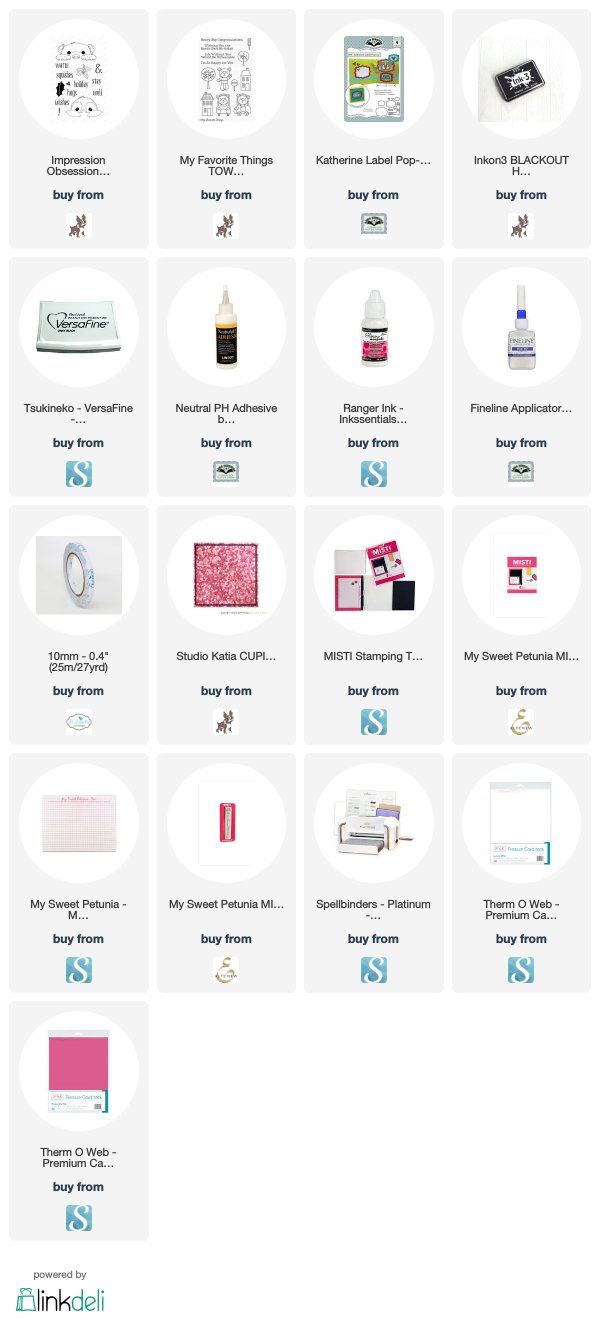
I added some Studio Katia crystals randomly around the card to finish it off.


For the inside of the card I used Karen Burniston's Katherine Label Pop-up die set for the labels for the sentiment. The sentiment is from a MFT Stamps stamp set.

Supplies:
For your shopping convenience, all products are linked below. Compensated affiliate links are used where possible with no extra cost to you. This helps me to continue to share all the projects I include on my blog. Please note I only use and share products I love.


Monday, October 22, 2018

Penguin-ing Peek A Boo


Hi Crafty Friends,

I have a Christmas card to share with you all today.


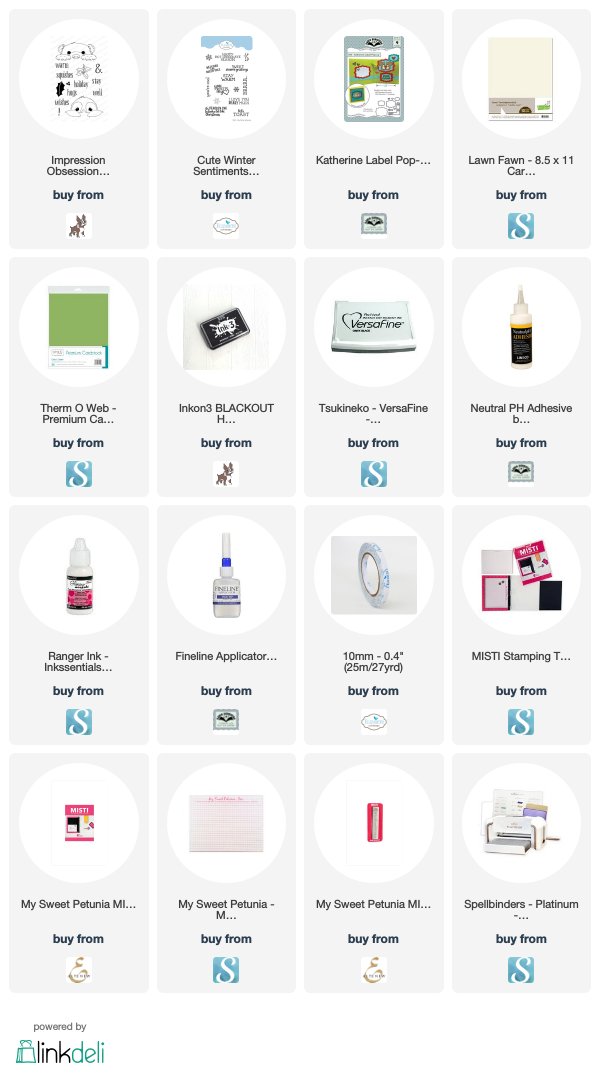
For my card today I am playing with a new Impressions Obsessions stamp set I purchased recently which includes a peeking penguin and peeking bear. I thought these would work perfectly with the Memory Box Grand Merry Christmas die set which I have had for some time.


For the inside of my card I used the Katherine Label Pop-up card to create the pop-up portion of the card. I added a sentiment from Elizabeth Craft Designs Cute Winter Sentiments stamp set.


Supplies:
For your shopping convenience, all products are linked below. Compensated affiliate links are used where possible with no extra cost to you. This helps me to continue to share all the projects I include on my blog. Please note I only use and share products I love.

Grand Merry Christmas die set - Memory Box
Patterned Paper - Stampin' Up


Saturday, September 28, 2013

Fairy Merry Christmas

C4C205FairyChristmas-wm

Hi everyone,

It’s challenge time with the “Crazies” over on the Crazy 4 Challenges blog.This week our challenge hostess for September Cindy Haffner finishes off the month with another fun challenge.

This week Cindy has challenged us to Bows … use bows on your card/project this week.

C4C205FairyChristmas2-wm

For my card this week I have made a Gatefold card creating an opening on the front of the card using an ornament die. The image is a cute Christmas Fairy I received free with a magazine and is from Tiddly Ink.

My bow is a paper bow created using a die from MFT. I also added die cut Christmas Trees (Taylored Expressions) and Pine Branches (Impression Obsession).

C4C205FairyChristmas3-wm

Here is the inside of my card. The Fairy is mounted using the same ornament die used to cut the hole from the front of my card. I added some pieces of holly to the top of the card and ornaments on each flap. The ornament on the left has the sentiment the other is blank so I can write my message on it to whoever this is to go to.

Don't forget to check out the rest of the “Crazies” cards over on the Crazy 4 Challenges blog and also their individual blogs for more details.


Stamps: Holly Jolly Stamp Set – Tiddly Inks
Paper: White; Burgundy; Olive; DP
Other: Black Ink; Spellbinders 2011 Heirloom Ornament; Spellbinders Holiday Tags; Impression Obsession Pine Branch; MFT Die-namics Beautiful Bows; PTI Holly Jolly Die; Taylored Expressions Trim The Tree Die; Rhinestones; Ribbon; Foam Tape; Copics


#aa-owl-signature

Wednesday, September 25, 2013

To Santa!

Christmas-Eline-Owl-wm

Hi everyone,

Well today is the 25th September so it is official ….. there’s only 3 months to Christmas yikes!

For my card today I used an owl stamp from Marianne Design … love these cute Eline Owls!

Christmas-Eline-Owl2-wm

For the card base on the front I used Taylored Expressions Quatrefoil Cutting Plate … I decided not to layer this to anything but to attach it to the back of a card so that you can see the inside of the card from the front. I also added some pine branches from Impression Obsession.

Christmas-Eline-Owl3-wm

Here is the inside of my card. I kept the sentiment panel the same size as the panel the owl is on on the front of the card and it is positioned directly behind so it can’t be seen when the card is closed. I used my computer for the sentiment as I wanted to use something owl related for this.

Stamps: Eline’s Owls – Marianne Design
Paper: White; Red; Olive; Jingle DP – Lily Bee Design
Other: Black Ink; Taylored Expressions Quatrefoil Cutting Plate; Impression Obsession Pine Branch; Red Button; Green Hemp Cord; Foam Tape; Copics


#aa-owl-signature