Showing posts with label Marianne Designs. Show all posts

Monday, February 21, 2022

Congrats Nana


Hi Crafty Friends,

Today I am sharing a baby card I created for a friend who became a Grandma (or Nana) for the first time recently. Being a Grandmother is the best thing in the world!

I created a 5 inch x 7 inch Fabulous Flip Card using Made To Surprise by Sam Calcott's Fabulous Flip Card die set.


To decorate the front of my card I added the baby using a die set from Marianne Design. The "Congrats" sentiment uses an older Alphabet die set from Elizabeth Craft Designs which I don't think is available anymore.

I adhered the flip card onto a top folding white card that measures 5 inches x 7 inches. I cut a strip of cardstock that measures 3 inches x 7 inches. I scored along the 3 inch side at 1/2 inch; 1 1/2 inches and 2 1/2 inches and then folded to create an "M" shape.I adhered this piece to the bottom of the inside of the card to turn it into a tent style card. This makes it easier to display.


I die cut a pink arrow using Karen Burniston's Waterfall Card die set and adhered it to the centre of the right edge. This tells the recipient to pull in that direction. When you pull the arrow, the front of the card flips to reveal the other side of each panel and a sentiment on the inside.


The "It's a Girl" sentiment is from Dress My Craft. It's a new one for me so I had to include it on this card.

I added the stork to the first flip panel which is an older die from Impression Obsession. I paper pieced the baby bundle the stork is holding in it's beak.

My friend told me to call her "Nana", so I added that to the next panel rather than "Grandma". I also added a pair of baby feet to the bottom of the panel.


Seeing the card doesn't open, because I turned it into a tent card, I added a few panels to the back so that I could add a sentiment and hand written greeting to the new Nana.

I found a sentiment online which was suitable for this occasion which I created using my computer & printer.

I added two baby bottles using a die included in Karen Burniston's Baby Charms die set.

Some of the products used to make this card are fairly old and may no longer be available anymore. Those that are fairly new I have included in the supply list below, those that may no longer be available are listed at the end of the supply graphic.
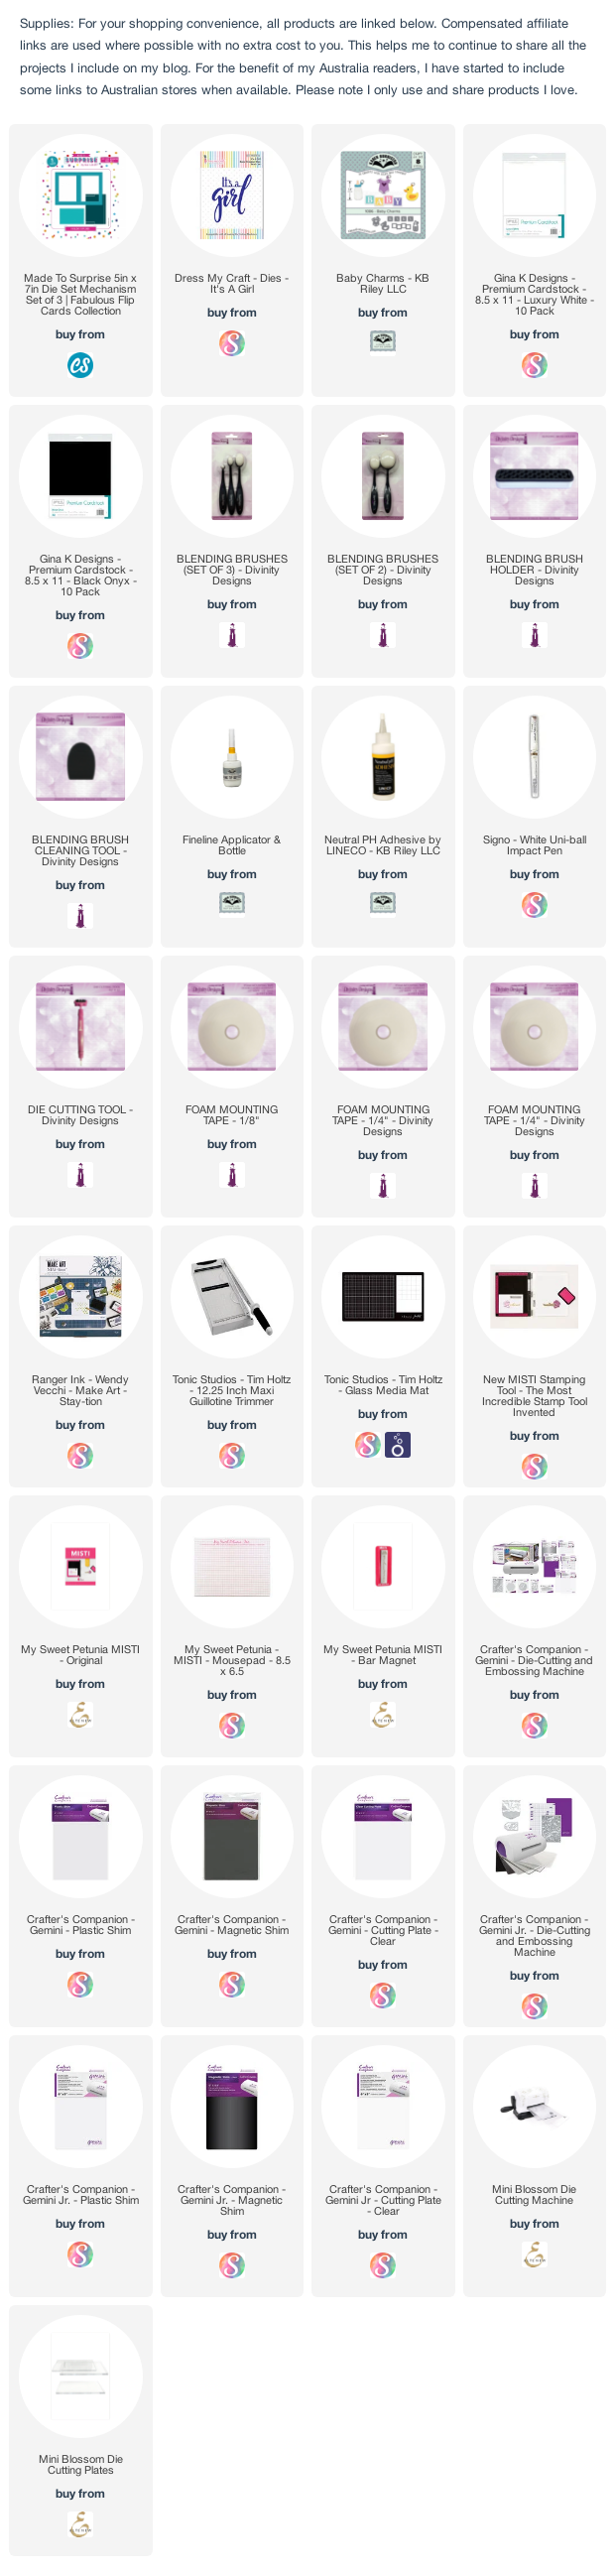

Other Supplies:
Stork Die - Impression Obsession (discontinued)
Baby Die - Marianne Design
Feet Die - Marianne Design
Alphabet Caps 1 Die Set - Elizabeth Craft Designs (discontinued)


Wednesday, November 24, 2021

Welcome Baby


Hi Crafty Friends,

I have a baby themed Slimline Pop-up card to share today, that I made for a friend who is becoming a Grandma for the first time to give to her daughter when the big event happens.


Now before I get into details of my card, I thought you would all want to know that Karen Burniston is having a Black Friday Sale from 22nd - 29th November. 20% off all Pop-up dies excluding November release dies. 


I created a Slimline card which measures 3 1/2 inches x 8 1/2 inches. I layered each of the panels with patterned paper and cardstock.

For the pop-up portion of my card I used Karen Burniston's Little Labels Pop-up die set. To decorate the two outer labels on the pop-up, I added the elephant and giraffe from the Safari Animals die set. For the centre label I added the "It's a Boy" sentiment which is an older Printworks stamp in my stash.

I decorate the lower rectangle block under the pop-up using the ribbon/hearts border from Border Blends - Trims die set.

The baby on the lower right side of my card uses a baby die set from Marianne Designs. I added the baby bottle which is from Karen Burniston's Baby Charms die set.


To finish off the inside of the card I added the baby verse which is Kaszazz' Twinkle Twinkle stamp.


I kept the front of my card simple as the focus is on the inside of the card.

I added the sentiment using the Welcome die set and the Baby Block die from the Baby Charms die set. The sentiment was layered onto ovals from the Ovals - Crosshatch die set.

I decorated the oval using the rompers and duck from the Baby Charms die set.


Wednesday, September 22, 2021

Grandma


Hi Crafty Friends,

Someone I know is going to become a Grandma for the first time in December, her daughter is having a baby boy. Of course I wanted to make a special card to give to her to celebrate the event.


I recently purchased this gorgeous Special Delivery Edger from Creative Expressions, so of course I decided to use that to create my card. This great thing about this die is that it can be used to create cards in various sizes including Slimline cards, which is what I created for my card today.

I used papers from Craft Consortium's Ink Drops - Vivid 12 x 12 Paper Pad to add the papers on the front and inside of my card.

I splattered white pearl paint to the white area of the card, masking off the stork and baby.

To finish off the front of the card I added the "Grandma" sentiment die from Cottage Cutz, which I believe is now retired.


For the inside of the card I created a pop-up card using Karen Burniston's Katherine Label Pop-up die set. 

I used Dare 2B Artzy's Curve Slimline Border Die set to add the borders to both edges of the card.

On the bottom left label, I added a baby using Marianne's Design Eline's Baby die & coordinating stamp set. The "It's A Boy" sentiment is also from this stamp set.

For the sentiments on the top right label, I used older sentiments from two MFT Stamp sets.


Other Supplies:

Grandma Die - Cottage Cutz (discontinued)
Eline's Baby Die/Stamp Set - Marianne Designs
LJD Beautiful Baby - MFT Stamps (retired)
First Place Award - MFT Stamps (retired)


Thursday, October 3, 2019

Sending A Message


Hi Crafty Friends,

It's challenge time with my friends over on the CCEE Stampers challenge blog. It's a brand new month, so it's time to introduce our challenge hostess for the month which is Kelly Santi.

Apparently Today is National Techies Day. I am so grateful to have the technology that we do! Create a card with something ‘techy’ on it (computers, cell phones, etc) or simply create a thank you card (if need be!)


I decided to go with an "iPhone" theme for our challenge mixing three different iPhone/Smart Phone die sets I have and this fun image from Art Impressions of two friends texting each other. You can see my card in action in the video above.


For the front of my card I used the Art Impressions Texting BFF and added a couple of speech bubble messages. The messages are from the Marianne Design phone stamp/die set and the speech bubbles are from MFT Stamps Smart Phone die-namics which is an older die from my stash.


For the inside of my card I created a pop-up card using Karen Burniston's Rockin' Rectangle Pop-up. All the sentiments used on the inside are from MFT Stamps Friend Request stamp set.


For the iPhone, I combined all three phone dies. The actual iPhone is from Kelly Purkey, I die cut the phone from black for the main part of the phone, the inner part from designer paper and then cut a piece a silver cardstock slightly larger than the black panel and rounded the corners as I wanted a cover on the phone.

Along the bottom of the iPhone I added some apps which are from the Marianne Design Stamp/die set.

The sentiments are from the MFT Stamps Friend Request stamp set and then these were all die cut using the speech bubbles from MFT Stamps Smart Phone Die-namics.


Don't forget to check out the CCEE Stampers blog (goes live 12 AM EST) to see the rest of the creations the CCEE Stampers created this week. You can also see more details of their creations on their individual blogs:


Supplies:
For your shopping convenience, all products are linked below. Compensated affiliate links are used where possible with no extra cost to you. This helps me to continue to share all the projects I include on my blog. For the benefit of my Australia readers, I have started to include some links to Australian stores when available. Please note I only use and share products I love.


Smart Phone Die-namics - MFT Stamps (retired)

Friend Request Stamp set - MFT Stamps (retired)
iPhone Die - Kelly Purkey 
Smart Phone Stamp/Die Set - Marianne Designs


Saturday, December 29, 2018

Welcome Little Baby


Hi Crafty Friends,

Today I am sharing a baby card which was requested by my daughter. One of her friends is having a baby in 2019 but doesn't want to know whether it will be a baby boy or girl and doesn't want to know ... so of course I had to keep away from the traditional blues or pinks and keep it neutral.


I pulled out my Our Daily Bread Designs Tri Fold Card die set to create my card today. 

To decorate my card I used the baby die set from Marianne Design and also the baby feet die set. The "Baby" sentiment is from Frantic Stamper. Along the right hand side of the card I added the "Congratulations" sentiment which is part of a die set from MFT Stamps. I die cut the sentiment from white pearl cardstock and also green cardstock and offset the white sentiment over the green so that the sentiment had a shadow.


For this card I decided to decorate the back of the card as well, adding the same patterned paper I used on the front and a sentiment.


Here is a look at my card when it is closed ready to be placed in an envelope.

Supplies:
For your shopping convenience, all products are linked below. Compensated affiliate links are used where possible with no extra cost to you. This helps me to continue to share all the projects I include on my blog. Please note I only use and share products I love.

Baby Die Set - Marianne Design
Baby Feet Die Set - Marianne Design
Square Vignette "Baby" Insert Die - Frantic Stamper
Graduation Accents Die Set - MFT Stamps
Wee Bit of Heaven Stamp - Verses Rubber Stamps
Wonderful Words Baby Stamp Set - Papertrey Ink
Itsy Bitsy Baby Boy 8 x 8 Paper Pad - K & Company
Sugar & Spice 6 x 6 Paper Pad - Doodlebug Design Inc.


Sunday, December 3, 2017

Season's Greetings


Hi Crafty Friends,

Today I have another Christmas card to share with you. While browsing an online store recently I discovered this fun old fashioned ornament die set from Marianne Design. Of course one of the ornaments being an owl, I had to have one come and live here!

I die cut both images from white cardstock and embossed each piece to get the details and then used Distress Oxide Inks and Rub Ons to highlight the details of each of the ornaments.

I used the pine tree branches from the Elizabeth Craft Designs Beautiful Baubles die set to create the branches the ornaments are hanging from.

To finish off the card I added a sentiment from Avery Elle.


For the inside of the card I distress the white cardstock and added a strip of the same patterned paper I used on the front along the left hand edge of the card. I also added a Christmas sentiment.


Stamps: Snowflakes - Avery Elle; Traditional Sentiments - Kaisercraft
Paper: White; Purple; Red; Dear Santa Collection Paper Pad - Kaisercraft
Dies: Owl & Church Ornaments - Marianne Design; Beautiful Baubles - Elizabeth Craft Designs
Other: Black Ink; Vintage Photo Distress Oxide; Brick Red Distress Oxide; VersaMark Ink; White Embossing Powder; Metallic Rub Ons; Twine; Foam Tape


Thursday, November 30, 2017

On Your Wedding Day


Hi Crafty Friends,

It's challenge time with my friends over on the CCEE Stampers challenge blog. Joanne Grzelak our challenge hostess for the month finishes off the month with one last challenge.

As the last of our celebratory month, I would like you to make a baby card OR a wedding card……your choice. (If you have lots of time, you could make both….lol!!!) 


When I first saw this challenge I thought about creating a baby card. The other week my daughter attended a wedding for one of her friends and let me know the day before the wedding that she needed a card ... arghhhhh! Luckily after a little searching I found a card I had made about a year ago which she was able to use, so I decided to make a wedding card instead so I had one in my stash in case there is a next time.

I decided to play again with Karen Burniston's new Tag Book Pop-up die set .... love love love this die set and it can be used for so many different occasions. I added the sentiment which I glittered using gold glitter and a bride and groom image I had in my stash.


Here is a look at the inside of my tag book .... as you can see I have gone with a black and gold theme and a little bit of white.

I used the A Way with Words - Mr & Mrs die set for the two "tag" panels die cutting them in white cardstock that had Clear Double Sided Adhesive Tape on the front and then covering them with Light Gold  Silk Microfine Glitter.

I also added a couple of rings to one of the square panels.

For the final square panel I added two hearts which are included in the Tag Book Pop-up die set.


Here is a close up of the left side of the inside of the tag book pop-up card. I added two more hearts to the inner tag on the gold polka dot paper.


And one last photo showing a close up on the right side of the inside of the tag book pop-up card.

Don't forget to check out the CCEE Stampers blog (goes live 12 AM EST) to see the rest of the creations the CCEE Stampers created this week. You can also see more details of their creations on their individual blogs:


Vicky Gould
Kelly McKown-Santi

Supplies:


Paper: White; Black; Gold; Spots & Stripes Jewels Paper Pad - Papermania
Dies: Tag Book Pop-up - Karen Burniston; A Way with Words Mr & Mrs - Elizabeth Craft Designs; On Your Wedding Day Edge - Crafter's Companion; Ring - Marianne Design; Couple - Tattered Lace
Other: Light Gold Silk Microfine Glitter; Clear Double Sided Adhesive Tape, Gold Ribbon; Black Twine


Tuesday, July 25, 2017

Congrats on your new Baby Boy


Hi Crafty Friends,

My niece recently gave birth to a baby boy, so of course I needed to create a card to celebrate his arrival.

For the base of my card I have used Spellbinders Happy Day die set to create a Vertical Stair Step Card.


To decorate my card I used Eline's Stork & Baby die set from Marianne Designs. I added the letters "B A B Y" down the steps and added the "Boy" circle sentiment to the right hand side of the card.


And finally my card closed ready to be placed in an envelope.

Stamps: Baby - Elizabeth Craft Designs
Paper: White; Snips & Snails DP - Doodlebug Design Inc
Dies: Happy Days Pop Up - Spellbinders; Eline's Stork & Baby - Marianne Design; By the Letter Upper Case Alphabet - MFT Stamps;  Round  Vignette Boy Insert - Frantic Stamper Inc. ; ModaScrap Stitched Fishtail Banners - Elizabeth Craft Designs
Other: Black Ink; Foam Tape


Tuesday, November 24, 2015

Thanksgiving


Hi everyone,

It's our Riley and Company Design Team challenge time again over on the Riley and Company blog. This time round our challenge is hosted by Monica.

As Thanksgiving is just a few days away now, Monica has challenged the Design Team to create a card with a Thanksgiving theme.

Now as I live in Australia, I don't have any need for Thanksgiving cards as we don't celebrate that here. So rather than making a Thanksgiving card, I made one I could give someone to say thanks.

For my card today I used Riley and Company's Baking Riley. I decided to make a shaped apron card using the Marianne Designs Apron die.


On the inside of the card I used Riley and Company's Gratitude Funny Bones Sentiment


Don't forget to check out the Riley and Company Design Team's cards on their blogs:


Heather Bolli
Joy Stagg
Kelly Santi
Kendra DeCota
Monica Taylor
Sandye Curry


Stamps: Baking Riley; Gratitude Funny Bones Sentiment - Riley and Company
Paper: White; Teal; Hey Boy DP - Rosie's Studio
Dies: Apron - Marianne Designs
Other: Black Ink; Foam Tape; Copics


Wednesday, November 4, 2015

A Gift For You


Hi everyone,

Today I am sharing a baby card I created using the Gift Card Accordion die set designed by Karen Burniston for Elizabeth Craft Designs. This is the newest die set in Karen's Accordion Card range of dies which has recently been released.

This accordion card die set gives you the option to attach a Gift Card to one of the pages if you so desire. If you don't want to include a gift card you are able to cover the slots up by using one of the rectangle dies which comes in the Flourish Gift Frame die set.


To decorate my card I used a baby die from Marianne Designs. I added the "A Gift For You" sentiment which comes included in the Gift Card Accordion die set. I thought this sentiment worked in a couple of ways .... 1. that a baby is a special gift and 2. that I had included a gift voucher or it could have come accompanied with a present.

On the second page of the card I used the Elizabeth Craft Designs Congratulations die and also the It's a Boy/Girl die.

Of course on the third page I added a gift card as you can see on the first photo on this blog post.


Here is my card when it is closed ready to be placed in an envelope.


Paper: White; Pink; Buzz DP - Ruby Rock-It
Dies: Gift Card Accordion Card designed by Karen Burniston for Elizabeth Craft Designs; Congratulations (718); It's a Boy/Girl - Elizabeth Craft Designs; Baby - Marianne Designs
Other ECD Products: Transparent Double Sided Adhesive Tape 64mm