Showing posts with label The Stamp Market. Show all posts

Friday, April 9, 2021

Hello Missees

Hi Crafty Friends,

A few weeks ago Jennifer McGuire shared a tutorial using Studio Light's Missees stamps and die sets. As I have always loved paper dolls, I just had to add them to my stash.

There are three die sets available, the first ... Betty include dies to create the head and body and also has dies for some different hair styles, dies to create clothing and various accessories to decorate. There is also a coordinating stamp set that includes a few different options for faces etc. 

Another of the sets ... Tasha includes the arm (you even have the option to add fingernails), more hairstyles, jewellery and other accessories. The coordinating stamp set includes more face options, sentiments and accessories.

The third die set... Carol includes more hair styles, jewellery and accessories and this also has a coordinating stamp set which includes even more face options, sentiments and accessories.

There are also three stamp sets you can get to create stamped girls or use some of the clothing or face options with the dies from the die set.

For my card I used dies from all three die sets ... the face, body, clothes and hair are from the Betty die set. The arm, some jewellery and stamped facial features are from the Tasha die and stamp set and the remaining jewellery are from the Carol die set.

I created a side folding Slimline card which measures 3 3/4 inches x 8 3/4 inches. I used Honey Bee Stamps Slimline Basketweave die for the background panel. 

For the sentiment I used The Stamp Market's Hello Serif die set and also a sentiment from Altenew's Hello and Hugs stamp set. 

To finish off the card I added crystals over the card.


For the inside of the card I added Scrapbook dot com's Slim Borders die set to add the scallop border along the right edge of the card.

I added the Big Hi sentiment which is from The Stamp Market, along with another of the sentiments from the Altenew Hello and Hugs stamp set.


Thursday, September 24, 2020

Hello, You Always Make Me Smile


Hi Crafty Friends,

It's challenge time with my friends over on the CCEE Stampers challenge blog.  As challenge hostess for the month, I finish off the month with one last challenge.

According to the Days of the Year Calendar, September is Mushroom Month. So for our challenge this week, include one or more mushrooms either stamped or die cut on your creation.


I had hope to use one of Hello Bluebird's Slimline dies that have mushrooms included in the dies. These were released 1st August and I ordered straight away, but unfortunately due to COVID19 mail to Australia is SLOW!!!!! So it was plan B for me for this challenge, hopefully they will turn up soon.

EDIT ... Guess what arrived today, the day of the challenge ... my Mushroom Slimline dies I had wanted to use for the challenge LOL! At least they are here now and I will definitely be playing with them soon.

I did at least create a Slimline card, my favorite option right now. I used Slimline dies from Kat Scrappiness called Wonky Stitched Nesting Slimline dies, which did finally show up after a detour to Japan. Yes my dies seem to have fun travelling the world right now haha! 

Along the bottom of the card I added grass using the Wonky Stitched Nesting Slimline die and MFT Stamps Slimline Grassy Hills Die-namics. I added three rows of grass, adding shading to each of the tops of the grass.


To decorate my card, I used MFT Stamps Always Make Me Smile stamp set. I stamped all the images and used my Scan N Cut to cut out all the images and then added them all to the card to create the scene.


I added a die cut sentiment from The Stamp Marker called Hello Serif and then underneath this added a stamped sentiment which is from the stamp set I used on the card.


For the inside of the card I added borders to the right and left edges using Pinkfresh Studio's Slim Lacey Edgers die set.

I created a double pop up card using Karen Burniston's Katherine  Label Pop-up die set to which I stamped sentiments from Catherine Pooler Designs Say It In Diamonds stamp set.


Don't forget to check out the CCEE Stampers blog (goes live 12 AM EST) to see the rest of the creations the CCEE Stampers created this week. You can also see more details of their creations on their individual blogs:


Supplies:
For your shopping convenience, all products are linked below. Compensated affiliate links are used where possible with no extra cost to you. This helps me to continue to share all the projects I include on my blog. For the benefit of my Australia readers, I have started to include some links to Australian stores when available. Please note I only use and share products I love.


Saturday, August 22, 2020

Hello


Hi Crafty Friends,

It’s challenge time with the “Crazies” over on the Crazy 4 Challenges blog. Tracey Farr our challenge hostess for the month continues to issue the challenge.

Asian Style Card – Let’s use some of our stash that are ‘Asian Style’ and make an ‘Asian Style’ card. You could use a kimono, cheery blossom, pagoda, lanterns, fans, birds, koi etc.

As I had a few Asian themed dies I purchased earlier in the year from Spellbinders I decided to pull one of those out for my card today, the Pagoda die. 

As the pagoda is a tallish die, I created a Slimline Card. I used Pinkfresh Studio's Slim Diagonal Stitched Rectangles die which I die cut from gold pearlescent cardstock, I then used the Herringbone insert from the Sunny Studio's Herringbone Frilly Frames die set to die cut the centre of the rectangle panel. This die fits perfectly the width of the rectangle, but needs to be die cut twice.  For the second die cut, I only partially die cut the panel which left a piece in the middle a little messy. Fortunately the widest section of the pagoda's roof hid that part.

I layered the gold panel onto a piece of cardstock that had double sided adhesive tape on the front and then covered this panel with Warm Diamond Silk Microfine Glitter. 

The pagoda was die cut from black cardstock and then from red for the red panels of the roof, which I paper pieced into the design. I also added glitter dots peel off stickers to areas around the pagoda.

I added the pagoda towards the upper portion of the card, leaving a space at the bottom of the card for the sentiment which is from The Stamp Market.


For the inside of the card I created a pop-up card using a pop up technique I saw recently on my friend Karen Aicken's blog. The black panel is scored evenly into four panels and then concertina folded, starting with a valley fold. The centre panel I cut two slits about 1 inch in from the fold and then back folded this panel.

I decorated the inside of the card using some older oriental themed stamps I had in my stash. I also found a sentiment for the top left sentiment panel.

Don't forget to check out the rest of the “Crazies” cards over on the Crazy 4 Challenges blog and also their individual blogs for more details.


Supplies:
For your shopping convenience, all products are linked below. Compensated affiliate links are used where possible with no extra cost to you. This helps me to continue to share all the projects I include on my blog. For the benefit of my Australia readers, I have started to include some links to Australian stores when available. Please note I only use and share products I love.


Sunday, June 7, 2020

Scribbled Rose Hello


Today I am sharing two "Hello" cards I created recently.


For my card today I used Taylored Expressions Scribbled Rose stamp set. This set included a rubber background stamp as well as a set of clear stamps to use to color the flowers and leaves.

For this card I used inks from Catherine Pooler Ink in Rose Petals; Polished and Eucalyptus. I also used Altenew's Olive ink for the second petal.

I die cut the panel using a rectangle die from Heffy Doodle's Imperial Stitched Rectangles die set.

I added the "Hello" sentiment using The Stamp Market's Hello die set.


For the inside of the card I added sentiments from Concord & 9th's Retro Petals Turnabout stamp set. I cut out a few extra flowers and leaves from the Scribble Rose stamp set to decorate the inside panel.


For my second card I colored the flowers using Rouge Catherine Pooler ink and Warm Lipstick Distress Oxide inks.

The "how are you?' sentiment is from Altenew's Hello and Hugs stamp set.


This is the inside of my second card, which is the same as the first card but using different colors.

Supplies:
For your shopping convenience, all products are linked below. Compensated affiliate links are used where possible with no extra cost to you. This helps me to continue to share all the projects I include on my blog. For the benefit of my Australia readers, I have started to include some links to Australian stores when available. Please note I only use and share products I love.


Wednesday, April 29, 2020

Hello, Hi, Hey There


Hi Crafty Friends,

Today I am sharing four cards I created recently using Alcohol inks and the new Tim Holtz Alcohol Ink Air Blower. Of course when you pull out the alcohol ink, it's hard to just create one background. I really love the air blower which makes it so much easier to move the inks around on the Yupo paper. So after playing with different colors I had to use them all to make up four cards.


For my first card I used alcohol inks in Dandelion, Sunset Orange and Watermelon.  I trimmed the panel to fit the bottom portion of a card and then used Crafter's Companion's Hello Edge'abilities die set for the sentiment at the top of the card.

I used Elizabeth Craft Designs Leafy Branch 6 Wheat to add something over the alcohol inked background.


For my second card I used alcohol inks in Citrus; Lettuce; Mermaid; Juniper. I then used one of the border dies from MFT stamps Stitched Scallop Basic Edge to create a fancy border at the bottom of the panel.

I added a "hello" sentiment which is from The Stamp Market. The stamped sentiment is from a Hello stamp set from Paper Rose Studio.

I die cut two dragonflies using Elizabeth Craft Designs Dragonflies die set.


For my third card I used alcohol inks in Aquamarine; Juniper; Pool; Pistachio. 

I added a large "Hi" die from The Stamp Market and also added the stamped sentiment which is from Altenew's Hello and Hugs stamp set.


For my final card I used alcohol inks in Pink Sherbet; Coral; Flamingo; Wild Plum. I used another of the border dies from MFT Stamps Stitched Scallop Basic Edge die set to die cut the fancy edge at the bottom of the alcohol inked panel.

I added the "Hey There" sentiment using the Fabulous Phrases die set from Concord and 9th.


For the inside of all of my cards I used a sentiment from Concord & 9th's Retro Petals Turnabout stamp set.

Supplies:
For your shopping convenience, all products are linked below. Compensated affiliate links are used where possible with no extra cost to you. This helps me to continue to share all the projects I include on my blog. For the benefit of my Australia readers, I have started to include some links to Australian stores when available. Please note I only use and share products I love.


Sunday, April 12, 2020

Hello


Hi Crafty Friends,

Today I am sharing a card I created for the April Taylored Expressions #TE Maker Challenge.

This month the options for the challenge include: Embossing; Stripes and Orange. You can use just one of the options, two or all three, the choice is up to you. For my card I used all three options.

I used Taylored Expressions 1/2" Stencil set to create the the orange stripes on the background of my card. I used Catherine Pooler Inks in Peeled Orange; Tiki Torch and Orange Twist. Jennifer McGuire recently did a video on stencilling where she used Altenew's Dainty Swiss Dots stamp to add some detail to the striped panels. For this card I used Orange Twist and White Pigment ink on the stripes.

I used The Stamp Market's Hello die for the "hello" sentiment. The other sentiments used on my card are using Taylored Expressions Simple Stripes - Birthday and the coordinating die.


I had a thin piece of the stencil striped background left over from the front of the card, so I added that to the bottom of the inside of my card. I added two more of the sentiments from Taylored Expressions Simple Strips - Birthday.

Supplies:
For your shopping convenience, all products are linked below. Compensated affiliate links are used where possible with no extra cost to you. This helps me to continue to share all the projects I include on my blog. For the benefit of my Australia readers, I have started to include some links to Australian stores when available. Please note I only use and share products I love.


Wednesday, July 3, 2019

Tribute to Joanne Grzelak


Hi Crafty Friends,

Today I am participating in a special blog hop tribute for my friend Joanne Grzelak. Sadly we were recently told by Joanne's sister Sue, that she had passed away suddenly on the 25th May 2019.

I "met" Joanne online way back in 2007 over on Splitcoast Stampers when I was invited to join the original CCEE Stampers challenge team. Back then we didn't have a blog, and we used to all meet in one of the SCS forums to chat each night. At that stage Joanne wasn't a member of CCEE Stampers, but she often popped in to chat with us and later joined the Design Team in 2010. 

Joanne was also one of the foundation members of the other challenge blog I look after called Crazy 4 Challenge which was started by Vicki Garrett, Cindy Haffner and myself back in 2009.

Joanne was a wonderful person, very supportive and will be missed very much.

Today the CCEE Stampers, Crazy 4 Challenges Design Teams and a few special stamping friends have come together in this special tribute blog hop to honour our stamping friend by either:

1. Create a card depicting one of the things she love which included:
  • The Ocean
  • Lighthouses
  • Black and White Cards
  • Her Dogs
  • Paper Piercing

2. CASEing a card Joanne created on either of her blogs  The Inky Ocean Gazer and The Inky Ocean Gazer 2 or SCS Gallery


As you can see by my card above, I decided to create a black and white card for my tribute to Joanne today. Joanne used to create the most wonderful black and white cards and I was always in awe of these cards she created. To me she was the Queen of black & white cards.


To create my card I used Paper Rose Studio's Blooming Flower Background die which I have been wanting to use for a while now. I die cut the images from black cardstock and then adhered this onto a piece of white cardstock that had Clear Double Sided Adhesive Tape on the front and then added some Cool Diamond Silk Microfine Glitter over the top of the adhesive.

I framed this image using the largest frame from Hero Arts Wood Frame Infinity dies. I added this to the top of an Easel Card created from black cardstock.

I die cut another frame and added that to the base of the card and then stamped the striped background from Concord & 9ths Stripes & Sayings stamp set and die cut this using the same wood frame die so I could adhere the inner rectangle to the centre of the frame on the base.

I added a stripe of white cardstock across my striped background panel which is the stop for the easel card. I then added the Hello sentiment which is from The Stamp Market.

To finish off the main part of the card I added some black rhinestones.


Here is a look at my card when it is folded ready to be placed in an envelope.


I added a panel to the back of my card and added another sentiment, this time from Clearly Besotted's Sitting Here Thinking stamp set.

Thanks for visiting me today for our Tribute to Joanne Grzelak. Your next stop on the hop is Lois Bak. 

Here is the complete blog hop list if you need it.


Supplies:
For your shopping convenience, all products are linked below. Compensated affiliate links are used where possible with no extra cost to you. This helps me to continue to share all the projects I include on my blog. For the benefit of my Australia readers, I have started to include some links to Australian stores when available. Please note I only use and share products I love.


Friday, June 7, 2019

Rainbow Hello


Hi Crafty Friends,

Today I have a set of cards that I created recently. 

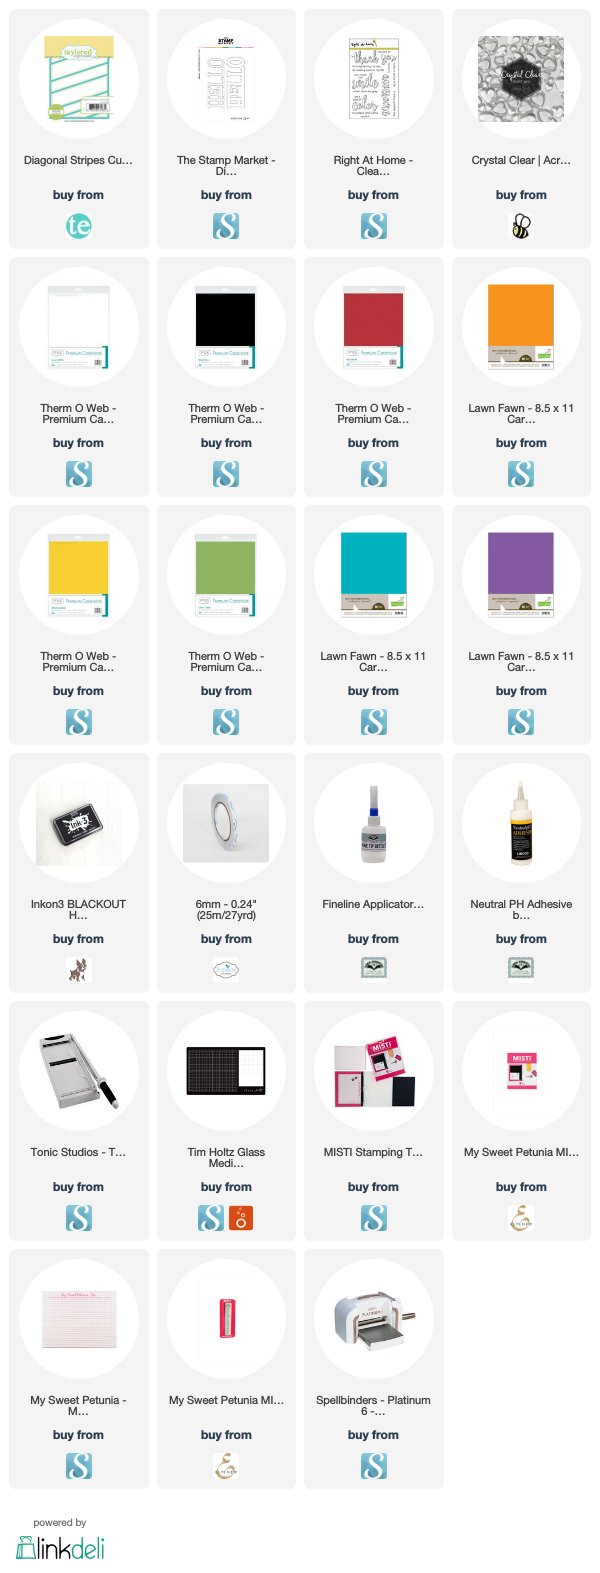
The diagonal stripes use Taylored Expressions Diagonal Stripes Cutting Plate. As I wanted to have stripes in a rainbow, I decided to create 6 cards as I had all those extra stripes.


For the sentiment, I used The Stamp Market, "Hello" die set. I also added three heart crystals from Honey Bee Stamps.


For the inside of the card I stamped three sentiments from Right at Home's Color In Sentiments Clear Stamp set. I colored in the sentiment following the order of the colors on the front of the card.

Supplies:
For your shopping convenience, all products are linked below. Compensated affiliate links are used where possible with no extra cost to you. This helps me to continue to share all the projects I include on my blog. Please note I only use and share products I love.


Monday, May 6, 2019

Hi Friend


Hi Crafty Friend,

Today I am sharing a mostly monochromatic card I created recently.

For the background of this card I used Concord & 9th's Hey There Turnabout Stamp set. This was stamped onto blue cardstock using various blue & a brown ink.

I used one of the borders from MFT Stamps Stitched Scalloped Basic Edges die set to die cut the shape at the bottom of the cardstock, from both the stamped background panel and a piece of brown cardstock. I layered the two together so I had the brown border at the bottom.


I used The Stamp Market's Big Hi die to create the large "hi" sentiment which was die cut using dark blue and brown cardstock and offsetting the panels. Before adhering the sentiments together, I used the background from Altenew's Pinstripe stamp set, stamping it using white ink and then turning the stamp one turn and stamping again to get a crosshatch pattern.

I then stamped the "friend" sentiment to the bottom of the card.


For the inside of the card, I added a light blue panel. I then used Crafter's Companion's Hello Edge'ablities stamp/die set to die cut the "Hello" sentiment on a dark blue cardstock. I masked the bottom wide area on the blue panel and used the pinstripe background to stamp the "Hello" like I did the "hi" on the front of the card. I also die cut the hello a second time, this time using brown cardstock and off set the two slightly. 

To finish off the card I added the sentiment along the bottom panel of the card.

Supplies:
For your shopping convenience, all products are linked below. Compensated affiliate links are used where possible with no extra cost to you. This helps me to continue to share all the projects I include on my blog. Please note I only use and share products I love.