Showing posts with label Stand Up Card. Show all posts

Thursday, November 8, 2018

Sorry Please Forgive Me


Hi Crafty Friends,

It's challenge time with my friends over on the CCEE Stampers challenge blog. Anne Harmon our challenge hostess for the month continues to issue the challenges.

Our challenge this week is ...... 
Apparently today is Tongue Twister Day. Most languages have their own versions of tongue twisters. In sign language, they are called “finger Fumbles”. Use a tongue twister to inspire your card. 


When I was researching tongue twisters for this challenge, I found there were hundreds out there ... some similar in style. I was almost hard to decide which one to use for my inspiration on my card. But finally I decided about this tongue twister .... 
If a dog chews shoes, whose shoes does he choose?

As luck would have it I have an old Darcie's stamp that is a dog chewing shoes which was perfect for this tongue twister and challenge. 

I pulled out one of my Sizzix Stand-Ups die sets which I haven't used for a couple of years.

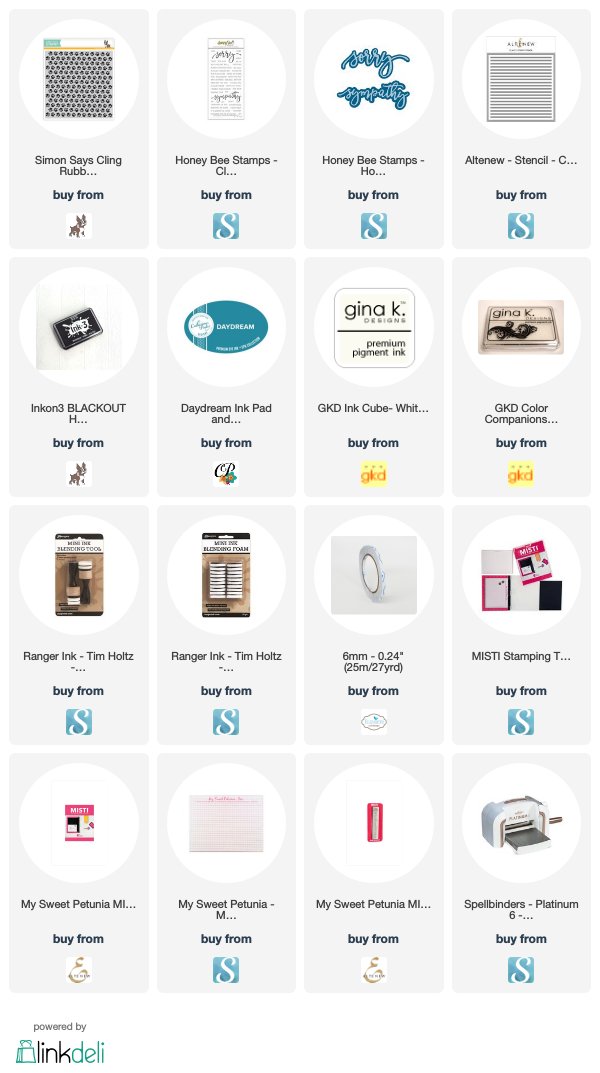
For the paw print background I used a background stamp from Simon Says Stamp, stamping the backing using white pigment ink and then over the top with Catherine Pooler Daydream ink.

For the base of the card I used Altenew's Classy Stripes Stencil and white pigment ink.

It took a while to decide what sentiment to use for this card .... in the end I thought it would be great for a "Sorry" card. I used a stamp and coordinating die set from Honey Bee Stamps for this.


Here is a look at my card when it is closed ready to be placed in an envelope.

Don't forget to check out the CCEE Stampers blog (goes live 12 AM EST) to see the rest of the creations the CCEE Stampers created this week. You can also see more details of their creations on their individual blogs:

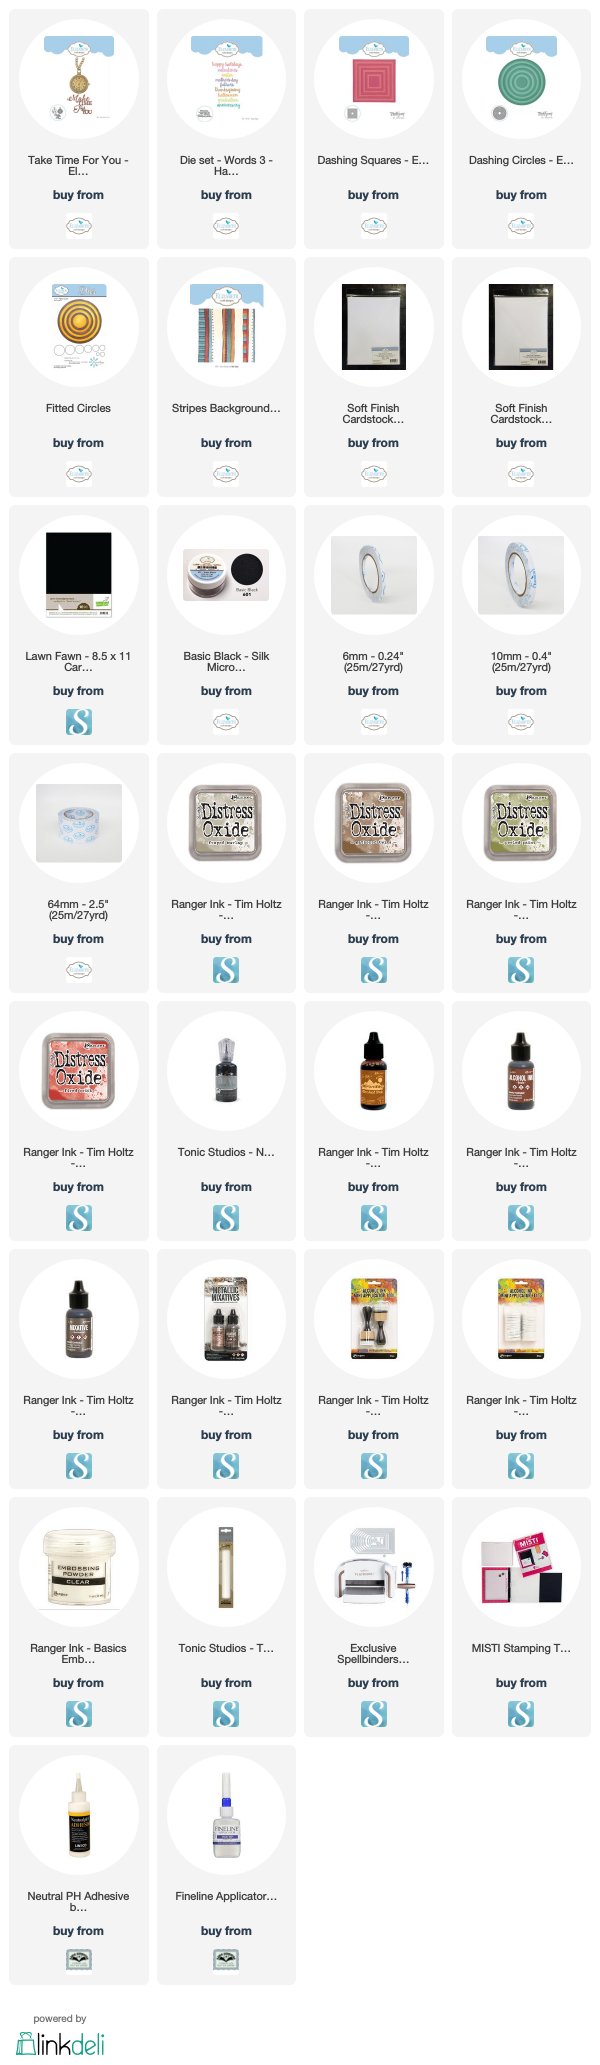
For your shopping convenience, all products are linked below. Compensated affiliate links are used where possible with no extra cost to you. This helps me to continue to share all the projects I include on my blog. Please note I only use and share products I love.

Dog Chewing Shoes - Darcie's Rubber Stamps
Royal Stand-Ups Card Framelits - Sizzix
Royal Labels Framelits - Sizzix


Friday, April 27, 2018

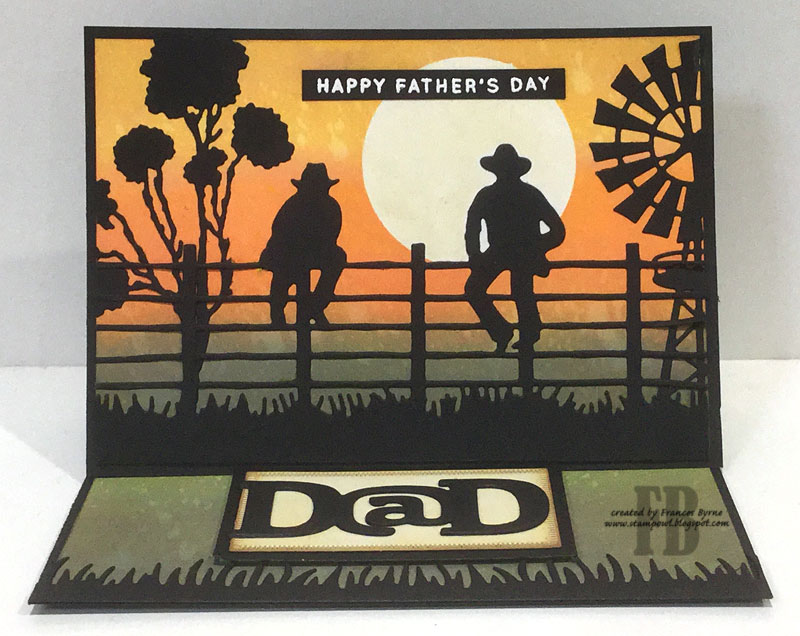
Time for You Father's Day Card


Hi Crafty Friends,

It's my turn to post a tutorial on the Elizabeth Craft Designs blog today. I am sharing a Father's Day card I created. While Father's Day isn't until September in my part of the world, it's is just over a month away up there in the USA.

As you can see I created a Easel Card.


Here is how I created my card:


Step 1 - 
  • Create the Easel Card Base by cutting a piece of black cardstock so it measures 5 inches x 10 inches.
  • Score and fold in half at 5 inches.
  • Score the top section of the card at 2.5 inches and fold so it looks like the photo above.

Step 2 -


  • Cut two pieces of White Soft Finish Cardstock so they measure approximately 6 inches square.
  • Ink the Stripes Background using black pigment ink and stamp onto the white cardstock, cover with clear embossing powder and heat set. (MISTI used here for easy positioning)
  • Starting from the top and bottom edges, apply Gathered Twigs Distress Oxide Ink using a blending tool.
  • Continue sponging on color using Fired Brick Distress Oxide and then Peeled Paint Distress Oxide making sure to blend the colors as you are inking. 
  • Spritz backgrounds using water from a Distress Sprayer and blot up using paper towel.
Step 3 - 
  • Die cut both backgrounds using the second largest square from the Dashing Squares die set.
  • Adhere one of the backgrounds to the card base of the card.
  • Adhere the remaining background to a black square which measures 5 inches square. Apply adhesive to the 2 1/2 inch panel facing the front of the card and adhere this panel to it so the bottom of the background panel is level with the bottom edge of the card.

Step 4 - 

Using the Take Time for You die set die cut the following:
  • 1 x Pocket Watch from White Soft Finish Cardstock
  • 1 x Pocket Watch from gloss cardstock 
  • 1 x Pocket Watch Outline from black cardstock
  • 1 x Pocket Watch hands from black cardstock
  • 2 x Pocket Watch Chain from gloss cardstock
  • 3 x Make Time for You from black cardstock
  • 1 x Make Time for You from White Soft Finish Cardstock that has Clear Double Sided Adhesive Tape on the front.
Step 5 -
  • Apply alcohol ink to the gloss cardstock Pocket Watch and also to the Pocket Watch Chains. 
  • Trim out the watch face from the white Pocket Watch and sponge around the watch face using Frayed Burlap Distress Oxide. Adhere face onto alcohol-inked Pocket Watch.
  • Attach the watch hands to centre of the watch using a black brad.
  • Adhere Pocket Watch to solid black Pocket Watch panel.
  • Attach the chain to top of Pocket Watch.

  • Adhere Pocket Watch to lower right hand corner of card as per photo above.
Step 6 - 


  • Trim off the "Make" from all 4 of the "Make Time for You" die cut sentiments.
  • Adhere the three black sentiments on top of each other and then adhere the sentiment with the adhesive on the front to the top of the layered sentiment.
  • Remove the protective adhesive backing from the sentiment and cover with Rich Black Silk Microfine Glitter. Return any excess glitter to the jar. Polish the glittered sentiment using your finger to bring out the maximum sparkle.
  • Adhere sentiment to the top left hand corner of the card.
Step 7 - 
  • Counting from the centre, die cut the fourth circle from the Dashing Circles die set from White Soft Finish Cardstock. 
  • Cut circle in half by die cutting using a square die larger than the circle from the Dashing Squares die set. (the edge of the die will be placed where you want the edge of the circle so you have the dashed lines on the bottom of half circle.
  • Sponge around the edge of the semi circle using Frayed Burlap Distress Oxide.
  • Die cut a larger circle from the Fitted Circles die set  from black cardstock and layer the semi circle on top of this circle. Trim so black circle is flush with the white one.
  • Layer semi circle to edge of background panel which is adhered to the base of the card using foam tape.
Step 8 - 
  • Using the Words Set 3 - Happy Holidays die set, die cut the words - "Happy Father's Day" from black cardstock.
  • Adhere to the semi circle panel on card.
Step 9 - 
  • Adhere the top of the chain to the top of the card.
  • Add Ebony Black Nuvo Drops randomly to front panel of card.
Thank you for stopping by, I hope you enjoyed my tutorial.

Supplies:
Elizabeth Craft Designs:


Wednesday, March 7, 2018

Dad


Hi Crafty Friends,

Today I have a Father's Day card I created recently ... Father's Day isn't until September here, but as I have a few cards needing to be made when I make something I think suitable for one throughout the year I put it aside for that purpose.


As you can see I created an Easel card using dies from Paper Rose; Ultimate Crafts and Lil' Inkers.

To create my sunset I used various colors of Distress Oxide inks. 


Here is a look at my card when it is closed ready to be placed in an envelope.


Stamps: Father's Day - Simon Says Stamp
Paper: White; Black
Dies: Men Sitting on Fence - Paper Rose; Gumtree and Outback Fence; Windmill & Water Tank - Ultimate Crafts; D@d - Lil' Inker; Grass Border - MFT Stamps
Distress Oxide Inks: Peeled Paint; Forest Moss; Carved Pumpkin; Spiced Marmalade; Wild Honey; Fossilzed Amber; Gathered Twigs
Other: VersaMark Ink; White Embossing Powder; Foam Tape


Saturday, January 27, 2018

Black and White Lake Scene


Hi Crafty Friends,

It’s challenge time with the “Crazies” over on the Crazy 4 Challenges blog. As challenge hostess for the month, I finish off the month with one last challenge.


Did you know that the 25th January is Opposite Day … For our challenge this week make a card/project that has opposites on it. Think opposite colors, on the color wheel, stripes and polka dots, black and white, mirror image, etc.


As you can see the 'opposite' I selected for this challenge was the colors black and white to create an Easel or Stand Up Card.

I had just received some of the new dies which were being released from Elizabeth Craft Designs this month and I wanted to play with this gorgeous Lake Scene die designed by Becky Seddon. There are so many different ways you can use this die, but for this card I kept it simple just die cutting from black cardstock and layering it onto white cardstock.

This die comes in two parts the postal edge square and the inner lake scene, so you also have the option of using the postal edge square as a stand alone die to create bases for your cards. 

I die cut a postal frame on it's own to layer to the bottom panel of my card 


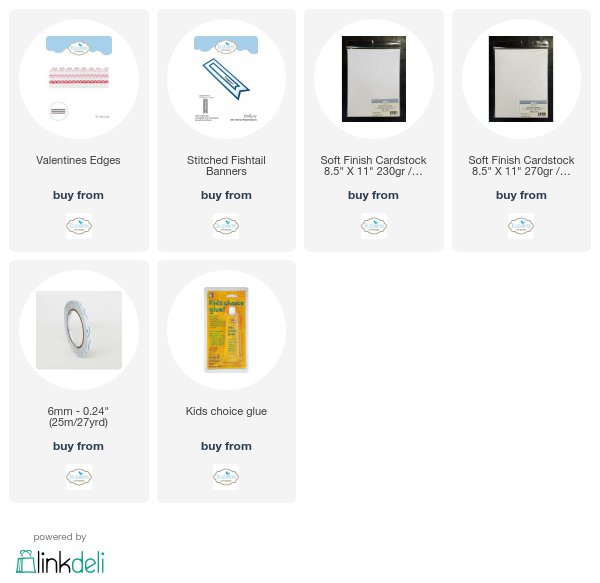
For the sentiment on the base of the card I used three of the sentiments from the Words Set 3 - Happy Holidays die set which includes sentiments for many of the important events over the year. The sentiment is layered using the Stitched Fishtail Banners die set and I have also used one of the edges from the Valentines Edges die set. 

To finish off the card I added some Black Nuvo Drops.


Here is a look at my card when it is closed ready to be placed in an envelope. It folds nice and flat.

Don't forget to check out the rest of the “Crazies” cards over on the Crazy 4 Challenges blog and also their individual blogs for more details.


Supplies:

Elizabeth Craft Designs:


Paper: White; Black
Dies: Lake Scene; Stitched Fishtail Banners; Valentines Edges; Words 3 - Happy Holidays - Elizabeth Craft Designs
Other: Ebony Black Nuvo Crystal Drops; Foam Tape


Friday, January 26, 2018

Butterfly Easel Card


Hi Crafty Friends,

Today I am playing with one of the new Becky Seddon dies which was released by Elizabeth Craft Designs this month.

I decided to create an easel card using the butterfly and for the background I played with my alcohol inks.


As you can see by the angle of this photo, I die cut a couple of butterfly images so I could have a few layers and have the wings appear like they were flying.

For the sentiment on the base of the card I used one of the sentiments from the new Joset Designs Spring Sentiments.


Here is a look at my card when it is closed ready to be placed in an envelope.


Stamps: Spring Sentiments - Elizabeth Craft Designs
Paper: White; White Yupo Paper
Dies: Butterfly Aperture - Elizabeth Craft Designs
Other: Black Ink; Ranger Flamingo, Pink Sherbet, Shell Pink and Wild Plum Alcohol Inks; Ranger Pearl Mixative; Ranger Blending Solution; Foam Tape


Thursday, September 8, 2016

A Wise Owl Once Said


Hi everyone,

It's challenge time with my friends over on the CCEE Stampers challenge blog. Our challenge hostess Lois continues to issue the challenges.

Lois tells us that she thinks most kids are back in school by now. So, let’s have a Word challenge – the word being WORD. Include something on your card that begins with each of the letters in W-O-R-D. 


A friend recently shared a card she saw online which used the Sizzix #2 Owl as an Easel card, so I decided to make my version of that card for my challenge today. You can see the the card I was inspired by on the Sizzix UK Blog here.


For the challenge these are the things I used on my card to make up the word, WORD.
W - Wings; Wise Owl
O - Owl; Oval
R - Red
D - Daisy


To hold the easel up I used the Papertrey Inks Mighty Oak die which I die cut the tree three times and layered together. I also stamped the "A Wise Owl once said ...." onto the thick part of the branch.


I added the daisy which the owl is holding by it's wing which is one of the dies from Elizabeth Craft Designs. I added Warm Diamond Silk Microfine Glitter to the petals and centre of the flower.

This is what the card looks like when it is closed ready to be placed in an envelope.


And finally one last photo which shows the whole of the inside of the card including the sentiment.

Don't forget to check out the CCEE Stampers blog (goes live 12 AM EST) to see the rest of the creations the CCEE Stampers created this week. You can also see more details of their creations on their individual blogs:


Stamps: Wise Owl Once Said - Simon Says Stamp; Bugsy and Owly - Penny Black
Paper: White; Yellow; Green; Red; Bright Pink; Julie Nutting Blush DP - Prima
Dies: Owl #2 Bigz Die - Sizzix; Daisy; Katie Label Pivot Card - Elizabeth Craft Designs; Mighty Oak - Papertrey Ink
Other: Black Ink; Brushed Corduroy Distress Ink; Clear Double Sided Adhesive Tape 64mm; Warm Diamond Silk Microfine Glitter; Foam Tape; Copics


Tuesday, July 5, 2016

Piano Easel Card


Hi everyone,

Today I am sharing another card I created using the Memory Box Piano Border and the Poppy Stamps Happy Birthday Melody dies. This time  around I decided to create an Easel Card.

I die cut the Piano Border and adhered it to the bottom of the inside of the card using foam tape, so that this would help keep the Easel part of the card open.


Here is another view of my card taken at a different angle so you can see the Easel part of the card.


Here is my card when it is closed. I layered the Happy Birthday sentiment onto Elizabeth Craft Designs Stitched Ovals & Dotted Scallop Ovals dies. I also added the corners which are from the Oval Landscape Accordion Card, also from Elizabeth Craft Designs.


And finally here is the inside of the card which shows the birthday sentiment and music notes.


Stamps: Happy Birthday To You - Stamp World
Paper: White; Black
Dies: Piano Border - Memory Box; Happy Birthday Melody - Poppy Stamps; Musical Notes - Tonic Studios; Oval Landscape Accordion Card; Katie Label Pivot Card; Stitched Ovals; Dotted Scallop Ovals - Elizabeth Craft Designs
Other: Black Ink; ECD Clear Double Sided Adhesive Tape; Foam Tape


Saturday, June 4, 2016

Bunches of Love

Hi everyone,

It’s challenge time with the “Crazies” over on the Crazy 4 Challenges blog. Being a brand new month it is time to introduce our challenge hostess for the month which is Karen Aicken.

For our challenge this week Karen has asked us to Make it FLORAL. Add a single flower, add a full bouquet or even make a flower shaped card - let’s see some blooms on your projects this week. 

For my card this week I used an image I have had for a while that I have been wanting to use. I created a Circle Stand Up or Easel Card using the Fitted Circles die set from Elizabeth Craft Designs. I used the Happy Birthday Stand Up Helper die to keep the card standing.


Here is another photo of my card taken at a different angle so you can see the pop up part of the card.


And finally my card when it is closed ready to be placed in an envelope.

Don't forget to check out the rest of the “Crazies” cards over on the Crazy 4 Challenges blog and also their individual blogs for more details.

Paper: White; Pink; Dark Pink
Dies: Fitted Circles; Stitched Circles; Dotted Scallop Circles; Happy Birthday Stand Up Helper; Bunch of Flowers - Elizabeth Craft Designs
Other: Black Ink; Foam Tape; Copics


Thursday, February 11, 2016

Pawesome


Hi everyone,

It's challenge time with my friends over on the CCEE Stampers challenge blog. Lyn McAuley our challenge hostess for February continues to issue the challenges.

Apparently way back when Lyn was in grade school, every Valentine’s Day her classmates and Lyn had such fun creating Valentine Critters to decorate their Valentine boxes. The task for today is to create an animal of any kind on your card in which you use heart shapes for some of its body parts. 

I must confess when I first read the challenge I went eeekkk! But then I remembered some card my friend Dianne shared sometime last year using hearts to create animal easel cards and I knew what I was going to create for this challenge. This card is also inspired by one I saw on Pinterest by Susan Campfield which you can see here.


All the different elements that went to create the dog was made with the same Hearts Nestablities die set .... the easel card; the face; the nose; the ears, the tongue and the eye patch. 


When my card is closed it looks like this.


To create the easel I selected the largest heart in the die set and cut a piece of white card which I folded in half. I positioned the pointy end of the heart so it was slightly over the fold in the card so that part wouldn't cut. One it was die cut, I folded the top heart in half. 

I die cut another heart which I used to create the dogs face and then adhered the bottom part of the face to the bottom of the easel card.

I added the word "Pawesome" to the base card which is layered up about 5 layers so help keep the card open. 

Finally I added the I Love You to the right side of my card.


Don't forget to check out the CCEE Stampers blog (goes live 12 AM EST) to see the rest of the creations the CCEE Stampers created this week. You can also see more details of their creations on their individual blogs:

Stamps: Message Pup - Paper Pretties
Paper: White; Black; Red
Dies: Heart Nestabilities - Spellbinders; Pawesome - Simon Says Stamp
Other: Black Ink; ECD Clear Double Sided Adhesive Tape 64mm; Googly Eyes; Picket Fence Distress Marker; Foam Tape;