Friday, March 14, 2025

Birthday Wish


Hi Crafty Friends,

Welcome to my blog. Today I am sharing a 70th birthday card I created recently. As I mentioned in a previous post, I know a few people who are celebrating their big "0" birthday this year including me so I will making a few cards to celebrate.

For my card today I pulled out my Double Interlocking Concertina Card die set which is a part of the Showstoppers 2 Collection from Made to Surprise by Sam Calcott. 

I recently purchased a few birthday themed die sets from Papertrey Ink, so I pulled out the In Stitched - Cake Builder and Build a Party Hat die sets and added them to the left and right panels to my card. I also added the "Happy Birthday" to the party hat which is from Papertrey Ink's This is Big Sentiments - Birthday stamp/die set.


For the concertina portion of the card I used the Chunky Alphabet die set from Made to Surprise and came up with the wording "A 70th Bday Wish".


Here is a look at my card when it is folded flat ready to be placed in an envelope. It will fit into a 6 x 6 envelope.


And finally a look at the back of the card. I added white panels to each of the large panels and added two of the birthday sentiments included in the Made to Surprise Showstopper Puns Sentiment set. I then added a few party hats and streamers which are all from the Party Hat Builder die set from Papertrey Ink. 


Wednesday, March 12, 2025

Ladybug Floating Hexagon


Hi Crafty Friends,

Thanks for stopping by my blog! Today I am sharing a fabulous fun fold card, this one is called a Floating Hexagon Card. This version is a 5 x 7 size and you can find out how to make it here.

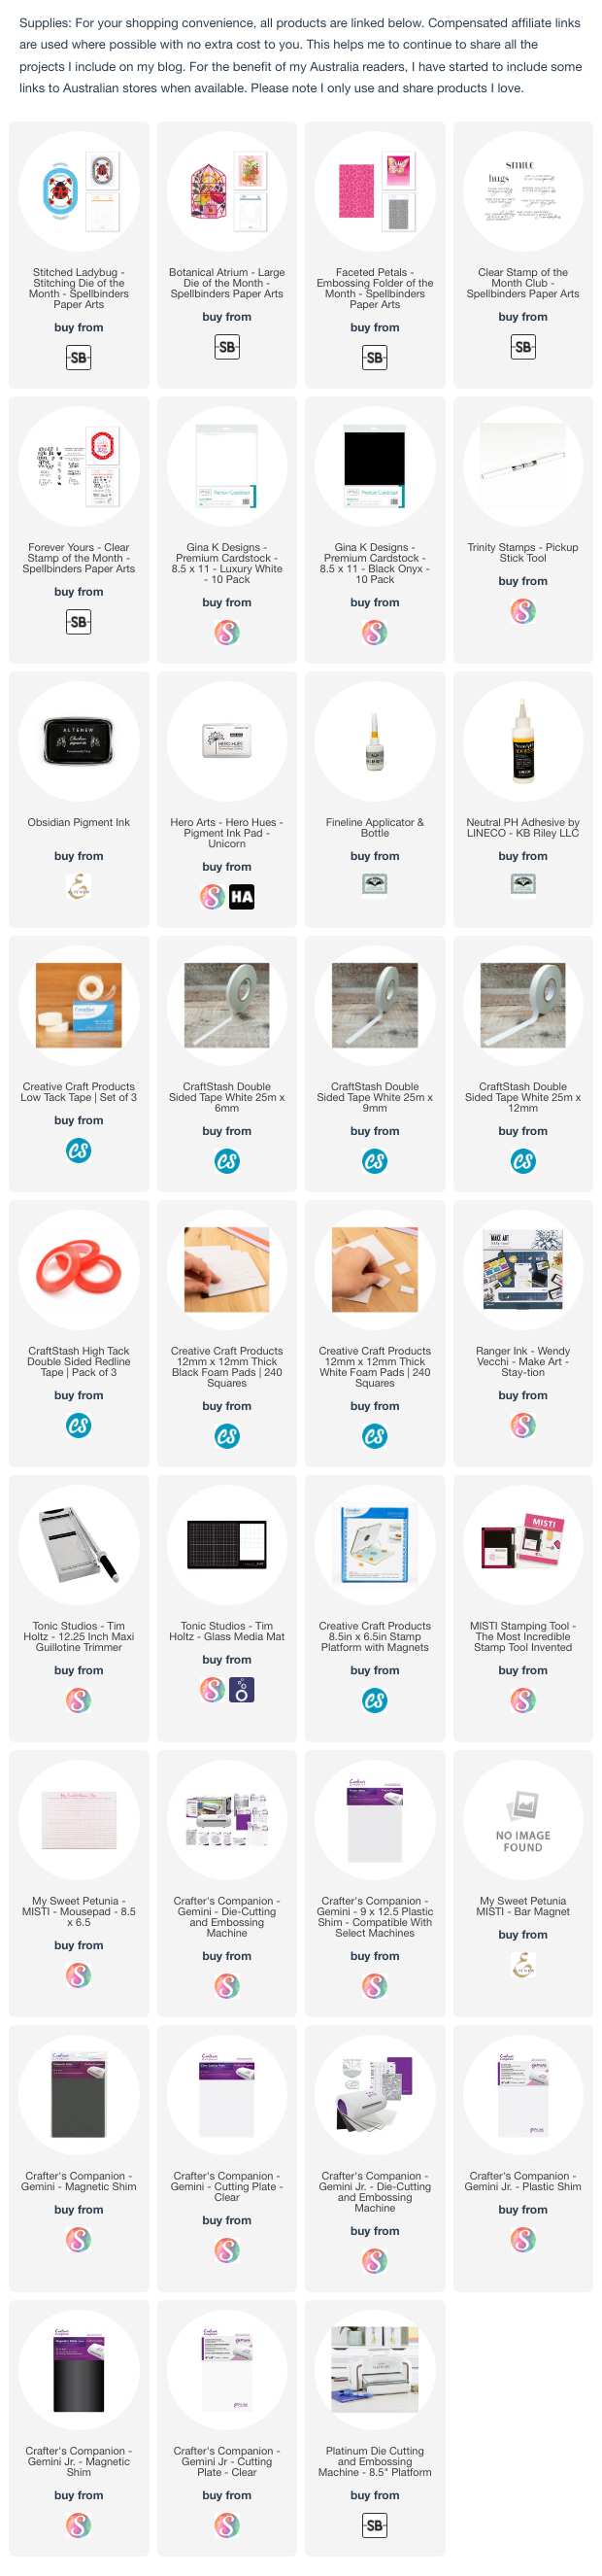
To decorate my card I used various products included in the Spellbinders January 2025 Club Kits.

To decorate all the green panels on each of the sides of the card, I used the Faceted Petals Embossing Folder. After embossing each of the pieces, I rubbed white pigment ink over the raised areas of the cardstock.

I added the flowers from the Large Die of the Month - Botanical Atrium and then added two ladybugs from the Stitching Die of the Month - Stitched Ladybug. And yes I did actually add stitching to the ladybugs body and head ... I must be getting crazy with age haha!

I added two sentiments to the front panel. The bottom sentiment is from the January Clear Stamp of the Month - Nature's Dance and the top one from the December Clear Stamp of the Month - Forever Yours. I thought both worked with the ladybugs.


The card folds flat so it can be placed inside a 5 x 7 inch envelope.


Here is a look at the back of my card. I added a few leftover flowers and leaves and added a sentiment from the A Little Messages Betterpress set.


Monday, March 10, 2025

Space Puzzle Slider Card


Hi Crafty Friends,

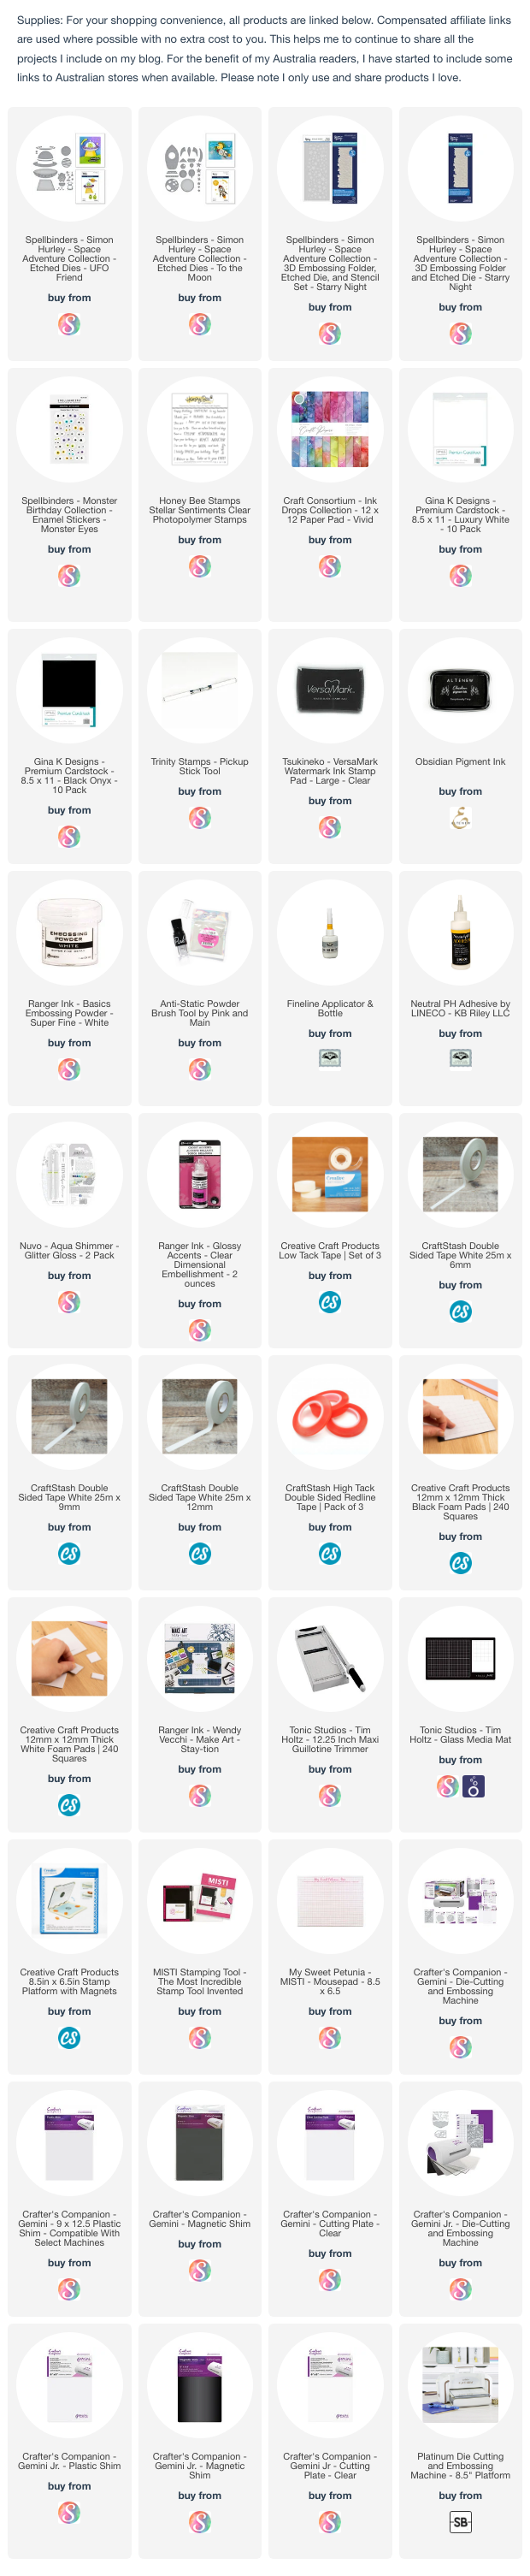
Today I am sharing another Puzzle Slider card. I enjoyed making the one I shared last week, so I decided to make another one. For this card I pulled out my Spellbinders Space themed dies/embossing folder, focusing this time with the UFO Friends die set.

I used patterned papers for the background, sponging around each panel with black ink. The sentiment is from an old Craftin' Desert Divas stamp set called Far Out.

Directions - 5 inch x 7 inch version:

1.    Cut a piece of cardstock to measure 5 inches x 11 inches, this will be the card base. Score along the long side at 1 inch; 2 inches; 9 inches and 10 inches. Fold on all score lines so you have a mountain, valley, valley & mountain folds.

2.    From the same colour cardstock as the card base above, cut two rectangles that are 4 inches x 2.5inches and two rectangles that are 3 inches x 2.5inches.

3.    Apply glue along the 1 inch panel on the left. Starting from the bottom adhere one of the 4 inch rectangles to this panel, making sure to line up with the left and bottom edges. Next adhere one of the 3 inch rectangles to the same left panel, making sure that it lines up with all edges including the bottom rectangle.

4. Using the remaining rectangles, adhere these in the opposite way as step 3 onto the right hand panel. So the 4 inch rectangle is on top and 3 inch on bottom.

5. Cut your layering pattern papers so they are 3 3/4 inches x 2 1/4 inches and 2 3/4 inches x 2 1/4 inches and adhere to relevant rectangles on card base.

6. Decorate card as desired. If you wish to add a panel to the inside of card, this will be 6 3/4 inches x 4 3/4 inches.


For the inside of the card I added the planet surface using grey cardstock and the die from the Starry Night Embossing Folder. I added the planet and UFO Friends to the panel.

For the sentiment I added a birthday sentiment from Honey Bee Stamps Stellar Sentiments.


Friday, March 7, 2025

Butterfly Puzzle Slider Card


Hi Crafty Friends,

Welcome to my blog. Today I am sharing another card I creatd using products from Spellbinders January Club Kits. 

This time around I created a puzzle slider card, I have seen a lot of these in A2 sizes but I wanted to make mine 5 x 7. To decorate the card I used the Spellbinders Take Flight Betterpress set with the coordination stencil. The sentiment is from Spellbinders A Little Messages Sentiments set.

Directions - 5 inch x 7 inch version:

1.    Cut a piece of cardstock to measure 5 inches x 11 inches, this will be the card base. Score along the long side at 1 inch; 2 inches; 9 inches and 10 inches. Fold on all score lines so you have a mountain, valley, valley & mountain folds.

2.    From the same colour cardstock as the card base above, cut two rectangles that are 4 inches x 2.5inches and two rectangles that are 3 inches x 2.5inches.

3.    Apply glue along the 1 inch panel on the left. Starting from the bottom adhere one of the 4 inch rectangles to this panel, making sure to line up with the left and bottom edges. Next adhere one of the 3 inch rectangles to the same left panel, making sure that it lines up with all edges including the bottom rectangle.

4. Using the remaining rectangles, adhere these in the opposite way as step 3 onto the right hand panel. So the 4 inch rectangle is on top and 3 inch on bottom.

5. Cut your layering pattern papers so they are 3 3/4 inches x 2 1/4 inches and 2 3/4 inches x 2 1/4 inches and adhere to relevant rectangles on card base.

6. Decorate card as desired. If you wish to add a panel to the inside of card, this will be 6 3/4 inches x 4 3/4 inches.

Here is a look at the inside of my card, I added the other butterfly included in the Betterpress set. The sentiment is from the Natures Dance Stamp/Die set.


Tuesday, March 4, 2025

March 2025 Karen Burniston Designer Challenge


Hi Crafty Friends,

Welcome to our March Karen Burniston Designer Challenge.

Check out Karen Burniston's blog on Wednesday (US Time) when you will be able to see what all the designers created for the challenge this month, plus Karen will have an amazing video tutorial to share with us all.


Our challenge theme this month is ... "LAKE OR OCEAN" - Fish, Cruise, Sail or Row - where will you go?

As you can see by my card above, I decided to select the "Ocean" for my card this month. I was so excited last year when Karen release the Pirate Ship add-on die set to go with the Boat Pop-up die set ... I have quite a collection of pirate stamps and dies here. But because I was ill during that release I didn't get around to making anything with it. So I decided to pull it our for my card this time around.

For my card this month, I decided to create a Slimline Gatefold card. my card measures 4inches x 8 1/2 inches when closed. The pirate ship is just under 4 inches when it is folded in a card. so it just fits nicely. I made up the pirate ship before doing anything else, to make sure it fitted what i had in mind.

I didn't want to just have the pirate ship in the ocean, so I decided to have my slimline card as a gatefold card.  

Here is a better view of the pirate ship, I added three dolphins (one is behind the ship) to the card which are from the Set Sail Borders Die Set.

I added a birthday sentiment from the Pirates Sentiments Clear Stamp set to the Crosshatch Banner,  to the lower left side of my card. I added a pirate hat and sword to the banner both of which are from the Pirate Borders die set.

I also added an anchor to the ship which is also from the Set Sail Borders die set.

On the right hand side of the card, I added the beach scene, starting with the palm tree from the Palm Tree Pop-up die set. Fortunately, like the Pirate ship, the palm tree closes straight rather than at an angle so both work well in a slimline card. 

I added the pirates using the new Paper People die set as well as the Tiny Accessories die set for the bandana hat and eye path and the Pirate Borders for the swords and black pirate hat.

I also added the treasure chest and jewels which are all from the Pirate Borders die set.


I added another Crosshatch Banner to the top right hand side of my card, adding another sentiment from the sentiment stamp set and another of the hats and swords as I did on the previous banner.

I Ialso added another treasure chest to the bottom of the card. You can also see the boy pirate a little better in this photo above.


As the focus of this card is all on the inside, I kept the outside fairly simple. I added the water patterned paper to both flaps and added a belly band to keep the card closed.

I added two more sentiments to the Crosshatch Hexagon panels, along with another sword and pirate hat.

The front flap on the left side of my card is 5 inches and the front flap on the right is 3 3/4 inches, which gives a slight overlap .


And finally I added a panel on the back of the card, as a place to write a personal greeting for the recipient of the card. I added the skull & crossbone border along the bottom of the panel. This border is another from the Pirates Border die set.





Monday, March 3, 2025

Bouncing By To Say


Hi Crafty Friends,

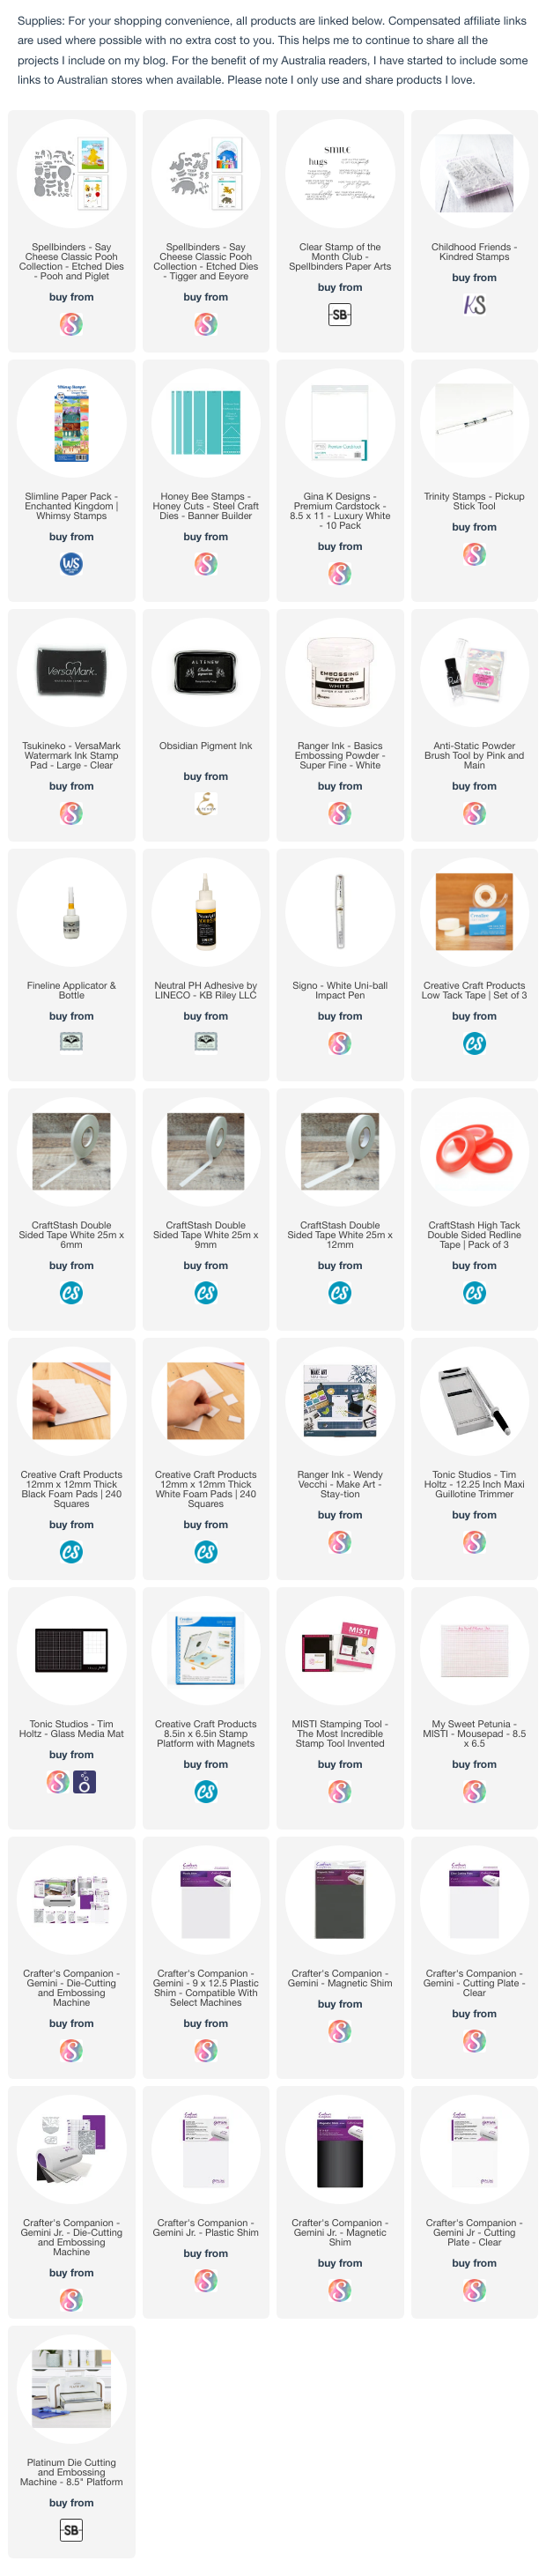
Today I am sharing a Slimline card I created using the Spellbinders Classic Pooh Collection. 

This was a pretty quick card to make as I already had all the Pooh characters made and when I found this slimline patterned paper it was super easy. The “bouncing” sentiment is from an older Kindred Stamps stamp set.

For the inside of my card, I took the matching patterned paper I used on the front of my card. I trimmed around the grass area and added this to the bottom of my card. I then added the balloon to the left side of the card, so that it was on both sides of the card. Finally I added a sentiment using Spellbinders Nature's Dance stamp set.


Friday, February 28, 2025

Rebus - Movies Starting with Letter D


Hi Crafty Friends,

Well it has been a while since I have done a rebus puzzle on my blog, not since the end of May last year actually. It is great to be able to get back into it this year (hopefully)!

This month the theme is "Movies Starting with the Letter D"

If you would like to solve my rebus puzzle, why not post a comment on my blog post with your answers. I will let you know what the correct answers are next time I post a rebus card here.

How did you go solving my May 2024 Rebus which was "Words relating to Weather - seasons, weather events etc"

 Here are the correct answers so you can check how you did.

  1. Atmosphere
  2. Thunder
  3. Hot
  4. Pressure
  5. Rain
  6. Downpour
  7. Smog
  8. Meteorology
  9. Cyclone
  10. Barometric


You can find all my past Rebus Cards here.


Wednesday, February 26, 2025

Cheers To You


Hi Crafty Friends,

Welcome to my blog! Today I am sharing a male themed Slimline Pop up card I created recently.

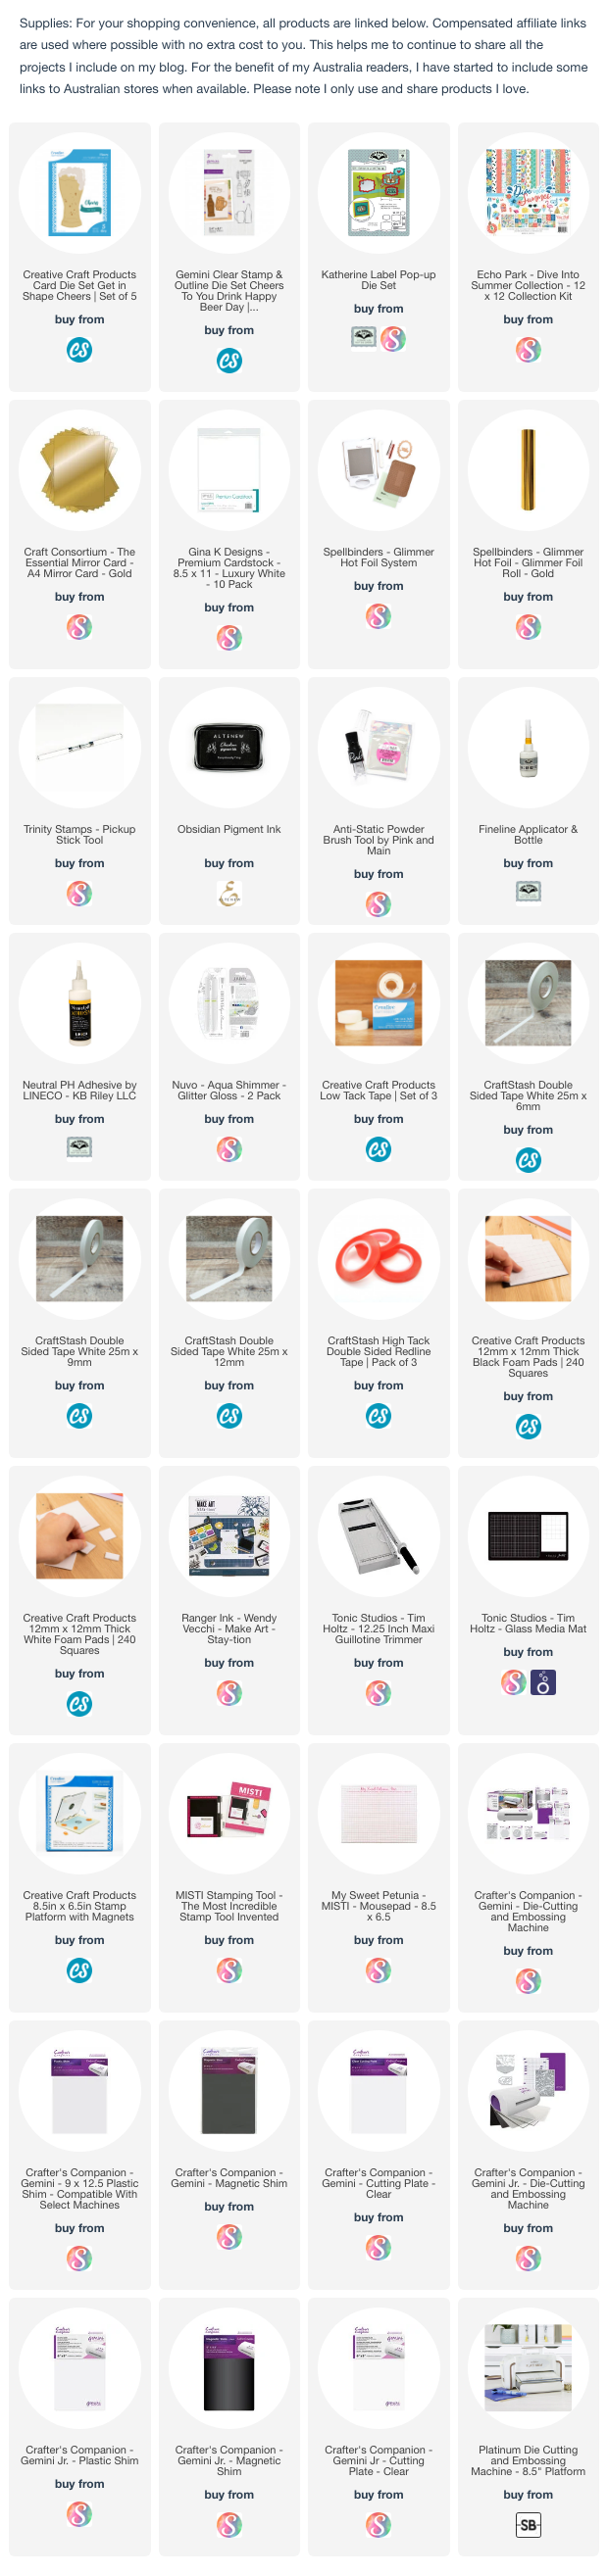
I am always looking for stamps or dies that are suitable for male themed cards, so when I had the opportunity to purchase this Cheers die set which included the beer glass and the sentiments used on the front of course I got it.


My slimline card is 3 1/2 inches x 8 1/2 inches. I had some beer themed patterned paper that looked like beer, so I die cut the glass using this paper. I froth at the top of the glass is die cut from white glitter cardstock.

I die cut the banner from dark blue cardstock & the “cheers” from gold cardstock. I was surprised to find a  hot foil stamp included in the set (happily surprised), so I gold foiled it onto blue cardstock.


For the inside of my card I created a double pop up using Karen Burniston’s Katherine Label Pop-up die set. The stamped sentiments are from Crafter’s Companion’s Happy Beer Day stamp/die set.


Monday, February 24, 2025

Happy Birthday Earthling


Hi Crafty Friends,

Today I am sharing a Space themed Inside Out Stepper Card I created using Spellbinders Space Collection designed by Stephen Hurley. 

THe Inside Out Stepper Card  was created using  Creative Craft Products High Centre Stepper Card from the Step on Up 2 Collection. Sam Calcott, shared a tutorial on this style of card a few years ago, you can see her tutorial here.

I used black cardstock for the base of my card, and then decorated all the panels using a patterned paper from Whimsy Stamps Lost In Space Slimline Paper Pack. This was layered using Silver Holographic cardstock.

I used Spellbinders To The Moon & UFO Friends die seetd for all the various images that decorate my card.

I added three sentiments from an older Made To Surprise Out In Space stamo/die set.

I don't normally decorate the sides on the front of the csrd, but I was having so much fun that I kept going!


Here is a look at my card when it is folded ready to be placed in an envelope. When closed the card measures approximately 5 3/4 inches x 7 1/4 inches.


For the inside I added a stamped sentiment to the middle panel using stamps from Honey Bee Stamps. I also decorated the side panels with a few aliens etc.

To create the ground of the planet the aliens are standing on, I die cut a side panel from grey cardstock and then used the die included in the Starry Night Embossing Folder to die cut the top of the panel.