Showing posts with label The Greetery. Show all posts

Thursday, December 8, 2022

Most Wonderful Time of the Year


Hi Crafty Friends,

It's challenge time with my friends over on the CCEE Stampers challenge blog. Maryann Einam our challenge hostess for the month, continues to issue the challenge.

Today is our final challenge for 2022 and also for all time. After over 15 years the time has come to say goodbye to CCEE Stampers. Over the years we have had some amazing card makers participate in the weekly challenges. It is a little sad to say goodbye to this one as for me I was one of the foundation members who started this challenge with a group of 8 people over on Splitcoast Stampers. Thank you to all of you who have supported us over the years.

Maryann tells us that it is countdown time until the end of the year, make a card using a clock, stopwatch or just numbers to end the year.


As I am trying to focus on mostly Christmas cards for the month of December, I knew I wanted my card to be a Christmas theme. I did think about using a clock in someway, but when I started thinking about the challenge I remembered the Hourglass Cards I made last year using the Hourglass die set from The Greetery. The Hourglass is a form of telling time which goes back to the 14th century.

I used the Hourglass Frame dies and insert dies along with the two coordinating die sets Christmas Time in the City and Christmas Time in the Country to create the scene at the bottom of the hourglass. 

I found the sentiment in my Christmas stash, which was a free thank you gift from The Greetery, which worked perfectly for this challenge. 

To finish my night time scene, I added Santa in his sleigh to the sky. This stamp is from Lawn Fawn's Winter Skies stamp set.


As you can see, I created a shaker card by die cutting the hourglass insert 5 times to create the well for the shaker elements. I was careful not to put too much inside the shaker part as I didn't want the image covered up at all.


For the inside of my card, I added a sentiment using one of the sentiments included in the Honey Bee Stamps St Nick stamp set. I also added the tiny Santa image, using Mama Elephant's Little Santa Agenda stamp set.

I added the Hourglass stand to the inside of my card this time around for a different look.

Don't forget to check out the CCEE Stampers blog (goes live 12 AM EST) to see the rest of the creations the CCEE Stampers created this week. You can also see more details of their creations on their individual blogs:

Sunday, September 4, 2022

Make No Mis-Steak


Hi Crafty Friends,

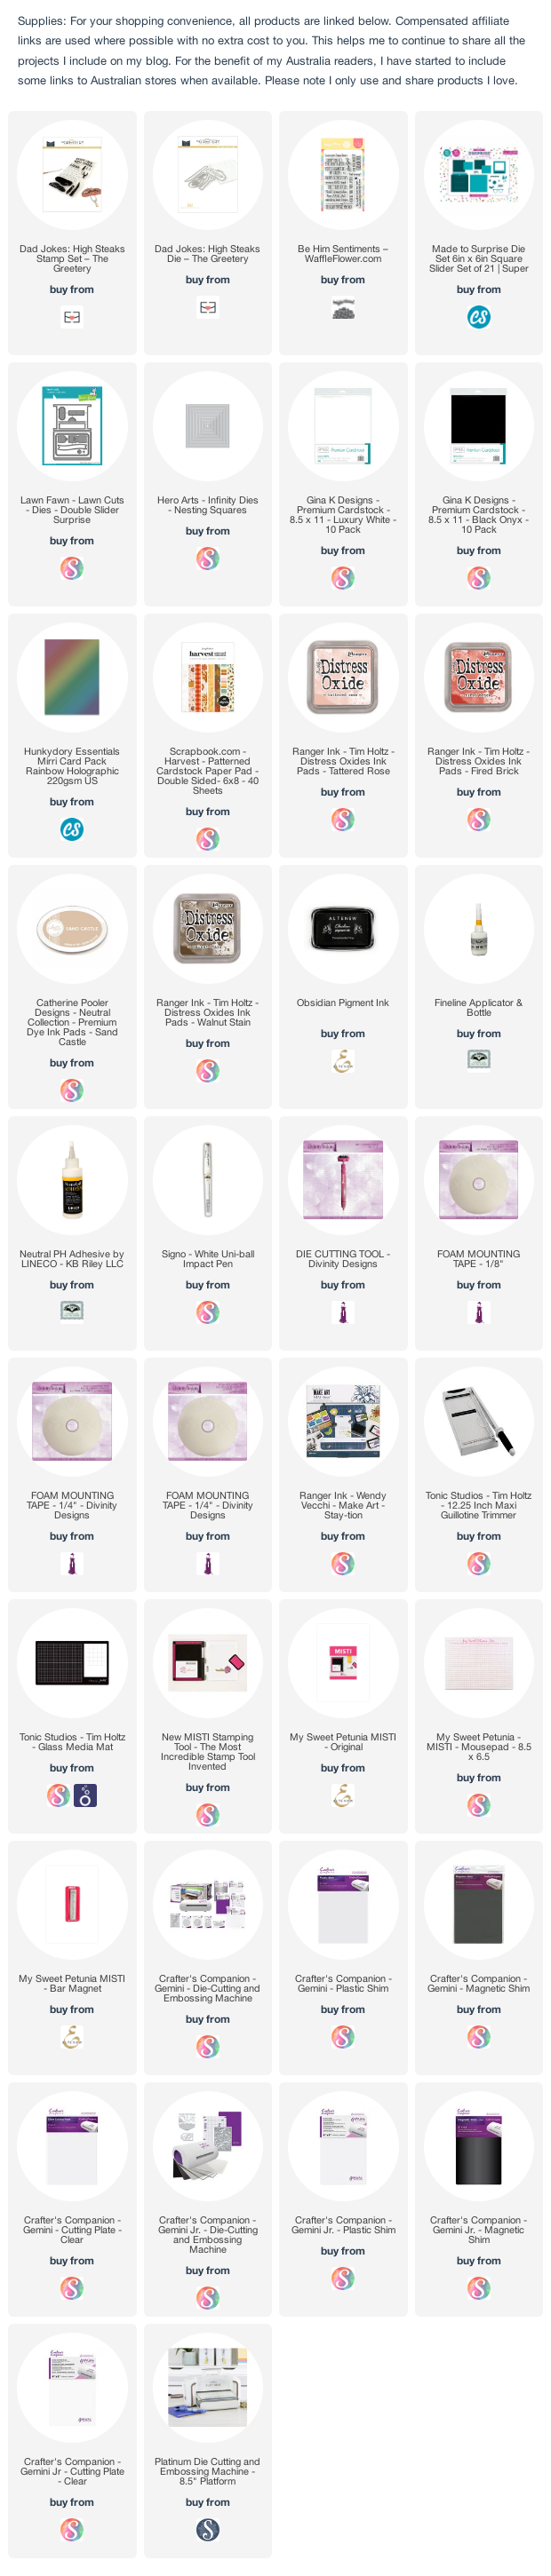
It's Father's Day down here in Australia! A few weeks ago I realised I hadn't made a special card for my husband for Father's Day, so I pulled out a stamp set from The Greetery and a die set from Made to Surprise and got to work. This is what I came up with.


For my card today I created a Sliding Window or Sliding Pop-up Card using the 6 x 6 Square Slider Card die set from Made To Surprise by Sam Calcott's Super Sliders Collection. I do have other Slider die sets, but I like how this set has all the layers other than the base plus some fun accessory dies to create cards. 

The photo above shows my card when it is closed ready to be placed in an envelope.


When you pull the tab at the top of the card, the main square panel moves to the upright position revealing a secret message as it does.

To decorate my card I used The Greetery's Dad Jokes High Steaks stamp set with coordinating dies. For the steak on the front of the card, I inked it using Tattered Rose and Fired Brick Distress Oxide inks to give it a look of rare steak. I used holographic cardstock on the fork and knife.


I added a tab to the top pull out panel using the tab included in the Lawn Fawn Double Surprise Pop-up die set. Adding the tab makes it so much easier to pull the tab up and down so the main square panel stands up.


I kept this card as a flat card rather than adding it to a folded card, this way display it with the main square panel upright.  I added the square panels to the back of the card. This time around I added my steaks well done and added the sentiments from the High Steaks stamp set and the Father's Day sentiment from Waffle Flower Crafts Be Him Sentiments stamp set.


Wednesday, May 4, 2022

Love You Dad


Hi Crafty Friends,

I have a male themed card to share with you today, using products from Pinkfresh Studio and The Greetery.

For the background of the card I used Pinkfresh Studio's Geo Tiles Hot Foil Plate and coordinating stencils. I foiled the background using Spellbinders Aura foil, and then used the stencils to aadd ink to the panel using inks from Catherine Pooler Designs. I layered the panel onto a top folding card which is slightly bigger than an A2 card.

I added the "love you Dad" sentiment which is from The Greetery's Dad Squared stamp and coordinating die sets.

To finish off the front of my card I added metallic pearls around the sentiment.

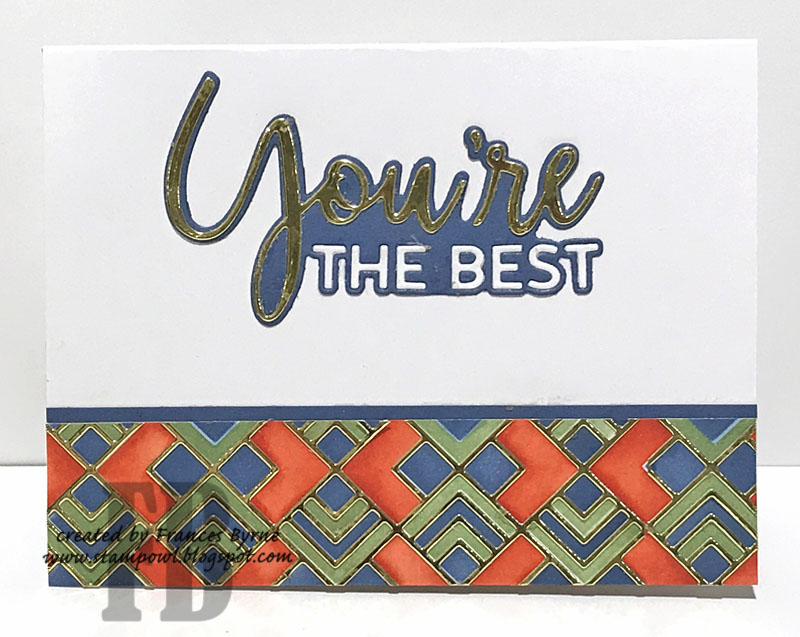
For the inside of the card, I used the stencils again to create a background on a strip of cardstock. I then used the coordinating Geo Tiles die set which I did cut from gold mirror cardstock and layered over the background. I added the piece to then lower portion of the card.

I added the :You're the Best" sentiment using a die from Simon Says Stamp.


Monday, March 21, 2022

Best Ever Dad


Hi Crafty Friends,

Today I am sharing a male themed Mini Slimline card I created recently. 

For the Mini Slimline portion of the card I used dies from Lawn Fawn.

I used papers from a Fancy Pants Designs paper pad, for the background of my card.

For the "Best Ever Dad" sentiment I used The Greetery's Dad Squared Stamp and Coordinating die sets.


For the inside of my card I added a piece of the same patterned paper that I used on the front, along the bottom of the card.

I added the "Happy Father's Day" using stamps from Honey Bee Stamps Best Parents stamp set.


Wednesday, December 22, 2021

Merry And Bright Bauble


Hi Crafty Friends,

I have another Christmas themed Slimline card to share with you all today. 

For the Slimline portion of the card I used Trinity Stamps Slimline Quilted Cover Die to create the background of my card. I die cut the panel from white cardstock and then blended Catherine Pooler Designs Samba ink around the edge of the card and layered this to a side folding slimline card that measure 3 1/2 inches x 8 1/2 inches.

I used the Pine Wish die from The Greetery, to add the greenery to the top left of my card.


For the bauble, I used Woodware's Bubble Bauble and Ribbon stamp set. I stamped the image onto white cardstock, embossing the image in gold. There is a coordinating "Bubble" die available for this stamp set which will die cut the three larger of the "Bubble/circles". I used this die to die cut the circles from red and green glitter cardstock. I then used a styles to round the circles and adhered them randomly to the bauble. For the smaller circles, I colored with Copic markers and then applied Glossy Accents to each of them. I cut out the image and adhered it to the card using foam tape.

I added the "Merry & Bright" sentiment which uses Pinkfresh Studio's Perfect Sentiments Holiday & Solid Glimmer Hot Foil Plates.


For the inside of my card, I added two more of the sentiments using the Perfect Sentiments Holiday Glimmer Hot Foil Plate. 

To decorate the inside,  I added some of the glittered circles that I had leftover from decorating the bauble on the front.


Tuesday, December 21, 2021

Season's Greetings


Hi Crafty Friends,

It's just a few days now until Christmas Day, for my card today I have a fun Christmas themed shaker/shaped card.

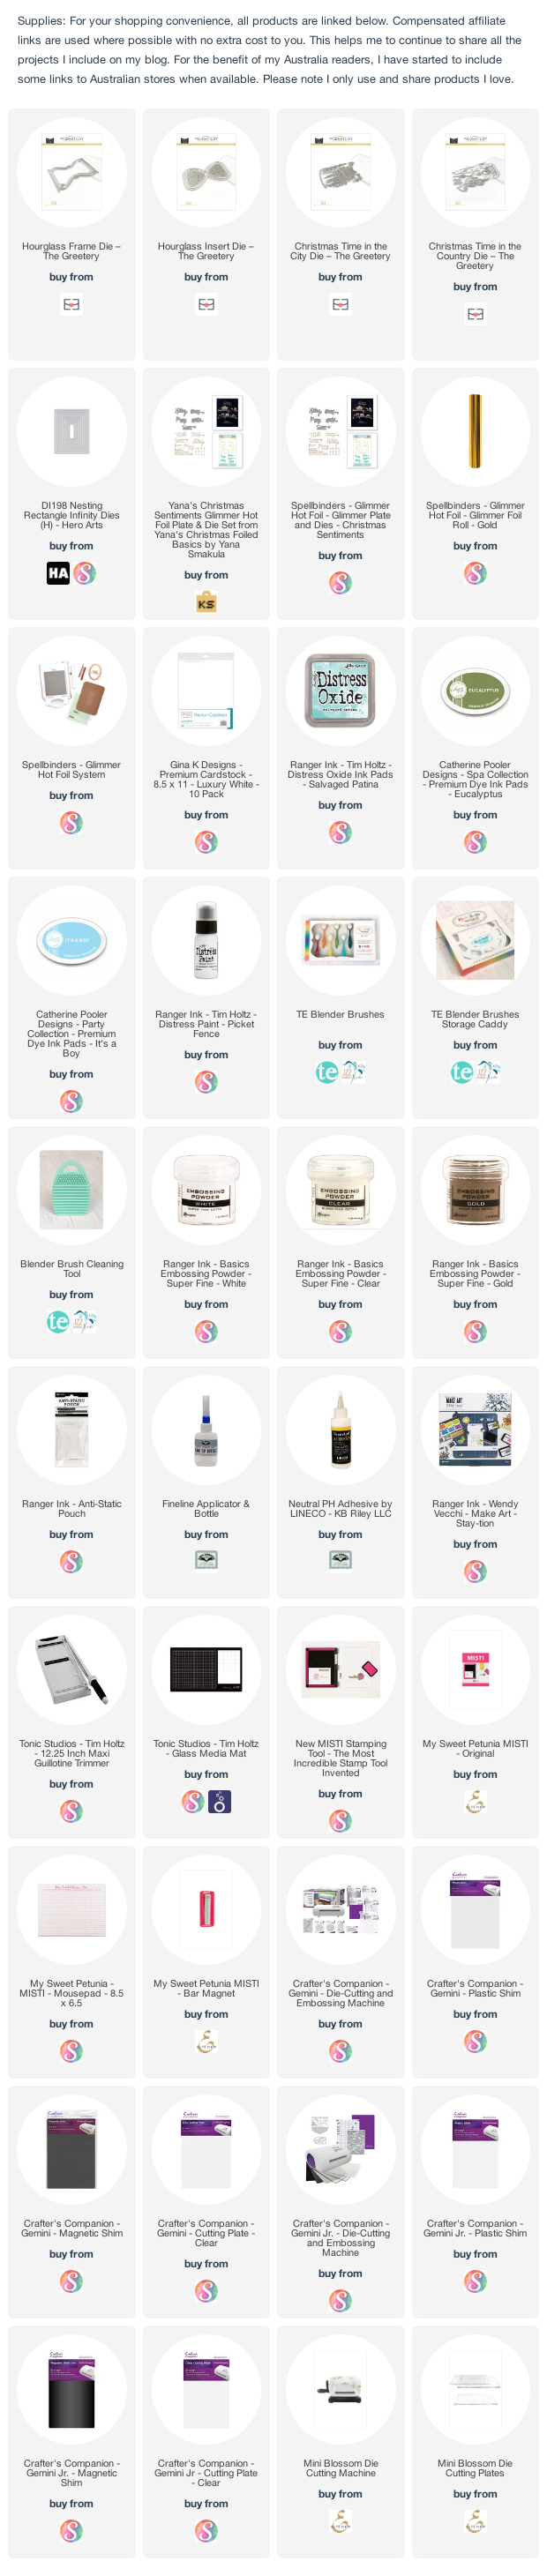
When I first saw the Hourglass collection of dies and stamps a few months ago on The Greetery's website, I knew I just had to ... if is so different and fun.  So I ordered the two die sets that you need to make the hourglass plus a couple of coordinating die sets. This card uses the Hourglass and Hourglass Insert die sets. I have used it once already for a normal A2 sized shaker card, but I wanted to make a shaped card as well. 

Rather than use either of the coordinating dies to decorate my card, I pulled out some stamps from Lawn Fawn which I wanted to use before Christmas ... the stamped images come from the Merry Mice; Christmas Dreams and Dandy Day stamp sets.


For the background I used Salvaged Patina Distress Oxide ink to create my sky. I then splattered the sky with white paint.

The sentiment uses Pinkfresh Studio's Perfect Sentiments - Holidays Hot Foil Plates with coordinating dies. I also used the Solid Hot Foil Plate with the waste gold foil to get the gold outline on my sentiment. 


As you can see, I created a shaker card by die cutting the hourglass insert 5 times to create the well for the shaker elements. I was careful not to put too much inside the shaker part as I didn't want the image covered up at all.


On the inside of my card, I added another gold foiled sentiment from Pinkfresh Studio and a couple more images from Lawn Fawn.


Monday, December 6, 2021

Christmas in the City


Hi Crafty Friends,

I have a fun Christmas themed Shaker Card to share with you today.

My card uses the Hourglass range of dies from The Greeting which I purchased recently. I die cut the hourglass frame from white cardstock and adhered it to an A2 card panel (4 1/4 inches x 5 1/2 inches). I then used the smaller of the two hourglass insert dies to die cut the hourglass shape from the centre of the panel. 

I used the dies from the Christmas Time in the City die set to decorate the front of a top folding A2 card, so that the design will be seen through the opening. 

The sentiment at the top of the hourglass is gold foiled using one of the sentiments from Spellbinders Yana's Holiday Sentiments Glimmer Hot Foil Plate/Die set. 

To finish off the front of the card, I added snowflakes in pink and white around the outside of the hourglass.


Here is a view of my card, so you can see the shaker elements inside the shaker card.


For the inside of my cards, I die cut three of the trees included in the Christmas in the City die set. I die cut them from white cardstock and then colored them green using a blender brush and ink pad.

I added a Christmas sentiment using an older MFT stamp set which I stamped using Catherine Pooler It's A Boy ink pad.

Finally I added the pink trim above the sentiment.


Sunday, October 17, 2021

Pand-tastic


Hi Crafty Friends,

I have a Mini Slimline Pop-up card to share with you today.


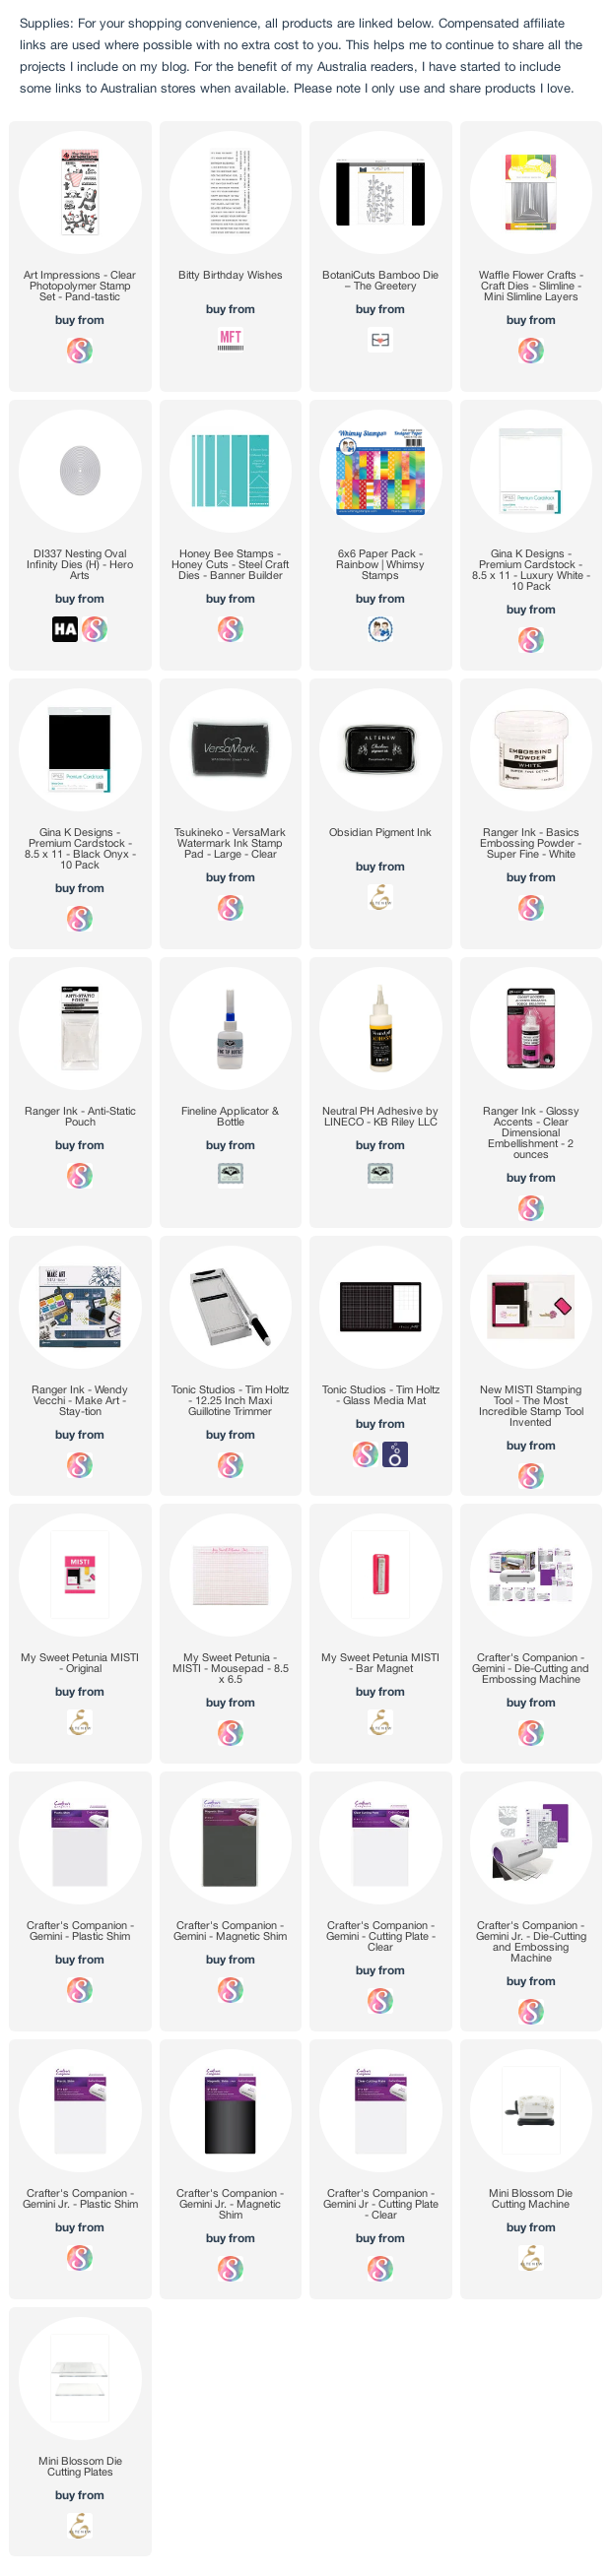
To create my card I used the Botanicuts Bamboo die from The Greetery. I added four of the bamboos to the front panel of my card. 

For the Mimi Slimline panels I used Waffle Flower Crafts Mini Slimline Layers die set.

I used one of the pandas from Art Impressions Pand-tastic stamp set.


For the inside of my card I created a pop-up card using the pop-up die from the  Karen Burniston's Street Lantern Pop-up die set. 

I created a panel similar to the one on the front of the card to use on the back panel of the inside of my card.


For the base panel, I added a rainbow paper. I also added a sentiment which is layered onto oval dies.


Sunday, August 23, 2020

Let's Party


Hi Crafty Friends,

Today I am sharing a birthday card I created recently.

This card using The Greetery's Pinwheel Party Stencil with coordinating dies. In real life the pinks are a lot brighter than what is showing on the photo above.

I used the 4 coordinating stencils to create two pinwheel borders on white cardstock using Catherine Pooler ink in Be Mine and Garden Party. I then used the coordinating border die to die cut the stencilled border.

I adhered each of the panels onto a white rectangle panel and layered onto a bright pink top folded card.

I added the "Let's Party" sentiment which is also included in the die set to the centre of the card.

To finish off the front of the card I added clear gems to each of the flower centres.


I created a third stencilled border along the bottom of white rectangle panel and added this to the inside of the card.

To finish my card, I added the birthday sentiment to the centre.

Supplies:
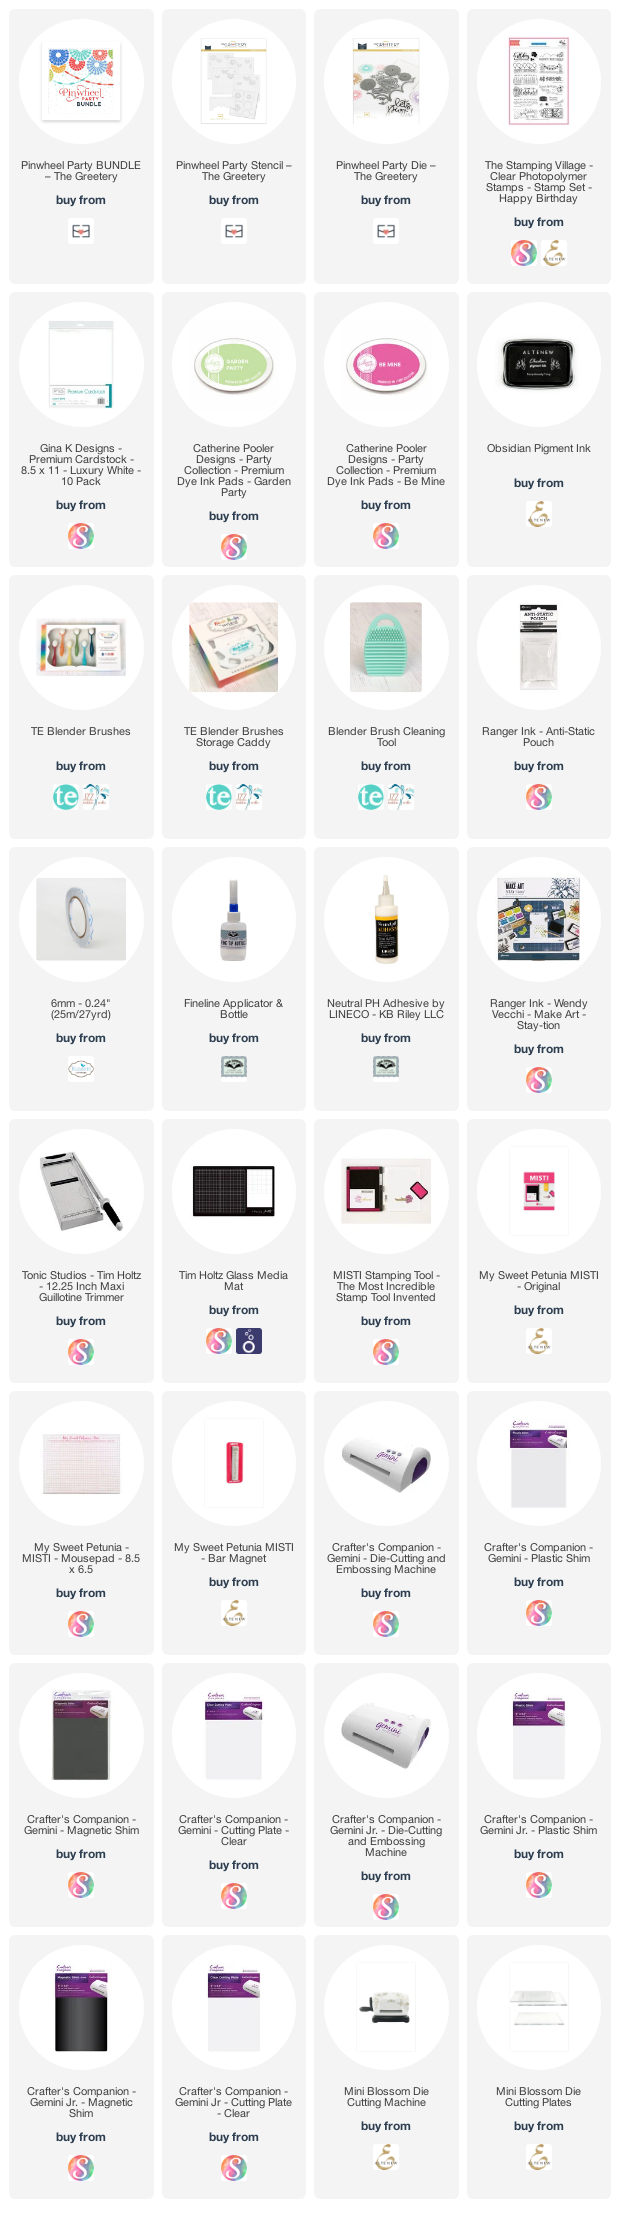
For your shopping convenience, all products are linked below. Compensated affiliate links are used where possible with no extra cost to you. This helps me to continue to share all the projects I include on my blog. For the benefit of my Australia readers, I have started to include some links to Australian stores when available. Please note I only use and share products I love.