Showing posts with label Kindred Stamps. Show all posts

Monday, November 1, 2021

This Card is Bigger On The Inside


Hi Crafty Friends,

Today I am sharing a birthday themed Slimline card I created for my daughter, who celebrated her birthday recently. My daughter loves Doctor Who, and I have made her cards with that in the past but not for some time. 

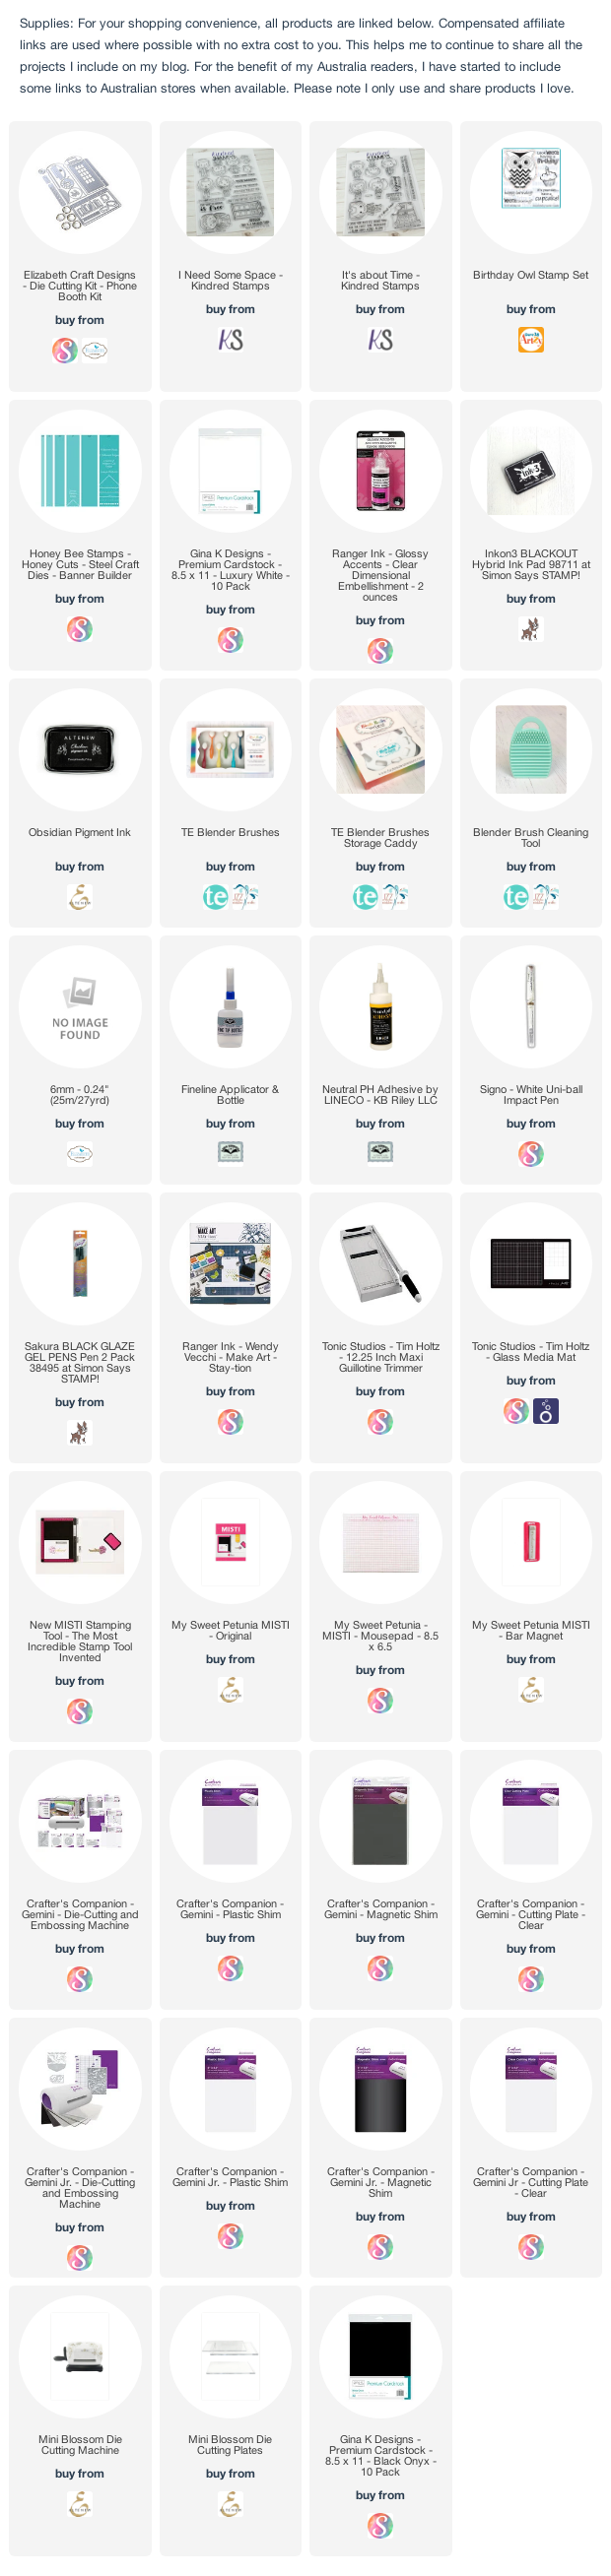
I have also been wanting to make a Tardis using Elizabeth Craft Designs Phone Booth Kit that was released last year ... so that was my inspiration for my card. To turn the phone booth into a Tardis, first I had to make alterations to the door, which I did by adhering a solid blue panel over the phone booth door and then adding smaller rectangles to this solid panel. I used a white paint marker to draw in the windows to the top two panels and then computer generated both the signs.

I used stamp sets from Kindred Stamps to decorate my card. On the front I added the 13th Doctor plus one of the sentiments from the older stamp set.

The door of the Tardis opens to reveal two sentiments and two images ... my daughter's favorite doctor is the tenth ... so that is what I added here.


The "Look Whoo's having a birthday" is from a Dare 2B Artzy Owl stamp set, the rest are all from Kindred Stamps ... I used three of their stamp sets in total. 


On the front of the card I added the sentiment "This Card is Bigger on the Inside". So to make it bigger, I added panels to both sides of the inside of the card and added more of the stamps and sentiments to each panel.

Here is a close up of the bottom panel on the inside of my card. The white panel was die cut using another of the dies included in the Elizabeth Craft Designs Phone Booth kit.


And one last look at the inside of my card, this time a close up of the top panel.

I have been wanting to use both the stamps and phone booth dies to make this for ages, so I was very happy to finally get it made.

Other Supplies:
Time Traveller Stamp Set - Kindred Stamps (retired)


Monday, January 11, 2021

Creepy, Kooky, Mysterious & Spooky


Hi Crafty Friends,

Today I am sharing a Slimline Pop up card I created recently.


A while back I purchased Kindred Stamps Extended Spooky Family stamps set which is an add on stamp set to their Spooky Family stamp set which I already had. I finally got around to using both sets together to create a card.

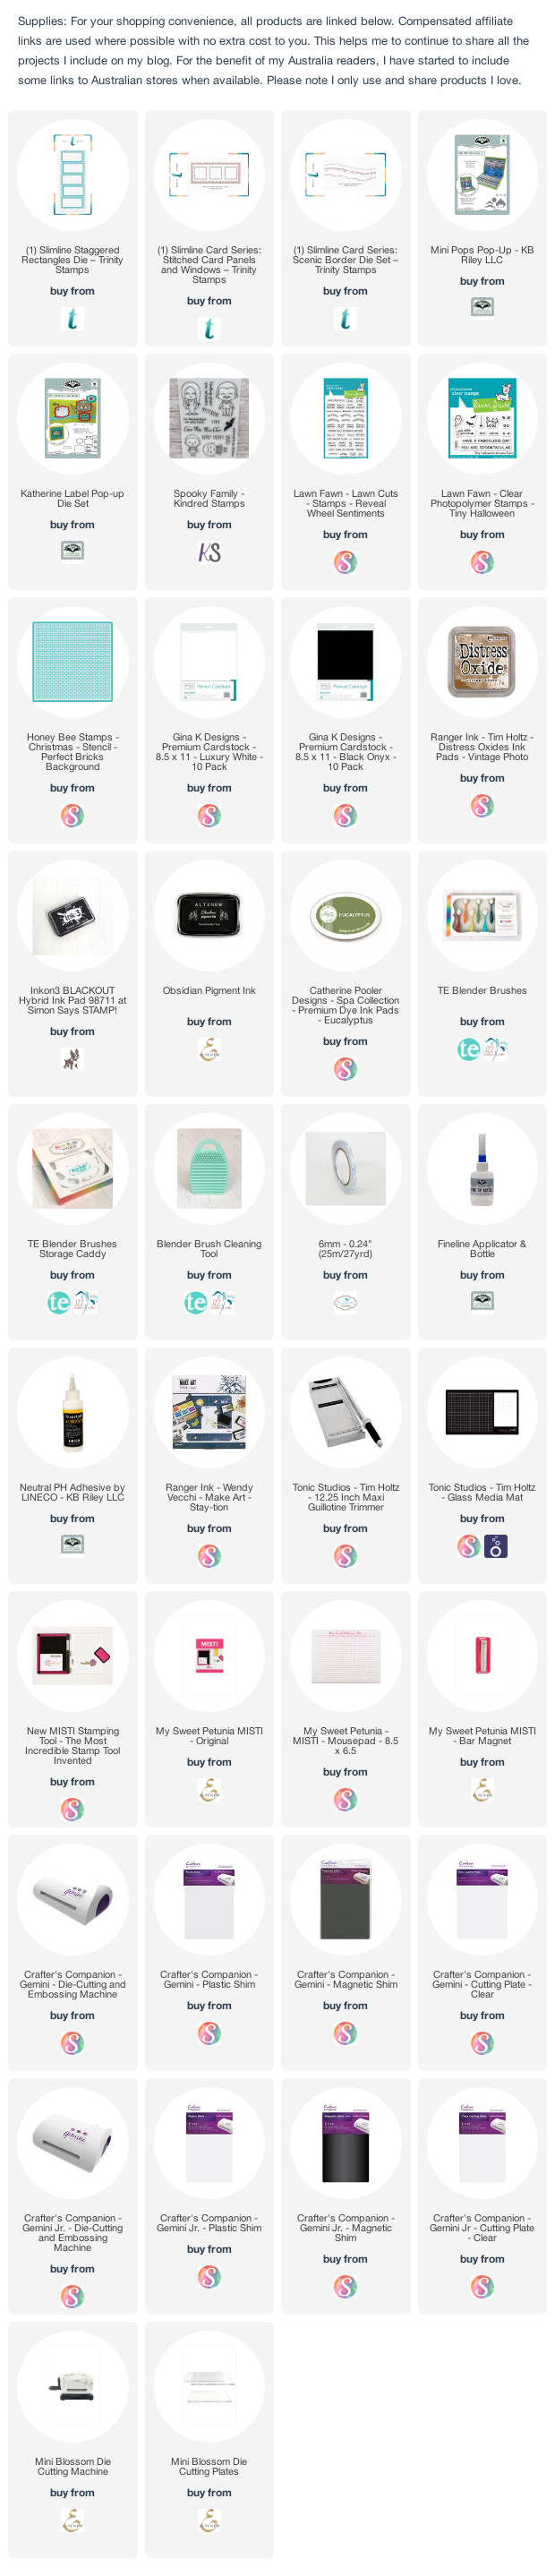
I used Trinity Stamps Slimline Stitched Card Panels & Windows die set along with Slimline Staggered Rectangles die set to create the background of my card. I used Honey Bee Stamps Perfect Bricks Stencil and Vintage Photo Distress Oxide ink to create the bricks behind the windows.

Along the bottom edge of my card I added some grass using a border from Trinity Stamps Slimline Scenic Borders die set.

To finish off the front of the card I added the Creepy, Kooky, Mysterious & Spooky words which are included in the Spooky Family stamp set.


For the inside of the card I created a pop-up card using Karen Burniston's Mini Pops Pop-up die set. 

I repeated the background I used on the front of the card to the upper portion of the card.


On the base of the card I added a green panel, plus the grass border which was created using the Slimline Scenic Borders die set.

I added the sentiment which is a combination of stamps from Lawn Fawn's Tiny Halloween and Reveal Wheel Sentiments stamp sets. This was layered using the labels from Karen Burniston's Katherine Label Pop-up die set.

Other:

Extended Spooky Family Stamp Set - Kindred Stamps

Holiday Cruiser Stamp Set - Our Craft Lounge (discontinued)


Thursday, July 30, 2020

Be A Seeker of Everyday Magic


Hi Crafty Friends,

It's challenge time with my friends over on the CCEE Stampers challenge blog.  Lois Bak our challenge hostess for the month finishes off the month with one last challenge.

Lois is a big Harry Potter fan! Apparently tomorrow (31st July) is his birthday. Create a card to celebrate this event – something magical or just a birthday card. 

I'm a big Harry Potter fan too, as is my daughter and grandchildren so last year when I discovered some of the Harry Potter themed dies from Character World, I had to get a few to add to my collection. Since then I have been wanting to play with the dies to create a card but hadn't gotten around to it. 


Of course with this challenge today it was the perfect chance to pull them and and do something with them. All month I have been challenging myself with the extra challenge of incorporating Slimline Cards into each of the challenges. Slimline cards have limited space being either 3 1/2 inches x 8 1/2 inches or 4 inches x 9 inches .... so how do I get to include more than one on my card .... a Trifold Slimline Card of course.

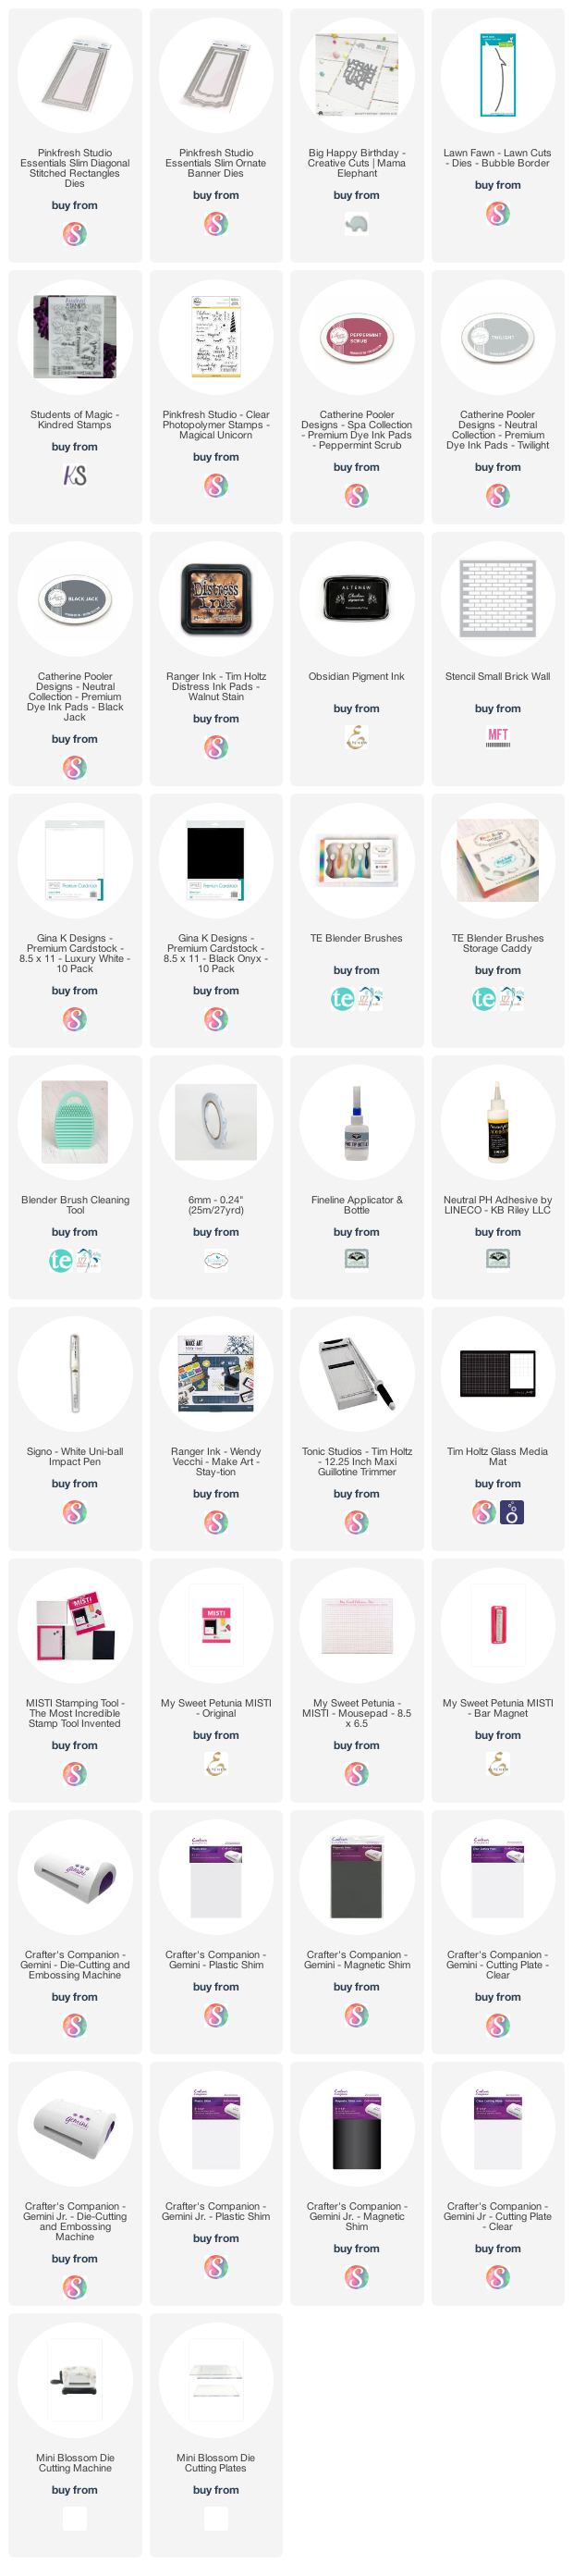
Harry needs a little bit extra room than the other two characters, so I opted to use my Pinkfresh Studio Slim Diagonal Stitched Rectangle die for the panels which mean I could create a Slimline which was 4 inches x 9 inches.

To create my Slimline Trifold card, I cut two pieces of cardstock that was 4 inches x 9 inches, folded each in half and then adhere the inside of onto the other. If you had a 12 inch cardstock you could also just trim the cardstock to 9 inches and score along the 12 inch side at 4 inches. But doing it my way does make the card more stable.

I used the Slimline die to die cut 5 panels of maroon cardstock and then used MFT Stamps Brick Stencil to add a brick pattern all over 4 of the panels. 
I also used the Slim die to die cut 4 pieces of grey cardstock, as I only needed a small piece for the bottom I just die cut a small piece of cardstock so I didn't waste too much cardstock. This is the concrete.

I computer generated the 9 3/4 so it looks like Harry is standing on the platform at the train station.

I added a sentiment to the top of the card which is from a Kindred Stamps stamp set.


When you open the card, it reveals Hermoine and Ron (they are also at the station). I added a couple of sentiments to a speech bubble for them as well.


Finally by opening the right hand side of the card up, it reveals the three panels on the inside of the card.

For the centre panel I used Pinkfresh Studio's Slim Ornate Banners die set for the birthday sentiment.

On the right hand panel I used Mama Elephant's Big Happy Birthday die for the sentiment I also stamps the sorting hat and added it on top of the sentiment. 


Don't forget to check out the CCEE Stampers blog (goes live 12 AM EST) to see the rest of the creations the CCEE Stampers created this week. You can also see more details of their creations on their individual blogs:


Supplies:
For your shopping convenience, all products are linked below. Compensated affiliate links are used where possible with no extra cost to you. This helps me to continue to share all the projects I include on my blog. For the benefit of my Australia readers, I have started to include some links to Australian stores when available. Please note I only use and share products I love.

Harry Potter Die - Character World
Hermoine Granger Die - Character World
Ron Weasley Die - Character World 
Wizard Friends Stamp set - Kindred Stamps


Monday, October 28, 2019

Creepy and Kooky, Mysterious and Spooky


Hi Crafty Friends,

Today I have a Creepy & Kooky, Mysterious & Spooky card to share with you all today. 

I have had the Spooky Family stamp set from Kindred Stamps sitting on my desk for a while. My husband loves the tv show that the characters in this stamp set represent, that I had to add it to my stash. It has taken me a while, but I have finally pulled it out and created a card using it.

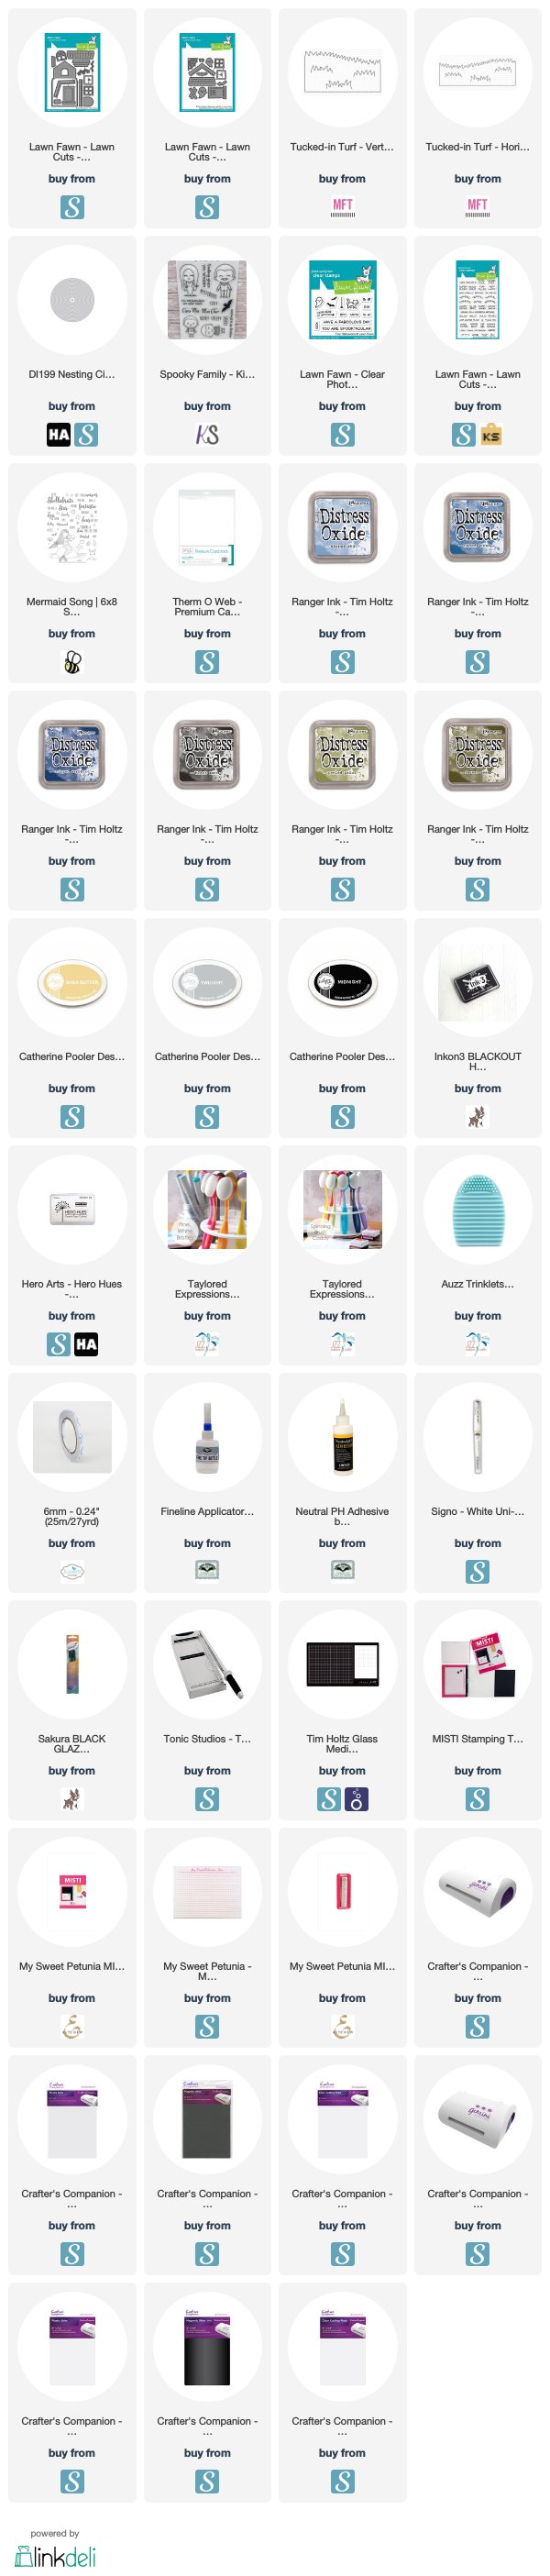
A month or two ago I also purchased Lawn Fawn's Build A House Stamp die set. Besides the main die set I also purchased the two add-on die sets .... Christmas add-on and Halloween add-on. I have already used the Christmas add-on, and with Halloween only a few days away I wanted to play with the Halloween version.

While my card could be a Halloween card, I opted to turn it into a birthday card.


For my card today, I created a U Fold or Bridge Card. To create the U Fold card I started with a piece of white cardstock that measures 8 inches x 5 inches. I then scored along the 8 inch side at 1 1/4 inches and 2 1/2 inches on each side. 

I then used Distress Oxide inks in Stormy Sky, Faded Jeans, Chipped Sapphire and Black Soot to create my sky background.

For the grass areas, I used MFT Stamps Tucked-in Turf - Horizontal Die-namics. This die was actually a tiny bit small for the width of the card, so I did some partial die cutting to make the right hand side a fraction longer and then trimmed off the excess when I adhered it to the front of the card. The grass has been colored using Distress Oxide inks in Peeled Paint, Forest Moss & Black Soot.


I used a circle die to cut out a circle  from white cardstock which I adhered to the back of the card.

I added the house to the centre of the back panel.

I added the characters, from the Spooky Family stamp set, to the grass area on the front portion of the card.

I added a number of bats randomly over the card which are also from the Halloween Add-on die set.

The "Creepy", "Kooky", "Mysterious" and "Spooky" sentiments are also from the stamp set. I adhered them to the card in the order they appear in the lyrics of the song from the show. I also added the "&" symbol before both sets of sentiments, which is from Honey Bee Stamps Mermaid Song stamp set.


For the back panel I used MFT Stamps Tucked-in Turf - Vertical Die-namics. I added two of the characters to the grass area.

For the sentiments I used "Have A" & "Spooktacular" from Lawn Fawn's Tiny Halloween Stamp set and the "Birthday" from Lawn Fawn's Reveal Wheel Sentiments stamp set.

I then added a couple of bats which are also from the Tiny Halloween stamp set.

Supplies:
For your shopping convenience, all products are linked below. Compensated affiliate links are used where possible with no extra cost to you. This helps me to continue to share all the projects I include on my blog. For the benefit of my Australia readers, I have started to include some links to Australian stores when available. Please note I only use and share products I love.


Saturday, March 23, 2019

Wizard Magic Picture Changer


Hi Crafty Friends,

t’s challenge time with the “Crazies” over on the Crazy 4 Challenges blog. As challenge hostess for March, I continue to issue the challenges.

According to the Days of the Year Calendar the 20th March was Hufflepuff Pride Day, 21st – Slytherin Pride Day, 22nd – Gryffindor Pride Day and 23rd – Ravenclaw Pride Day. These are the four Houses of Hogwarts School of Witchcraft and Wizardy from Harry Potter. This is a challenge for all the Harry Potter fans out there, create a card inspired by Harry Potter. This could include using stamps of the characters, using colors from any one of the four houses on your card. Or anything else that inspires you.


Recently Lawn Fawn released their Magic Picture Changer die set. Being a lover of anything Interactive, I had to add this to my stash. I figured it would be perfect for this week's challenge seeing it was "magic" related.

Here is a quick video to see my card in action.


I pulled out all my "Harry Potter" themed stamps to create my card. In the Magic Picture Changer itself, I used two of the characters from Witt and Sass's Magical Creatures Clear Stamp set, I was fortunate to be able to grab this just before they went out of business.

When the pull tab on the right hand side of my card is closed, it shows the Gryffindor Lion.


When you pull the tab, the lion disappears and reveals the Slytherin Snake .... how magic is that!!!!

It is hard to tell by the photos, but the 9 3/4 paper in the background is two layers ... the one on the base of the card and then also the one which covers the Magic Picture Changer. I made sure when I was cutting this paper that the "9 3/4" matched up.

I added some ground to the bottom of the card using Lawn Fawn's Stitched Hillside Border and added some of the wizards from Kindred Stamps Students of Magic Clear Stamp set.

The sentiment is from Card Craft Stamps Wizard Words stamp set.


For the inside of the card I added the sentiment and broomstick from Kindred Stamps Wizard Friends, which is also no longer available. The snitch and Sorting Hat is from the Students of Magic stamp set.

Don't forget to check out the rest of the “Crazies” cards over on the Crazy 4 Challenges blog and also their individual blogs for more details.


Supplies:
For your shopping convenience, all products are linked below. Compensated affiliate links are used where possible with no extra cost to you. This helps me to continue to share all the projects I include on my blog. Please note I only use and share products I love.

Wizard Friends Clear Stamp Set - Kindred Stamps (discontinued)
Magical Creatures - Witt & Sass (discontinued)


Sunday, March 10, 2019

You're Super in Every Way


Hi Crafty Friends,

According to the Days of the Year Website, today (10th March) is Mario Day. As you can see I decided I had to create a card to celebrate!


Here is a quick video to see my card in action.


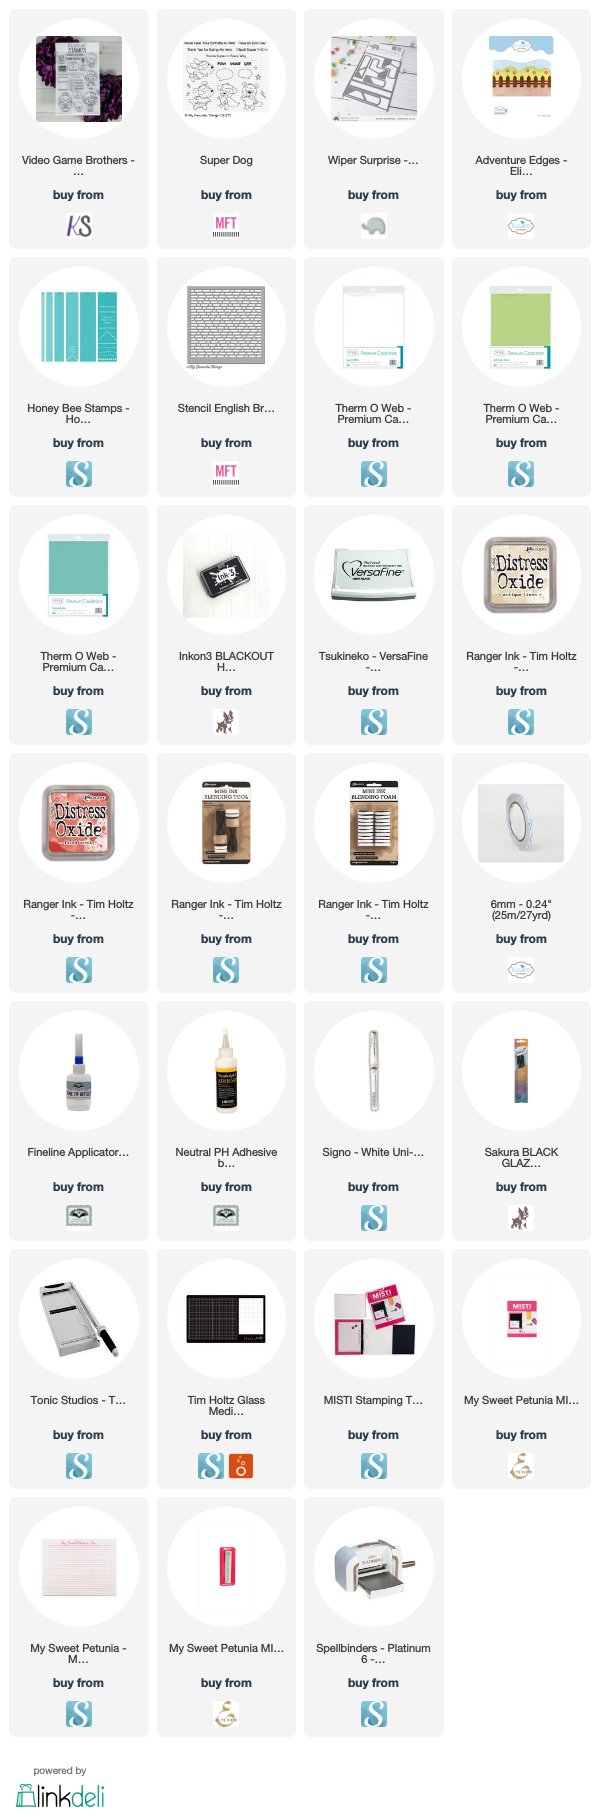
As you can see I have created a Wiper Card using Mama Elephant Stamps Wiper Surprise die set. 

For the front section of the card I used MFT Stamps English Brick Stencil to create the brick panel and behind that I used one of the dies from Elizabeth Craft Designs Adventure Edges 2 die set.

To decorate my card I used Kindred Stamps Video Game Brothers.


When you pull the sides of the card, it reveals another character from the video game. 

The sentiment is from MFT Stamps Super Dog Clear Stamp set, which I die cut using Honey Bee Stamps Banner Builder die set.


I added a sentiment panel on the back of the card using stamps from the Video Game Brothers Clear Stamp set. The sentiment is from an older MFT Stamp set.

Supplies:
For your shopping convenience, all products are linked below. Compensated affiliate links are used where possible with no extra cost to you. This helps me to continue to share all the projects I include on my blog. Please note I only use and share products I love.

Level Up Clear Stamp Set - MFT Stamps (retired)


Sunday, January 20, 2019

A Spoonful of Sugar


Hi Crafty Friends,

Today I have a pop-up card to share with you today. Recently I purchased this fun stamp set from Kindred Stamps called Perfect Nanny which was inspired by the movie Mary Poppins. 


To create my card I used Sunny Studio Stamps Fall Flicks Filmstrip die set ... being that Mary Poppins was a movie, I thought this was the perfect way to include these stamps.


For the inside of my card I created a pop up card using Karen Burniston's Katherine Label Pop-up card die set. I added a sentiment and a couple of images from the stamp set.


Here is another photo of the inside of my card so you can see the pop-up portion of the card a little easier.


Supplies:
For your shopping convenience, all products are linked below. Compensated affiliate links are used where possible with no extra cost to you. This helps me to continue to share all the projects I include on my blog. Please note I only use and share products I love.


Tuesday, January 1, 2019

January 2019 Karen Burniston Designer Challenge


Happy New Year Crafty Friends!!!

Welcome to our January Karen Burniston Designer Challenge.

Check out Karen Burniston's blog on Wednesday (US Time) when you will be able to see what all the designers created for the challenge this month, plus Karen will have an amazing video tutorial to share with us all.

Our challenge theme this month is ....  "NEW" - try something new to you. Is it a technique? A color scheme? A style (cute? grungy?) Here's your chance to usher in the new year with something new.


For today's challenge I decided to go with a new technique inspired by a technique Karen Burniston shared for our November Designer Challenge the Twist Circle Forest technique which you can see on Karen's blog here

As soon as I saw Karen's video I knew I would need to make a card using this technique, but at the time I was busy making Christmas card, so today's challenge was the perfect opportunity. I knew I wanted to have trees on the background paper, but the one I wanted to use I think I had already used up, so after a quick search online I found some digital paper which I printed out and I think works well for this challenge. 

I used the Snowman Twist Circle Pop-up and the Evergreen Pivot Panels to create my card. Along the bottom edge of the card I also used the border from the Nature Edges die set to create the grass area.


Here is a quick video so you can see my card in action.


I had been waiting until after Christmas to make my card as I wanted to use one of the stamp sets I received for Christmas. While I was making the card the forest reminded me of the Harry Potter scene where he and his friends go into the forest and as I got the Students of Magic stamp set from Kindred Stamps I knew I need to use this set on my card.

Can you see the elf peeking out from behind the tree.

The sentiment used on this card is from another Kindred Stamps stamp set Wizard Friends, which I think is now retired.


For the front of the card I copied some of the elements I used on the inside of my card. I also added a birthday sentiment which is from the Word Set 2 - Birthday die set.


Don't forget to visit Karen Burniston's blog on Wednesday when you will be able to see what all the designers created for the challenge this month.

Supplies:
For your shopping convenience, all products are linked below. Compensated affiliate links are used where possible with no extra cost to you. This helps me to continue to share all the projects I include on my blog. Please note I only use and share products I love.

Wizard Friends Clear Stamp Set - Kindred Stamps (retired)


Wednesday, November 7, 2018

Bouncing By To Say


Hi Crafty Friends,

I have another Reveal Wheel card to share with you today using Lawn Fawn's Square Reveal Wheel die set.
To decorate my card I used a new stamp set from Kindred Stamps called Childhood Friends.


Here is a quick video to see my card in action.


Here is a look at each of the 4 different sentiments which are revealed when you turn the wheel at the side of the card.


For the inside of the card I used the owl from the stamp set I used on the front of the card and also a sentiment.

Supplies:
For your shopping convenience, all products are linked below. Compensated affiliate links are used where possible with no extra cost to you. This helps me to continue to share all the projects I include on my blog. Please note I only use and share products I love.