Saturday, November 17, 2018

So Glad You're In My Circle


Hi Crafty Friends,

It’s challenge time with the “Crazies” over on the Crazy 4 Challenges blog. Joanne Grzelak our challenge hostess for the month continues to issue the challenges.

Being the third Saturday of the month it is time for a sketch challenge.


For my card today I decided to pull out my new Gina K Designs Mandala Maker Clear Stamp set. Once I had stamped all the images to make up my design I colored the image using Copic Markers and then used a circle die to die cut it into a circle to suit the sketch.

I added Nuvo Drops to the centre circle and then added jewels to all the outer circles to add a little more bling to the card.

I added the Simon Says Stamp "Friend" sentiment to the bottom of the card.

I added twine in around the lower portion of the mandala to represent the brown border shown on the sketch.

To finish off the card I added a few random jewels around the card.


I have created a pop-up card for the inside, using the pop up die from Karen Burniston's Explosion Pop-up die set. Instead of die cutting directly into the base card I decided to cut a smaller cardstock panel  and add my pop-up to this and adhere this to the centre of the card. I then adhere Turquoise/Silver Glitter Border Peel Off Stickers around the edge of this panel.

I die cut two circles from the Crosshatch Circles die set and added the sentiment also from the Mandala Maker stamp set to the centre. I trimmed off the bottom edge so I could add it to the pop up step of the card.


Along the top and bottom edges of the card I added a decorative border which I stamped again using stamps from the Mandala Maker Stamp set.

Don't forget to check out the rest of the “Crazies” cards over on the Crazy 4 Challenges blog and also their individual blogs for more details.


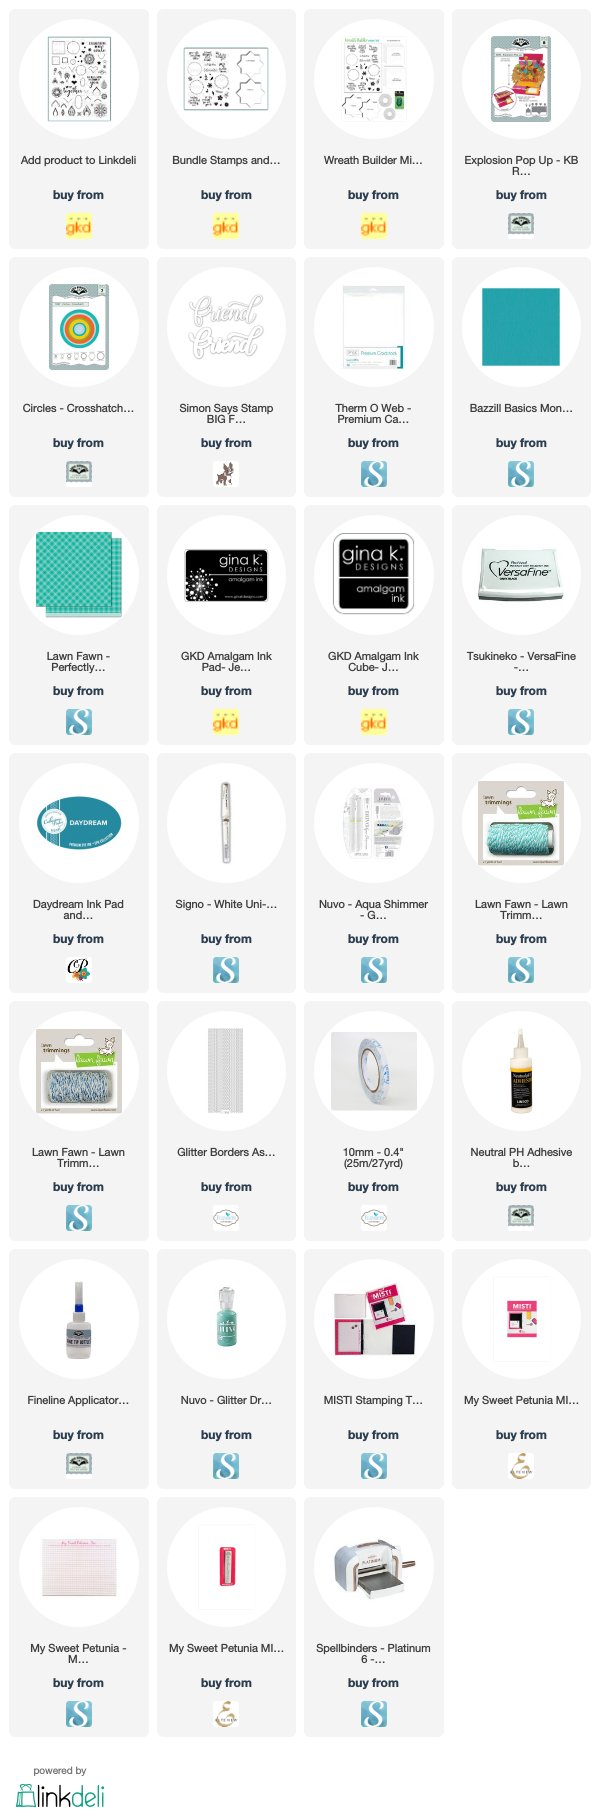
Supplies:
For your shopping convenience, all products are linked below. Compensated affiliate links are used where possible with no extra cost to you. This helps me to continue to share all the projects I include on my blog. Please note I only use and share products I love.


Friday, November 16, 2018

Believe In Santa Claus


Hi Crafty Friends,

Today I am sharing another Christmas card I created. This time around I created a Double Z Fold Card, it has been a while since I have made one of these where the double portion of the card is along the bottom.

I cut two pieces of white cardstock, one is 11 inches  x 5 inches and the other 11 inches x 2 inches. Score both pieces at 2 3/4 inches and 5 1/2 inches. The smaller panel is places so the 5 1/2 inch side is on the left and the larger panel the 2 3/4 inch panel on the left. 

To create the background I have used the Snowfall Backdrop die from Ellen Hutson which I die cut from white cardstock and then added color using Distress Oxide inks. 

I used the Mama Elephant Santa's Sleigh Clear Stamp set for the cute  Santa, reindeers etc. Before adding Santa in his sleigh to the card I added a white circle to represent the moon.


I used Lawn Fawn's Stitched Hillside Borders die set to create the snowy border along the bottom edge of the card.

I added a Christmas tree using Karen Burniston's Christmas Tree Pop Stand Card die set, adding Red/Gold Glitter Dots Peel Off Stickers over the tree.


Along the bottom left side of the card I added the A Way With Words - Believe sentiment from Elizabeth Craft Designs. I also added the "Santa Claus" sentiment which is also from the Santa's Sleigh stamp set.

In the centre panel I added the "Ho Ho Ho" sentiment from A Way With Words - Flourished Christmas Minis die set.


Here is a look at my card when it is closed ready to be placed in an envelope.


Supplies:
For your shopping convenience, all products are linked below. Compensated affiliate links are used where possible with no extra cost to you. This helps me to continue to share all the projects I include on my blog. Please note I only use and share products I love.


Thursday, November 15, 2018

Sending Lots of Love


Hi Crafty Friends,

It's challenge time with my friends over on the CCEE Stampers challenge blog. Anne Harmon our challenge hostess for the month continues to issue the challenges.

Our challenge this week is ...... 
The November birthstone is a Topaz. Create a card using the colors in the yellow to amber range.


My card is probably a little more orange than yellow to amber, however it definitely has those colors in it. When I was thinking about this challenge ... I only read the part about Topaz and color. When I googled Topaz colors to be sure. google told me that the most valuable colors of Topaz are the golden yellow-orange type. So this is what I based my card on today.


To create my card I started by applying alcohol ink onto Yupo paper in yellow/orange colors. I then used the flowers from the Altenew Starry Flowers stamp set and Alcohol Lift Ink to stamp the flowers all over the background. I just love how the background turned out.

For my card, I pulled out one of my older die set designed by Karen Burniston when she was licensed to Elizabeth Craft Designs .... the Oval Pull Card die set. Unfortunately this die set has been discontinued.


To decorate my card I used Altenew's Starry Flowers stamp set, die cutting the flowers and using one of the front and one hidden on the inside.

For the sentiment on the inside I used the "Happy Birthday" sentiment from a Catherine Pooler stamp set. I used the sentiment from Altenew's Sewn with Love stamp set for the front panel.

I used Ebony Black Nuvo Drops to add a dot on the closure part of the card.

Don't forget to check out the CCEE Stampers blog (goes live 12 AM EST) to see the rest of the creations the CCEE Stampers created this week. You can also see more details of their creations on their individual blogs:

For your shopping convenience, all products are linked below. Compensated affiliate links are used where possible with no extra cost to you. This helps me to continue to share all the projects I include on my blog. Please note I only use and share products I love.


Wednesday, November 14, 2018

That's A Wrap


Hi Crafty Friends,

Welcome to our November Paper Pros challenge. This month our challenge is hosted by Raquel Mason  who has given us the theme  "Christmas/Holiday Cards". 


I had just recently received some stamp sets I ordered from Ellen Hutson, one of which was a Christmas themed set, so I pulled them out to play today. I used the lady from the Bookworm stamp set and combined that with the accessory images from the Holiday Shopper stamp set.

As you can see I have created a pop up card. I used the pop-up dies from Karen Burniston's Explosion Pop-up and also Tree Pop-up die sets . The lady is sitting against the largest pop-up, and then I have the basket and the presents on either side being attached to the smaller pop-up. 


To create my background I first started by adhering a piece of dotted patterned paper (for the wall) and some wood pattern paper (for the floor) and used this to die cut the pop up panels into. 

To the back panel I added a window, through which you see a snowy scene. I also added a large Christmas Tree from Lawn Fawn to the right hand side using the circle die from the Coffee Charms die set to die cut the glittered baubles.

To the floor I added a rug by die cutting one of the Crosshatch ovals and then stamping/embossing one of the sentiments to the centre.


As you can see, I decided to give the lady an "ugly" sweater, but stamping the reindeer/dog from the Mama Elephant's Santa's Sleigh Clear stamp set. I also added a hat.


For the front of my card, I decided to enlarge on the outdoor scene which you can see slightly through the window on the inside of the card.

I used Ellen Hutson's Snowfall Backdrop die to create the snowy background, coloring the white cardstock die cut with various blue Distress Oxide inks.

Along the lower portion of the card I added snow banks and trees using a die from the Outdoor Scenes die set.

To the top portion of the card I added the Merry Christmas sentiment, die cut from red cardstock.

To finish off the card I stamped Santa & his reindeers in the sky using a Lawn Fawn stamp.

You can see what the other "Paper Pros" created for this challenge on their blogs:


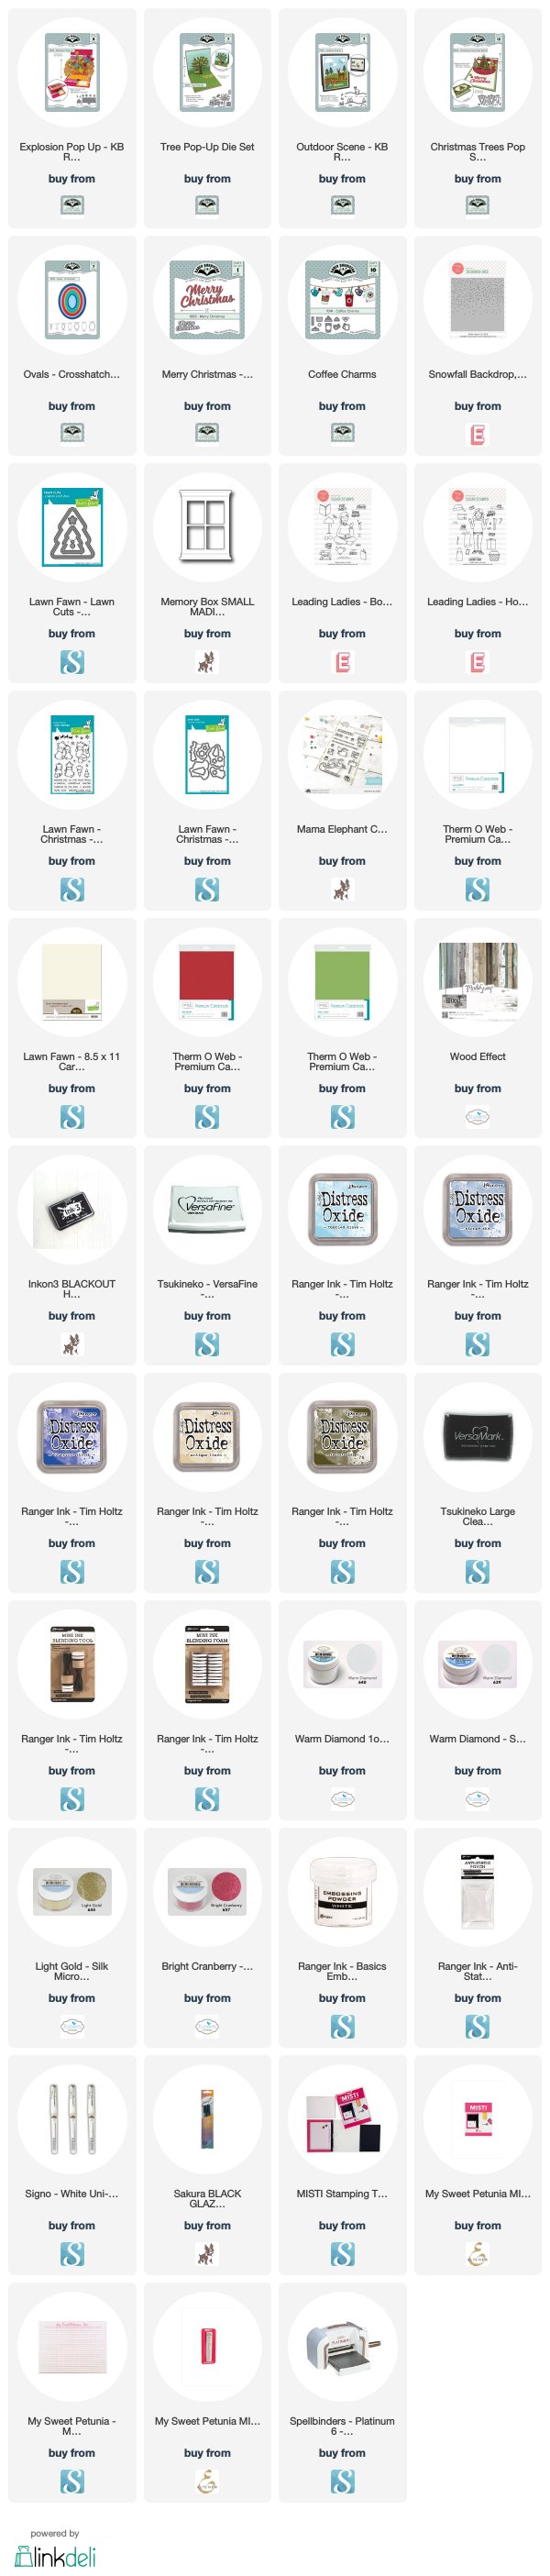
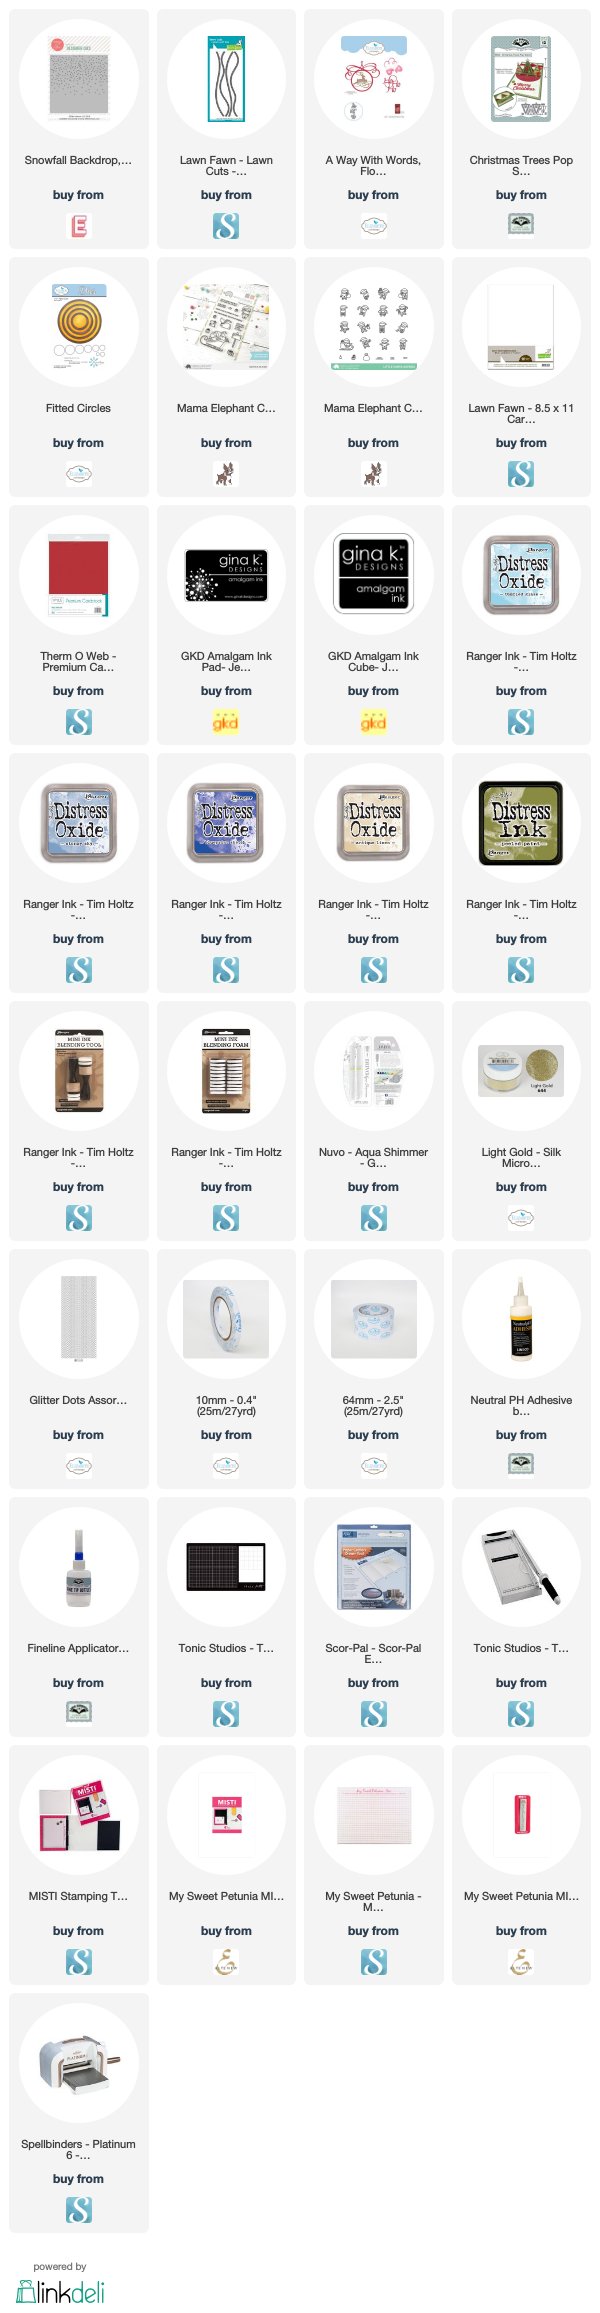
Supplies:
For your shopping convenience, all products are linked below. Compensated affiliate links are used where possible with no extra cost to you. This helps me to continue to share all the projects I include on my blog. Please note I only use and share products I love.


Tuesday, November 13, 2018

Ho Ho Ho Santa Snow Scene


Hi Crafty Friends,

It's my turn to post a tutorial on the Elizabeth Craft Designs blog. I have been having fun this year creating a lot of snowy Christmas scenes for my Christmas cards especially using distress oxides to create my skies. Christmas were I live down here in Australia is in summer, so we enjoy a hot Christmas day with cold lunches and probably swimming in a pool. As we don't experience snow, it is fun to create snowy scenes on paper instead.

Here is how I created my card:


Step 1 - 
  • Using the largest rectangle from the Dashing Rectangles die set die cut a rectangle from White Soft Finish Cardstock.
  • Using Distress Oxide inks in Tumbled Glass, Stormy Sky and Blueprint Sketch apply the ink to the rectangle using a blending tool, blending each color as you go.
  • Place a small amount of white paint onto an acrylic block or similar and water down slightly. Load a paint brush with the paint and then splatter this over the top portion of the cardstock by tapping the tip of the paintbrush with your finger. Allow paint to dry.

Step 2 - 
  • Die cut a piece of White Soft Finish Cardstock that has Clear Double Sided Adhesive Tape on the front using the rectangle die used to cut out the rectangle in step 1.
  • Use the snow border from the Adventure Edges die set, die cut two snow banks, making one higher than the other. 
  • Remove the protective backing from the adhesive and cover the adhesive with Warm Diamond Silk Microfine Glitter. Return excess glitter to the jar and then polish the glitter into the adhesive to bring out the maximum sparkle.
  • Adhere snow banks to rectangle panel, referring to photo above for placement.

Step 3 - 
  • Using the Fitted Circles die set, use the 3rd smallest circle to die cut a circle from White Soft Finish Cardstock.
  • Sponge around circle using Antique Linen Distress Oxide ink
  • Adhere the circle to the top right hand corner of card so part of the circle is overlapping the edge of the card. Trim off excess cardstock.
Step 4 - 
  • Using the Pine Tree die from the Reindeer die set, die cut two trees from green cardstock. Sponge edges with Forest Moss Distress Oxide ink. 
  • Cut the bottom quarter of tree of one of the trees and three quarters from the second tree.
  • Adhere trees to cards, so that the bottom of trees are slightly under the top of the snowbank.

Step 5 - 
  • Die cut all pieces for the Moose from White Soft Finish Cardstock. (Note: for the baubles, die cut with Clear Double Sided Adhesive on the top).
  • Color pieces using Copic Markers referring to photo above for coloring.
  • Apply True Red Silk Microfine Glitter to two of the baubles and Green Silk Microfine Glitter to the remaining two baubles.
  • Assemble as per photo above.
Step 6 - 
  • Using the Santa die set die cut the following:
  • Hat, Santa Suit and Pants from red cardstock
  • Face and Nose from Flesh Cardstock (or die cut from white and color using copic markers)
  • Hat trim and pom pom, Santa Suit trim, Pant Trim, Beard and Moustache from White Velvet Adhesive Sheet
  • Bell from gold cardstock
  • Gloves and buttons from black cardstock.
  • Assemble Santa referring to photo above for placement.
  • Add details to eyes using a black marker.

Step 7 - 
  • Adhere the moose to the card using liquid adhesive.
  • Adhere Santa to card using foam tape.
  • Wrap gold thread around the antlers of the moose and adhere glittered baubles to the ends using foam tape.
Step 8 
  • Using the Ho Ho Ho sentiment from the A Way With Words - Flourished Christmas Mini die set, die cut two sentiments from green cardstock.
  • Layer sentiments to each other for extra depth and adhere on top of moon.
Step 9 -
  • Create a card base by cutting a piece of white cardstock that measures 4 1/2 inches x 11 1/2 inches. Score along the long side at 5 3/4 inches and fold to create a top folding card base.
  • Adhere decorated rectangle panel on top of card base.

Step 10 - Inside of Card:
  • Using the snow bank from the Reindeer die set, die cut two snowbanks from White Soft Finish Cardstock that has Clear Double Sided Adhesive Tape on the front.
  • Remove protective backing and cover adhesive with Warm Diamond Silk Microfine Glitter. Return excess glitter to jar and polish the glitter into the adhesive using your finger to get maximum sparkle.
  • Adhere glittered snowbanks to bottom of inside of card referring to photo above for placement.
Step 11 - 
  • Die cut pine tree from the Reindeer die set from green cardstock. Color the trunk of the tree brown using marker. Sponge the edges of the tree using Forest Moss Distress Ink. Adhere tree to left hand side of the card referring to photo above for placement.
Step 12 -
  • Using the "Ho Ho Ho", "Merry" and "Christmas" sentiments from the A Way With Words - Christmas Collection Clear Stamp set, stamp onto the top right hand side of card using red ink.


Thank you for stopping by, I hope you enjoyed my tutorial.


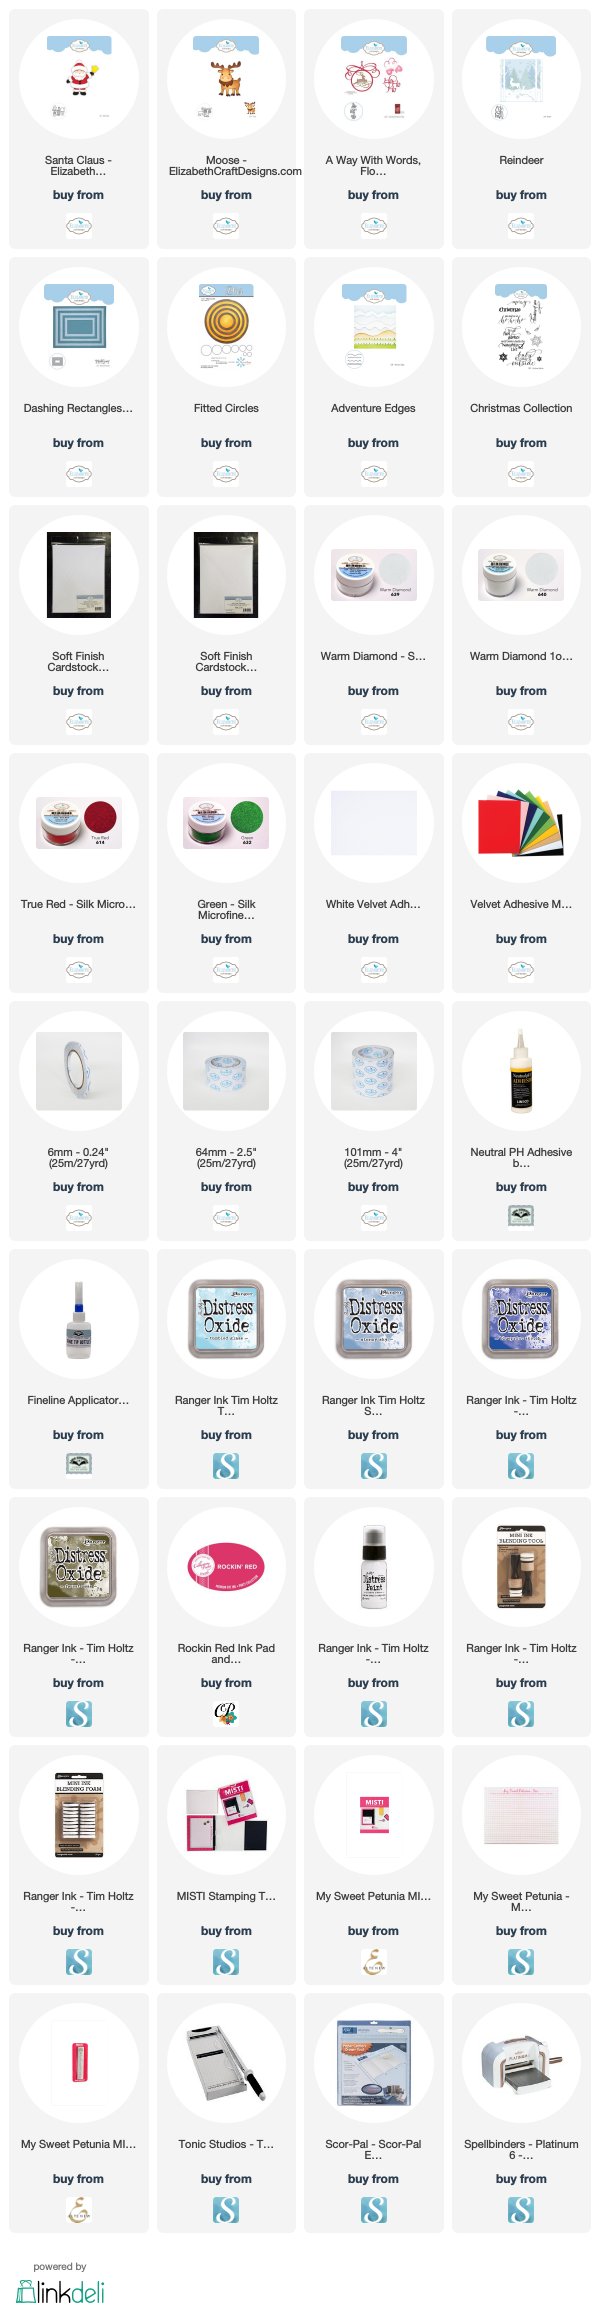
Supplies:
Elizabeth Craft Designs:


For your shopping convenience, all products are linked below. Compensated affiliate links are used where possible with no extra cost to you. This helps me to continue to share all the projects I include on my blog. Please note I only use and share products I love.




Monday, November 12, 2018

Christmas Pull Tab Tree


Hi Crafty Friends,

Today I have another fun Christmas Card to share with you.

This card uses Waffle Flower Crafts new Pull Tab - Tree die set which was release a month or two ago. I love anything interactive and this die set is lots of fun.


The pull tab portion of the card is a little tricky, but there are a number of videos online which help with assembly instructions. The finished card is well worth the little bit of fiddling involved in assembling the tree.

 I used vanilla/gold polka dot paper to create the tree and then added some red/gold glitter dot Peel Off Stickers to some of the dots.


Here is a quick video to see my card in action.


Here is a photo of my card when the tab has been pulled, so that the Christmas tree is 3D. The tab has a slit in it, so that the tab can be locked with the tree in the open position.

The tree is layered onto a rectangle panel which has been die cut using Simon Says Stamp Wonky Rectangles die set.

I added the Merry Christmas sentiment which is from the coordinating stamp set which comes with the set.


Here is a side on photo of my card so you can see how full the Christmas Tree is when the tab has been pulled to open the tree.


For the inside of my card I added two more sentiment stamps which are also included in the stamp set.

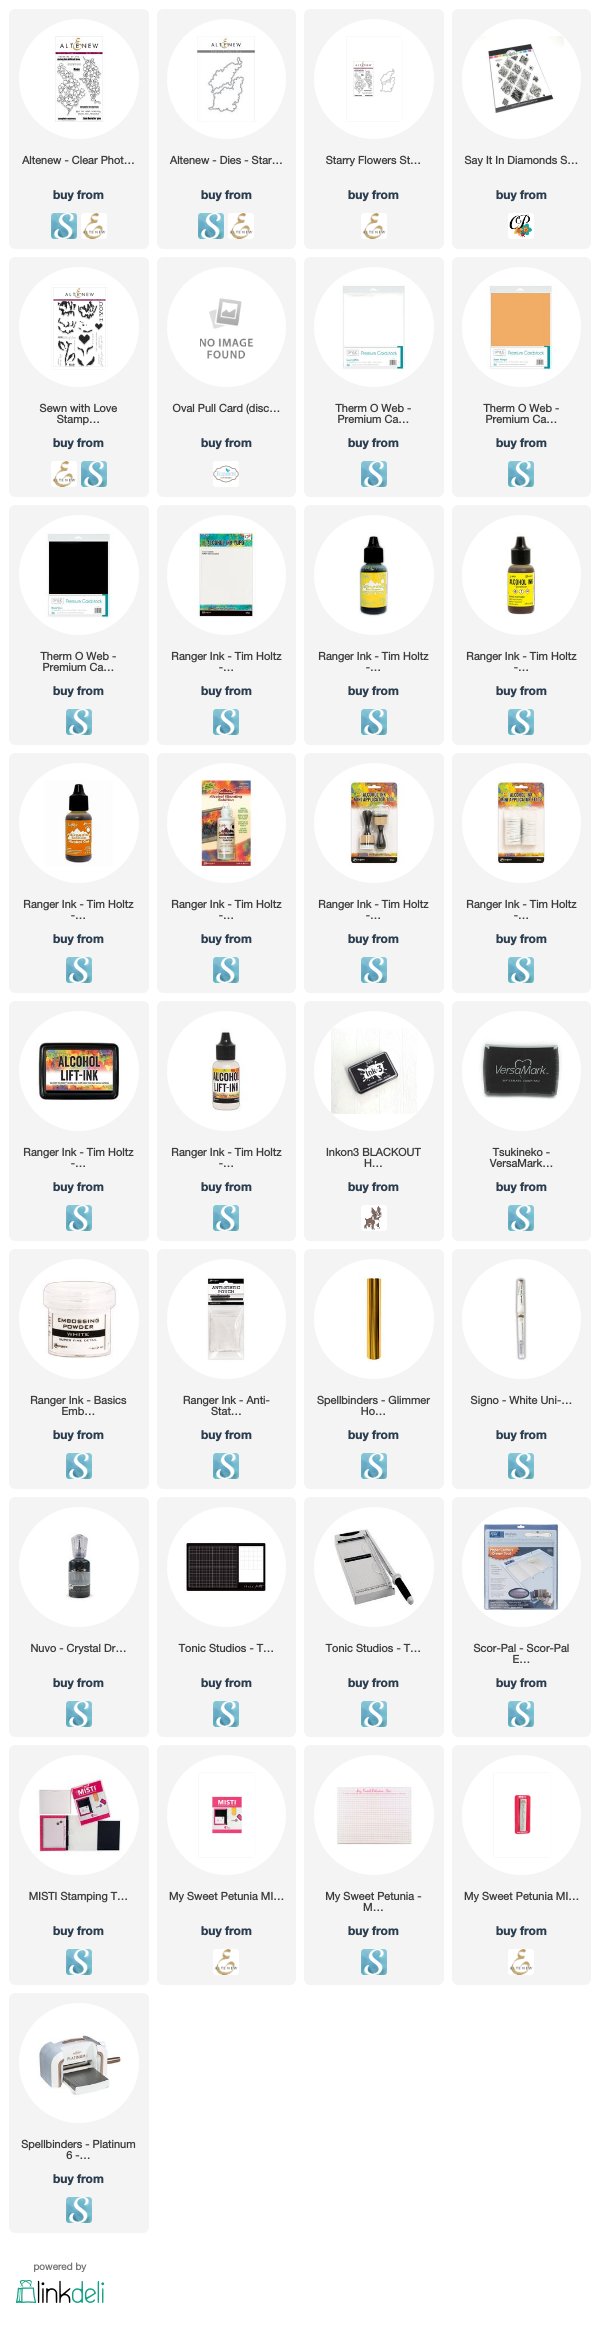
Supplies:
For your shopping convenience, all products are linked below. Compensated affiliate links are used where possible with no extra cost to you. This helps me to continue to share all the projects I include on my blog. Please note I only use and share products I love.

Gold Gift 6 x 6 Paper Pad - Craft Smith
Always Christmas 6 x 6 Paper Pad - Craft Smith
Cream Shimmer Cardstock


Sunday, November 11, 2018

Rejoice Pop-up Card


Hi Crafty Friends,

Today I am sharing a Christmas themed pop-up card that I created recently. This card uses three of the new dies released last months from Suzanne Cannon's  release available from Elizabeth Craft Designs.


For the pop-up portion of the card I used the General Pop-ups die set and added the A Way With Words - Flourished Candle to the pop-up panel. I inlaid some gold cardstock into the flourish portion of the candle so that the pop up part of the card couldn't be seen through the flourish.

I added the Snowflake Border to the top and bottom edges of the card, die cutting the overlay from gold cardstock and then the solid part of the die from white cardstock that had Clear Double Sided Adhesive Tape on the front and then Warm Diamond Silk Microfine Glitter added over the exposed adhesive.


I die cut the "Rejoice" sentiment from burgundy cardstock and layered this to an white oval label.


For the front of  my card I added the "Merry Christmas" sentiment which is layered onto the Flourished Oval Frame die.

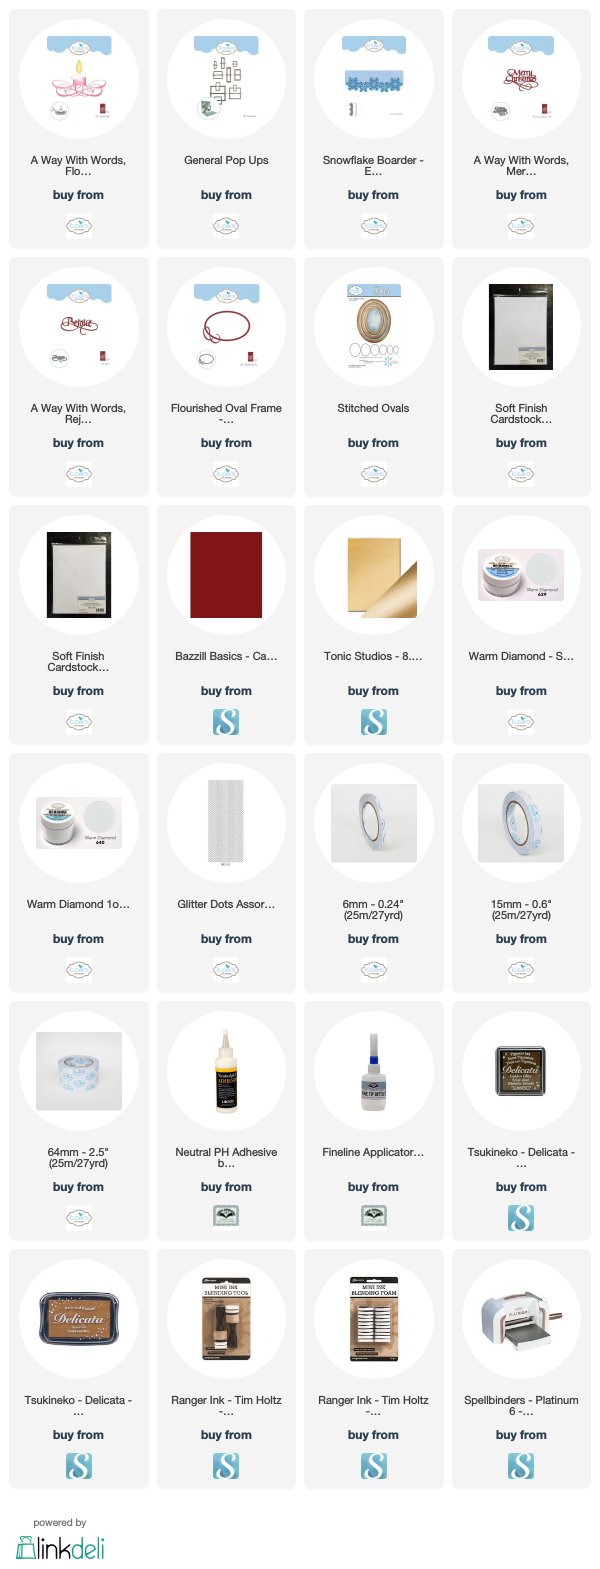
Supplies:
For your shopping convenience, all products are linked below. Compensated affiliate links are used where possible with no extra cost to you. This helps me to continue to share all the projects I include on my blog. Please note I only use and share products I love.


Saturday, November 10, 2018

Sketched Flowers One Layer Card


Hi Crafty Friends,

It’s challenge time with the “Crazies” over on the Crazy 4 Challenges blog. Joanne Grzelak our challenge hostess for the month continues to issue the challenges.

Apparently November 15 is Use Less Stuff Day. In its honor Joanne has challenged us to make a true one layer CAS card. The theme is up to us ... Thanksgiving, Christmas, birthday ... any theme.

I originally made this for a similar challenge for another challenge group I belong to ... that particular challenge had said no pop ups ... but the week before that challenge I discovered a gift card holder which was made using one sheet of card which I decided to use for that particular challenge as that way ... it was still one layer, so I didn't need to feel too guilty hehe!

Anyway I knew this one would still work for this challenge, which only mentions making a true one layer card ... which is what I have done for the front of this card. 

The front of the card is a true one layer card! No cheating there! I used the Simon Says Stamps Sketched Flowers Clear Stamp set to stamp the flowers on my card. I then colored the images using Copic markers. Once I had colored the images I splattered gold paint all over the background of the card.


Ok so this is where I cheated .... I love making pop-up cards and any card I make for my challenges have something interactive in there somewhere. So I created a pop-up card to go inside my card, as most of the other Design Team members don't show the inside of the card where I do ... I am not feeling guilty .... the front is as per the challenge.

Basically this is still one layer .... the pop-up card was decorated using the same flowers I used on the front of the card. I also added the paint splatters over the background. This panel is all one layer and then I used the pop up die from the Explosion Pop-up die set to create the pop-up into the base.


The sentiment panel on the inside of the card is also one layer ... I stamped the sentiment and added a few of the single flower and leaf from the stamp set and added the gold splatters again.

Basically I have three one layer cards bundled together to make one card :)

Don't forget to check out the rest of the “Crazies” cards over on the Crazy 4 Challenges blog and also their individual blogs for more details.


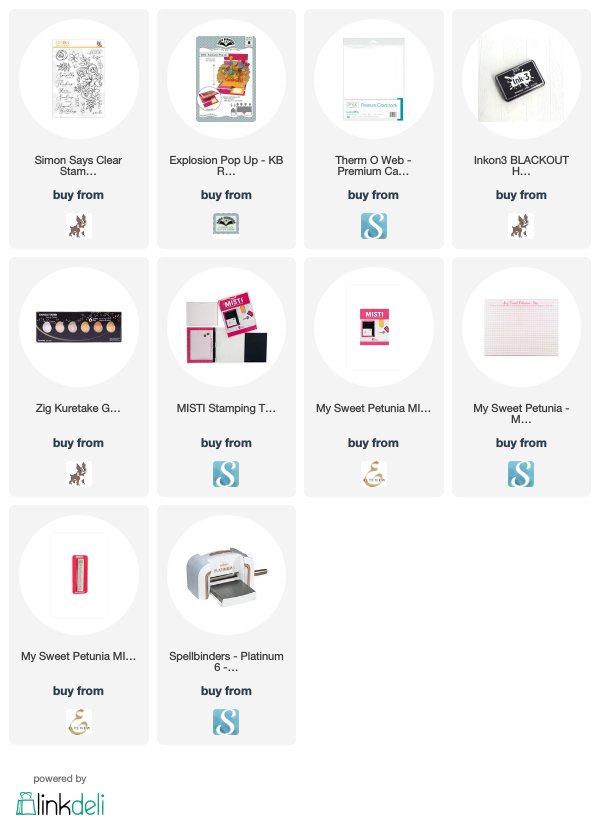
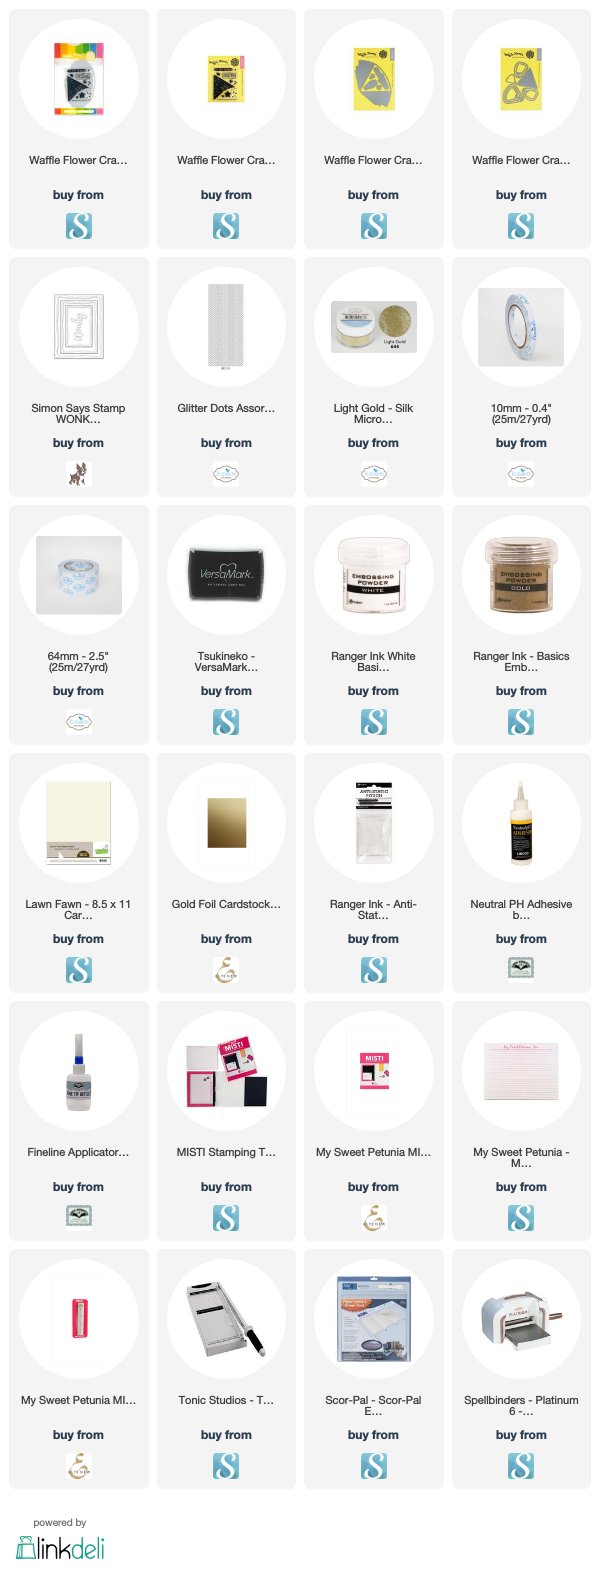
Supplies:
For your shopping convenience, all products are linked below. Compensated affiliate links are used where possible with no extra cost to you. This helps me to continue to share all the projects I include on my blog. Please note I only use and share products I love.