Monday, September 12, 2022

Double Diamond Fold Birthday


Hi Crafty Friends,

Thanks for stopping by my blog. Today I am sharing an interesting fun fold card that I created recently.

This fun fold technique is called a Double Diamond Fold Card and from what I have seen on Pinterest there are two different ways to make this particular card ... the way I have done here or turned around so the diamonds that are on the back are a feature on the front. This card once folded is 6 inches square. I used a tutorial by Sam Calcott for my card which you can find on her blog post here


This card uses no stamps and minimal use of dies, using just a couple of circle and oval dies for the layering. A little while ago, I purchased a male themed paper pack from Craft Stash called Made for Men Paper Pad, I just loved the papers and also included in the pad were some word and image toppers suitable for male birthdays, Father's Day etc. This is what I used for this card.


For the back of my card I added a white panel to the centre of the card, a place for a sentiment and personal greeting. I have again used another piece of the patterned paper along the bottom and another of the sentiment toppers.

As mentioned above, you could also decorate this side rather than what is the front of my card and have this the featured side.


Friday, September 9, 2022

Sage Advice


Hi Craft Friends,

Today I am sharing a Slimline Card using new stamps and papers from Divinity Designs July 22 Blessings Box.

To create the Slimline portion of the card I used the Slimline Card Base; Slimline Rectangles; Slimline Layering Rectangles and Slimline Circle Windows die sets.

The sage plants and sentiment are from the Potted Herbs and Sow Seeds stamp sets which are included in the Blessings Box. The black checkered paper is from the Gardening Gnome Paper/Die Duo set.


Thursday, September 8, 2022

Cheers, Beers


Hi Crafty Friends,

It's challenge time with my friends over on the CCEE Stampers challenge blog. Kelly Santi our challenge hostess of the month continues to issue the challenge.

Apparently tomorrow (9th September),  is Kelly's son’s 18th birthday! Create a masculine birthday card and use 1 or 8 of anything on your cards!


For my card today I have used the new Label Charm Pop-up, this die was designed to fit into a side fold card that measures 5 to 6 inches wide and works perfectly with Mini Slimline cards, which is what I created today.


To decorate my card I used a beer mug stamp from Riley and Company. 

I added the word "Cheers" along the bottom of the card using the Mini Alphabet and Numbers die set.


For the "1 or 8" of anything part of the challenge, I added the Cheers, Beers Sentiment ... this sentiment contains eight words in it. I also added 8 stars to decorate the inside area of the card, which are all from the Surprise Ball Pop-up die set.

Don't forget to check out the CCEE Stampers blog (goes live 12 AM EST) to see the rest of the creations the CCEE Stampers created this week. You can also see more details of their creations on their individual blogs:

Wednesday, September 7, 2022

Gnome Explosion


Hi Crafty Friends,

Welcome to my blog, today I have a fun gnome themed 5" x 7" gatefold card with a surprise explosion on the inside.

Recently Sam Calcott of Mixed Up Crafts shared a Pop Up Explosion Card on her YouTube channel which I used for the inspiration of my card. You can find Sam's tutorial here.

The gnome and birthday sentiment are both from Trinity Stamps' Up, Up & Away stamp set. The gnome is adhered to a belly band which helps keep the card closed.


For the inside of my card I added an explosion using designer paper. I added the sentiments using stamps from Crafter's Companion's There's No Place Like Home stamp set.


Here is a look at the inside of my card with the belly band.


Tuesday, September 6, 2022

September 2022 Karen Burniston Designer Challenge


Hi Crafty Friends, 

Welcome to our September Karen Burniston Designer Challenge.

Check out Karen Burniston's blog on Wednesday (US Time) when you will be able to see what all the designers created for the challenge this month, plus Karen will have an amazing video tutorial to share with us all.

Our challenge theme this month is ... "JUST..." - create a card with a theme of "Just . .. something" (Just because, Just checking in, Just saying hi, Just popping up to say, Just a note, etc.) - Note - upcoming Word Set 15 has this theme - so don't work too far ahead.


For my card today I have used two of the new die sets that was released yesterday, the Word Set 15 - Just Because and Sewing Charms die sets.

When I was thinking about this challenge, I was wondering how I could incorporate the Sewing Charms die set as I hadn't made a card using it. So I went looking through my stamp sets for sentiments, I found the "Sew happy for You", in a stamp set from Your Next Stamp and I figured that would work perfectly for the challenge, so my sentiment says ... Just Sew Happy For You.

As you can see I created a top folding Slimline Card that measures 3 1/2 inches x 8 1/2 inches. To layer the sentiments and Sewing Charms on the front of my card I used the Short Rectangles - Crosshatch die set.


For the inside of the card I used the largest rectangle die included in the Long Rectangles - Crosshatch die set to die cut my patterned paper, I selected the paper as the hexagons on the paper reminded me of quilting.

I used the Little Labels Pop-up die set to create the pop-up panel in the centre of the card. I decorated the labels on the side and the base of the card using more of the images included in the Sewing Charms die set.


For the sentiment on my centre label, I used an older Art Impressions stamp set. I also added a sewing themed sentiment to the base panel which is also included in the Your Next Stamp stamp set.


Other Supplies:
Quilting Sisters Stamp Set - Art Impressions


Monday, September 5, 2022

Karen Burniston - KB Riley LLC August 2022 Release Blog Hop


 Hi Crafty Friends, 

Welcome to our Karen Burniston Products - KB Riley LLC September Release Blog Hop. The Design Team have come together with Karen today for a fun blog hop to celebrate the release of 13 new dies. Sneak peeks of the new release started last week, and the dies are available to order NOW!


This release includes:

  • 1 new charm die set
  • 1 new word set
  • 1 new Halloween die set
  • 2 new Halloween Pattern Plates
  • 2 new pop-up die sets
  • 2 new pop-up extra sets to coordinate with one of the new die sets
  • 1 new "Ball" Add-ons set
  • 3 new "Ball" Double-Ups Sets 


Dies are available to order now on the website. 


GIVEAWAY:


To celebrate the release Karen Burniston and each of the Karen Burniston - KB Riley LLC Design Team members will be giving away a $25 Gift Certificate to some lucky person who comments on our blog posts, so make sure you join the hop and comment on everyone's blog post. Winners will be randomly chosen from ALL of the blog hop comments received on our blog posts by Monday, 12th September 2022. Lots of chances to win some goodies, so just leave a comment on this post or any other blog hop posts to enter! Don't forget to leave some way for us to contact you, in case you are a lucky winner!


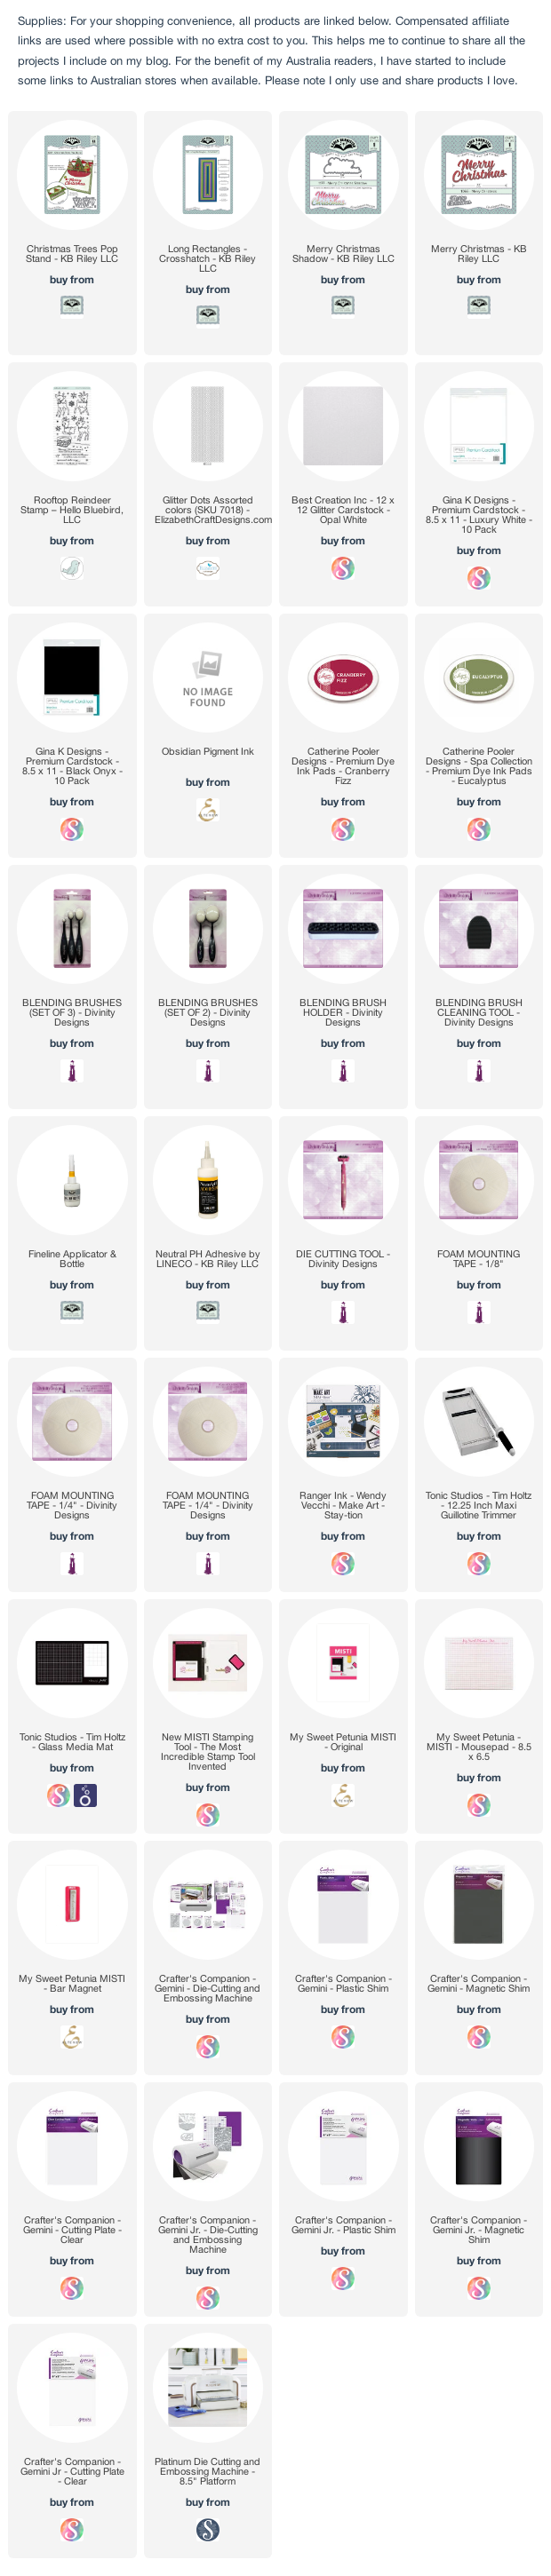
My card today uses three of the new die sets being released ... Fireplace Pop-up; Fireplace Extras 1 and Fireplace Extras 2 die sets.


I knew that the Fireplace Pop-up die would fit in a Mini Slimline card, so I decided to see how it would work in a Slimline card. My card measures 3 1/2 inches x 8 1/2 inches which is my preferred size for a Slimline card. I am happy how it turned out, however if I make another where I included the Christmas tree and fireplace I probably will go for a 4 inch size in height as I did have to trim the candles on the fireplace and the Christmas Tree, so that nothing showed out of the card when the card was closed.


I used woodgrain paper for the floor and red and green plaid for the walls, die cutting the papers using the largest rectangle die included in the Long Rectangles - Crosshatch die set. 


For the fireplace you have the option to have either a fire or Santa's boots showing in the opening. As I already had adhered the place square behind the fireplace opening I opted for the fire. The fire guard, wood and wood holder are all from the Fireplace Extras 2 die set, all the other accessories decorating the fireplace are from the Fireplace  Extras 1 die set.


For the Christmas tree, I used the Christmas Trees Pop Stand die set. As I wanted the tree to pop up and be 3D, I assembled it a little differently to how the instructions say. I have a tutorial on how I assembled my tree on previous blog post here. As mentioned above I did have to trim a little off the top of the tree to keep it all within the card when closed.


I used two of the rectangle dies included in the Long Rectangles - Crosshatch die set to create the "mat", this also serves as a place to add a sentiment. I selected a sentiment that referred to "From our Home to Yours", I have included this in the supply list below.


As the focus of this card is on the inside, I kept the front of the card fairly simple. I added the "Merry Christmas" sentiment using the Merry Christmas and Merry Christmas Shadow die sets.


I also added two trees using the centre portion of the large tree from the Christmas Trees Pop-Stand die set. I added red Glitter Dot Peel Off Stickers to all trees, both on the front and inside of my card.


Well that's about it from me today, thank you for dropping by. To continue on the blog hop, click on the next person on the list, which is Suzanne Smit


Here is the complete blog hop list in case you need it.


Blog Hop List:

Karen Burniston 

Lois Bak 

Jennifer Webster

Karen Aicken

Sue Small- Kreider

Frances Byrne < You Are Here >

Suzanne Smit

Fran Sabad

Nicky Foden

Sandy Diller


Sunday, September 4, 2022

Make No Mis-Steak


Hi Crafty Friends,

It's Father's Day down here in Australia! A few weeks ago I realised I hadn't made a special card for my husband for Father's Day, so I pulled out a stamp set from The Greetery and a die set from Made to Surprise and got to work. This is what I came up with.


For my card today I created a Sliding Window or Sliding Pop-up Card using the 6 x 6 Square Slider Card die set from Made To Surprise by Sam Calcott's Super Sliders Collection. I do have other Slider die sets, but I like how this set has all the layers other than the base plus some fun accessory dies to create cards. 

The photo above shows my card when it is closed ready to be placed in an envelope.


When you pull the tab at the top of the card, the main square panel moves to the upright position revealing a secret message as it does.

To decorate my card I used The Greetery's Dad Jokes High Steaks stamp set with coordinating dies. For the steak on the front of the card, I inked it using Tattered Rose and Fired Brick Distress Oxide inks to give it a look of rare steak. I used holographic cardstock on the fork and knife.


I added a tab to the top pull out panel using the tab included in the Lawn Fawn Double Surprise Pop-up die set. Adding the tab makes it so much easier to pull the tab up and down so the main square panel stands up.


I kept this card as a flat card rather than adding it to a folded card, this way display it with the main square panel upright.  I added the square panels to the back of the card. This time around I added my steaks well done and added the sentiments from the High Steaks stamp set and the Father's Day sentiment from Waffle Flower Crafts Be Him Sentiments stamp set.


Friday, September 2, 2022

Happiness Blooms


Hi Craft Friends,

It's release day over on the Divinity Designs website. My new release products haven't arrived from over the ocean as yet, so I can't share anything I have created using them. You will find links to the new release in my supply list below. 

Today I am sharing two Mini Slimline cards I created using products from the Divinity Designs July 2022 Blessings Box.


For my first card, I created a portrait style Mini Slimline Card. To create the Mini Slimline card I used Divinity Designs Mini Slimline Card Base; Mini Slimline Rectangles and Mini Slimline Layering Rectangles die sets.

I used the papers and gnomes from the Gardening Gnomes Paper/Die Duo set for the background (ladybird background) and images. 

The grass was created using the Grass Hill and Grass Lawn die sets.


For my second card I created a landscape style Mini Slimline card. To create this card I used the Mini Slimline Card Base; Mini Slimline Rectangles and Mini Slimline Thin Pierced Frame die set. 

I also used the Slimline Flower Silhouettes die to add the floral portion of the card.

I added the sentiment using the Wildflowers stamp set which is also included in the July 2022 Blessings Box.

The background paper is from the Pretty Patterns 3 Slimline Paper Pad.


Thursday, September 1, 2022

Snowman Puppet Shaker Easel Card


Hi Crafty Friends,

It's challenge time with my friends over on the CCEE Stampers challenge blog. Being a brand new month, it's time to introduce our new challenge hostess which is Kelly Santi.

Apparently today is International Toy Testing Day ~ show us your cards with a toy/toys on them! Think Christmas cards and Santa’s workshop, too!

Here is a quick video to see my card in action.


When I was thinking of what I could make for this weeks challenge, I remembered that I had just ordered Made To Surprise by Sam Calcott's It's Only A Puppet dies. Puppets are toys, so I figured that would work ok ... as I wanted it to be a winter/Christmas theme I decided to use the snowman puppet. I was able to get the complete collection of dies, but was able to get hold of two of the puppet die sets and the mechanism set, hopefully the remainder of the set will be available sometime in the future so I can get hold of those too..


As you can see I used the dies to create an Easel Card, which is also a shaker card. The shaker part was a little tricky as there are openings at the top, but I was able to fix it so that the sequins inside wouldn't escape. I think I have a better idea on how to do that part on the next one I make it I decide to make another shaker card.

I used Snowfall Acetate to cover the opening of the large snow angel shape, which also helps gives the illusion of it snowing.


The sentiments are all from Karen Burniston's Word Set 13 - Snow die set. I die cut each of the words from white glitter cardstock and then holographic cardstock offsetting the glitter layer slightly over the holographic layer. For the "Brrr!" I added the shadow layer which I die cut from blue cardstock.


The card will fold flat to be placed in an envelope. My completed card is 6 inches square, it does however have the "bump" at the top for the pull tab ... so that would make it 6 1/2 inches in height.

Don't forget to check out the CCEE Stampers blog (goes live 12 AM EST) to see the rest of the creations the CCEE Stampers created this week. You can also see more details of their creations on their individual blogs: