Showing posts with label Acetate. Show all posts

Wednesday, March 1, 2023

The One I Love


Hi Crafty Friends,

According to the Days of the Year website, today is National Wedding Planning Day. As I purchased this Crafter's Companion's "The One I Love" Intri'lace die, I decided to pull it out and make a wedding card.

For my card today I made a 5 x 7 Trifold Card with an acetate front. I die cut the wedding image into the front of a 5 x 7 Centura Pearl white card. I adhered white glitter cardstock behind the wedding dress portion of the image, I then die cut the panel using various colours so that I could add colour to the groom's suit, hair, brides hair etc. 


I added a panel of acetate behind the die cut panel.

I added a silver line sticker to the left side edge of the card.

For the sentiment I used Creative Craft Products Celebration Sentiments die set. This sentiment has a long tail on either side of the word, which I cut off.

I added Silver Matte Pearls to the centres of all of the flowers on the image.


To create the trifold card, I adhered the back of one 5 x 7 card, to the other 5 x 7 card.

For the layers of my card I used silver holographic card and pale purple cardstock. I dry embossed the pale purple panels using Made To Surprise's Ditsy 8 x 8 embossing folder.

I added the "Mr & Mrs" sentiment to the lower right hand side of the panel, so that it was hidden when the card is closed.


I added a stamped sentiment to the centre panel of my card, using an older wood mounted stamp from my stash ... Marriage Calligraphy by Paper Inspirations. I layered this sentiment using Creative Craft Products Nested Rectangles and Nested Filigree Rectangles die sets.

For the panel on the right side of my card. I added a stamped sentiment from Divinity Designs Cheers stamp set. I silver embossed each each of the stamped sentiments. On the lower right hand corner of the rectangle panel, I added two glasses of champagne using Karen Burniston's Wedding Charms die set. I made sure to leave plenty of empty space on this panel, so that there was a place to hand write a personal greeting.

I didn't like the look of being able to see the colours through the acetate on the left hand panel, so I die cut another of the "The One I Love" images from white cardstock with double sided adhesive tape on the front and paper pieced this to the back of the image.

Other Supplies:
  • Mr. & Mrs. Wedding Cake Die Set - Spellbinders Paper Crafts (discontinued)
  • Marriage Calligraphy Wood Mounted Stamp - Paper Inspirations (discontinued)


Monday, December 12, 2022

Candy Cane Wishes


Hi Crafty Friends,

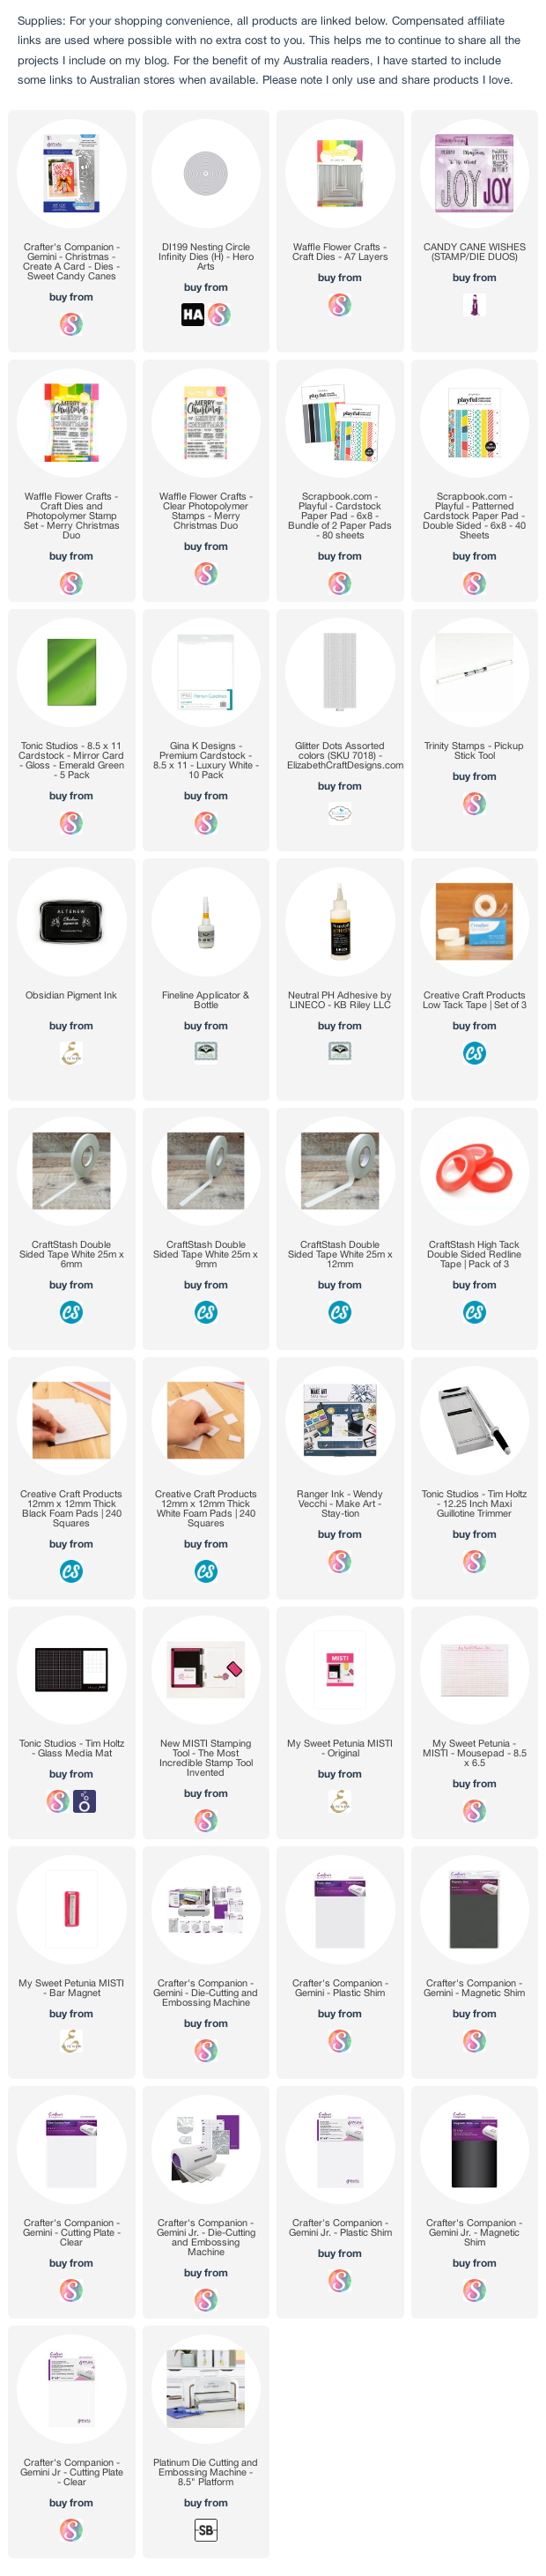
Thanks for visiting my blog today. I have a Christmas themed 5 x 7 card to share with you all, using an Intri'lace die from Crafter's Companion.


I used the Sweet Candy Canes die to die cut the front of a white side folding 5 x 7 card. I then backed the candy canes using a piece of 5 x 7 acetate. I then die cut the candy cane die from green mirror card for the bow and red cardstock to paper piece all the candy canes.

For the sentiment, I used a sentiment from Divinity Designs Candy Cane Wishes Stamp/Die set, masking off the first part of the sentiment as I only wanted "Candy Cane Wishes".


I adhered a panel of red striped paper to the inside of the card, so it can be seen when the card is closed.


As there is acetate on the front of my card, it means that you can see the inside of the card from the front. So I didn't want to add a sentiment that could be seen on the inside of the card. Instead I added a panel to the back of the card and added my sentiment to this.


Tuesday, November 2, 2021

November 2021 Karen Burniston Designer Challenge


Welcome to our November Karen Burniston Designer Challenge.

Check out Karen Burniston's blog on Wednesday (US Time) when you will be able to see what all the designers created for the challenge this month, plus Karen will have an amazing video tutorial to share with us all.

Our challenge theme this month is ... "WINDOW CARDS" - make a card of any theme incorporating a window.

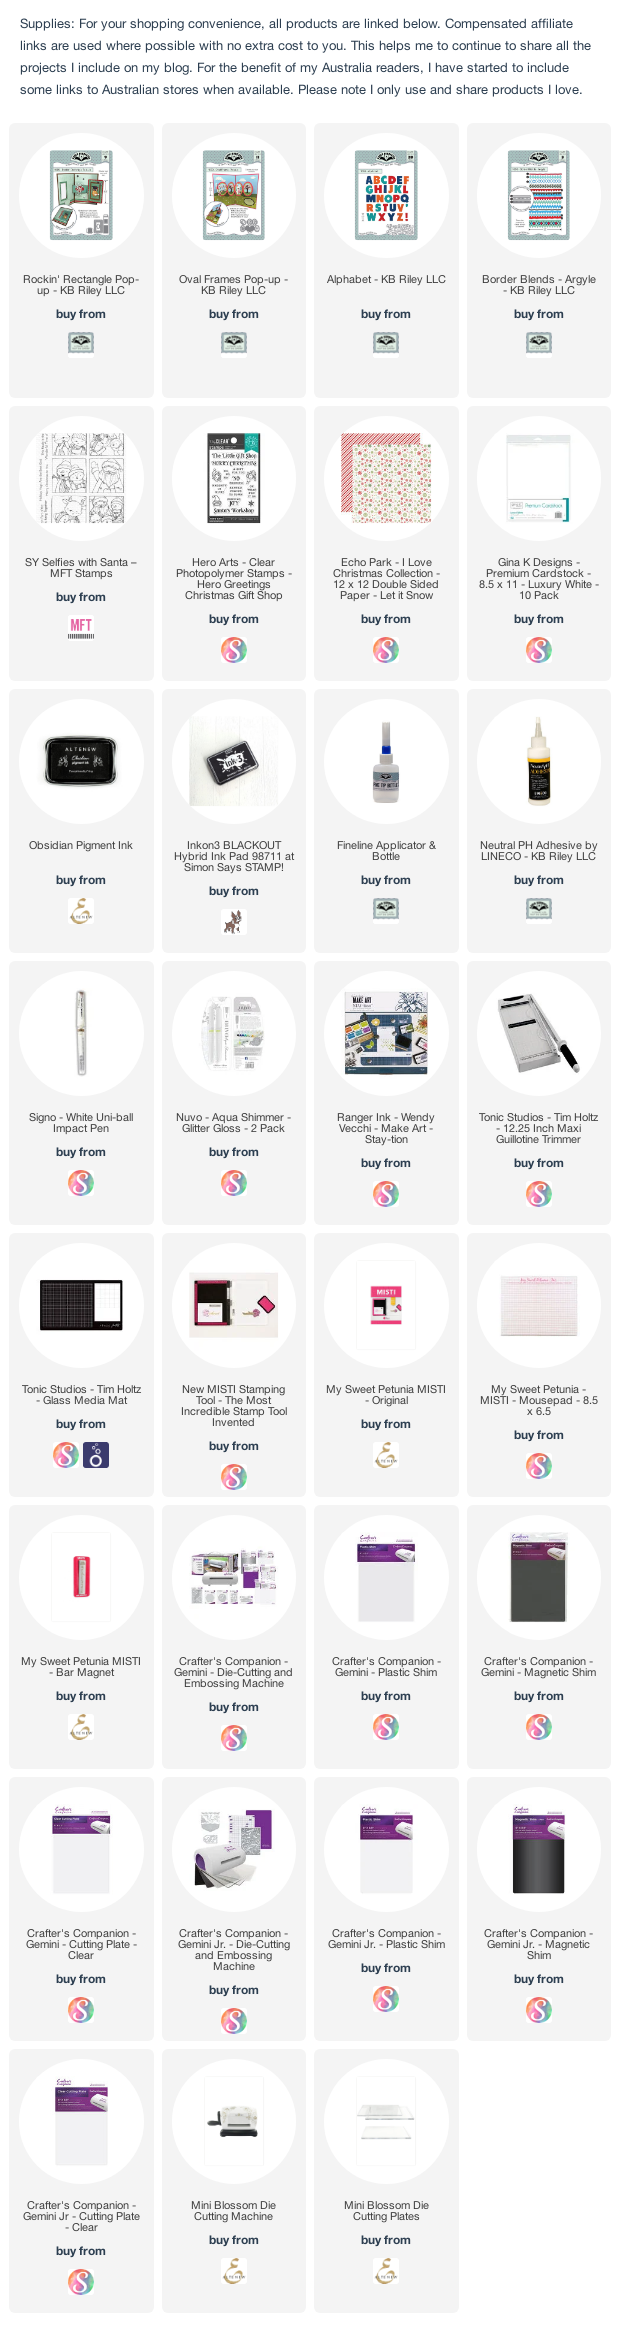
For my card today, I decided to create a Rockin' Rectangle Pop-up card with an acetate window in the front using the Rockin' Rectangle Pop-up die set.


I decorate the inside of my card using the Santa from MFT Stamps Selfies with Santa stamp set. I also added two sentiments which are from Hero Arts Hero Greetings Christmas Gift Shop stamp set.

My finished card measures 5 inches square, the back red panel is 6 3/4 inches x 5 inches and scored at 1 3/4 inches.


For the front of the card, I added the "Ho Ho Ho" sentiment using Karen Burniston's Alphabet die set. I also added a border using a border from the Border Blends - Argyle die set.

Other Supplies:

Grafix Craft Plastic Sheets Clear .020


Saturday, October 23, 2021

Snow Owls

Hi Crafty Friends,

It’s challenge time with the “Crazies” over on the Crazy 4 Challenges blog. Rebecca Ednie, our challenge hostess for the month continues to issue the challenges.

Our challenge this week is ... See through. Use vellum or acetate on your card this week.


I have been wanting to make a clear acetate Slimline card for a while, so this was the perfect opportunity to create one.

I recently purchased Creative Expressions Snow Owls Double Edger die set, so I decided to pull that out to create my "See Through" Slimline Card.  I created the Slimline card so it measures 4 inches high so that I had room to include both the owl and the snow flourish at the top of the card.

To create the Slimline Card I cut a piece of white cardstock that measured 4 1/2 inches x 8 1/2 inches. I then scored along the 4 1/2 inch side at 1/2 inch to create a tab for the front of the card to be attached to.

I cut a piece of acetate to 4 inches x 8 1/2 inches and adhered it to the white base.

I die cut the snow owl edger and the snow flourish edger twice, making sure they were both die cut exactly and adhered one of the die cuts to the front of the acetate and one to the back.

I stamped the "Merry Christmas" from Colorado Craft Company's Big and Bold Slimline Poinsettia stamp set to the lower right hand side of my card.

To finish off the front of the card I die cut snowflakes from white glitter cardstock and added them randomly to the card, the snowflakes were from an older Elizabeth Craft Designs die set I had in my stash. I also added turquoise glitter dot peel off stickers to each of the snowflakes which ties in with the background panel.


For the inside of the card, I cut a white panel the same size as the back panel (4 inches x 8.5 inches). I then white embossed Scrapbook.com's Slimline Snowflakes background stamp to the panel. I blended Salvaged Patina & Prize Ribbon Distress Oxide inks all over the panel. I then adhered this to the inside of my card so it could be seen when the card is closed.

As this is a "see through" card, I needed some place to add a sentiment and to be able to write a personal greeting, so I added a snow hill to the bottom of the card using Honey Bee Stamps Slimline Borders die set.

I added the Owl themed Christmas sentiment to the hill which is from an older The Craft's Meow stamp set.

Don't forget to check out the rest of the “Crazies” cards over on the Crazy 4 Challenges blog and also their individual blogs for more details.


Other Supplies:
Happy Hoolidays Stamp Set - The Craft's Meow


Tuesday, September 10, 2019

Birthday Clown


Hi Crafty Friends,

Welcome to our September Paper Pros challenge. This month our challenge is hosted by Sandy, and she challenged us all the theme of Kids or Back To School.

As you can see I decided to create a Kids card for the challenge.


I decided to create another Rockin' Rectangle Pop-up card using the acetate window on the front. You can find Karen's tutorial on how to create this style of card here.


To decorate my card I used Riley and Company's Dress Up Riley stamp set along with their Birthday Dress Up stamp set.


I decorated the left hand panel on the front of the card using a Birthday die set from Crafter's Companion and added stars randomly over the panel.

You can see what the other "Paper Pros" created for this challenge on their blogs:


Supplies:
For your shopping convenience, all products are linked below. Compensated affiliate links are used where possible with no extra cost to you. This helps me to continue to share all the projects I include on my blog. For the benefit of my Australia readers, I have started to include some links to Australian stores when available. Please note I only use and share products I love.


Tuesday, May 14, 2019

Hope Your Birthday Is A Hit


Hi Crafty Friends,

Welcome to our May Paper Pros challenge. This month our challenge is hosted by me, and I challenged everyone to .....

Back to Basic Shapes - Many of Karen’s die sets contain the name of a basic shape in it .... Oval; Circle; Square & Rectangle etc. Use at least one die set that includes one of those shapes in it’s name for your card.

I decided to create another Rockin' Rectangle Pop-up card using the acetate window on the front. You can find Karen's tutorial on how to create this style of card here.


Here is a quick video to see my card in action.


I have purchased a couple of different record themed stamp and die sets this year and I have had this idea brewing for a little while. Vinyl Records & Record Players have become very popular in recent years.

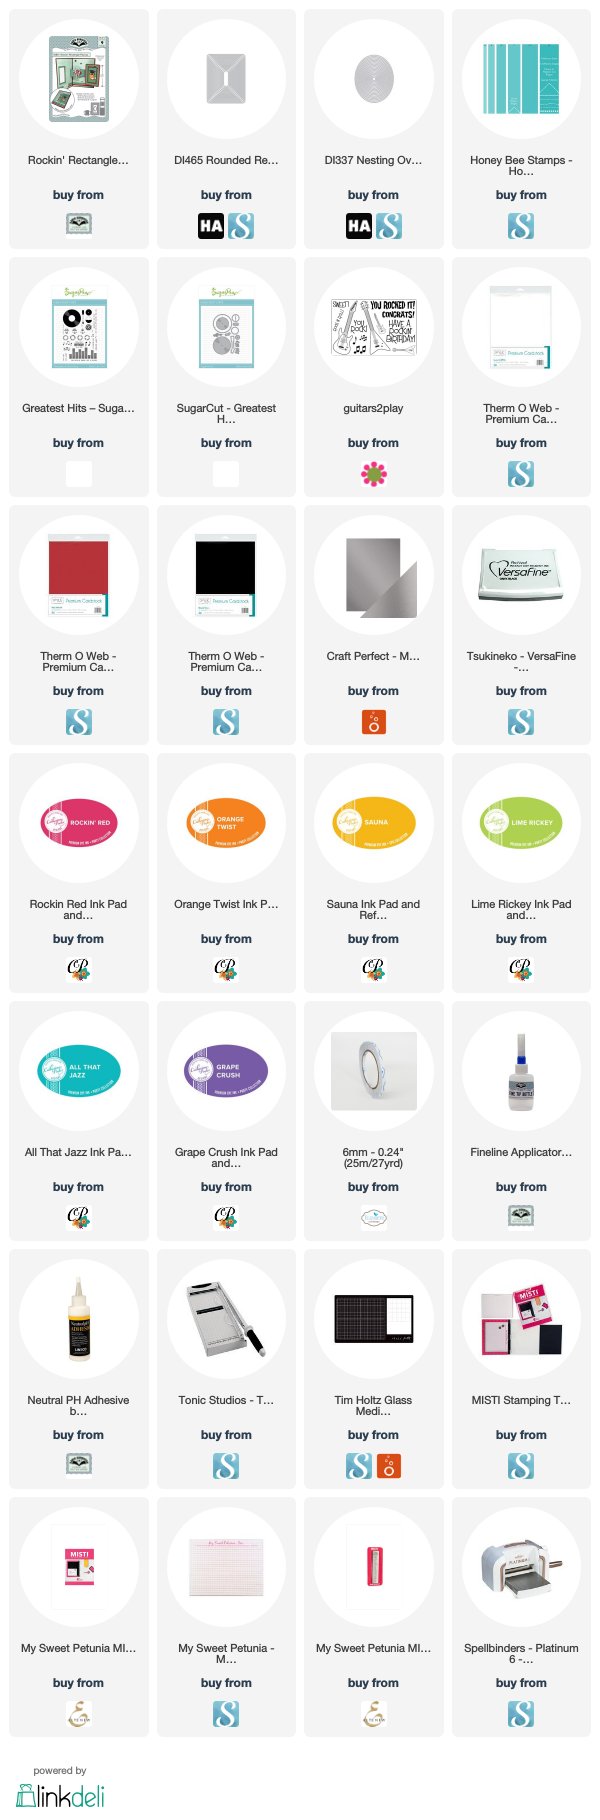
For the background of my card I used used the large vinyl record stamp from SugarPea Designs Greatest Hits Stamp set, stamping the records using black ink and then stamping the inner section using colors of the rainbow.

For the record player I used the coordinating dies to the stamp set. The rectangle panel included in the Rockin' Rectangle Pop-up die set was too long for the mechanism to work properly turning the rectangle on it's side, so I used Hero Arts Infinity Rounded Rectangle dies putting the card back into the die to make the length a little bit shorter.

I added a sentiment to the left side of the card.


I created a border of smaller records which I added to the side panel on the front of the card.  The easiest way to get these even was to adhere them to a black piece of cardstock the same length as the card, lining up the edge of the records with the edge of the card. I then trimmed around this and added half records to the back to the portion that would be seen through the acetate when the card was opened.

To finish off the card, I added a birthday sentiment.

You can see what the other "Paper Pros" created for this challenge on their blogs:


Supplies:
For your shopping convenience, all products are linked below. Compensated affiliate links are used where possible with no extra cost to you. This helps me to continue to share all the projects I include on my blog. Please note I only use and share products I love.


Thursday, May 9, 2019

Wonderful Friend


Hi Crafty Friends,

It's challenge time with my friends over on the CCEE Stampers challenge blog. As challenge hostess for the month, I continue to issue the challenges.

Mother's Day is this coming Sunday in many parts of the world including the USA, Canada & Australia. Create a card suitable for a mother, it doesn't have to be a Mother's Day card.

For my card today I decided to create an Acetate Window Card using Concord & 9th's Peek Through Pattern die set. This die set contains two dies that cut out a word which is attached to the card at the top and bottom. For this card I used the friend die from the set.
I added patterned papers to the top and bottom section of the card above the word and also added a thin strip of cardstock along the edge of the opening. I die cut the word friend again from pink cardstock and then trimmed it off the card and adhered it over the friend sentiment.
I white embossed the "wonderful" sentiment onto green cardstock and die cut this using Honey Bee Stamps Banner Builder dies. To finish off the card I added flowers from Altenew's Rinnie Roses stamp set.

For the inside of the card I stamped another sentiment which is from the Awesome & Wonderful Stamp set from Catherine Pooler. This was stamped so it couldn't be seen when the card was closed.

Don't forget to check out the CCEE Stampers blog (goes live 12 AM EST) to see the rest of the creations the CCEE Stampers created this week. You can also see more details of their creations on their individual blogs:


Supplies:
For your shopping convenience, all products are linked below. Compensated affiliate links are used where possible with no extra cost to you. This helps me to continue to share all the projects I include on my blog. Please note I only use and share products I love.


Tuesday, March 12, 2019

Hello Spring


Hi Crafty Friends,

Welcome to our February Paper Pros challenge. This month our challenge is hosted by Sandy Diller who has given us the theme .... Spring Fever.

I decided to create another Rockin' Rectangle Pop-up card using the acetate window on the front. You can find Karen's tutorial on how to create this style of card here.


Here is a quick video to see my card in action.


For the background of my card I used Altenew's Pinstripe Stamp set, stamping onto white cardstock using black ink and then turning the card by 90 degrees and stamping again to create a diamond pattern.

For the flowers I again used an Altenew stamp set ... this time Ruffled Flowers. The 'sweet friend' sentiment is also included in the set.


Along the left side of the card I added a Crafter's Companion Hello Edge'ables Word die set. To color the sentiment I sponged the same two orange inks I used for the flowers to give an ombre effect.


I used the scallop rectangle included in the Rockin' Rectangle Pop-up die set to add a sentiment which is from Stampendous. 

I also stamped and die cut a few more flowers and cut them up to add to the sentiment panel, the background and the left panel on the front of the card.

You can see what the other "Paper Pros" created for this challenge on their blogs:


Supplies:
For your shopping convenience, all products are linked below. Compensated affiliate links are used where possible with no extra cost to you. This helps me to continue to share all the projects I include on my blog. Please note I only use and share products I love.

Grafix .020 Clear Plastic 


Thursday, February 15, 2018

Elephant Shaker Card


Hi Crafty Friends,


It's challenge time with my friends over on the CCEE Stampers challenge blog. Kelly McKown-Santi 
our challenge hostess for the month continues to issue the challenges.


This week Kelly has given us a Tic Tac Toe Challenge ... using the Tic Tac Toe board below select three items in a row either vertically, horizontally or diagonally.


For my card today I decided to select the left hand vertical column which was 'Add a Sentiment'; 'Shaker Card' and 'Sequins'.

For the frame for the shaker card I used Mama Elephant's Framed Tags Hug It Out die set. I die cut the large frame and then inked the frame and the inner rectangle using Wilted Violet Distress Oxides blending from the top and going lighter as I got closer to the bottom.

To decorate the card I used the Mama Elephant's Fly with Me Clear stamp set. 

The sentiment is from Elizabeth Craft Designs Sentiments 1 - Celebration Clear Stamp set with coordinating dies.


Here is another look at my shaker card after I had shaken the card and placed it on my desk. As you can see my shaker card is filled with various purple and pink colored sequins another item on the Tic Tac Toe board.


For the inside of my card I die cut another frame again and used the inner panel. I sponged on the color and then added the elephant image and another sentiment.

Don't forget to check out the CCEE Stampers blog (goes live 12 AM EST) to see the rest of the creations the CCEE Stampers created this week. You can also see more details of their creations on their individual blogs:

Vicky Gould
Kelly McKown-Santi


Stamps: Fly with Me - Mama Elephant; Sentiments 1 Celebration - Elizabeth Craft Designs
Paper: White
Dies: Framed Tags Hug It Out - Mama Elephant; Sentiments 1 Celebration - Elizabeth Craft Designs
Other: Black Ink; Wilted Violet Distress Oxide; Pink & Purple Sequins; Acetate; Dimensional Magic; Black Glaze Pen; White Gel Pen; Foam Tape; Copics