Friday, November 9, 2018

Signs of Santa Diorama


Hi Crafty Friends,

Today I am sharing a Christmas card I created recently.

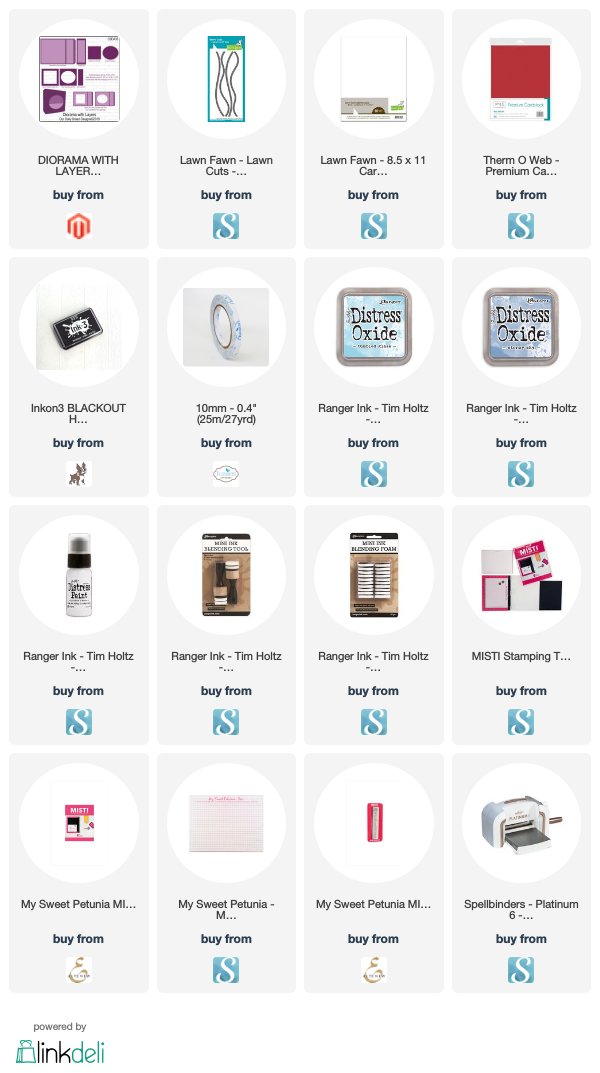
This card uses the new Diorama with Layers die set from Our Daily Bread Designs and the Signs of Santa Clear Stamp set from Stampin' Up.


The diorama die set makes it so easy to create this card, no measuring ... just use the dies provided in the die set to create all the various layers etc.

For the background panel, I created a snowy sky by blending Distress Oxide inks and then splattering white paint over the background.


For the back of the card I added some of the patterned paper I used on the front of the card and also rectangle layers. I added two sentiments and a pile of presents from the stamp set.


This card folds flat, so it is easy to pop in an envelope for mailing.


Supplies:
For your shopping convenience, all products are linked below. Compensated affiliate links are used where possible with no extra cost to you. This helps me to continue to share all the projects I include on my blog. Please note I only use and share products I love.

Signs of Santa Stamp Set - Stampin' Up
Santa's Workshop Specialty Designer Series Paper - Stampin' Up


Thursday, November 8, 2018

Sorry Please Forgive Me


Hi Crafty Friends,

It's challenge time with my friends over on the CCEE Stampers challenge blog. Anne Harmon our challenge hostess for the month continues to issue the challenges.

Our challenge this week is ...... 
Apparently today is Tongue Twister Day. Most languages have their own versions of tongue twisters. In sign language, they are called “finger Fumbles”. Use a tongue twister to inspire your card. 


When I was researching tongue twisters for this challenge, I found there were hundreds out there ... some similar in style. I was almost hard to decide which one to use for my inspiration on my card. But finally I decided about this tongue twister .... 
If a dog chews shoes, whose shoes does he choose?

As luck would have it I have an old Darcie's stamp that is a dog chewing shoes which was perfect for this tongue twister and challenge. 

I pulled out one of my Sizzix Stand-Ups die sets which I haven't used for a couple of years.

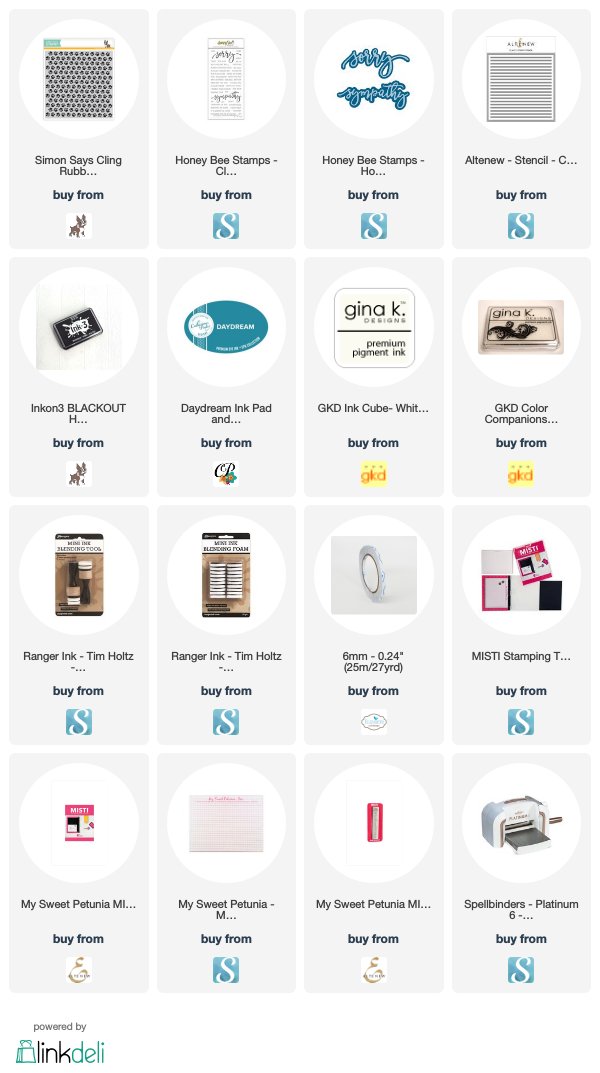
For the paw print background I used a background stamp from Simon Says Stamp, stamping the backing using white pigment ink and then over the top with Catherine Pooler Daydream ink.

For the base of the card I used Altenew's Classy Stripes Stencil and white pigment ink.

It took a while to decide what sentiment to use for this card .... in the end I thought it would be great for a "Sorry" card. I used a stamp and coordinating die set from Honey Bee Stamps for this.


Here is a look at my card when it is closed ready to be placed in an envelope.

Don't forget to check out the CCEE Stampers blog (goes live 12 AM EST) to see the rest of the creations the CCEE Stampers created this week. You can also see more details of their creations on their individual blogs:

For your shopping convenience, all products are linked below. Compensated affiliate links are used where possible with no extra cost to you. This helps me to continue to share all the projects I include on my blog. Please note I only use and share products I love.

Dog Chewing Shoes - Darcie's Rubber Stamps
Royal Stand-Ups Card Framelits - Sizzix
Royal Labels Framelits - Sizzix


Wednesday, November 7, 2018

Bouncing By To Say


Hi Crafty Friends,

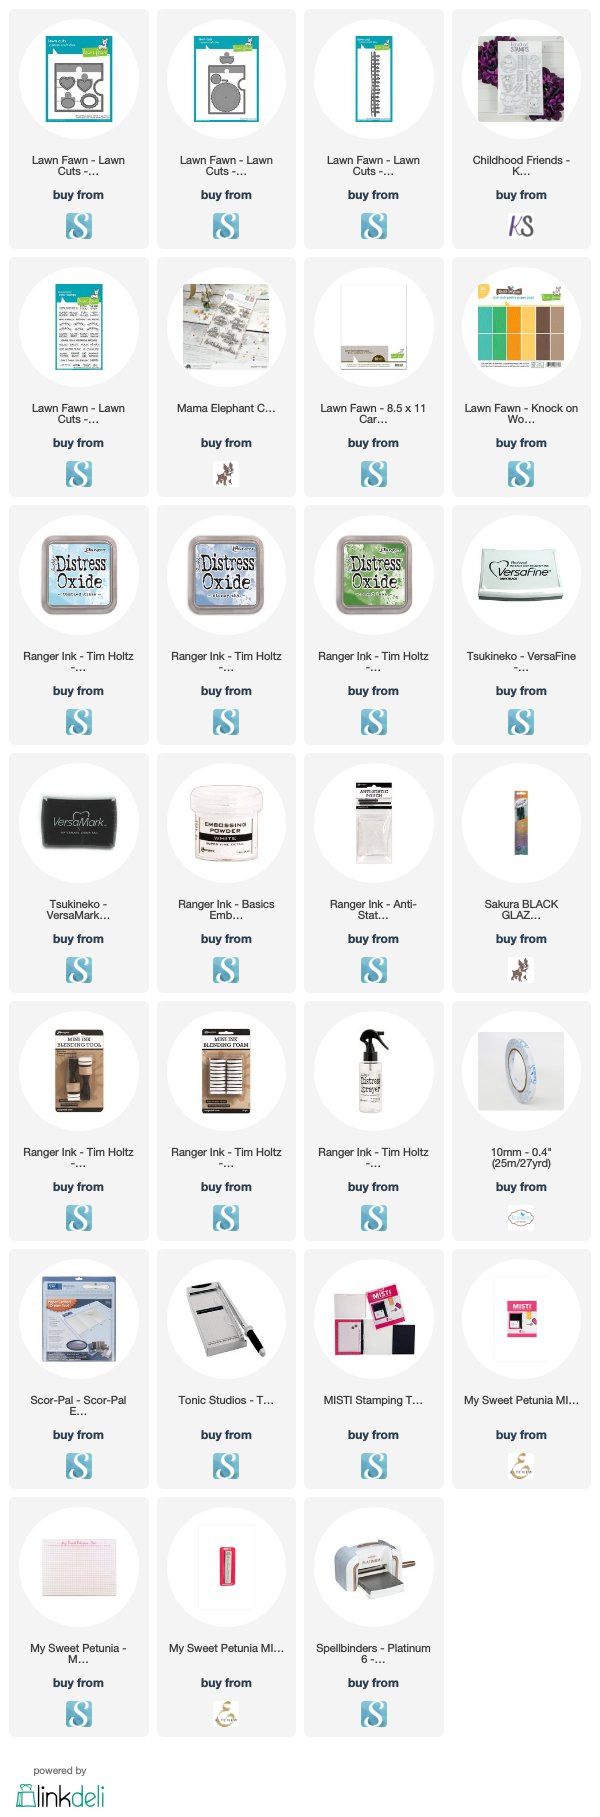
I have another Reveal Wheel card to share with you today using Lawn Fawn's Square Reveal Wheel die set.

To decorate my card I used a new stamp set from Kindred Stamps called Childhood Friends.


Here is a quick video to see my card in action.


Here is a look at each of the 4 different sentiments which are revealed when you turn the wheel at the side of the card.


For the inside of the card I used the owl from the stamp set I used on the front of the card and also a sentiment.

Supplies:
For your shopping convenience, all products are linked below. Compensated affiliate links are used where possible with no extra cost to you. This helps me to continue to share all the projects I include on my blog. Please note I only use and share products I love.


Tuesday, November 6, 2018

November 2018 Karen Burniston Designer Challenge


Hi Crafty Friends,

Welcome to our November Karen Burniston Designer Challenge.

Check out Karen Burniston's blog on Wednesday (US Time) when you will be able to see what all the designers created for the challenge this month, plus Karen will have an amazing video tutorial to share with us all.

Our challenge theme this month is .... "CHRISTMAS TREE" - make a card that incorporates a Christmas tree.


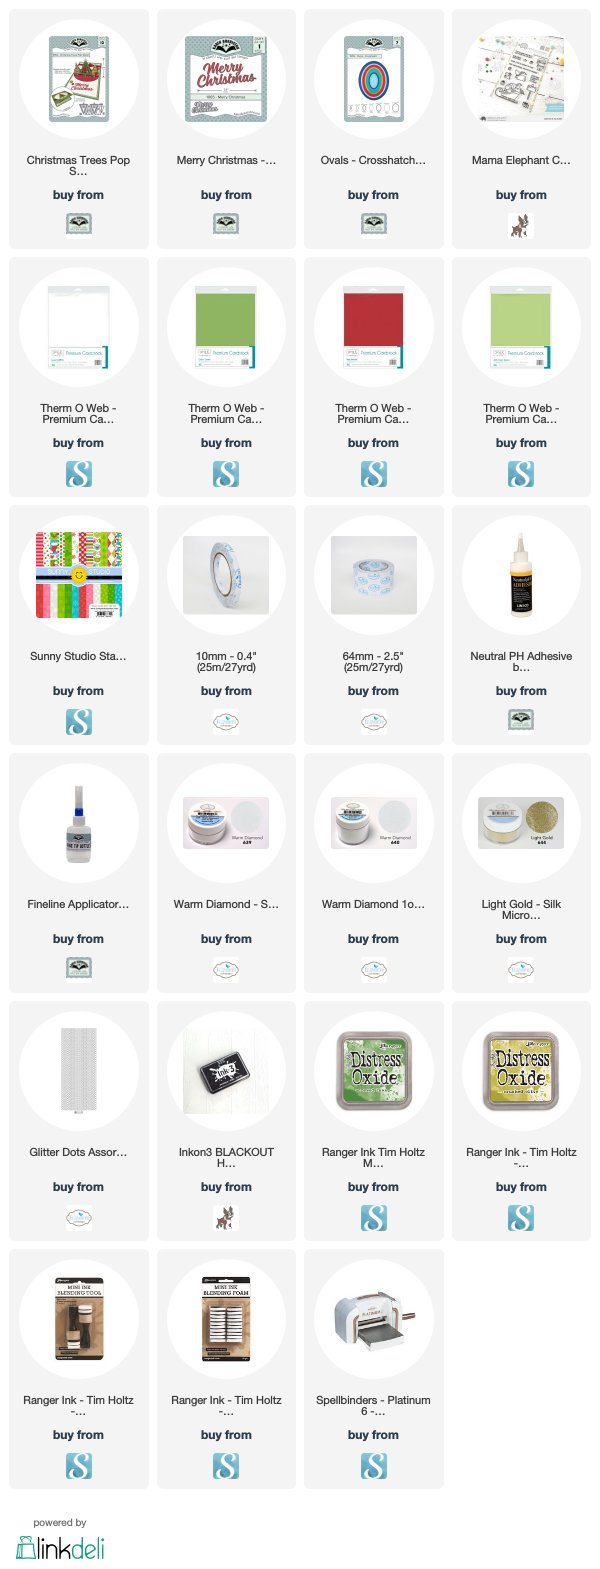
For my card today I have used the Christmas Trees Pop Stand die set. I used the tree dies included in the die set to create the centre tree and then used the pieces that come out of the large tree that has the hole in the middle to create the trees on either side of the card.

To decorate the trees I used pink glitter dots of the centre tree and die cut the garland from red glitter for the other two trees.


I used the Merry Christmas sentiment to die cut the Merry Christmas from white cardstock that had Clear Double Sided Adhesive Tape on the front. I then covered this with Warm Diamond Silk Microfine Glitter and colored the sentiment using a pink copic marker.

The sentiment is layered using the Ovals Crosshatch die set.

To finish off the card I added a Santa from a Mama Elephant stamp set.


Here is an overhead view of my card so you can see the whole inside of the card. I added a sentiment set of ovals on the other side of the card to use to hand write a personal message.


For the front of the card I added another of the trees that I used on the inside of the card.


Don't forget to visit Karen Burniston's blog on Wednesday when you will be able to see what all the designers created for the challenge this month.


Supplies:
For your shopping convenience, all products are linked below. Compensated affiliate links are used where possible with no extra cost to you. This helps me to continue to share all the projects I include on my blog. Please note I only use and share products I love.


Monday, November 5, 2018

Penguin Flip Slider Card


Hi Crafty Friends,

Today I have a Christmas card to share with you today using Mama Elephant's Flip Slider die set which creates a waterfall type card. 

I already have two dies of this type from Tonic however they are fairly large so you need a larger than a standard size card. I was excited when I saw Mama Elephant had something smaller, although it was a lot smaller than I was expecting, but it is still fun and I am sure I will find lots of uses for it in the future.


Here is a quick video showing my card in action.


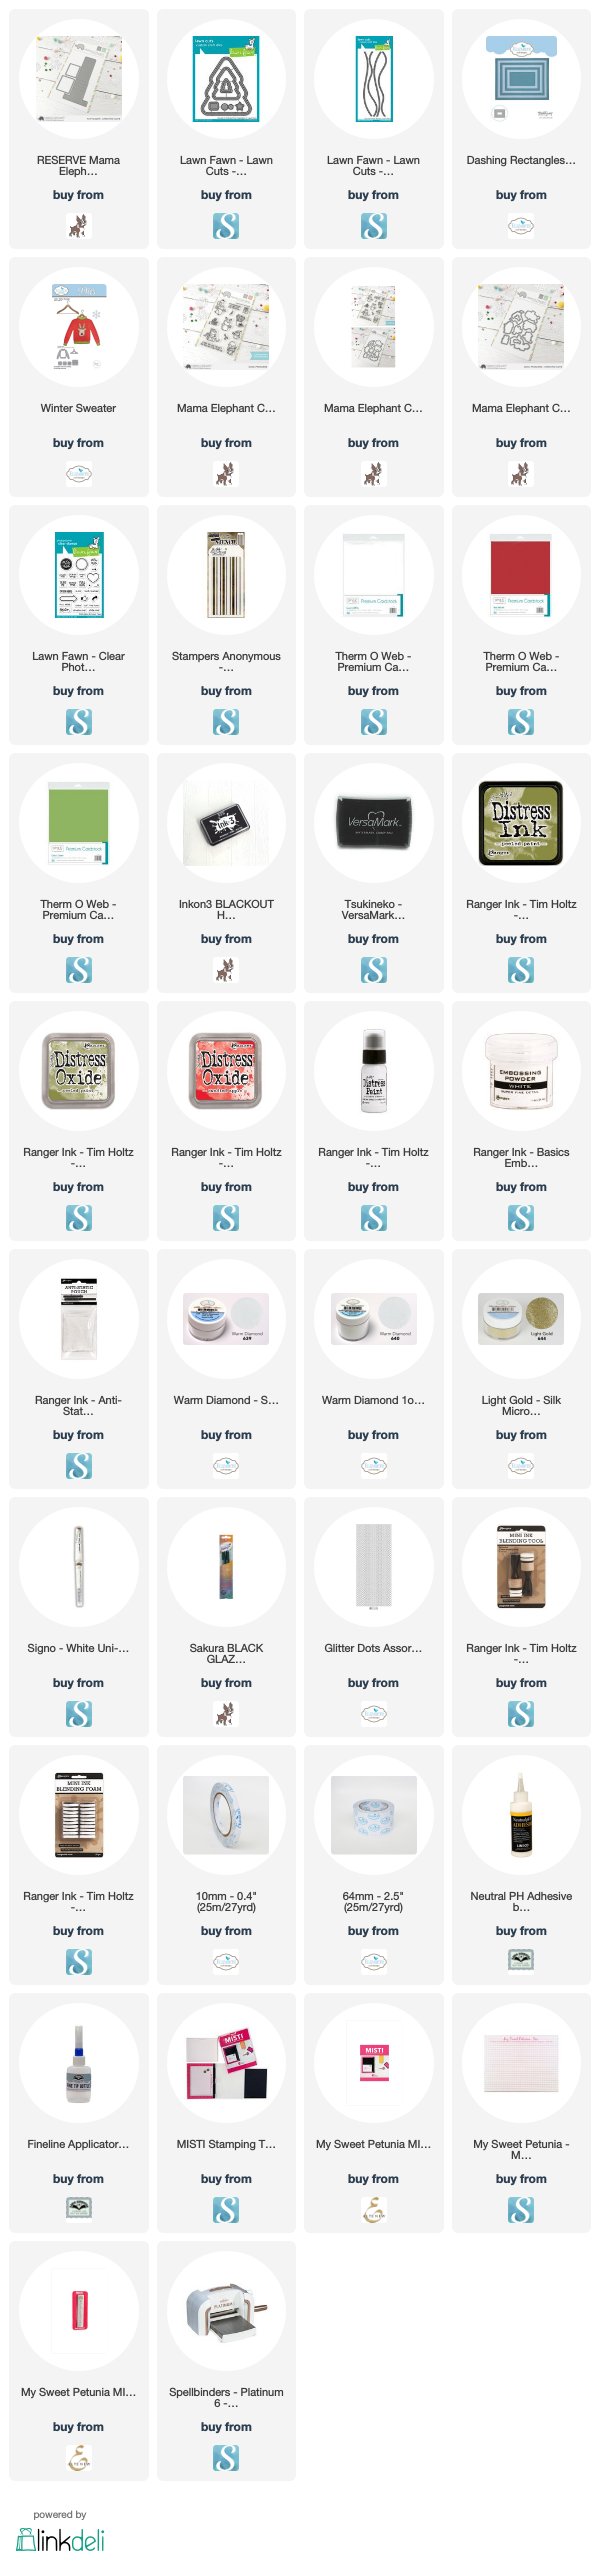
For the striped background of my card I used the Stampers Anonymous / Tim Holtz Christmas Shifter Stencil. I used Distress Oxide inks to add the two different colored stripes.

The large Christmas Tree is Lawn Fawn's Outside In Stitched Christmas Tree die set.


The penguins are from Mama Elephant's Cool Penguins Clear Stamp set. I added the sentiment to the long green panel of the flip slider die cut.


The red panels on the flip slider have been splattered with white paint to resemble snow and then added some glittery snow to the bottom of each panel using Warm Diamond Silk Microfine Glitter.

I added a couple of snowflakes randomly around the top part of the card and also added a few Glitter Dots Peel Off Stickers to the snowflakes and around the tree.


Here is a look at each of the four different panels as the waterfall/flip part of the card is opening.


For the inside of the card I added a striped background to the bottom edge of the card using the same stencil I used on the front. I also added a couple of images and sentiment from the Cool Penguins stamp set.

Supplies:
For your shopping convenience, all products are linked below. Compensated affiliate links are used where possible with no extra cost to you. This helps me to continue to share all the projects I include on my blog. Please note I only use and share products I love.


Sunday, November 4, 2018

A Cup of Thanks


Hi Crafty Friends,

I have a thank you card to share with you all today.

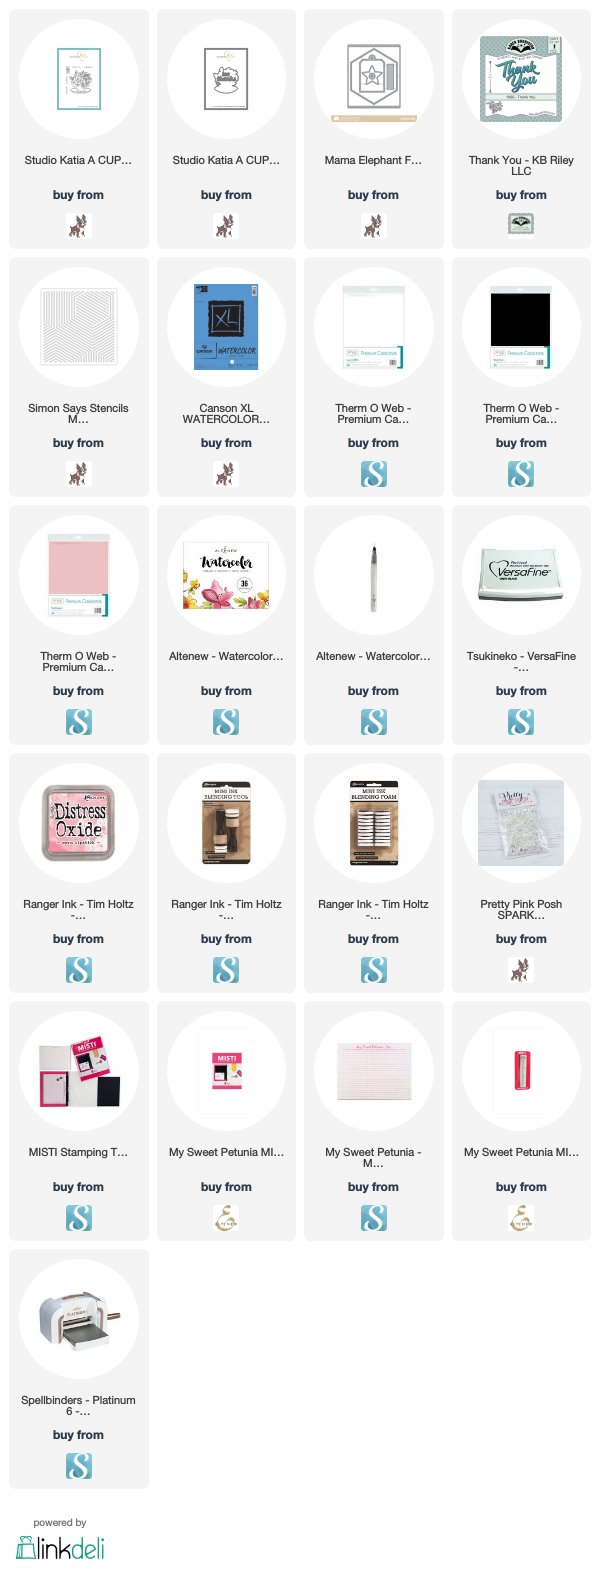
To create my card I used Studio Katia's A Cup of Thanks Clear Stamp set. I watercolored the flowers using Altenew's Watercolor Pan 36 set.

For the pink layer I used the large die from Mama Elephant's Framed Tags Hexastar die set. I decorated the layer using Simon Says Stamps Mod Stripes stencil.


To finish the front of the card I used Pretty Pink Posh Sparkling Clear Jewels.


For the inside of my card I used Karen Burniston's Thank You die.


Supplies:
For your shopping convenience, all products are linked below. Compensated affiliate links are used where possible with no extra cost to you. This helps me to continue to share all the projects I include on my blog. Please note I only use and share products I love.


Saturday, November 3, 2018

Hello, Autumn


Hi Crafty Friends,

It’s challenge time with the “Crazies” over on the Crazy 4 Challenges blog. Being a brand new month it is time to introduce a new challenge hostess which is Joanne Grzelak.

During the fall and spring seasons, leaves are all around us.  In the fall they are falling, colorful, and becoming a carpet on the ground.  In the spring, the new leaves are sprouting from the trees.  Make a card in which the only images are leaves. It does not have to be in autumn colors. 

A couple of months ago I purchased Catherine Pooler Designs Hello, Autumn Clear Stamp set, which I have been wanting to use but hadn't had a chance to as yet. So of course this was the perfect opportunity to pull it out and play. This stamp set contains 4 different leaves and each of the leaves has 4 different layering stamps to go with it. So this card was a little time consuming as I had to stamp each image four times and because I wanted to use different colors I stamped one at a time.

I used a heap of different inks to stamp the leaves as you will see in the supply list below.

After stamping out all the images I then used some of the same inks I used to stamp the leaves to add splatters over the card.


I have created a Double Z Fold Card. On the two right hand side panels I added autumn/fall sentiments which I have had for ages.


For the front of the card I added the "enjoy" die cut from Honey Bee Stamps and then also added the "Hello, Autumn" sentiment which was included in the stamp set.

Don't forget to check out the rest of the “Crazies” cards over on the Crazy 4 Challenges blog and also their individual blogs for more details.


Supplies:
For your shopping convenience, all products are linked below. Compensated affiliate links are used where possible with no extra cost to you. This helps me to continue to share all the projects I include on my blog. Please note I only use and share products I love.


Friday, November 2, 2018

Cheers It's Your Birthday


Hi Crafty Friends,

Today I am sharing a birthday card I created for my younger daughter who celebrated her birthday earlier in the week. She loves creating fun cocktail drinks for herself and her sister, so I decided to feature this in her card this year.


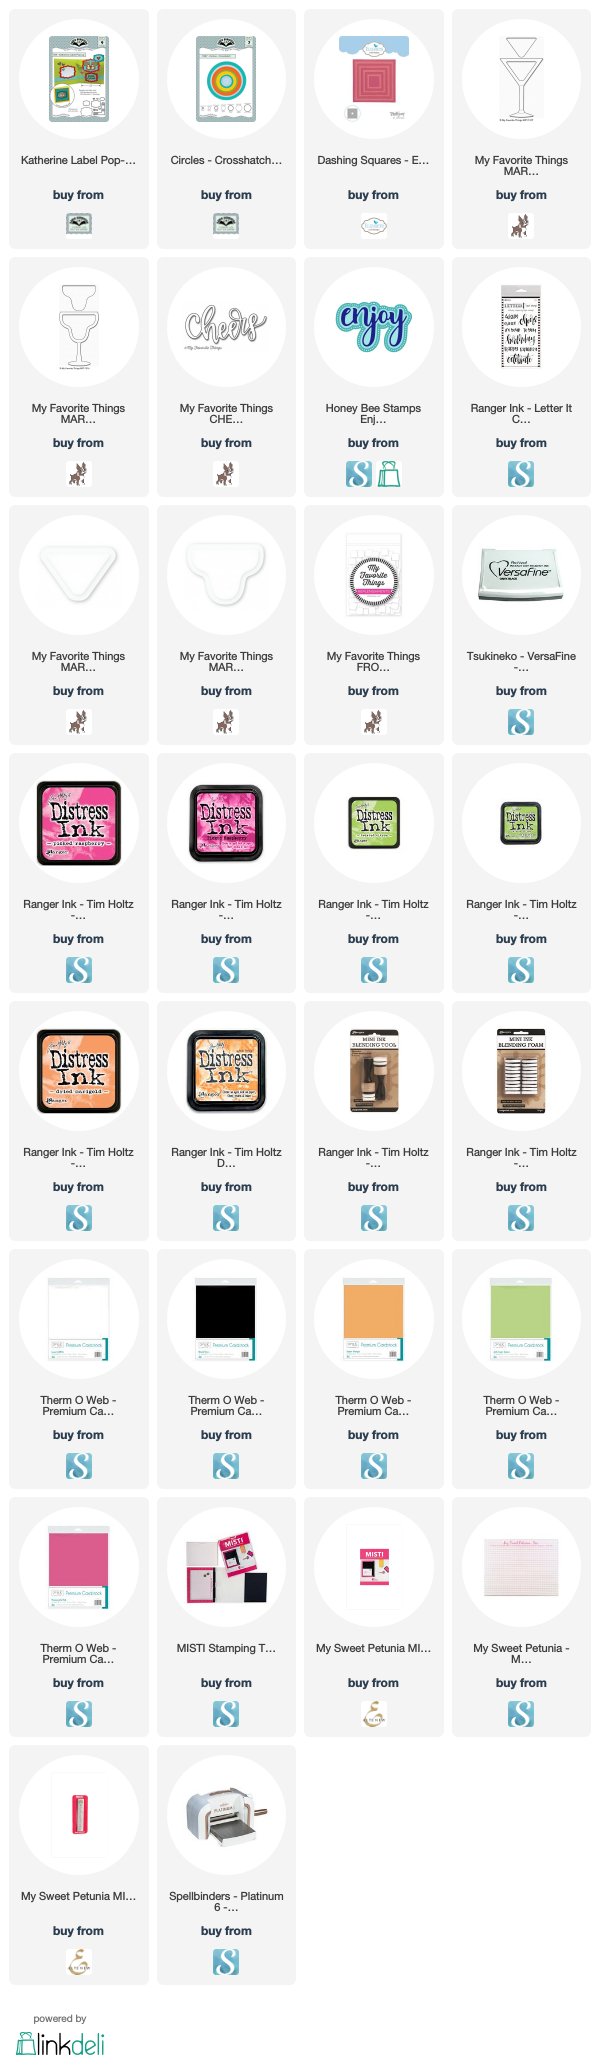
To create the drinks, I used MFT Stamps Martini and Margarita Shaker window Die-namics. These make a fun shaker cards. I colored one green and the other orange ... I know my daughter likes using limes, kiwi fruit and blood oranges in some of her drinks. 

The cheers sentiment is also from MFT Stamps.


On the inside of the card I used Karen Burniston's Katherine Label Pop-up die set to add the birthday sentiment.

I also added another margarita drink to the left hand panel, this time coloring it pink to include another of the colors represented on the paper and I am sure there have been a few pink drinks in the past too.


Supplies:
For your shopping convenience, all products are linked below. Compensated affiliate links are used where possible with no extra cost to you. This helps me to continue to share all the projects I include on my blog. Please note I only use and share products I love.


Thursday, November 1, 2018

Peaceful Dove Double Z Fold Card


Hi Crafty Friends,

It's challenge time with my friends over on the CCEE Stampers challenge blog. Being a brand new month it is time to introduce a new challenge hostess which is Anne Harmon.

Our challenge this week is ...... 
This is the month of Thanksgiving in the United States. So Anne has challenge us to use a turkey on our cards. If you are in another country that doesn't celebrate Thanksgiving, you may use a bird. It wouldn't hurt if there was a RED feather or two!

As I live in Australia, I decided to go with the bird option for my card. 

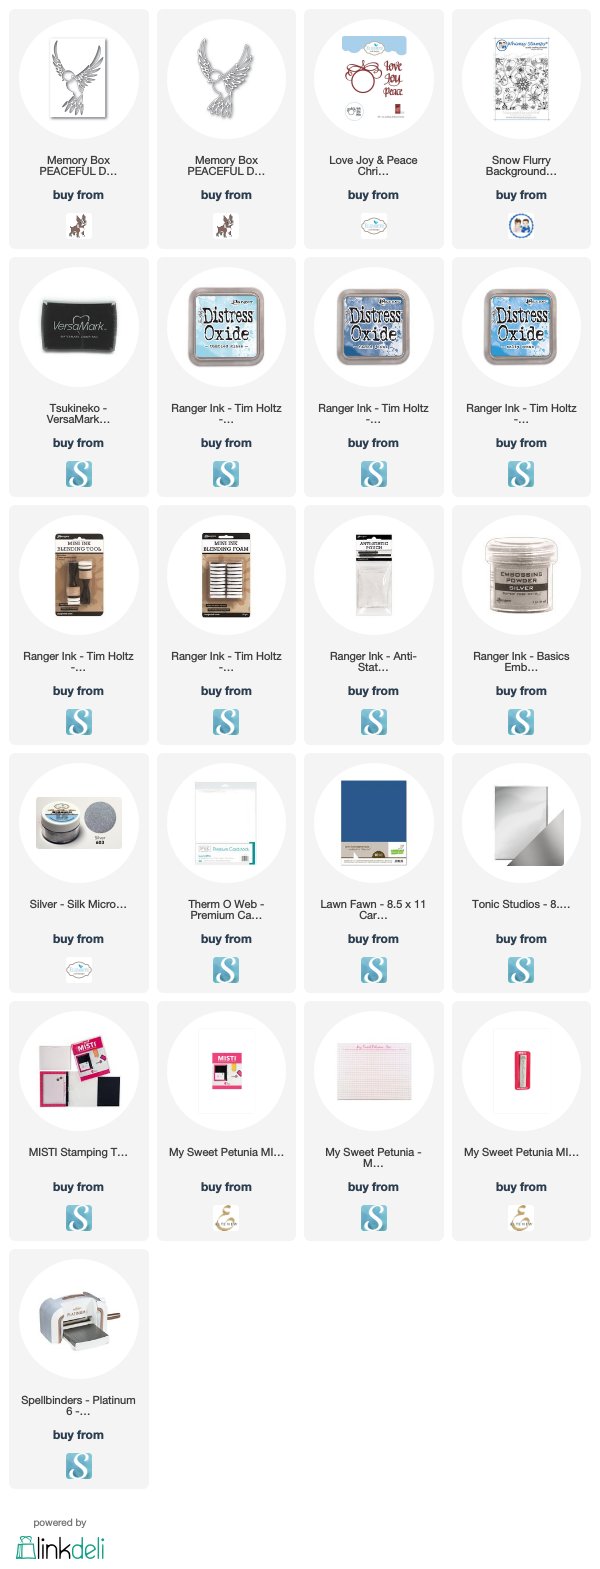
Back in June when I attended a Papercraft Show I purchased the Peaceful Dove die from Poppy Stamps. Apparently there is two versions of this die, the outline and one that cuts into the card without an outline. According to the packaging I had purchased the outline version, however the shop I purchased it from had removed all the dies from the packaging to help prevent theft ... and it seems I got given the other version instead. A little annoying and I have no idea what shop I purchased it from, but luckily I was able to cut around the image once I die cut it into some card, so all is not lost.


I decided to create a Double Z Fold Card. I have made a few of these in the past where the double part is only at the bottom of the card, but I have been wanting to make a full version for sometime.

For the background of my card I used Whimsy Stamps Snow Flurry Background, embossing using Silver Embossing Powder and then coloring the white cardstock with various blue Distress Oxide inks. 

The blue card base measures 5 1/2 inches x 8 1/2 inches and is scored at 4 1/4 inches & 2 1/8 inch.
The decorative piece at the top is 4 1/2 inches x 7 1/2 inches and scored at 3 1/4 inches & 5 3/8 inches.

For the right hand panel, I added the A Way With Words - Peace Love Joy sentiment available from Elizabeth Craft Designs.

For the centre panel I used an old vertical Christmas sentiment I have had in my stash for forever.


I die cut the dove into the left hand panel and then added a piece of cardstock that had adhesive tape behind the image and added Silver Silk Microfine Glitter. I die cut another dove onto Navy cardstock and then trimmed around that to layer over the one in the snowy background. 

I also added a blue pearl for the eye.

Don't forget to check out the CCEE Stampers blog (goes live 12 AM EST) to see the rest of the creations the CCEE Stampers created this week. You can also see more details of their creations on their individual blogs:

For your shopping convenience, all products are linked below. Compensated affiliate links are used where possible with no extra cost to you. This helps me to continue to share all the projects I include on my blog. Please note I only use and share products I love.

Wishing You a Joyous Christmas sentiment stamp - Hero Arts (probably retired)