Wednesday, February 17, 2021

Party Like A Panda


Hi Crafty Friends,

Today I am sharing a different style of pop-up card. A few weeks ago Bibi Cameron shared a few pop up cards she created using partial die cutting to the create the pop up on her card. Always looking for something new to try I decided to give it a go. You can find Bibi's tutorial on how to create this card on her blog here


I used a red card base when creating my card and used Simon Says Stamps' Deco Diamonds Background stamp to add some texture pattern the the front of my card.

I used Hero Arts Infinity Ovals to partially die cut the oval shape from the front & back of my card base.


To decorate my card I used Simon Says Stamps Party Like a Panda stamp set.


Here is a side view of my card so you can see how the pop up works.


Tuesday, February 16, 2021

Peekaboo Giraffes


Hi Crafty Friends,

Today I am sharing a Slimline card I created recently.

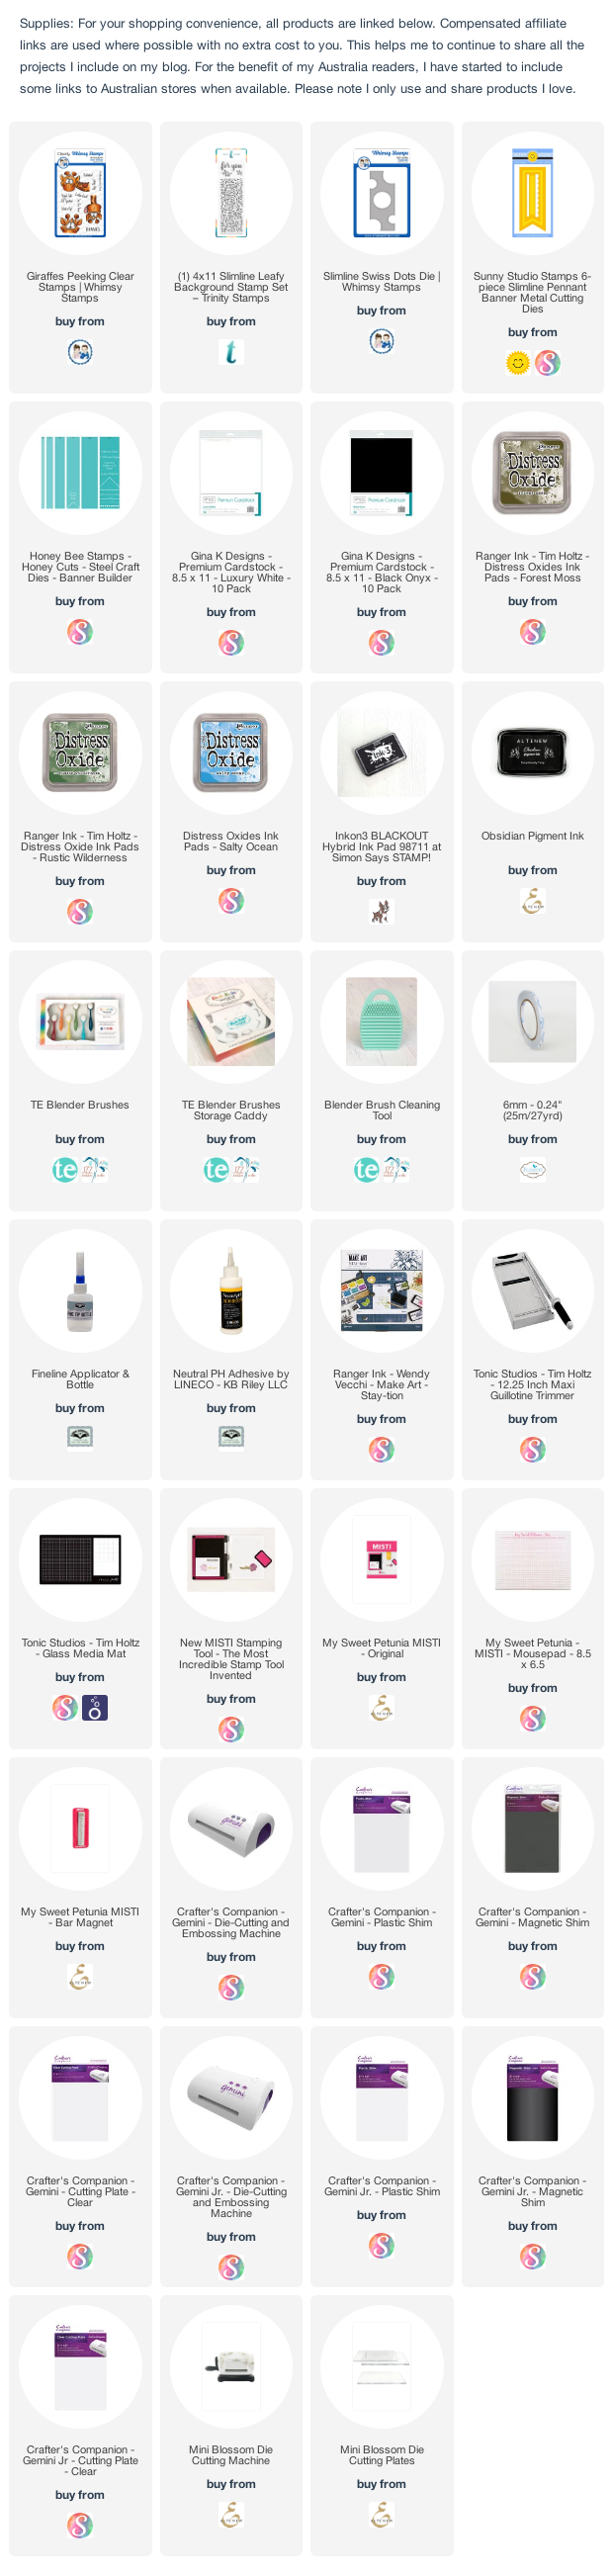
To create my card I used Whimsy Stamps Giraffes Peeking stamp set. For the green slimline panel I used Whimsy Stamps Slimline Swiss Dots die set. I die cut the panel from green cardstock and then used Trinity Stamps Slimline Leafy Background Stamp set to stamp the background onto the panel using Forest Moss Distress ink.

I created another panel the same size as the green panel from white cardstock and then applies Salty Ocean Distress Oxide ink over the areas where the openings are.

I layered the card to a black slimline card base that measures 8.75inches x 3.75 inches.

I added the three giraffes to the large circle openings and then added the sentiments which are also included in the stamp set.


For the inside of the card I die cut a Slimline pennant from white cardstock using Sunny Studio Stamps Slimline Pennants die set.

I stamped one of the giraffes and a sentiment to the white pennant.


Monday, February 15, 2021

Have A Super Star Birthday


Hi Crafty Friends,

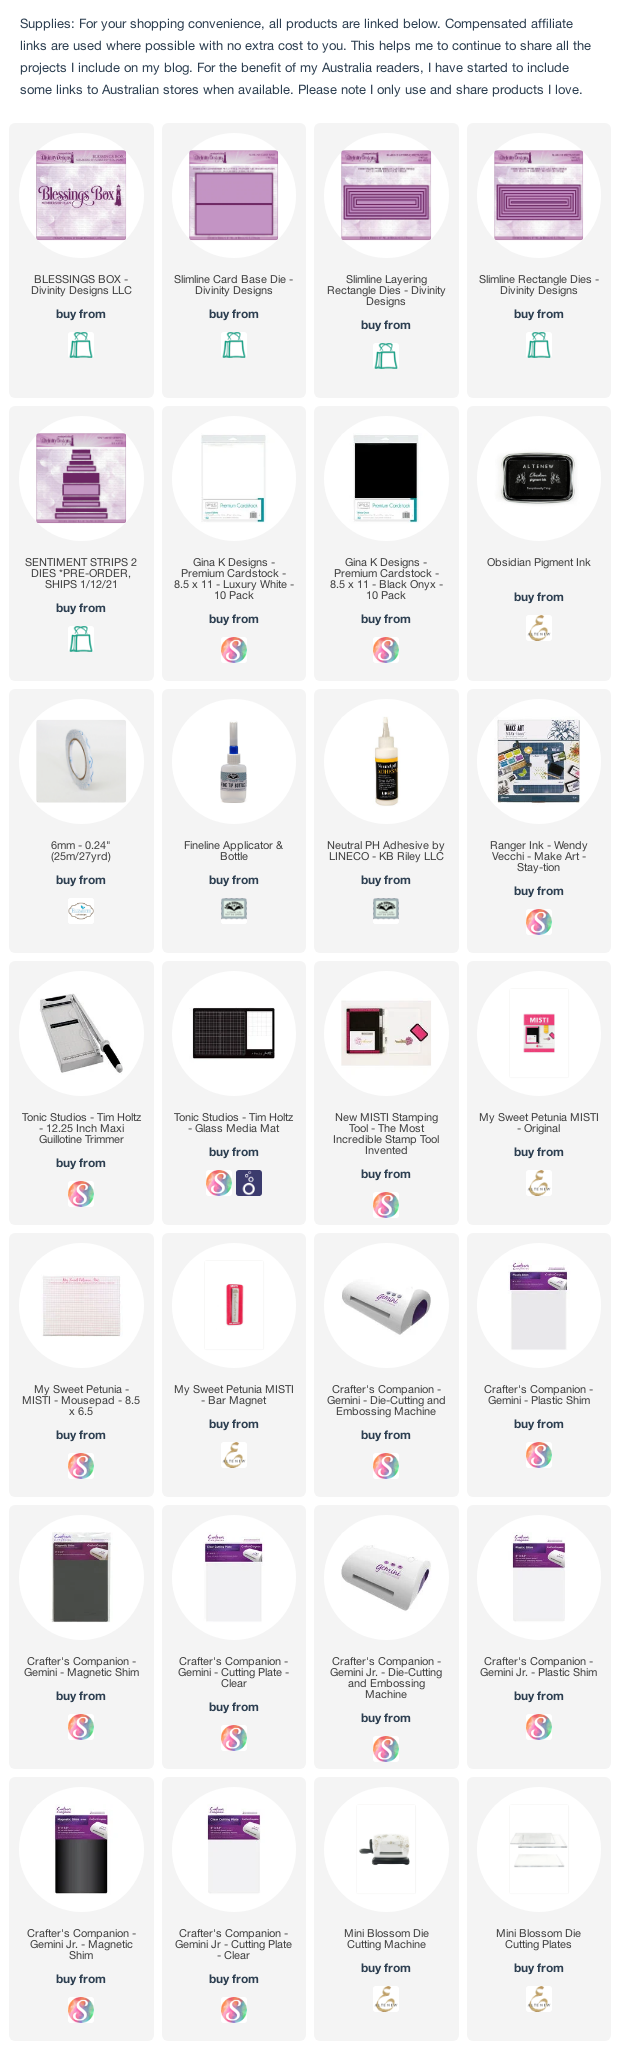
Today I am sharing a Slimline card I created recently using stamps and dies from Divinity Designs January 2021 Blessings Box.

To create the slimline card I used the Slimline Card Base; Slimline Rectangles and Slimline Layering Rectangles.

The patterned paper is from the Geometric Paper pad which is Slimline size.

I used the star dies from the Star Shaker Kit and Star Shaker Kit Insert Add-Ons. I die cut the stars in rainbow colors and then layered onto black cardstock. I added the sentiment which is from the Super Star Stamp/Die Duo set which I added on top of the row of stars.


For the inside of the card I added another sentiment from the Super Star Stamp/Die Duo set. I also added 4 of the smaller stars using the same die sets I used on the front of the card.


Sunday, February 14, 2021

What's Up?


Hi Crafty Friends,

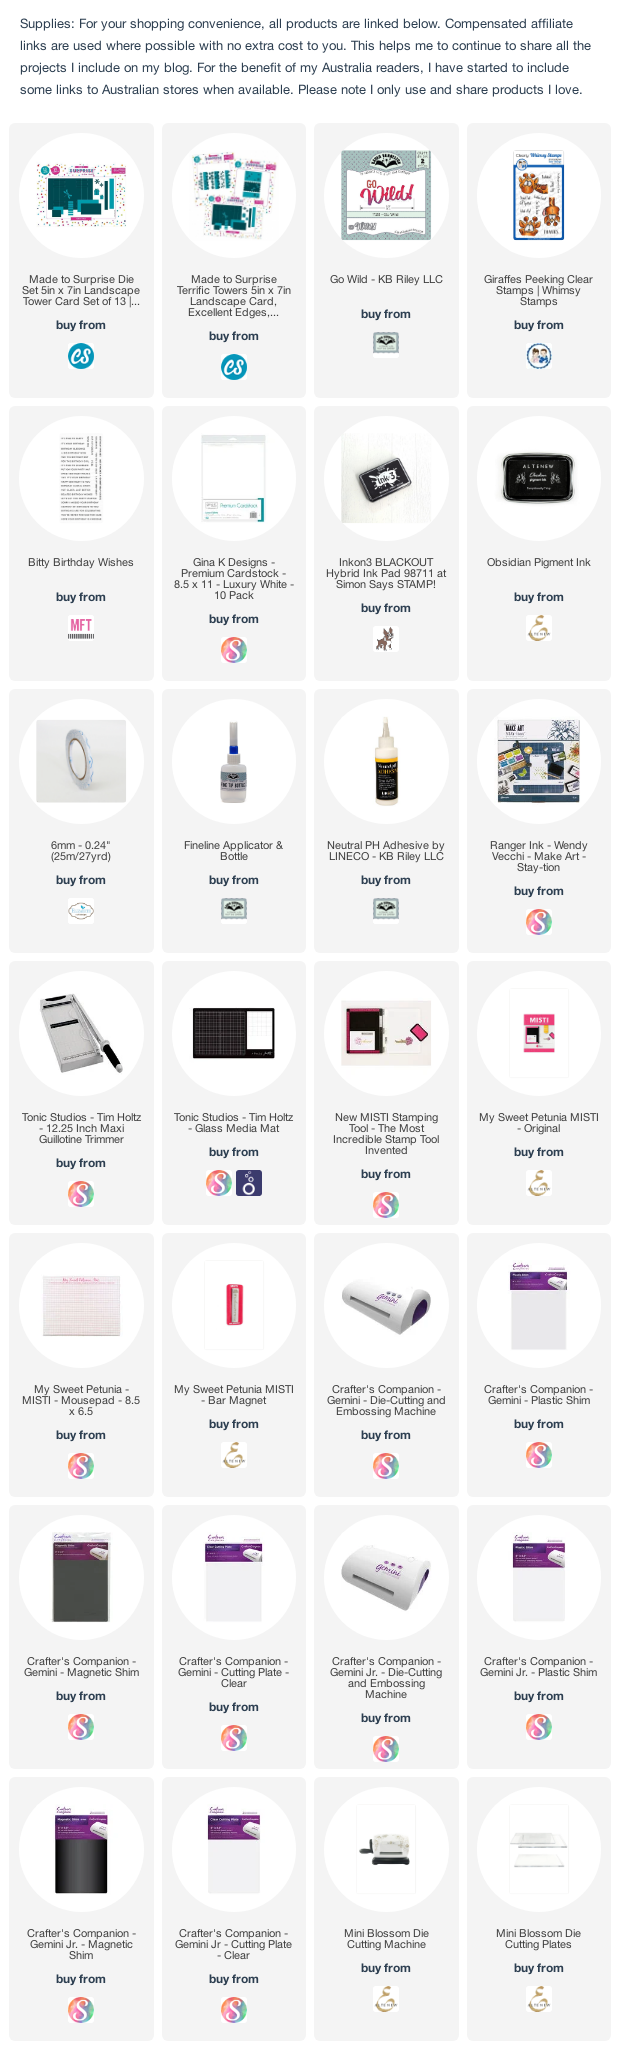
Today I am playing with another of the Terrific Tower die sets from Made To Surprise by Sam Calcott that I received for Christmas. This one is the Terrific Towers 5in x 7in Landscape Card die set.


I die cut the card base from mustard cardstock and then used patterned paper and brown cardstock for the layers.


To decorate my card I used Whimsy Stamps Giraffes Peeking stamp set. I added one of the giraffes to the main centre panel and then added three sentiments to the left side of the panel.


Here is another view of the card, this time when it is lying on the desk. Hopefully you can see the side panels a little better.


On the back of the card I added another of the panels, the same as the one on the front. I added another of the giraffes included in the stamp set.

I added the "Go Wild" sentiment which is a die set from Karen Burniston. The "It's Your Birthday" sentiment is from MFT Stamps Bitty Birthday Wishes stamp set.


Saturday, February 13, 2021

Happy Happy Happy Birthday


Hi Crafty Friends,

It’s challenge time with the “Crazies” over on the Crazy 4 Challenges blog. As challenge hostess for the month, I continue to issue the challenges.

Slimline Cards - Last year I included Slimline cards in my challenges … let’s step it up a little by creating an interactive or fun fold Slimline card … think Gatefold; Double Dutch Fold; Bridge Card; Sliding Pop Up; Easel; Pop up etc.

Here is a quick video to see my card in action. It's a tall card (9 inches) so it wasn't easy to get the whole card in the video, but hopefully you can see how it works.

For my card  today I decided to create a 4 Door Slimline Card inspired by a card created by Karen Burniston that she created to show how to use the dies from her Mini Pop Pop-up die set. You can see Karen's tutorial here.

My slimline card measures 4 inches x 9 inches when closed and will fit inside a #10 envelope.

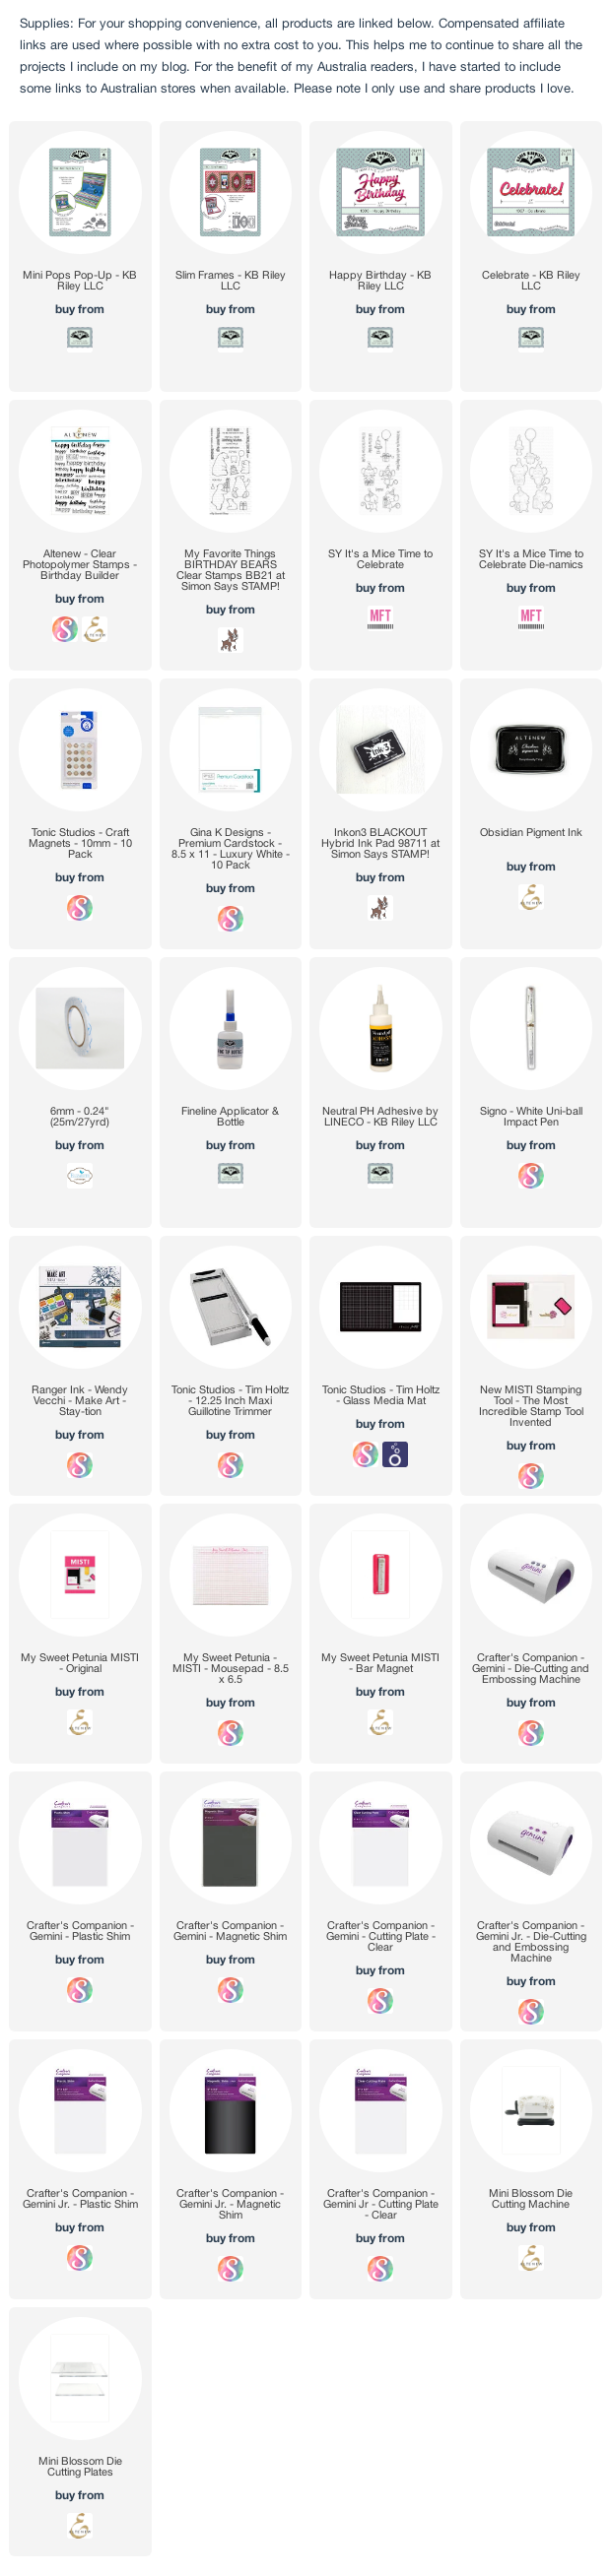
As you can see I created a birthday card. For the labels on the front of the card I used the rectangle labels from the Slim Frames die set. I stamped the "Happy" and "Birthday" to each of the labels using Altenew's Birthday Builder stamp set.


As mentioned above, this card has 4 doors. The top one lifts up, and the other three alternate either left or right.

I added the pop-up die in the top portion of my card and then added a sentiment, balloons and birthday cake from two MFT Stamps stamp sets ... Birthday Bears & It's a Mice Time to Celebrate. I added thick acetate to the balloons so that they would be stable in the card.


The next "door" opens up towards the left and reveals a bear holding a present which are from the two stamp sets that I used on the first door. 

The bear is attached to the larger of the two angled platforms included in the Mini Pops Pop-up die set.

I also added Karen Burniston's Happy Birthday sentiment over the entire page.


Our third door opens up towards the right. On this page I have used the smaller of the angled platforms to pop up the smaller bear. 

I added the "Celebrate" sentiment to the main card base and then added the oval label from the Slim Frames die set, which can be used to add a hand written greeting.


Finally the 4th door opens to the left and now you can see the card with all the doors fully opened.

On the bottom part of the card I used the spiral included in the Mini Pops Pop-up die set to add the 5 middle presents. The spiral is die cut from acetate so it looks like some of the presents are floating. I added a 6th present to the left of the card. 

To finish off the card I added a third bear to the right side of the card.


Don't forget to check out the rest of the “Crazies” cards over on the Crazy 4 Challenges blog and also their individual blogs for more details.

Other Supplies:

Fairy Tales 6 x 6 Paper Pad - Doodlebug Designs Inc.


Friday, February 12, 2021

Out of this World Peek-A-Boo Card

Hi Crafty Friends,

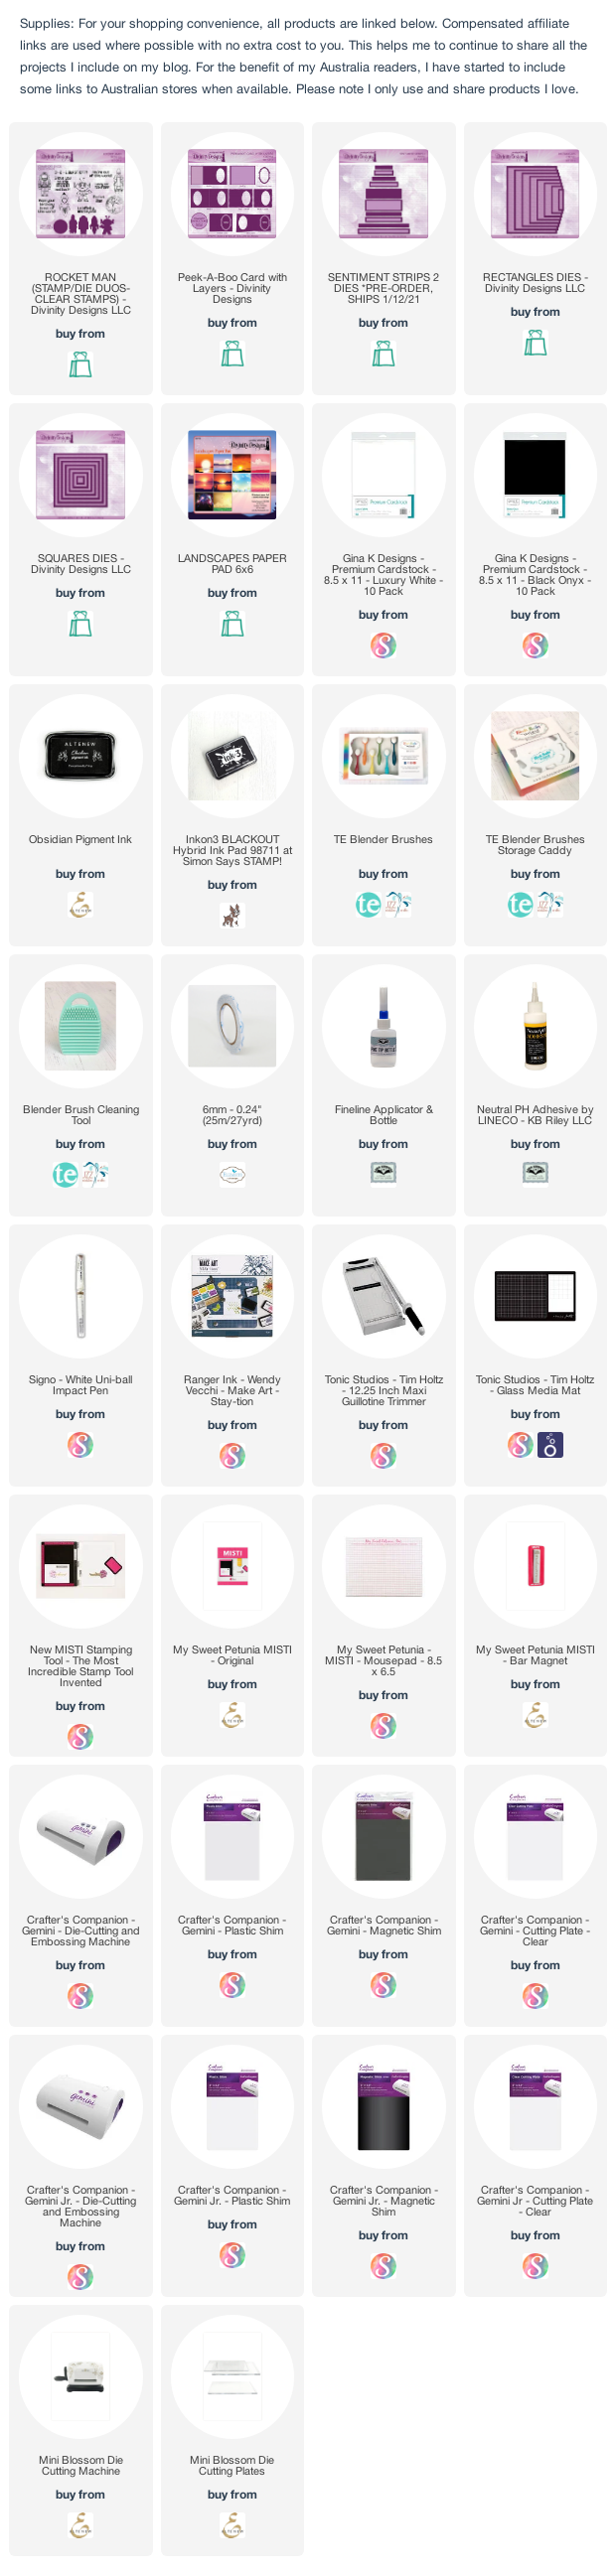
Today I am sharing a card using the Peek-A-Boo Card with Layers die set from the Divinity Designs February 2021 Release.


I have been having lots of fun playing with this new die set. Having the dies definitely makes easy work of creating this style of card. For my card today I have created a space theme using the Rocket Man Stamp/Die Duo set.


Here is a quick video to see my card in action.


In the photo above you can see how the second image is starting to cover the image that we saw when the card was closed.

I used papers from the Landscapes Paper Pad for the layers of the front and inside of the card. I figured with some imagination, that those fireworks could resemble stars or comets etc out in space.


Here you can see my card fully open and the second image replacing the the alien.


One final photo of my card taken from overhead, so you can see how the card works.


Thursday, February 11, 2021

I Love You Slimline


Hi Crafty Friends,

It's challenge time with my friends over on the CCEE Stampers challenge blog.  Manal Habib our challenge hostess for the month, continues to issue the challenges. 

As Valentine’s Day is just a few days away, let’s make a project featuring love! 


I have created a Slimline card today with a red and white color combo using Slimline Dies from Divinity Designs ... Slimline Heart Background; Slimline Rectangles; Slimline Curvy Slopes and Slimline Card Base.


To decorate my card I used the Heart Layering Combo 2 die set to create two red and white hearts. I added the "I Love You" sentiment in between the two hearts, layering the sentiment using one of the rectangles from the Sentiment Strips 2 die set.


To decorate the inside of the card I used the Slimline Curvy Slopes die set to create the two curved borders for the top and bottom edges of the card.


This isn't actually a pop-up card, but I wanted something that looks like it might be. So I added a sentiment from the Be Devoted stamps set to a white heart which was die cut using the solid heart from the Layering Hearts Combo 2 die set. I adhered this to the back panel of the card using foam tape.


I added another sentiment to the card base which is also from this stamp set.


Don't forget to check out the CCEE Stampers blog (goes live 12 AM EST) to see the rest of the creations the CCEE Stampers created this week. You can also see more details of their creations on their individual blogs:


Wednesday, February 10, 2021

Happy Birthday To You Slimline


Hi Crafty Friends,

Today I am sharing a birthday themed Slimline card I created recently.

I used Hello Bluebird's Gallery Frame #5 to create the Kraft & red frames. I added grass and the fence using dies from Trinity Stamps Slimline The Great Outdoors die set.

I added the cute dog images using Your Next Stamps' Birthday Song stamp set.

To finish off the front of the card I added the sentiment, music notes and hearts to the sky area.


For the inside of the card I added the grass to the bottom edge of my card. I added another of the sentiments and the music notes and hearts to the white area of the card.


Tuesday, February 9, 2021

Reach for the Stars


Hi Crafty Friends,

Today I am  sharing another card I created using stamps and dies from Divinity Designs January 2021 Blessings Box. This set includes three star themed die sets that allowing you to make star shakers or just use them flat. The kit includes the Star Shaker Kit; Star Shaker Kit Inset Add-Ons & Star Shaker Kit Layering Add-Ons die sets. Also included in the set are two stamp sets that also work well with the die sets.

The difference between the inset and layering die sets is that the inset die cuts the star detail directly into the  cardstock you are using when you die cut the star outline, so the star is one color. The layering die set, die cuts the detail completely separate to the star outline allowing you to create stars that have two different colors.


For my card today I used the Star Shaker Kit with the Star Shaker Kit Layering Add-Ons die sets to create a two color star shaker element to add to my card. 

I created an accordion card using the Accordion Card with Layers die set. I used papers from the Geometric Paper Pad - Slimline Size and Spring Flowers Collection 2019 Paper Pad.


I used the labels from the Vintage Labels 2 die set to add the labels to the different panels of my card so I could layer the star shaker element and sentiments.

All the sentiments including the "Stars" die cut sentiment are from the Super Star Stamp/Die Duo set which is included in the Blessings Box Kit. The sentiment on the front of the star is die cut using one of the sentiment strips from the Sentiment Strips 2 die set.


Monday, February 8, 2021

Hoppy Hoppy Birthday


Hi Crafty Friends,

Today I am sharing a Slimline card I created recently. 

I used LDRS Designs Slim Line Scallop Die set to die cut the background panel of my card. After die cutting from blue cardstock, I added clouds to the rectangle panel using Pinkfresh Studio's Cloud Border stencil and white pigment ink.

To create the pond I used one of the border dies from Lawn Fawn's Slimline Simple Hillside Borders die set. I used Distress Oxide inks in Tumbled Glass, Broken China,  Salty Ocean & Mermaid Lagoon to add color to the pond. Along the top  edge of the pond, I added cattails using Lawn Fawn's Cattails Border die set. Along the bottom edge of the pond I used the grass border from Trinity Stamps The Great Outdoors Borders & Builder die set.

I added the frogs, lilies etc to the pond which are from Waffle Fower's Toadally stamp set.

For the inside of the card I used many of the same elements I used on the front of the card.

I added the sentiments which are from DRS Designs and MFT Stamps stamp sets.